How to install Elastix 5
To install Elastix 5
Elastix 5 is a recent version of the most sought after unified communication server. It features a secure 3CX telephony engine . Also, it combines IP PBX, email, IM, faxing and collaboration functionality in it. In this article, you will learn the method to install and configure Elastix 5.
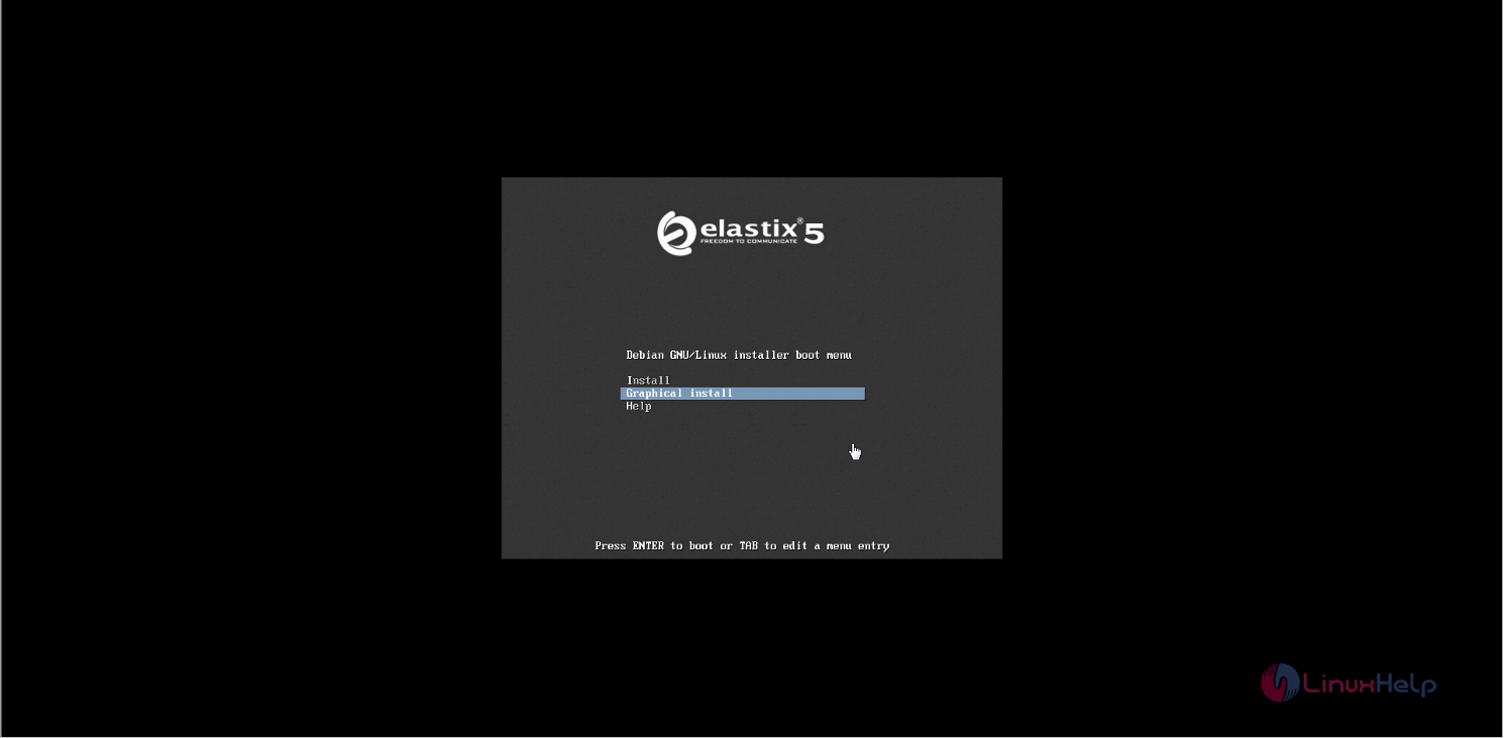
Download the ISO image file from the Elastix official site and use a bootable DVD or a Pendrive to run the installation. Once the following installer screen appears, choose the graphical install mode.
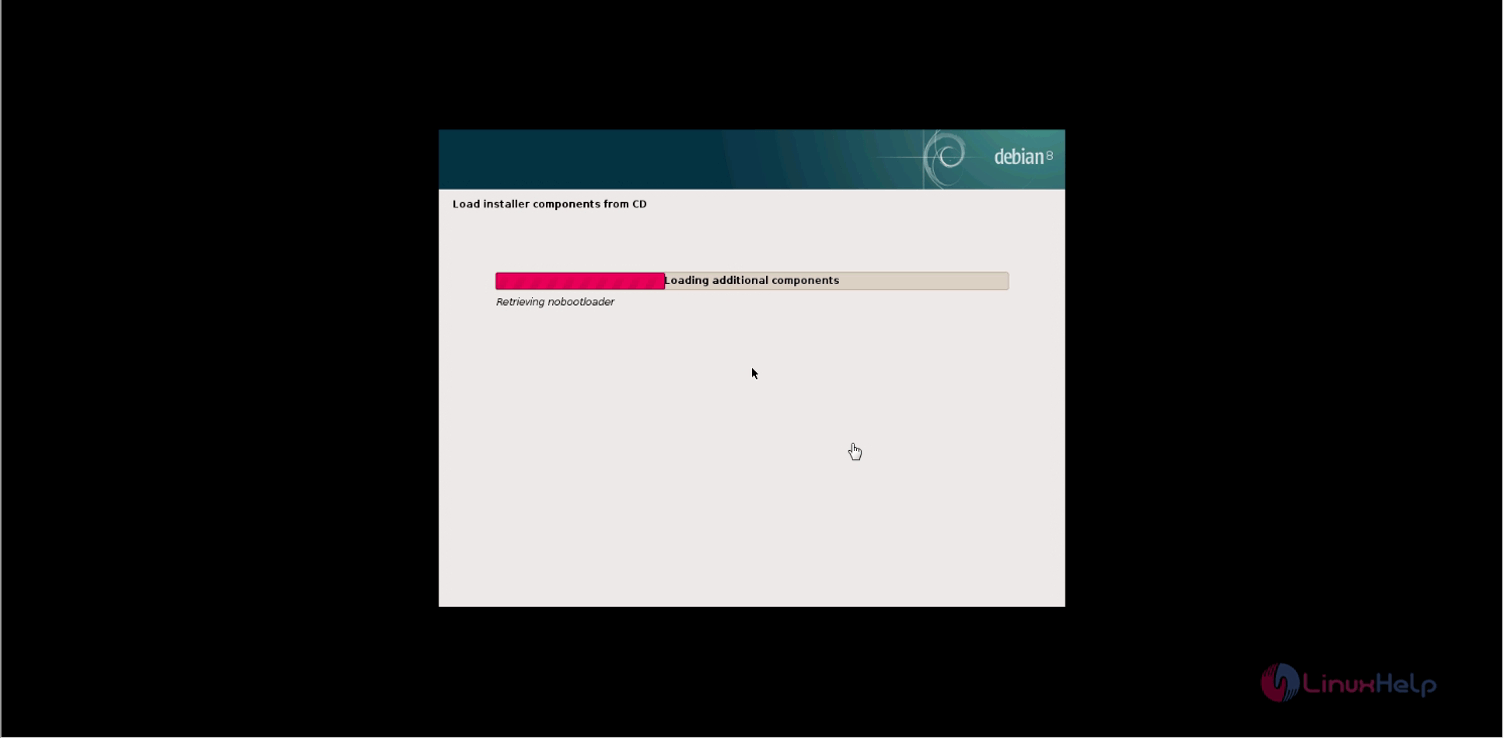
The additional components are getting loaded now.
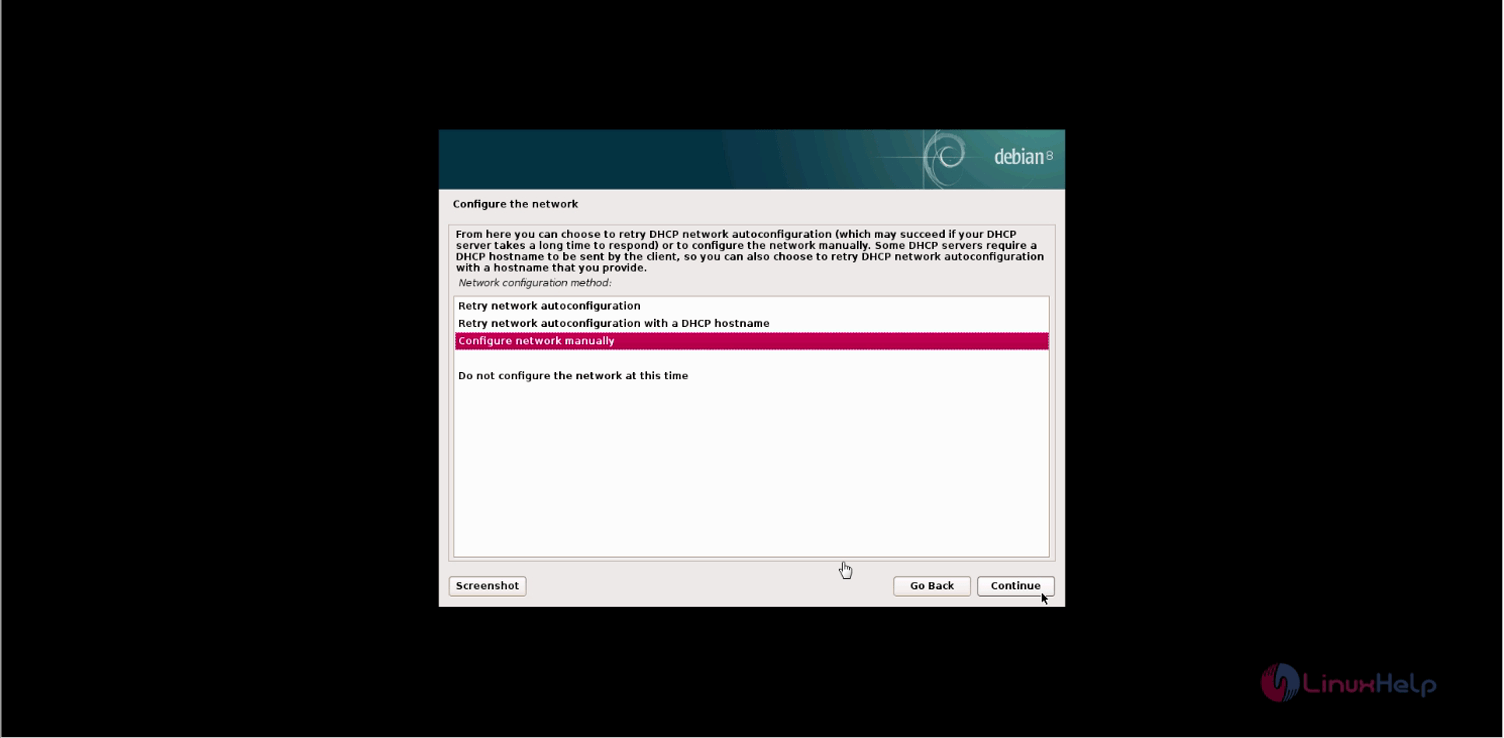
Once it is loaded, configure the network as follows and click on Continue.
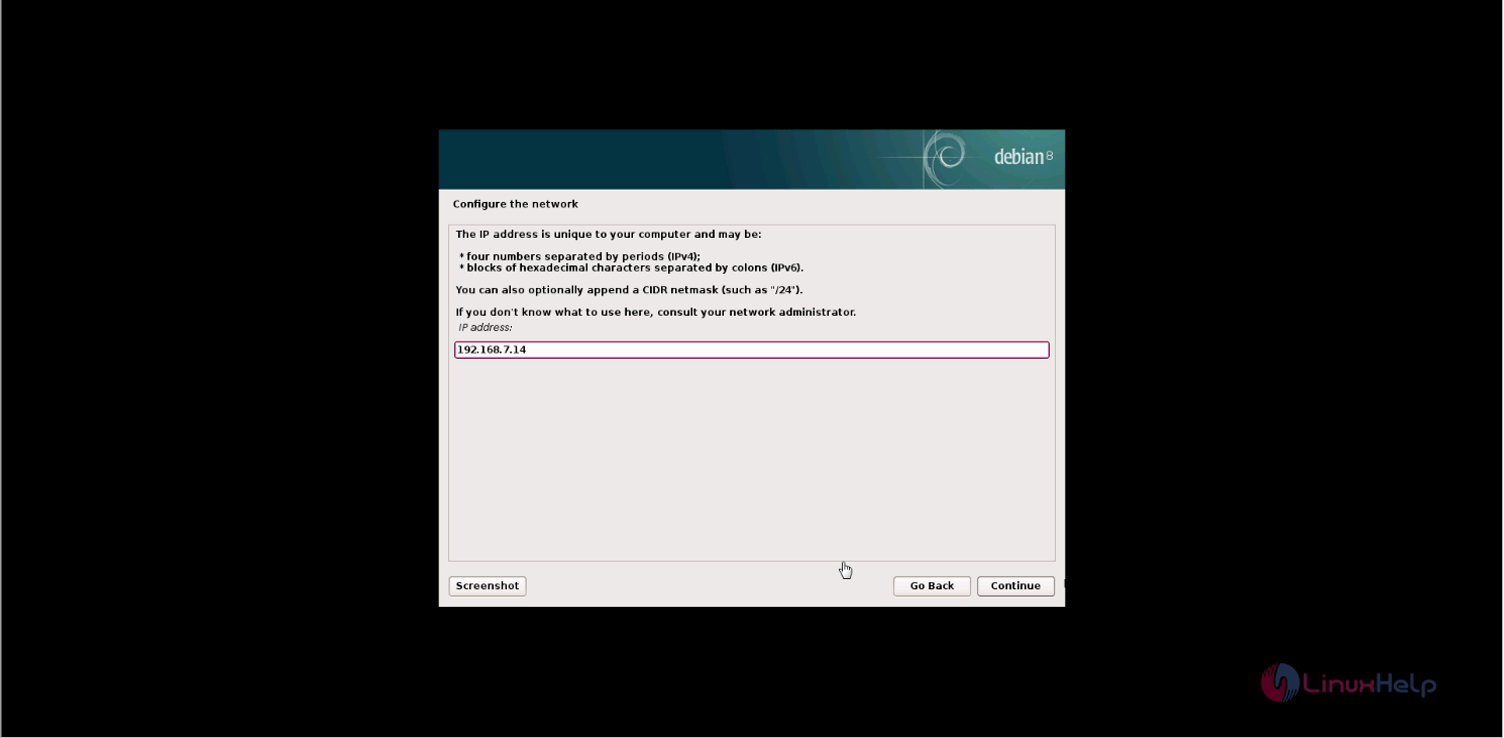
Now, enter your IP address and click on Continue.
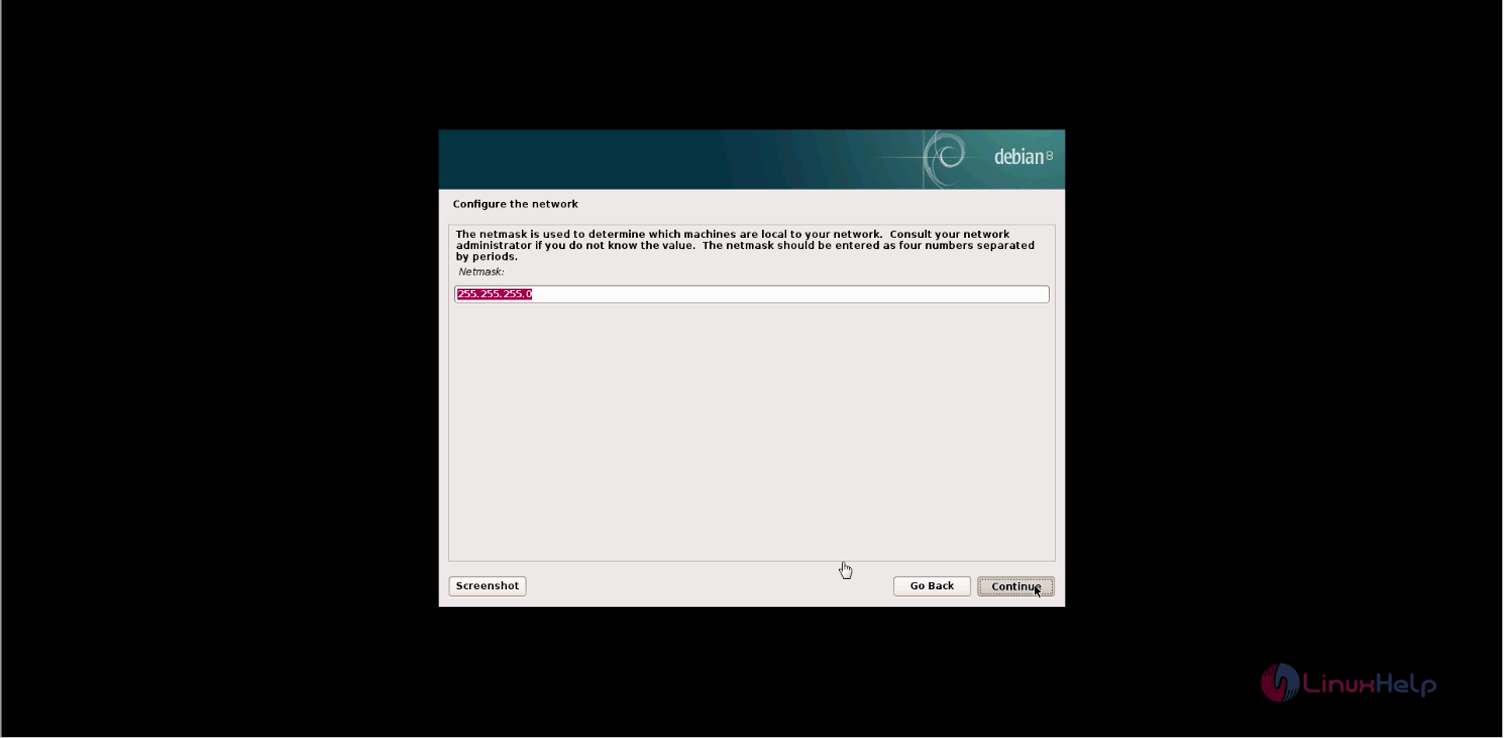
Enter the Netmask and click on Continue.
After that enter the Gateway and click on Continue.

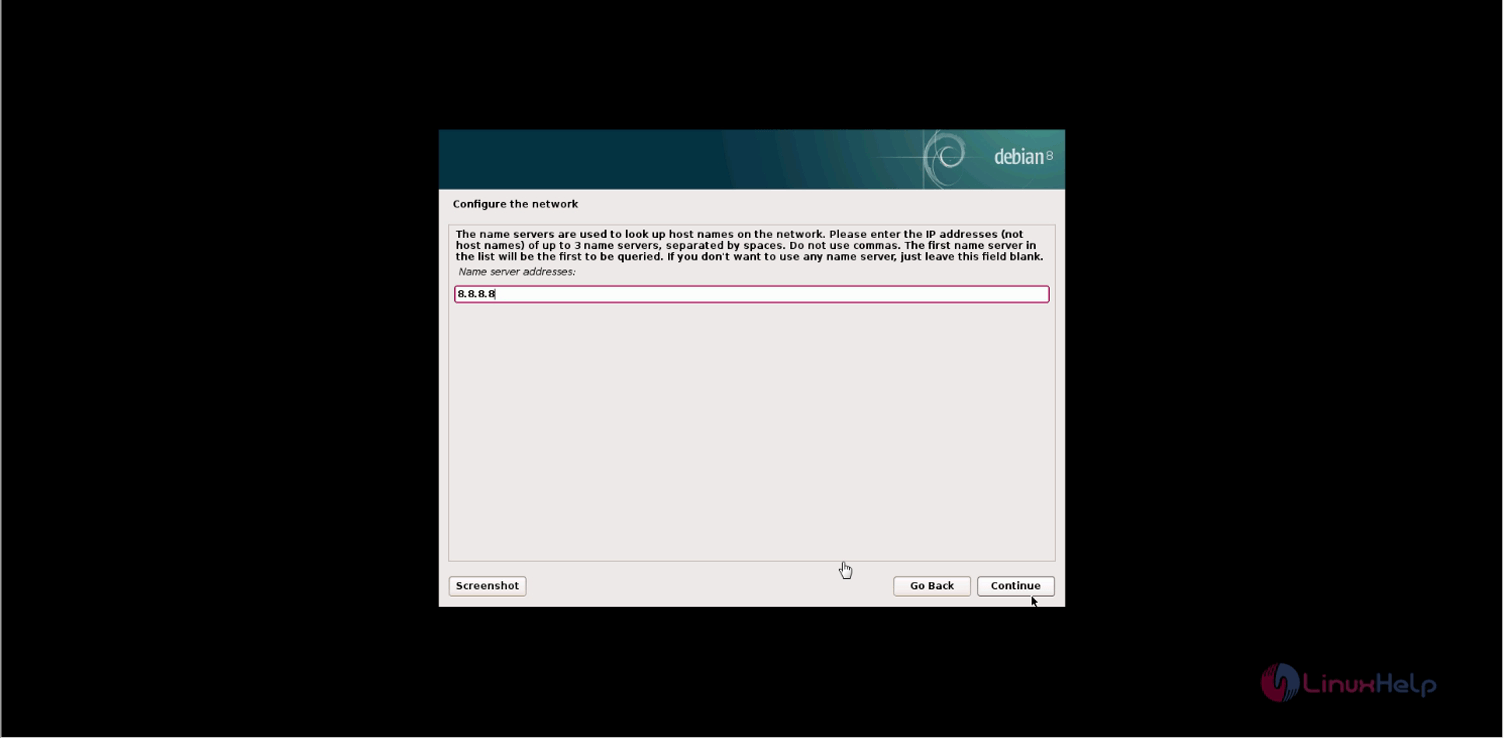
Now enter the Nameserver, and click on Continue.
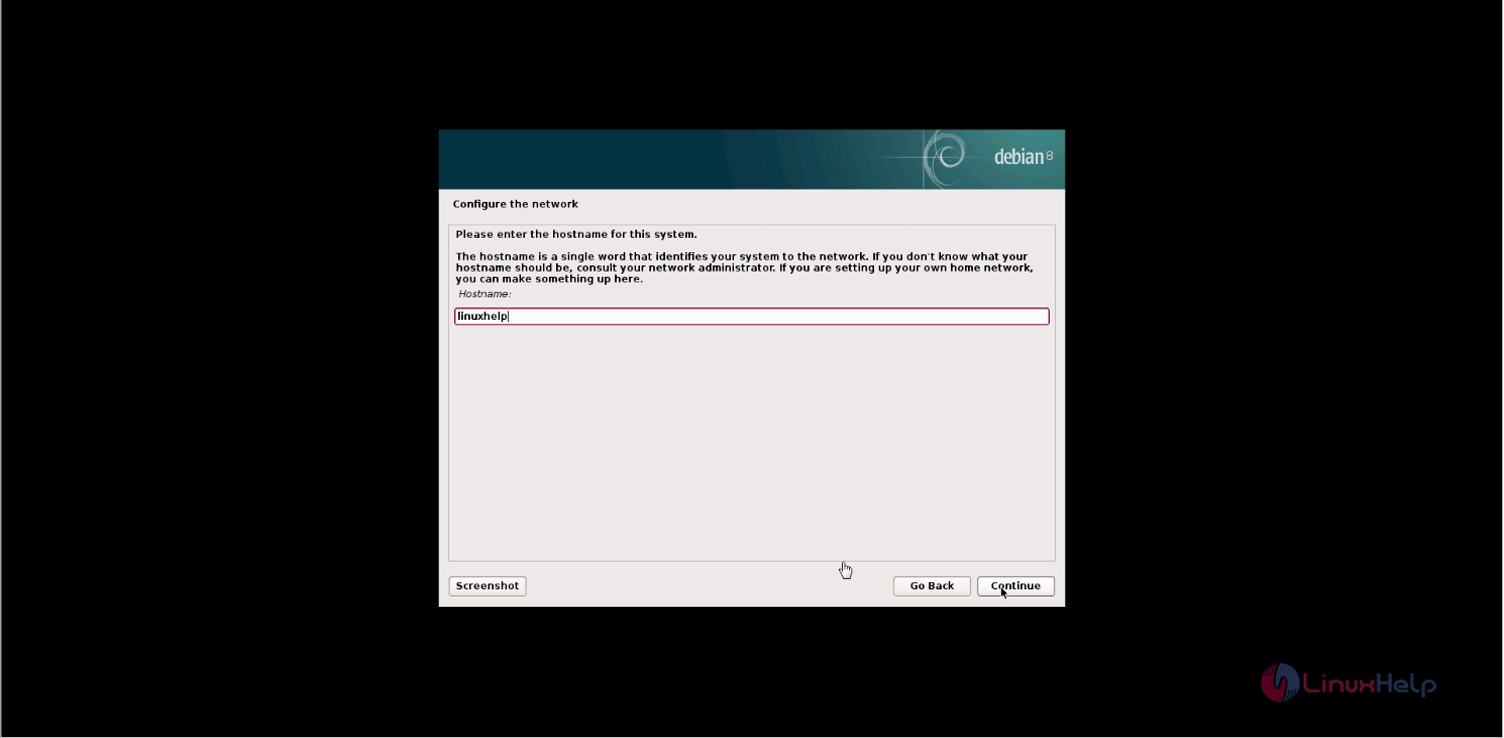
Enter your Hostname and click on Continue. Here the hostname is linuxhelp.
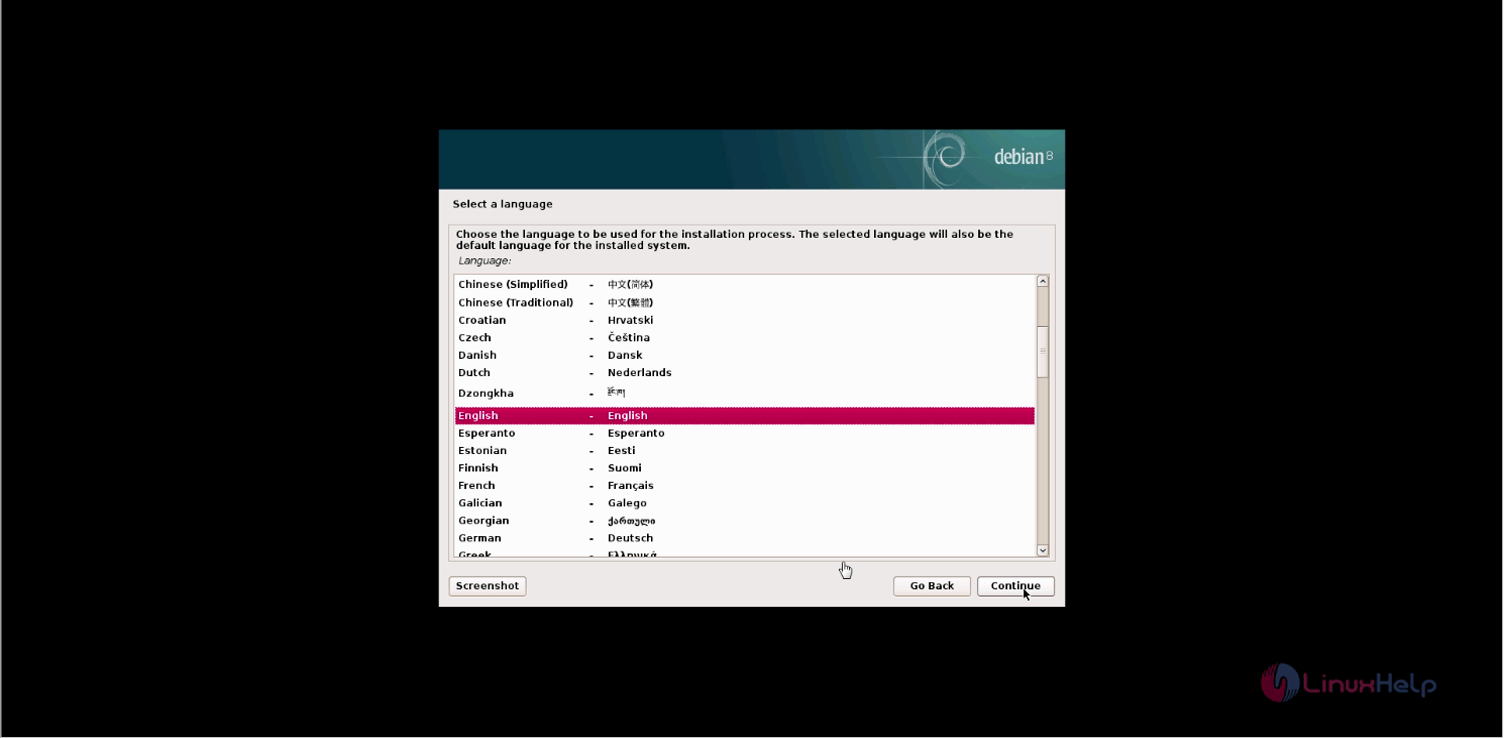
Now, Select a language of your choice and click on Continue.
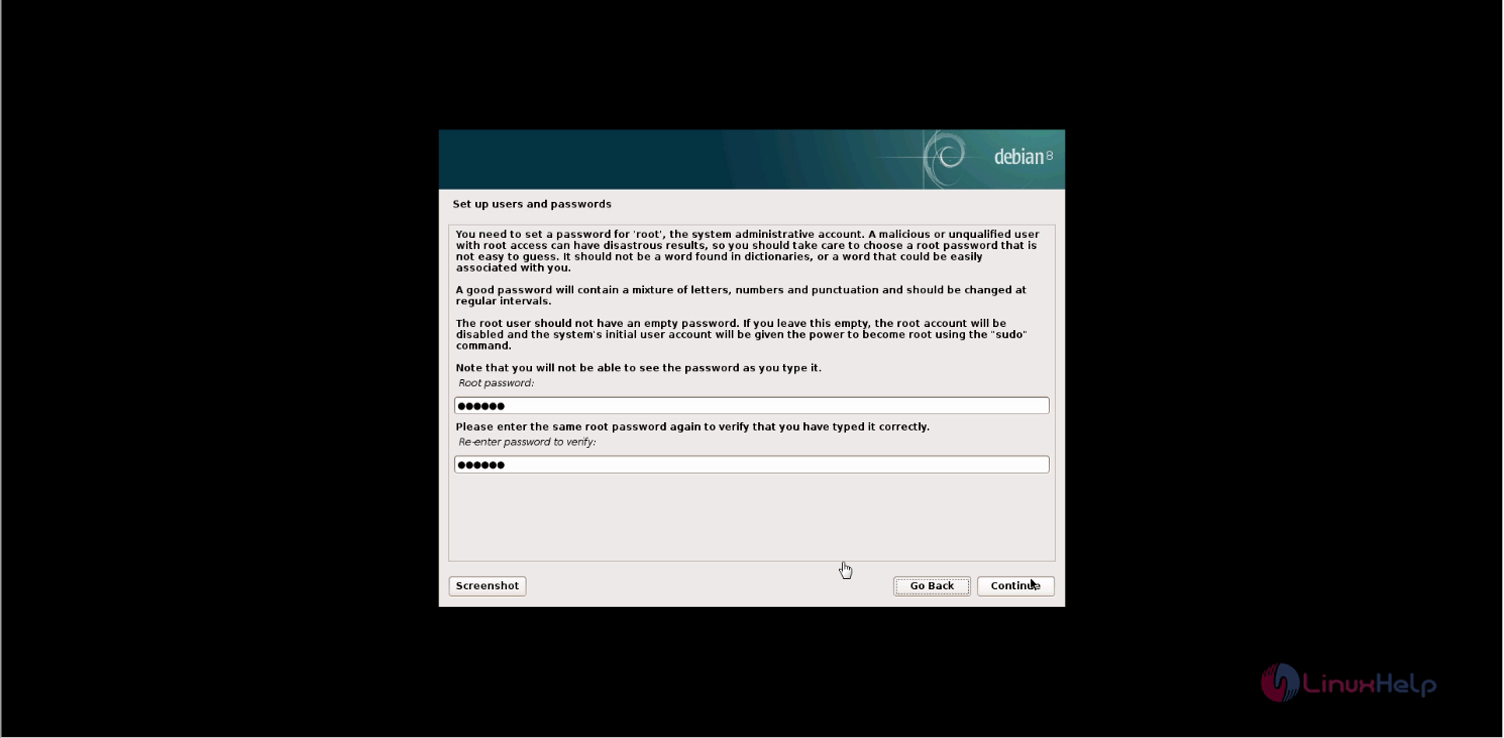
Select your location and setup users and passwords. Click on Continue.
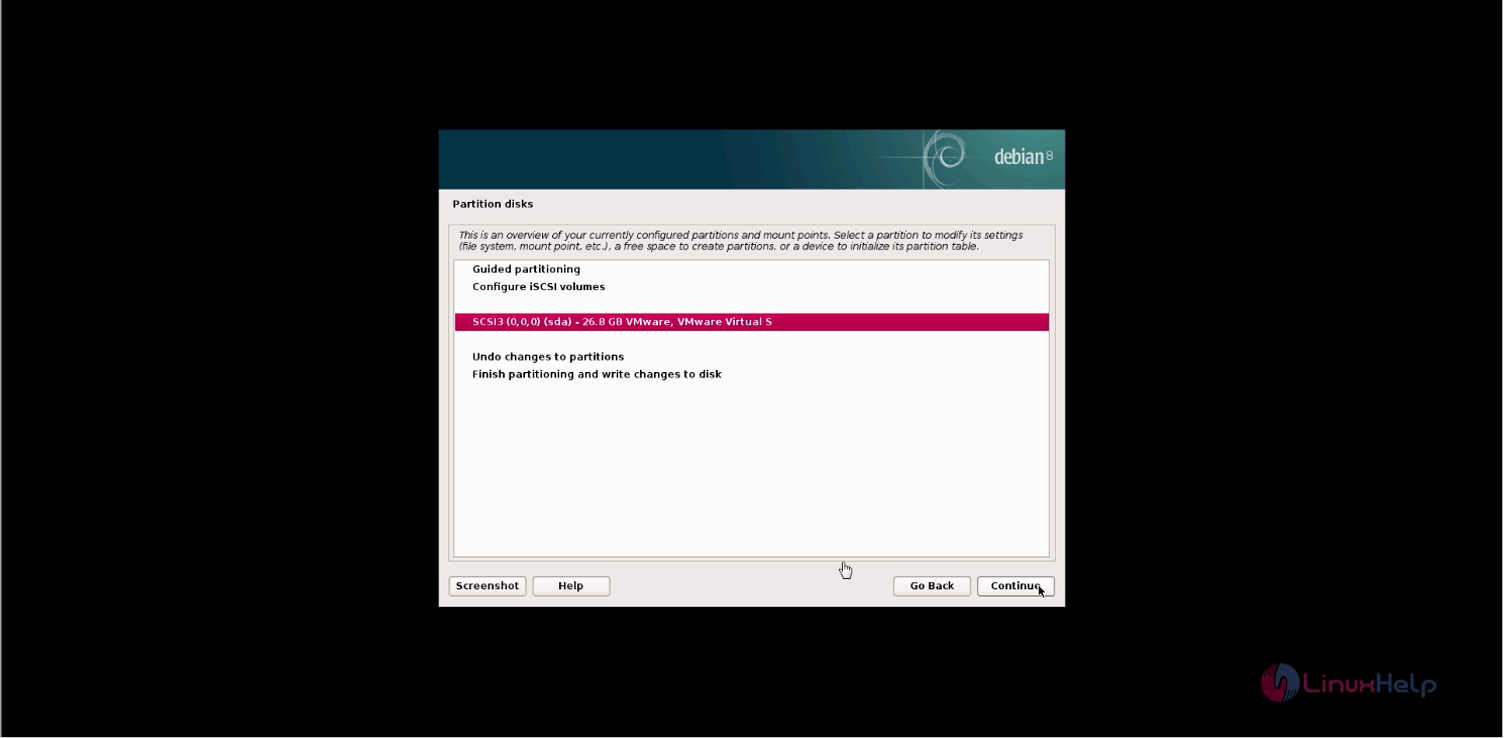
Choose the Partition Disks and click on Continue.

Choose your harddisk now. And then click on Continue.
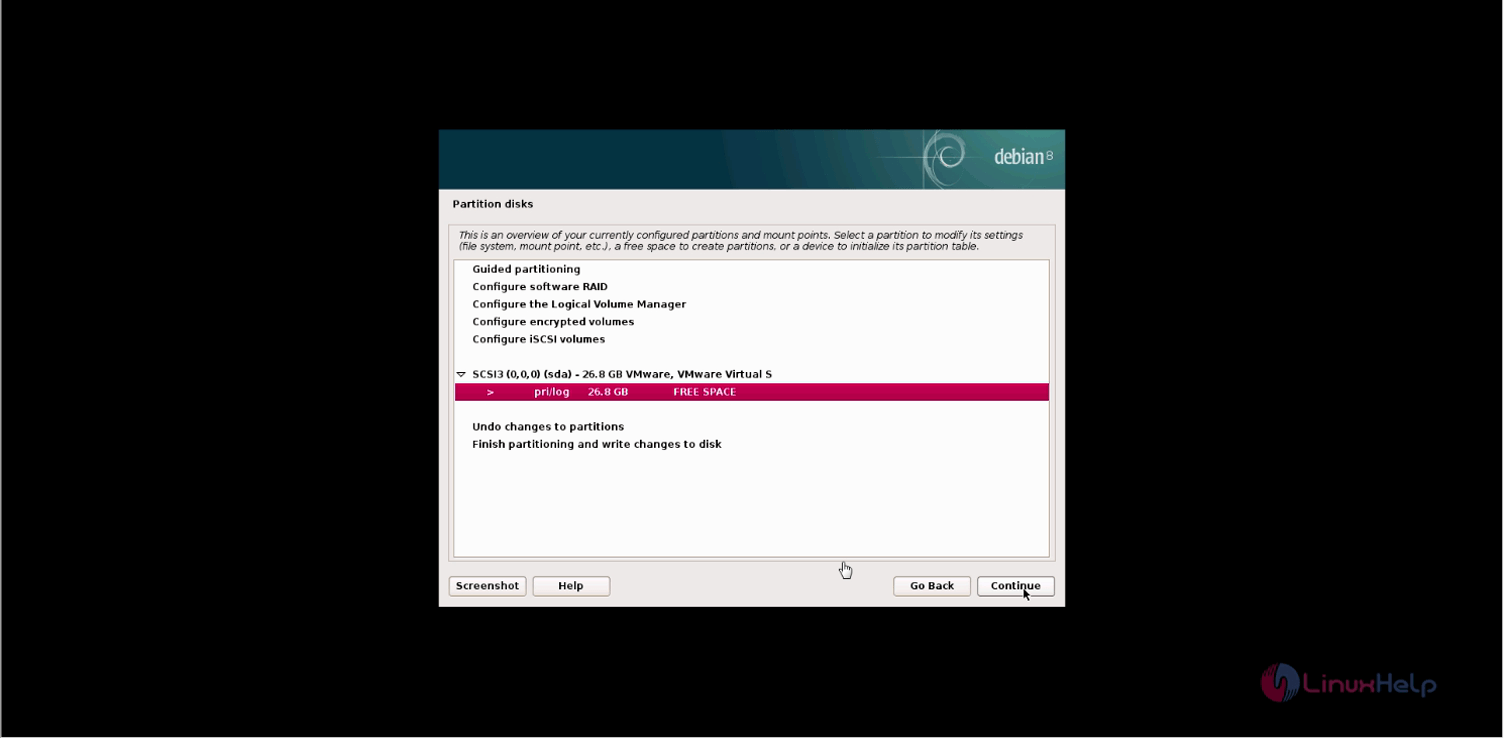
Select the free space to create partitions.
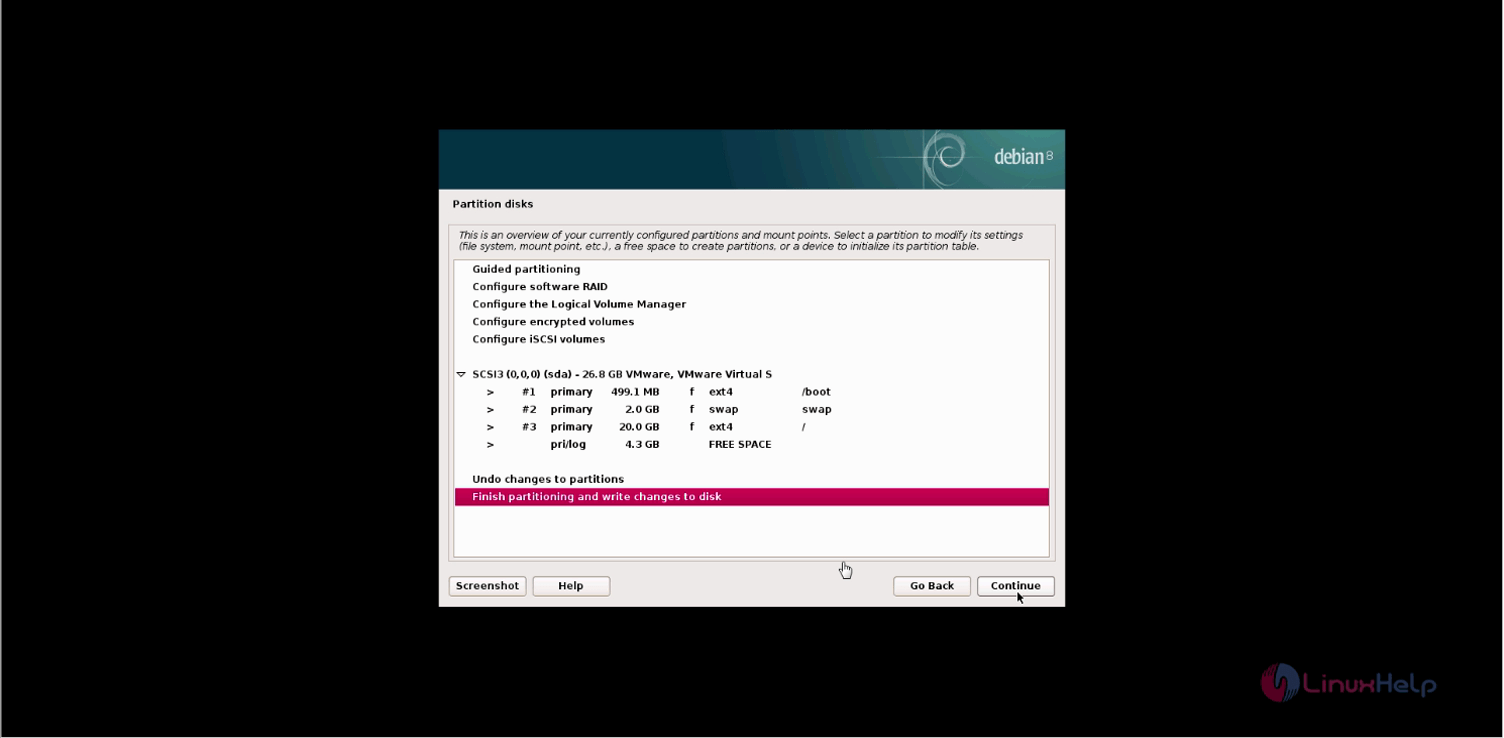
Finish partitioning and write changes to disk as follows. Click on continue after that.
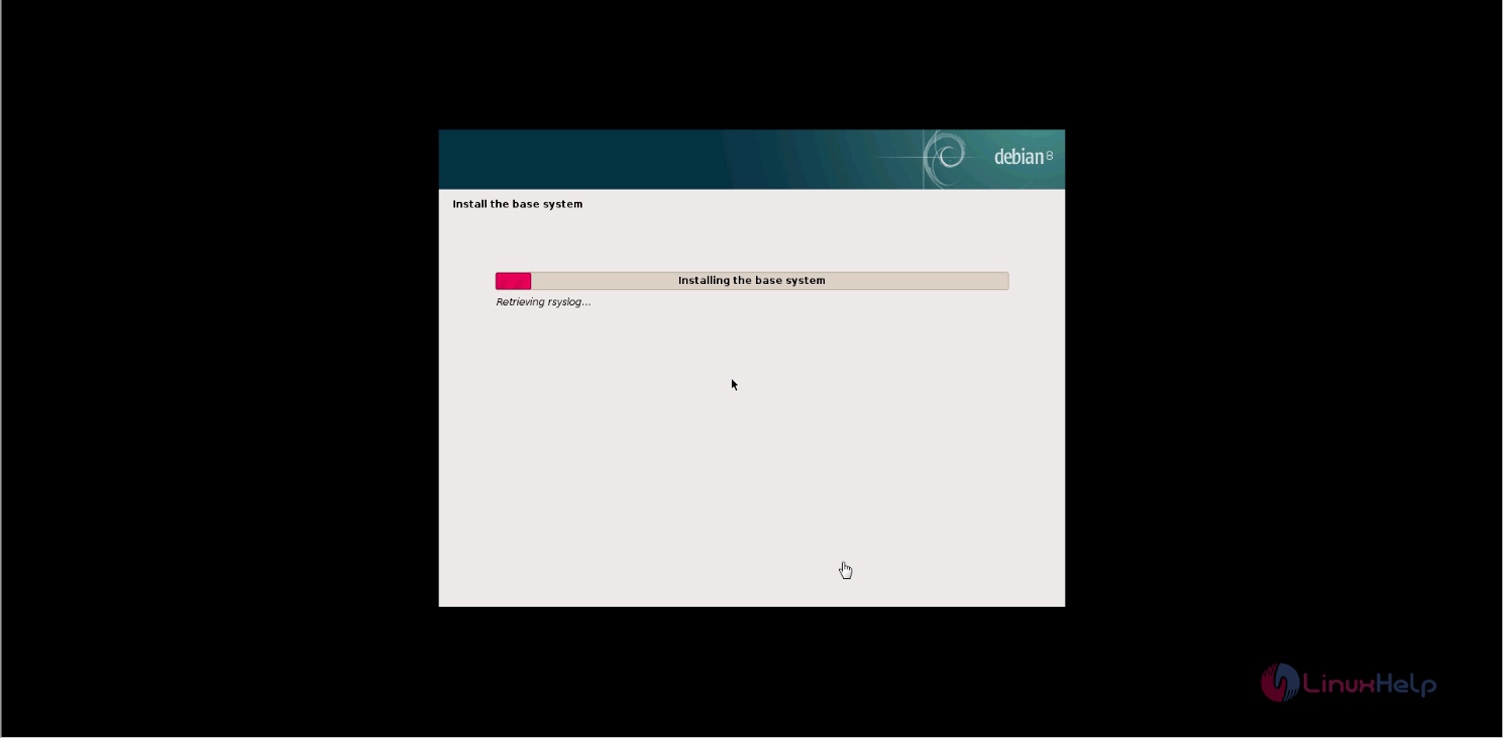
The base system is now getting installed.
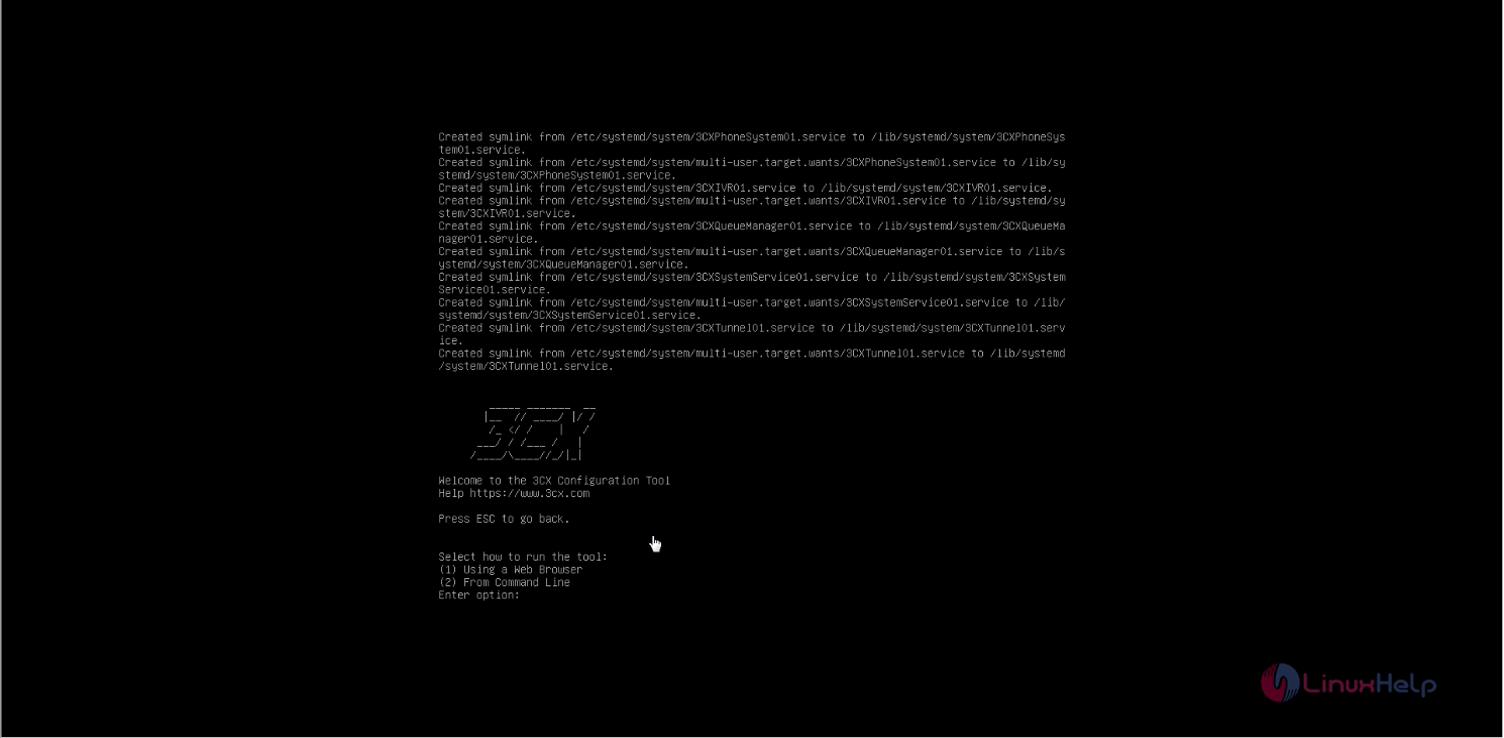
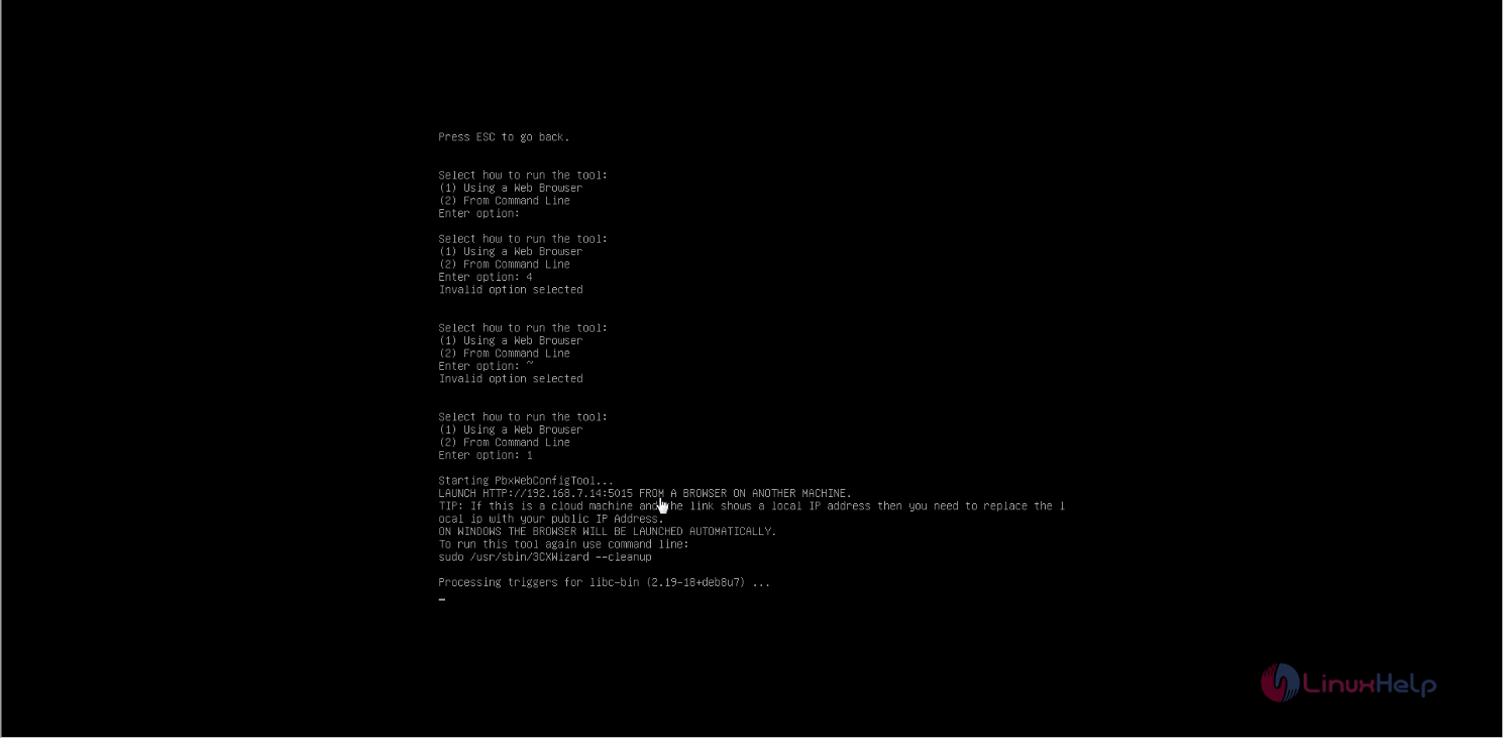
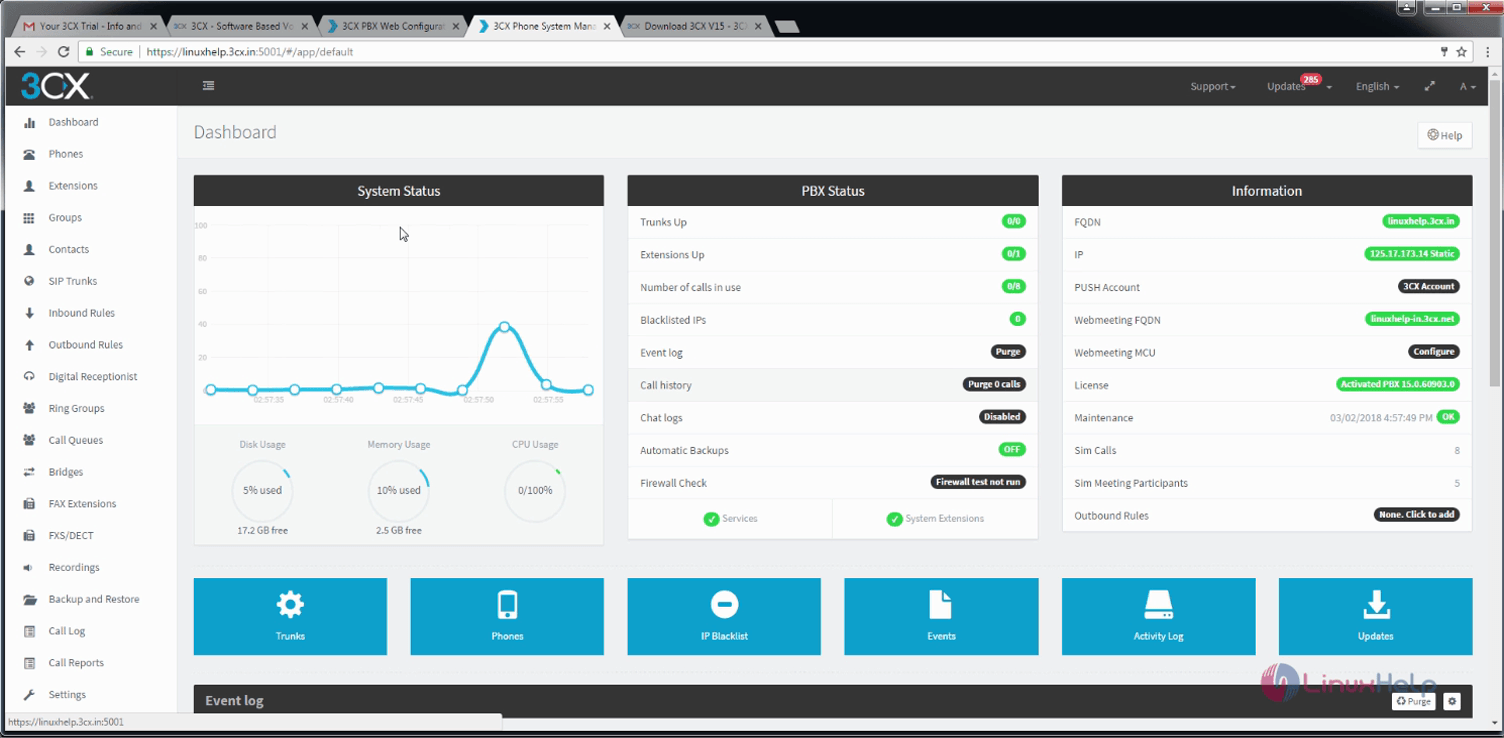
3CX has been installed. but it is not over yet as you need to configure 3CX. You can do that using a web browser.
Note the port number you need to enter on the browser.
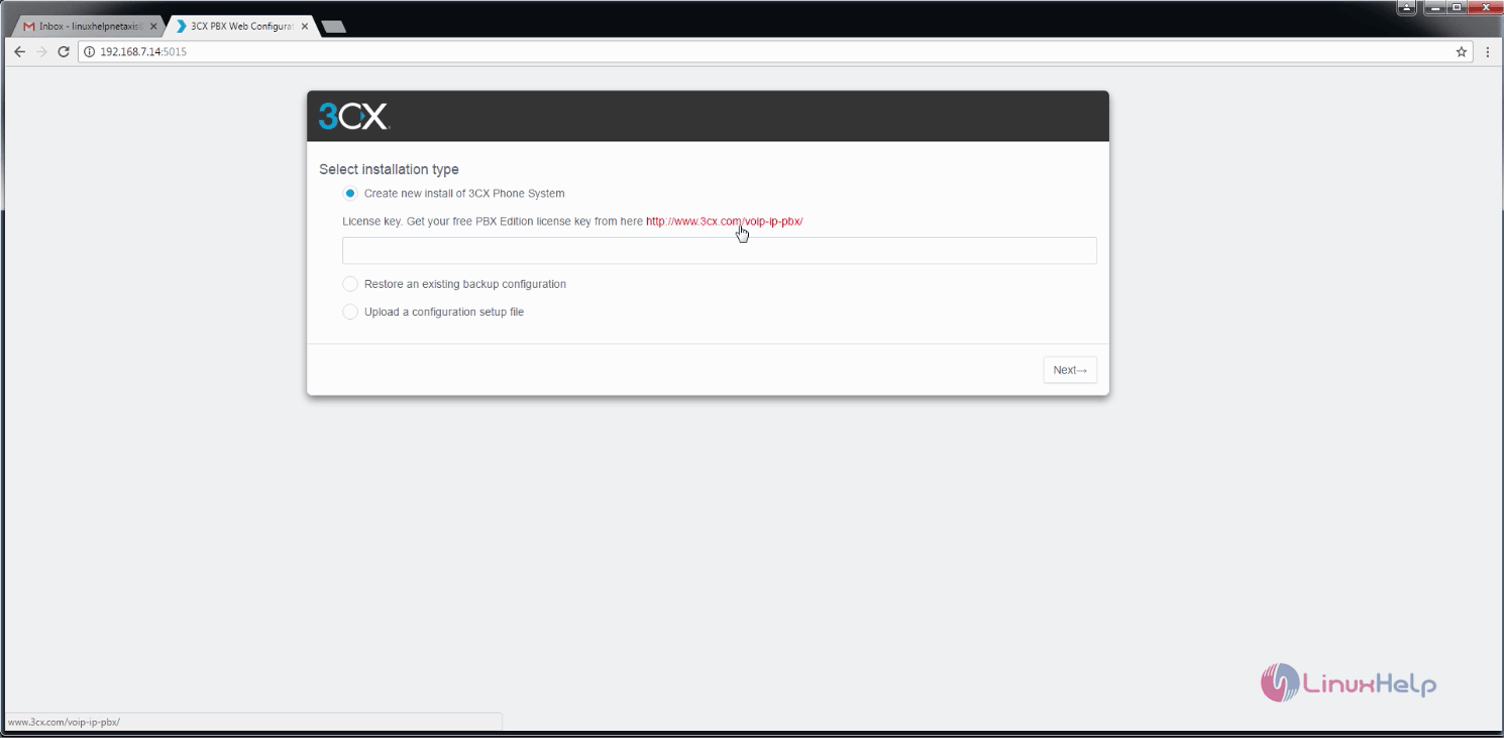
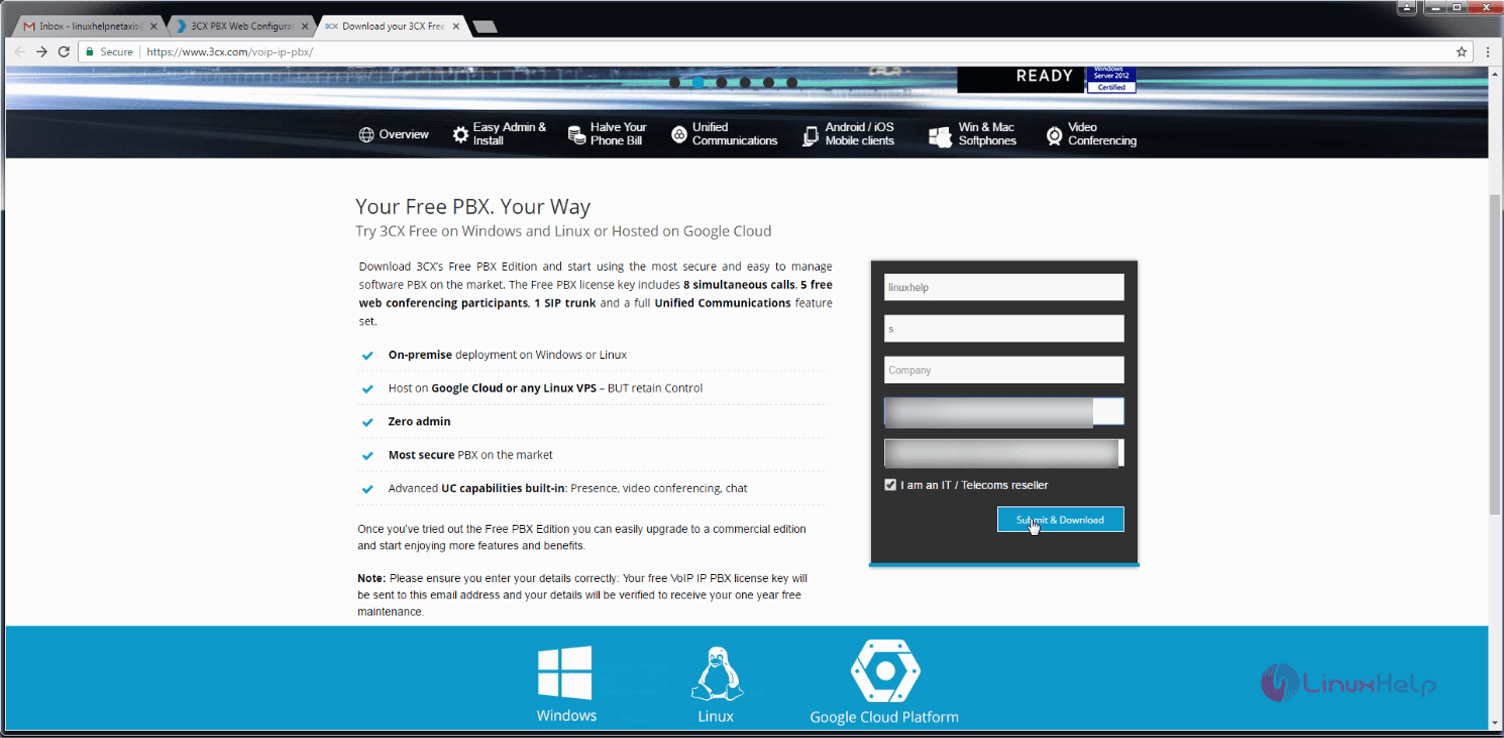
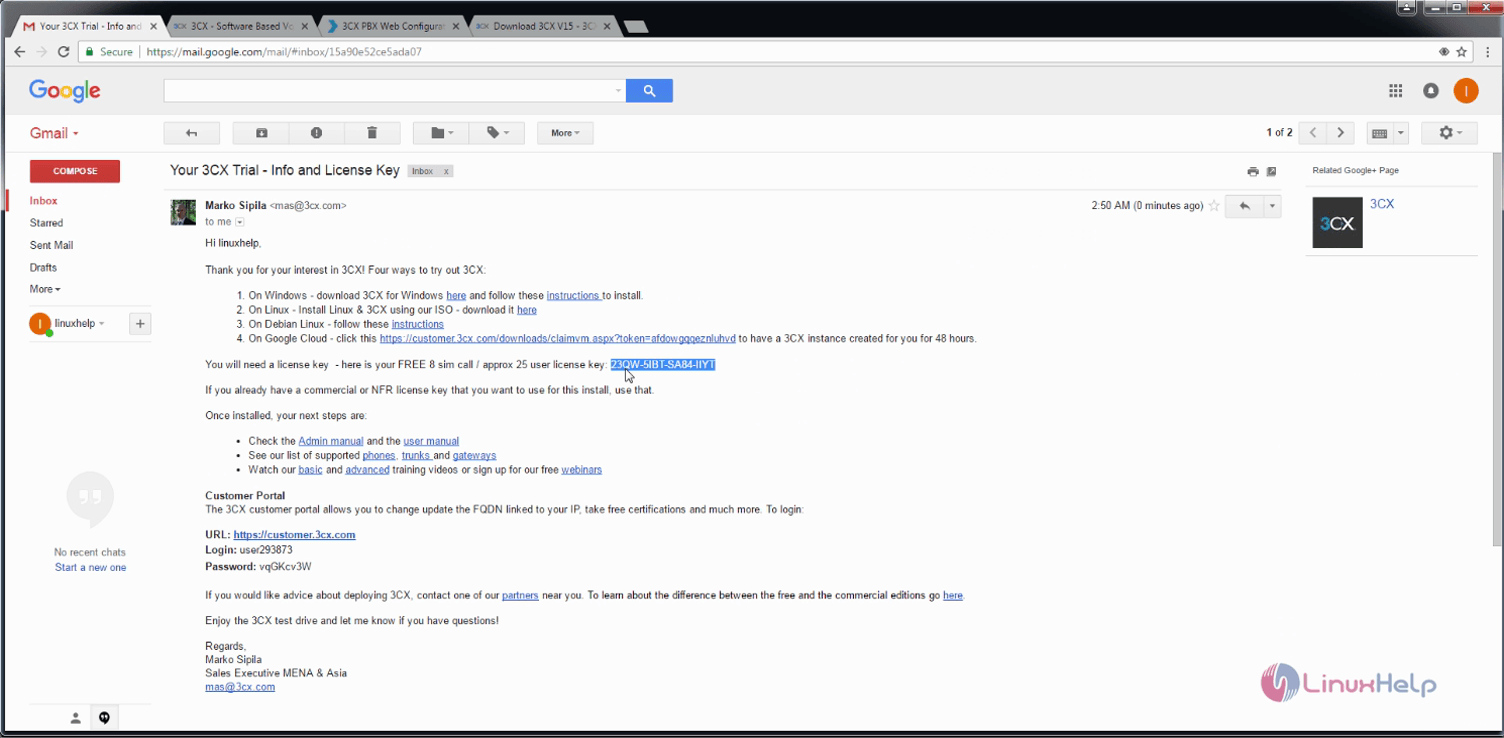
Get the PBX license key from the browser.
Enter your details and click submit
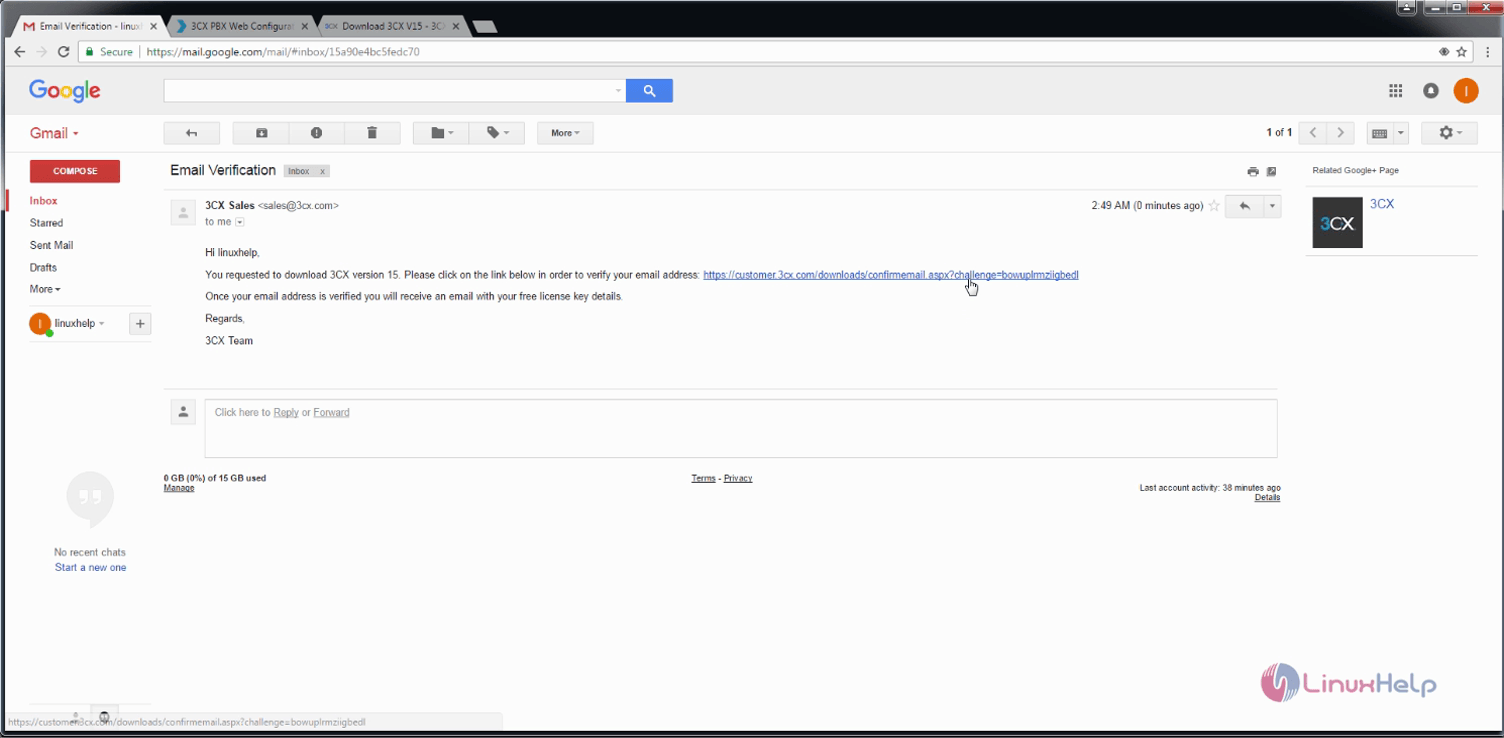
Check your e-mail address for license key details.
Verify your e-mail address
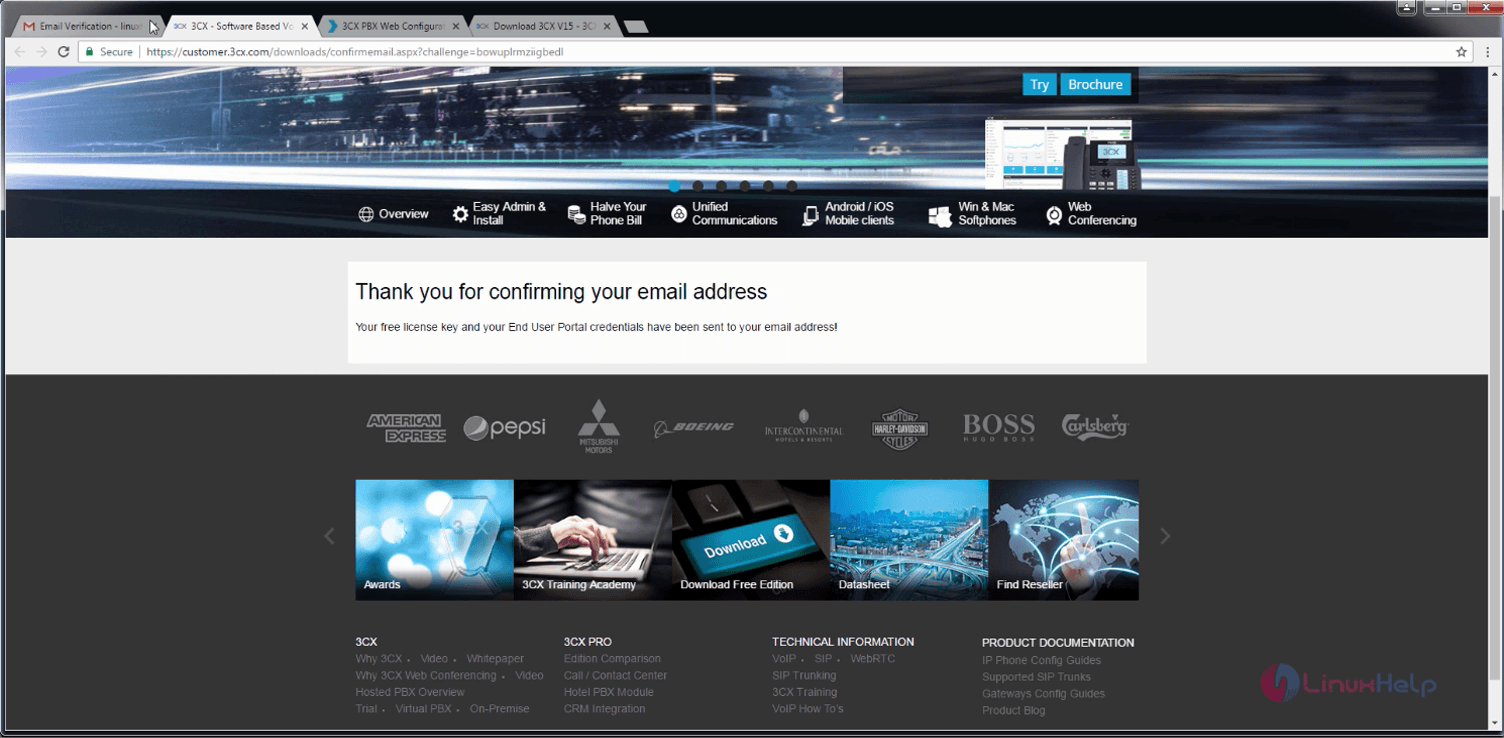
e-mail address has been verified.
Copy the license key from your email.
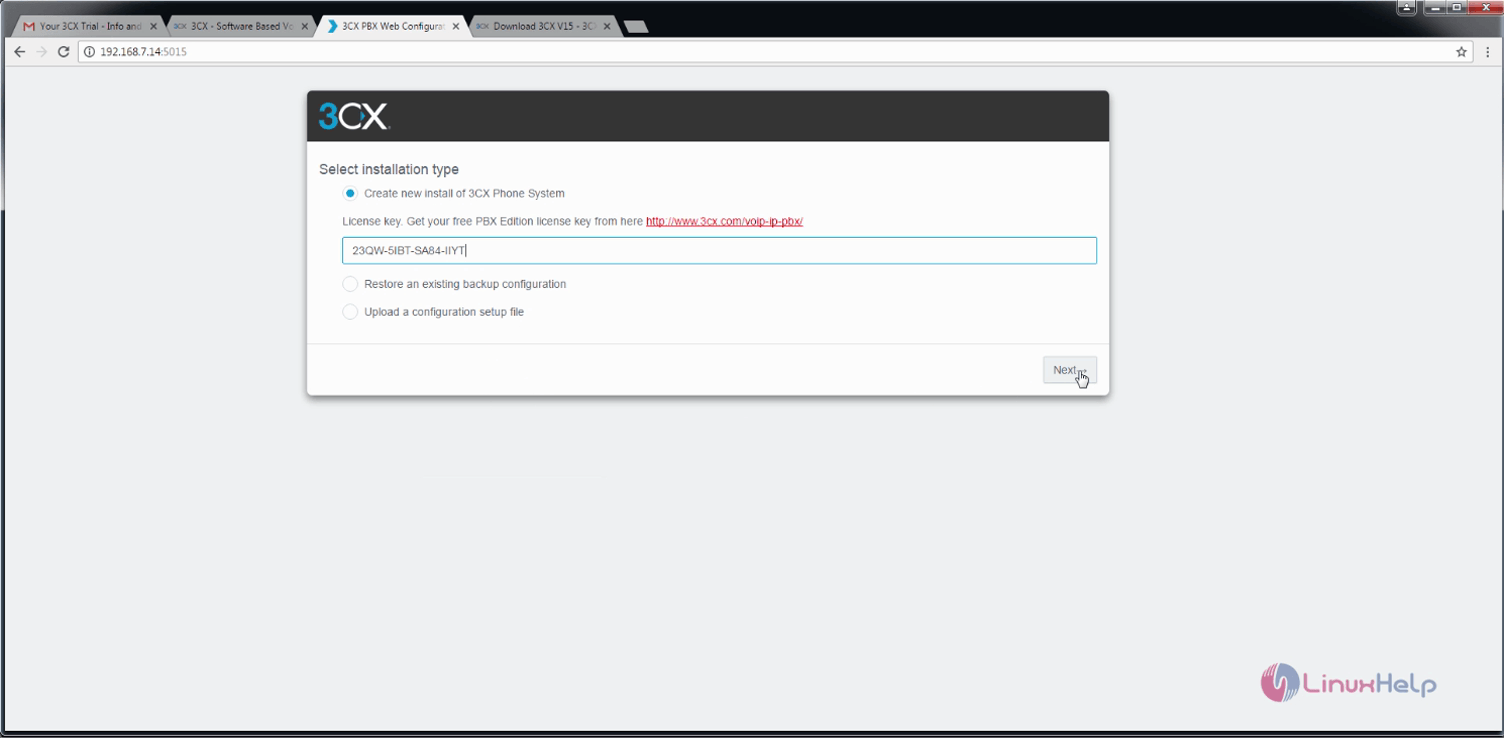
Paste it on the required field and click on Next.
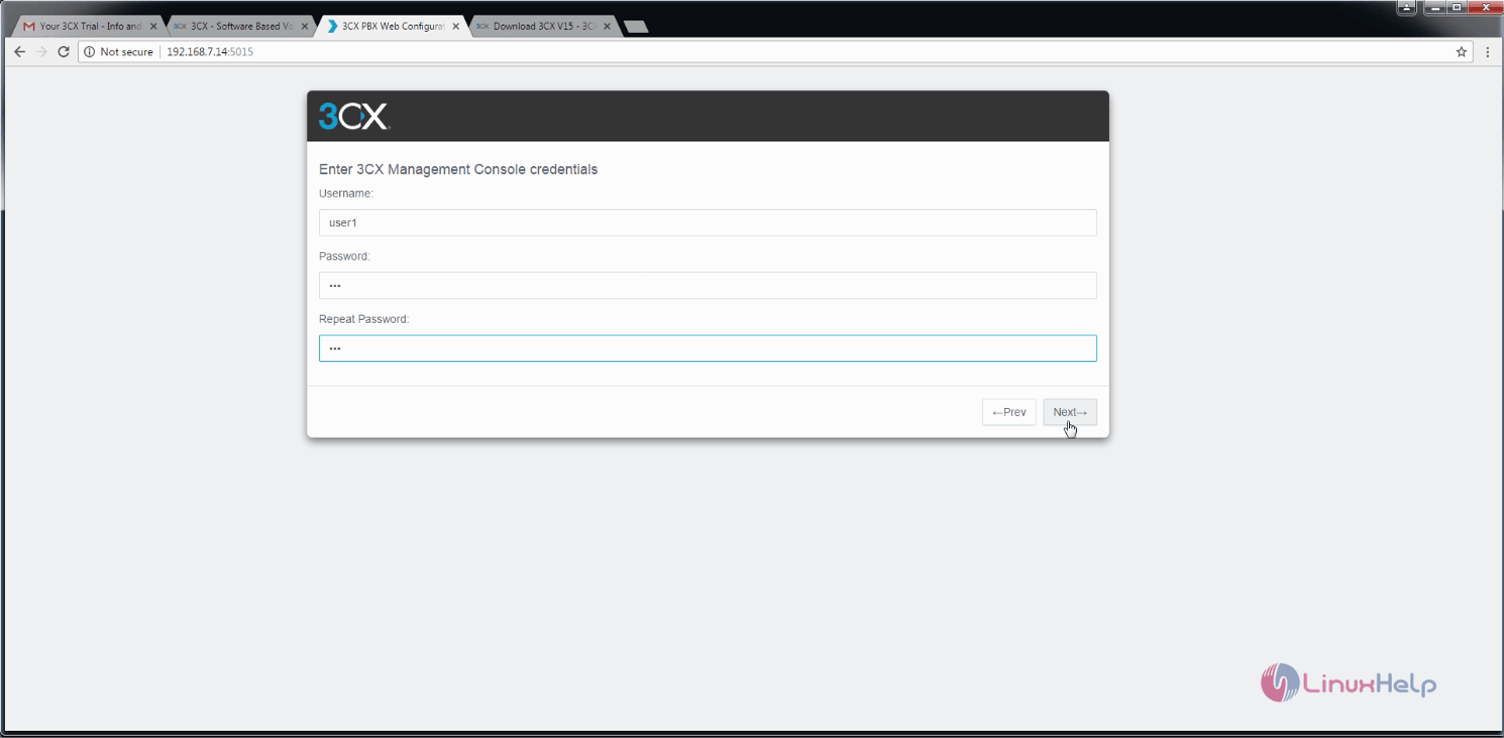
You will be asked to enter the 3CX management console credentials. Enter them and click on Continue.
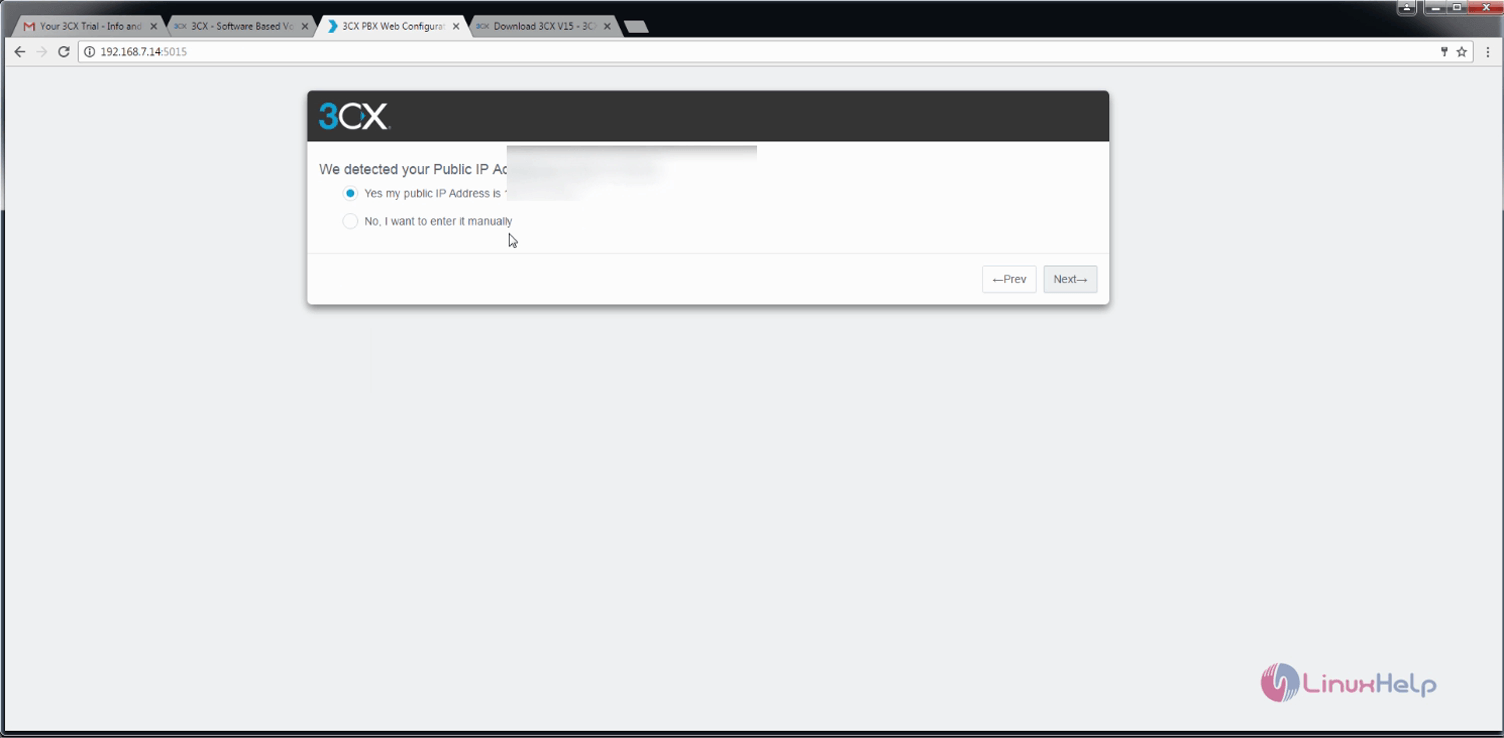
Enter your public IP.

Select the type of your public IP
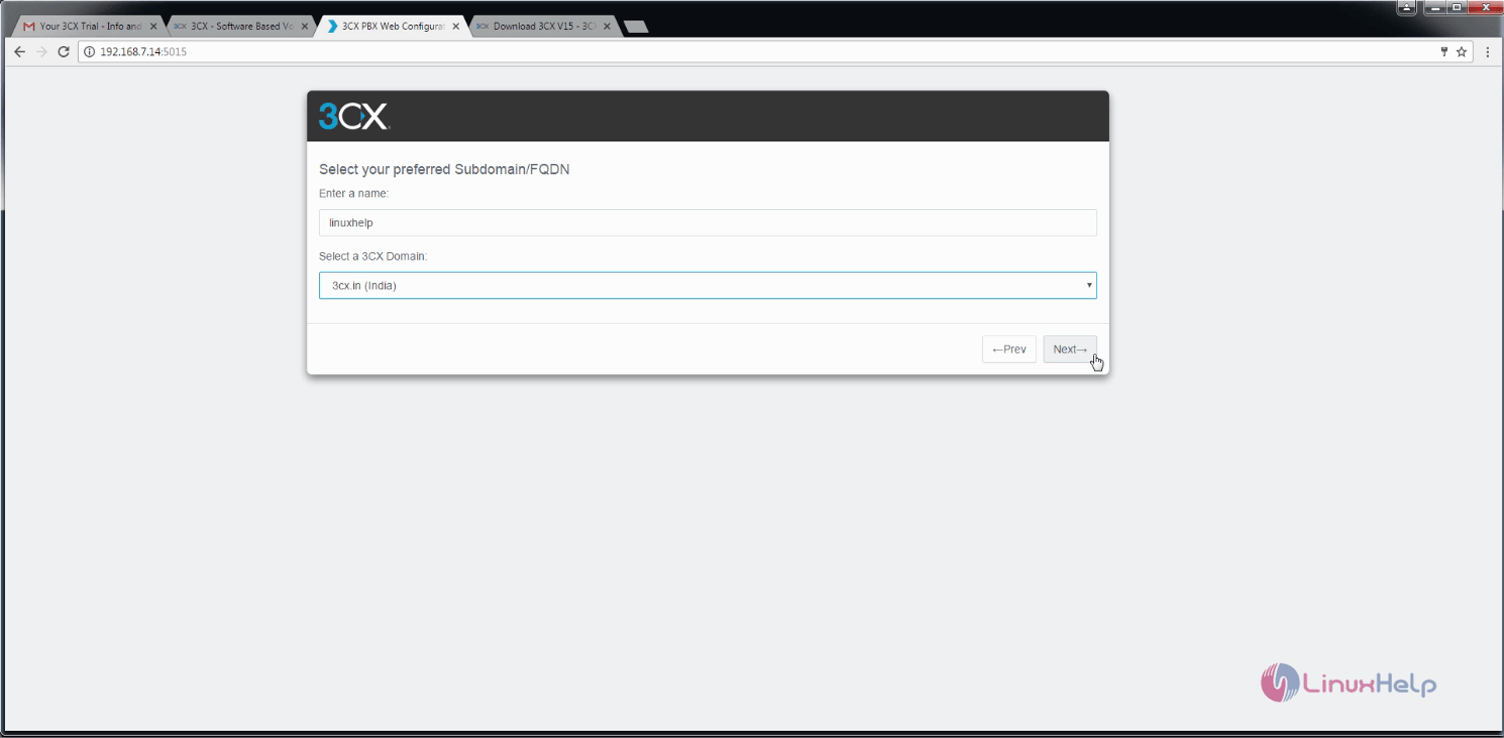
Once it is done Configure FQDN as follows.

Click on Next.
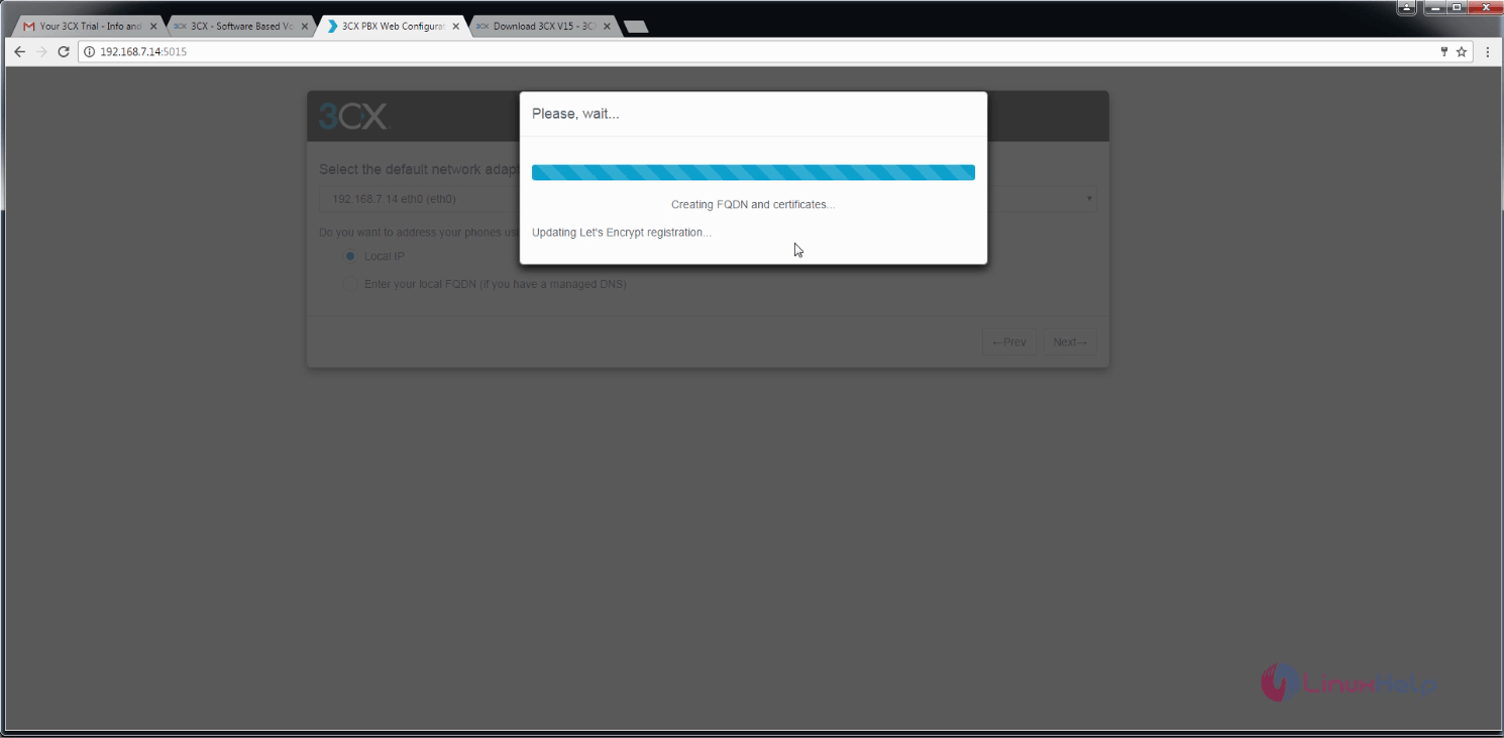
Select the network adapter and click on next.

Creating FQDN and certificates.
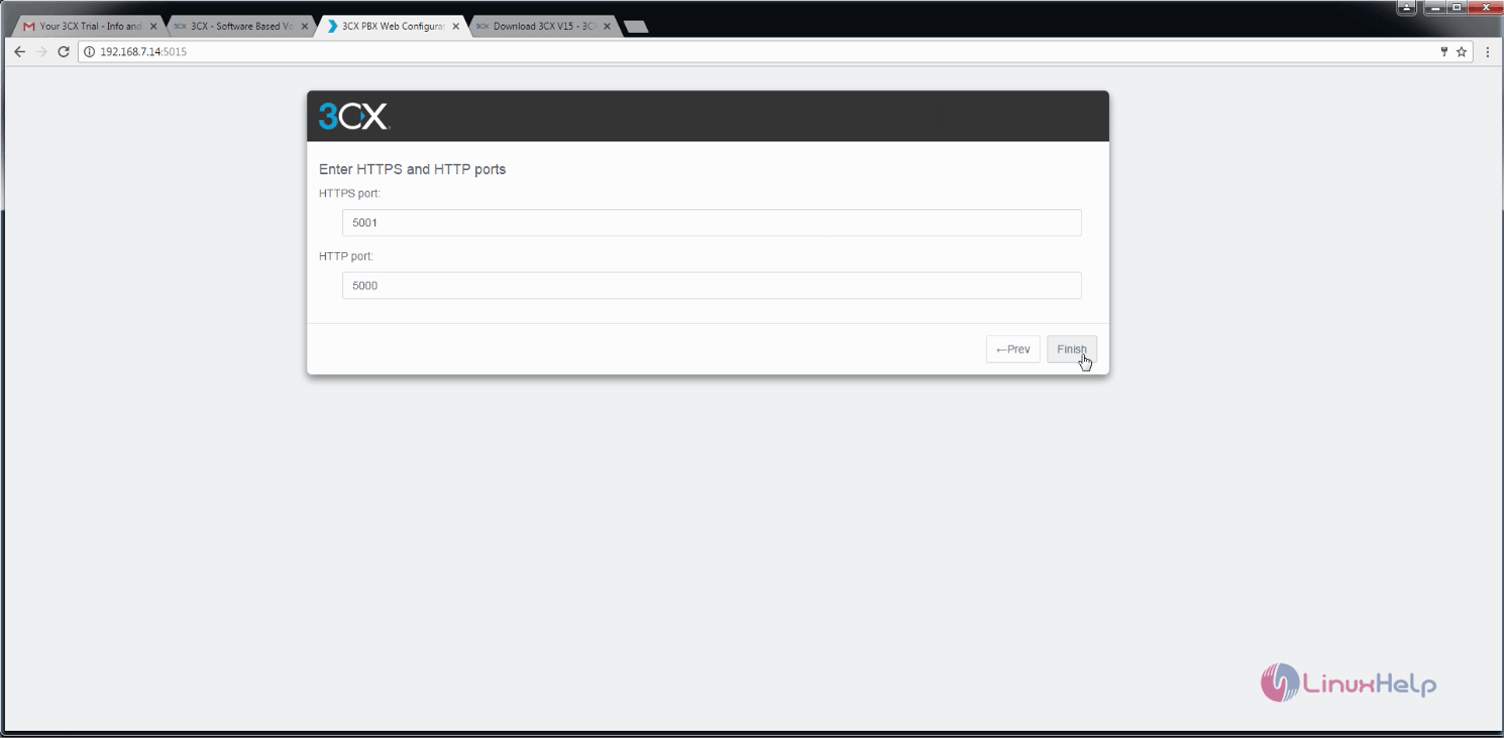
Once it is done, enter HTTP and HTTPS ports and finally click on Finish.
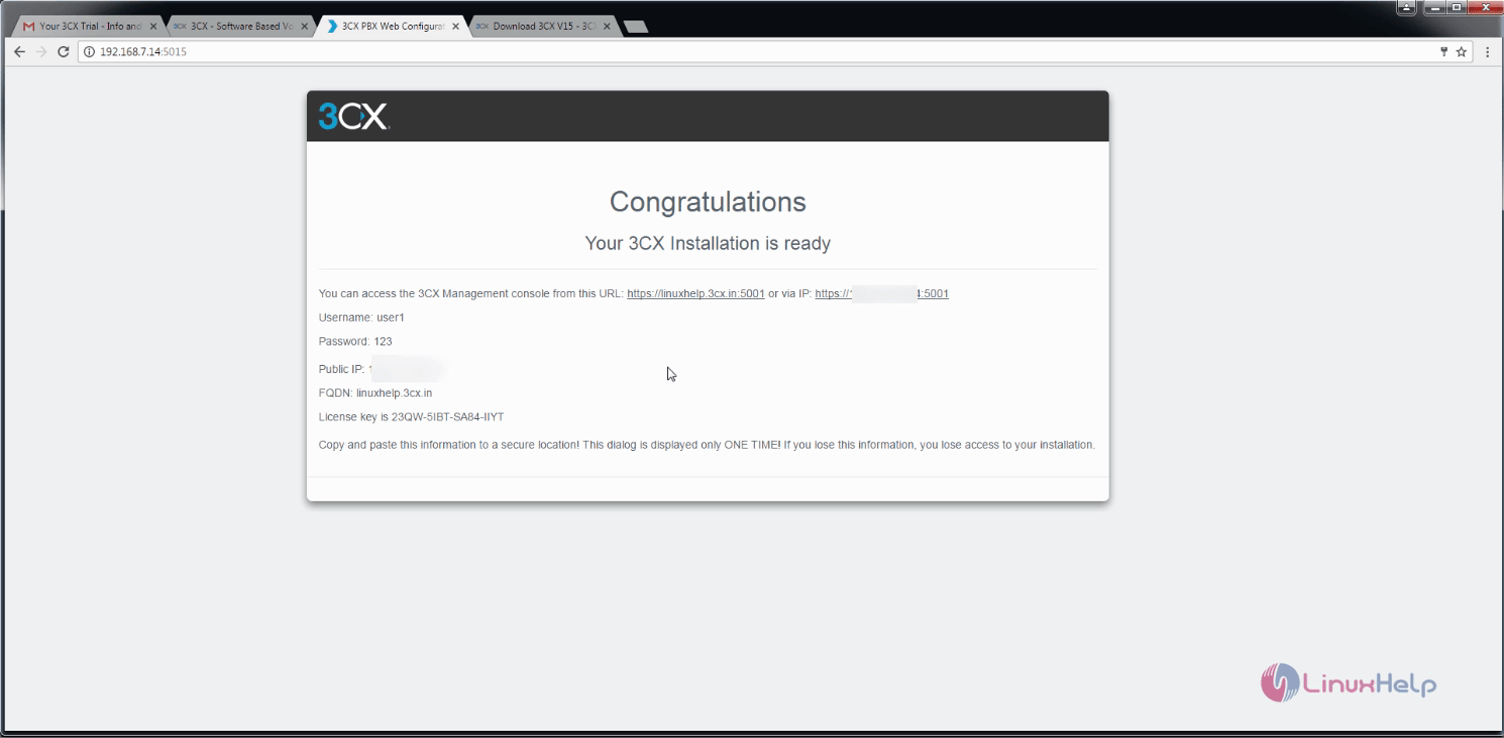
3CX installation has been completed.
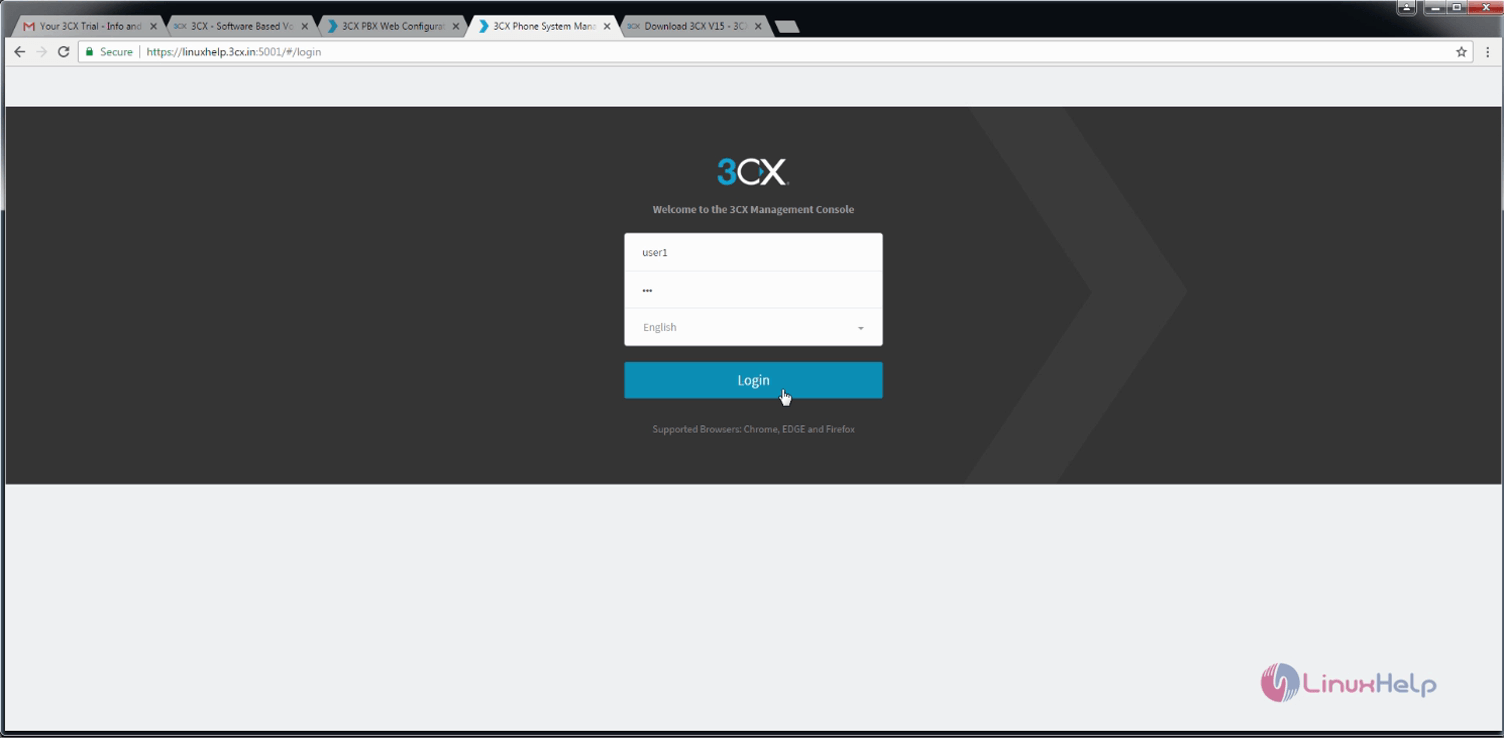
3CX management console login page appears on your screen.
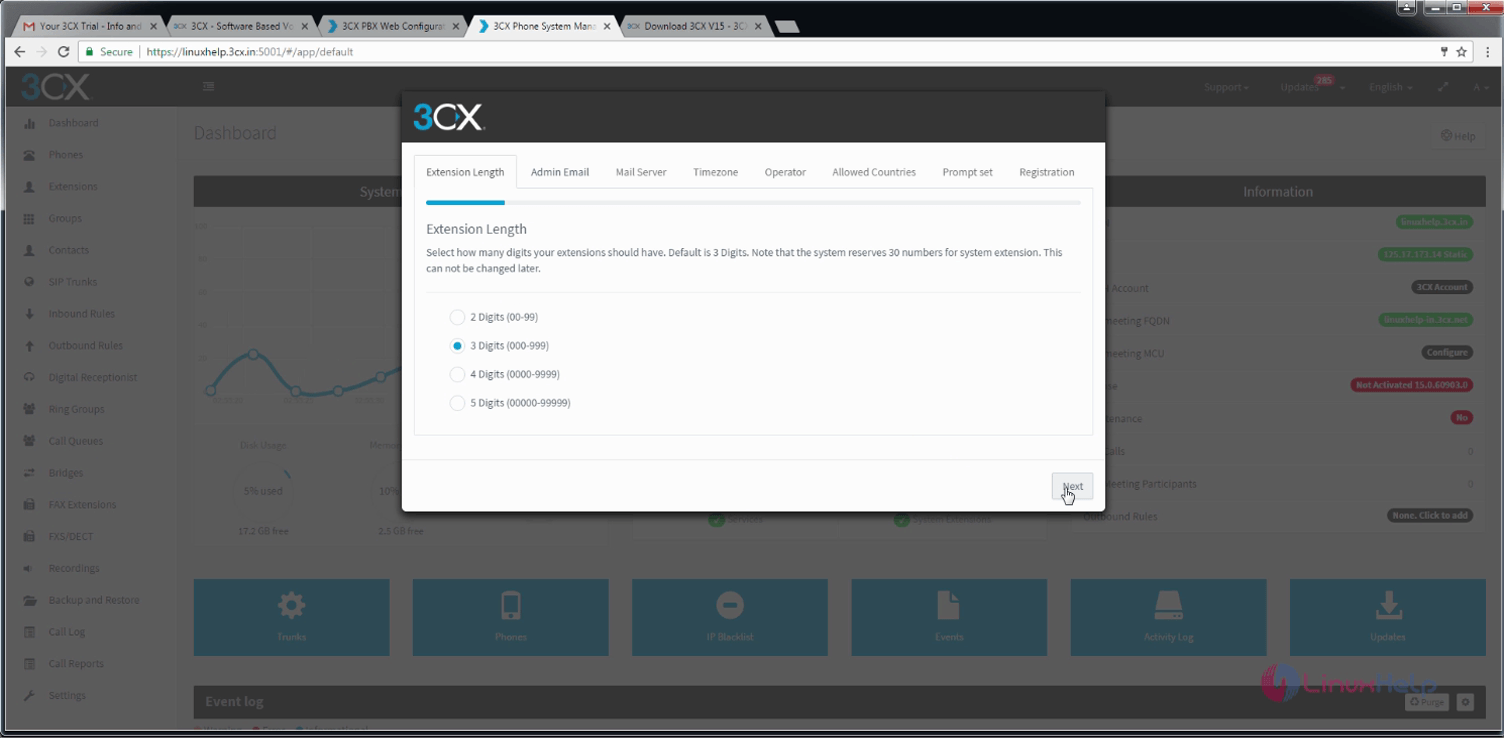
Once logged in, choose the extension length and click on Next.
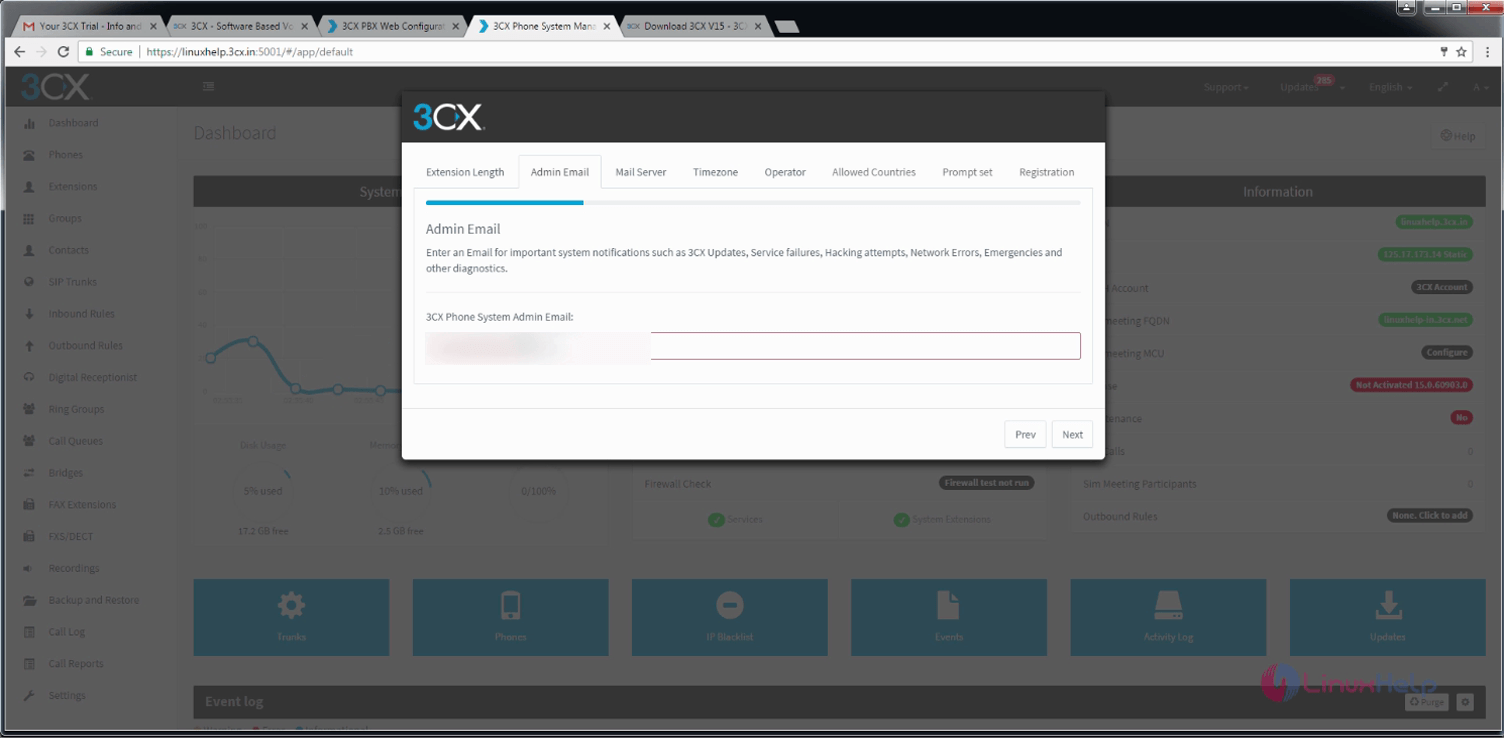
Then add Admin E-mail and click on Next.
Once it is done, configure the Mail Server, and click on Next.

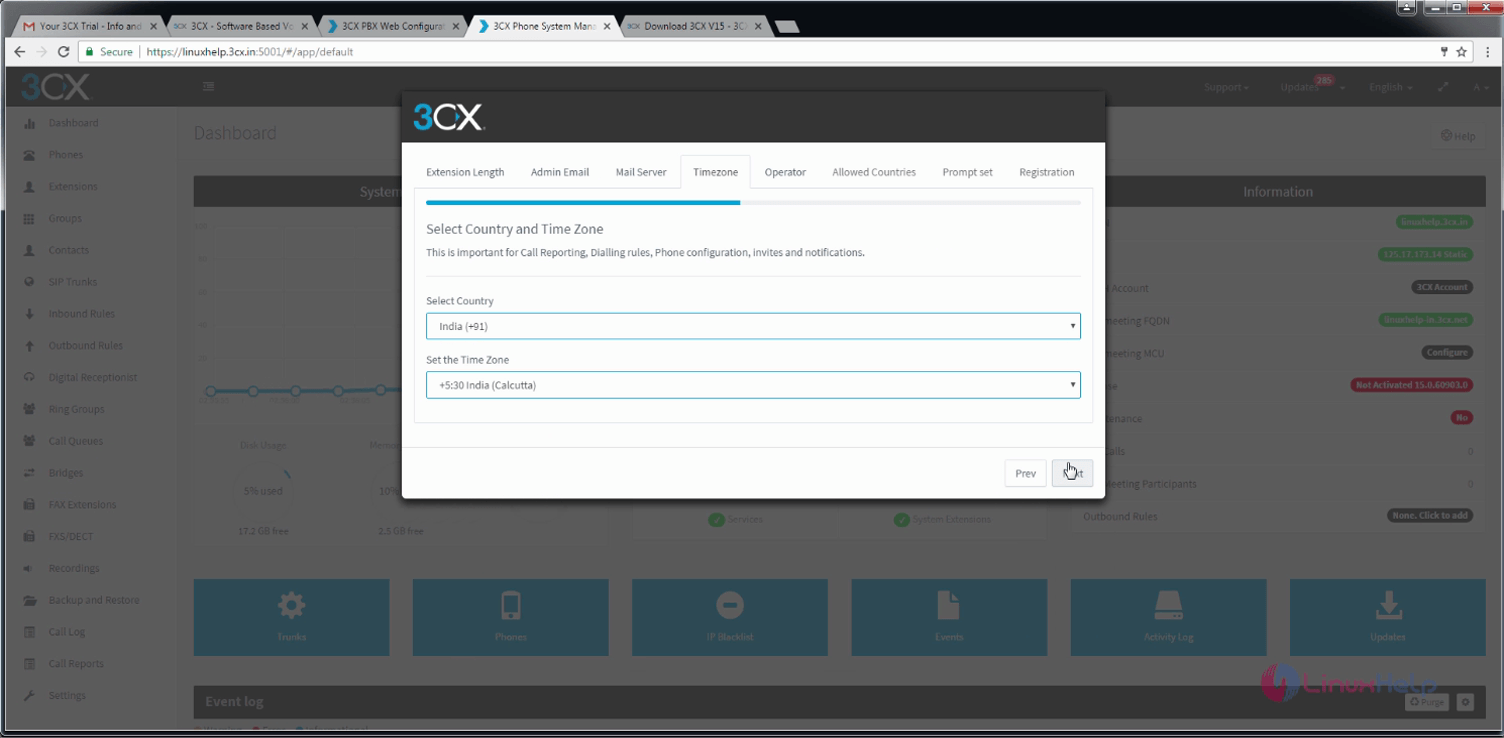
Select your country and time zone.
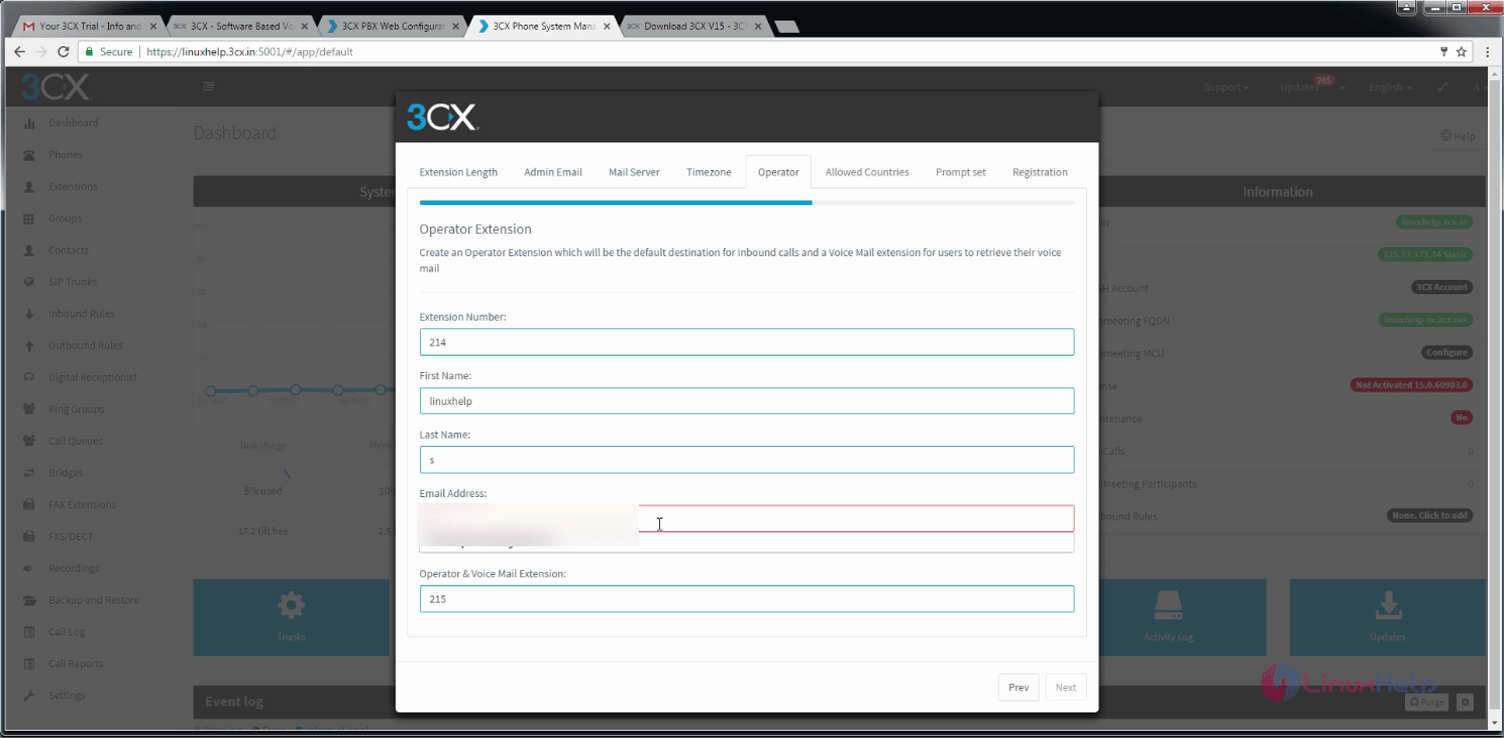
Once it is done, configure your operator extension and click next.
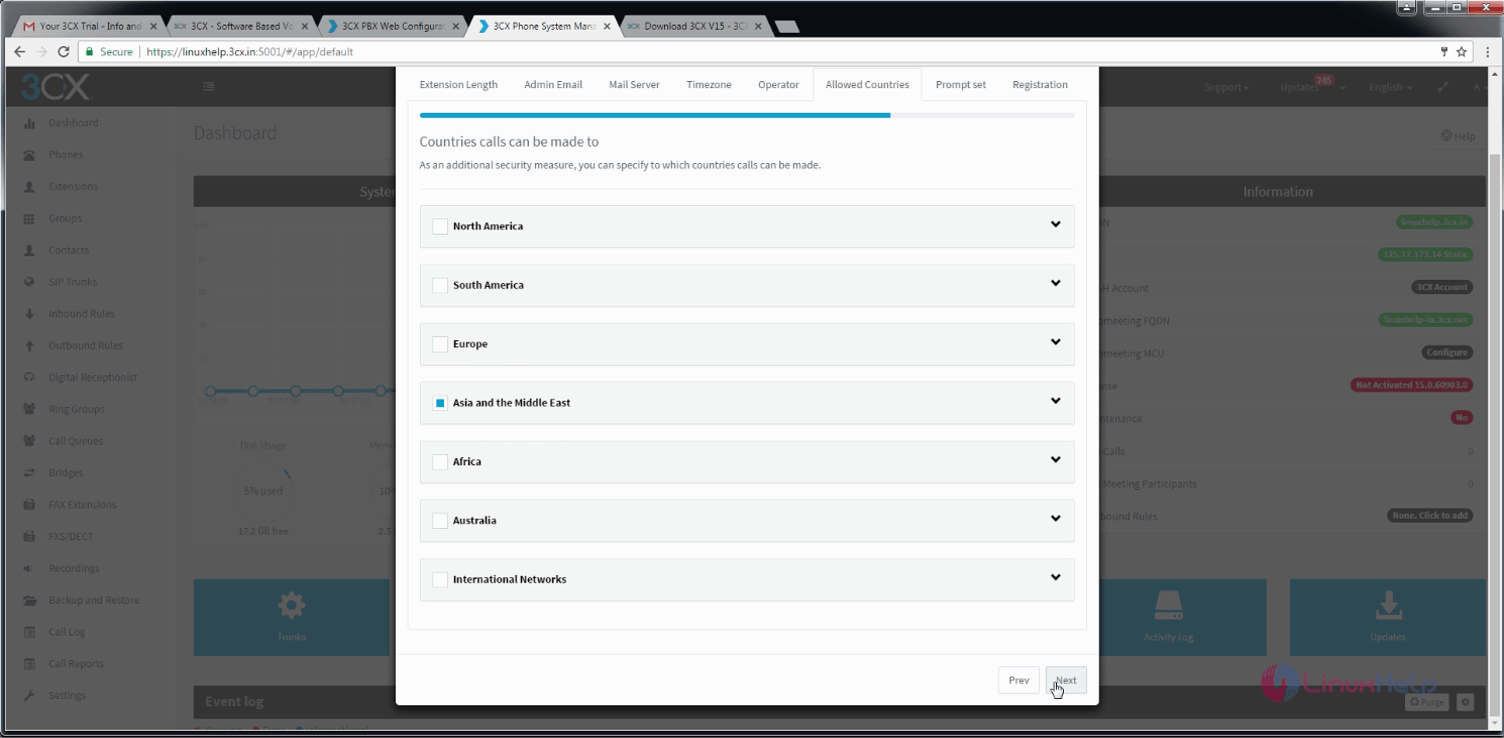
Configure allowed countries and click on Next.
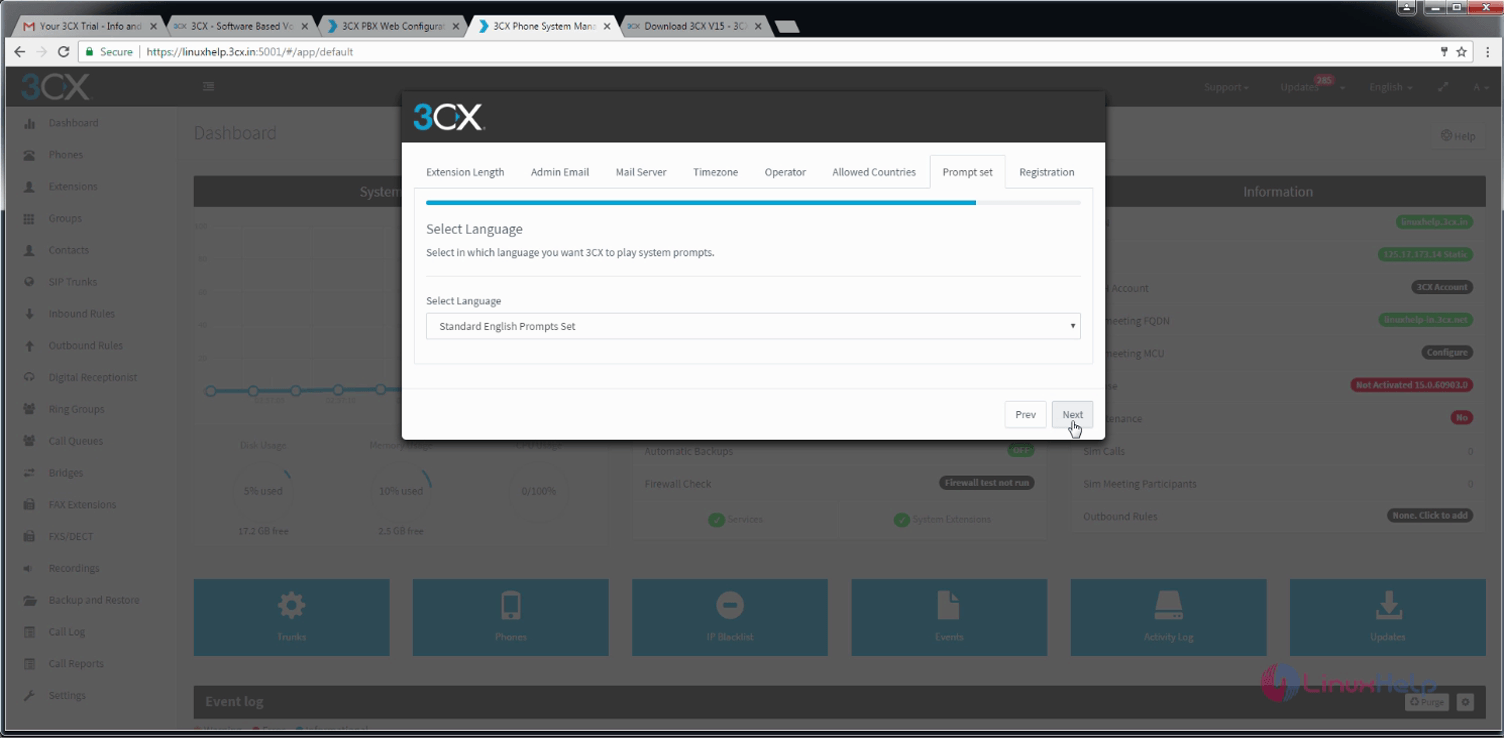
Now select language and click on Next.
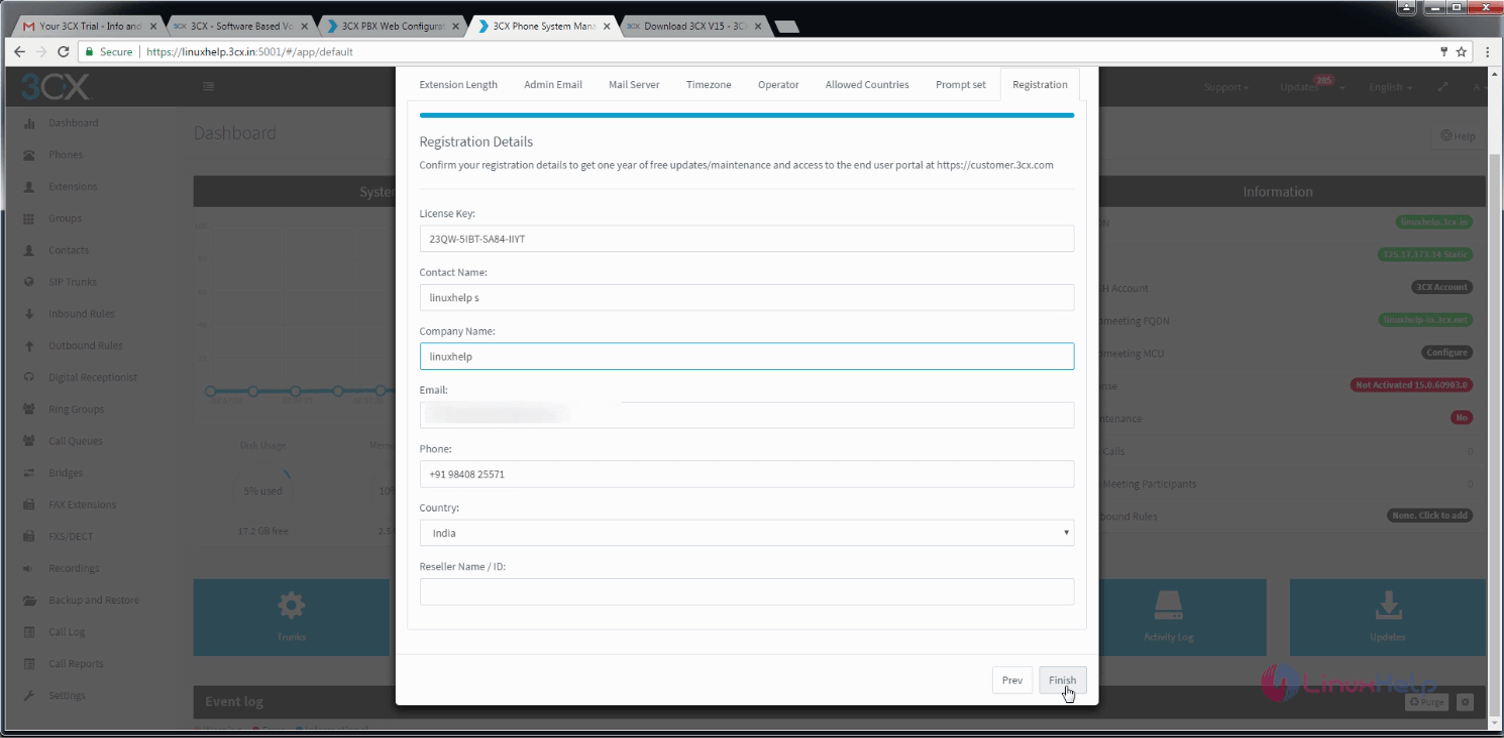
Enter registration details and finally click on finish.
Elastix 5 installation has been completed successfully.
Comments ( 0 )
No comments available