How to install GNS3 -2.1.5 on Ubuntu – 18.04
To install GNS3 -2.1.5 on Ubuntu &ndash 18.04
GNS3 is a Graphical Network Simulator. It allows you to simulate a network on your computer. It is an open source software that simulates complex networks while being as close as possible to the way of real networks performance and also used to emulate, configure, test and troubleshoot virtual and real networks. GNS3 allows you to run a small topology consisting of only a few devices on your laptop, to those that have many devices hosted on multiple servers or even hosted in the cloud.
Installation
Let' s start with adding the repository that contains gns3.
root@linuxhelp1:~# add-apt-repository ppa:gns3/ppa
 PPA for GNS3 and Supporting Packages. Please see http://www.gns3.com for more details
 More info: https://launchpad.net/~gns3/+archive/ubuntu/ppa
Press [ENTER] to continue or Ctrl-c to cancel adding it.

gpg: keybox ' /tmp/tmp68h89s0h/pubring.gpg'  created
gpg: /tmp/tmp68h89s0h/trustdb.gpg: trustdb created
.
.
Hit:5 http://in.archive.ubuntu.com/ubuntu bionic-backports InRelease
Get:6 http://ppa.launchpad.net/gns3/ppa/ubuntu bionic/main amd64 Packages [1,564 B]
Get:7 http://ppa.launchpad.net/gns3/ppa/ubuntu bionic/main i386 Packages [1,048 B]
Get:8 http://ppa.launchpad.net/gns3/ppa/ubuntu bionic/main Translation-en [796 B]
Fetched 18.8 kB in 2s (9,329 B/s)
Reading package lists... Done
After adding a repository you need to update the system repository.
root@linuxhelp1:~# apt-get update
Hit:1 http://security.ubuntu.com/ubuntu bionic-security InRelease
Hit:2 http://in.archive.ubuntu.com/ubuntu bionic InRelease
Hit:3 http://ppa.launchpad.net/gns3/ppa/ubuntu bionic InRelease
Hit:4 http://in.archive.ubuntu.com/ubuntu bionic-updates InRelease
Hit:5 http://in.archive.ubuntu.com/ubuntu bionic-backports InRelease
Reading package lists... Done
now we can install gns3 by using the following command.
root@linuxhelp1:~# apt-get install gns3-gui
Reading package lists... Done
Building dependency tree
Reading state information... Done
The following packages were automatically installed and are no longer required:
  apache2-bin apache2-data apache2-utils libapr1 libaprutil1 libaprutil1-dbd-sqlite3
  libaprutil1-ldap
Use ' sudo apt autoremove'  to remove them.
The following additional packages will be installed:
.
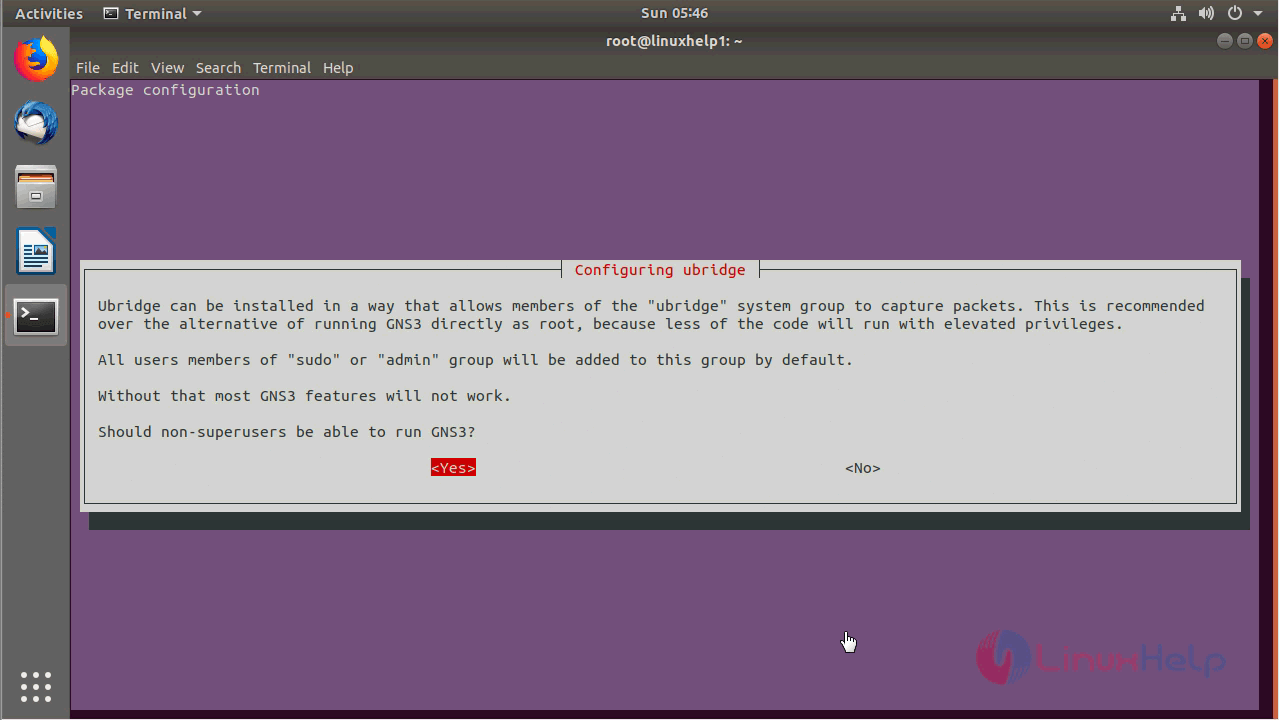
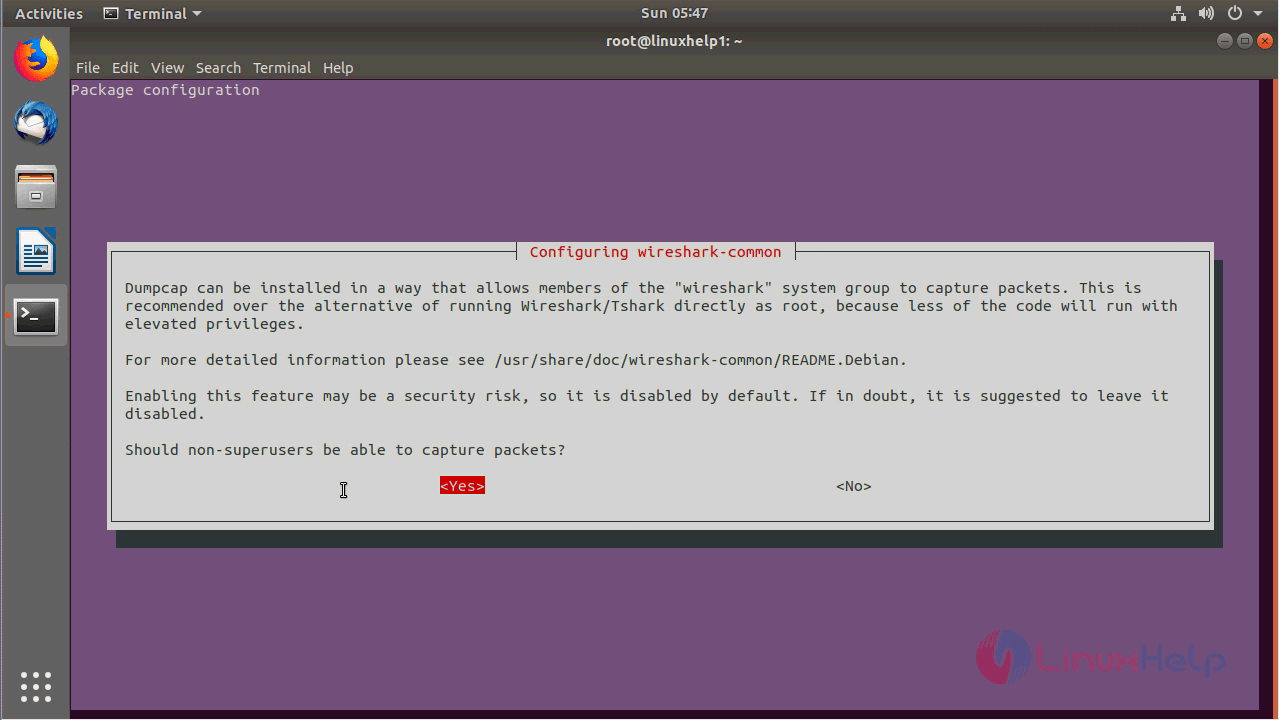
During the installation, you should configure ubridge by giving the access permission to non-super users
Created symlink /etc/systemd/system/sysinit.target.wants/lvm2-lvmetad.socket &rarr  /lib/systemd/system/lvm2-lvmetad.socket.
Created symlink /etc/systemd/system/sysinit.target.wants/lvm2-lvmpolld.socket &rarr  /lib/systemd/system/lvm2-lvmpolld.socket.
Processing triggers for libc-bin (2.27-0ubuntu2) ...
Processing triggers for ureadahead (0.100.0-20) ...
Processing triggers for systemd (237-3ubuntu6) ...
Processing triggers for initramfs-tools (0.130ubuntu3) ...
update-initramfs: Generating /boot/initrd.img-4.15.0-13-generic
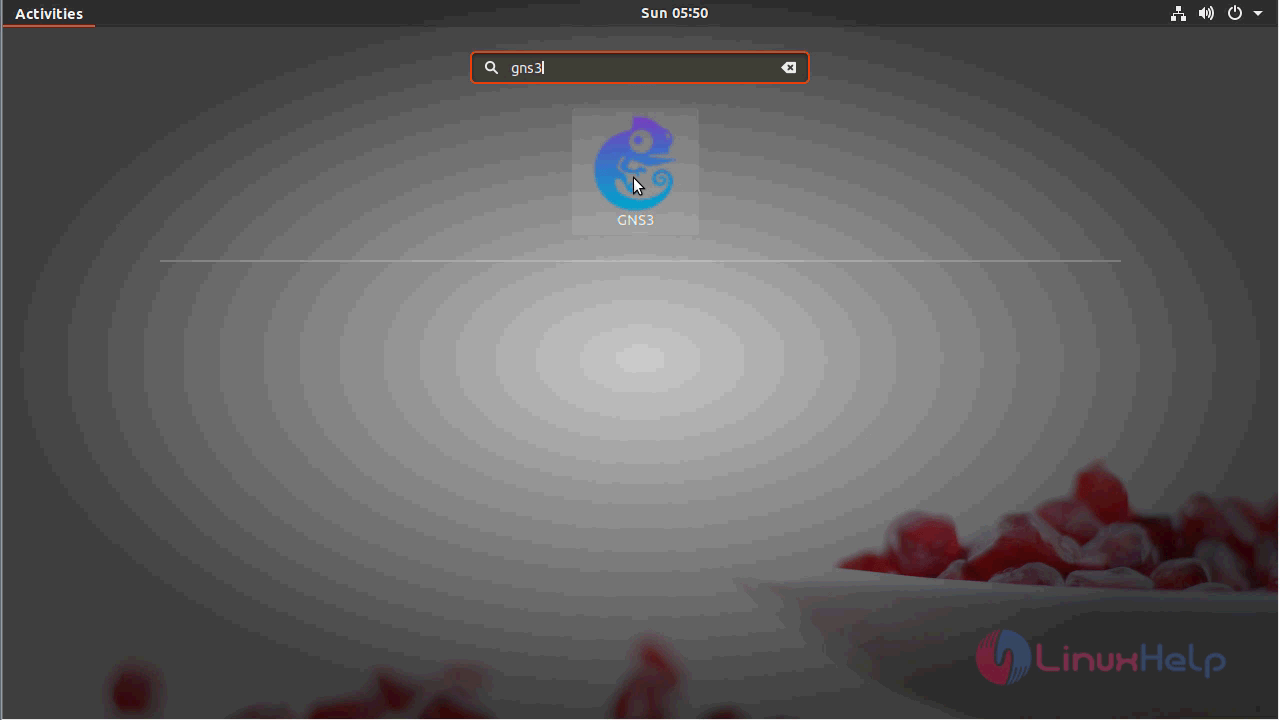
Now the installation is complete and to open GNS3 go and search from the menu.
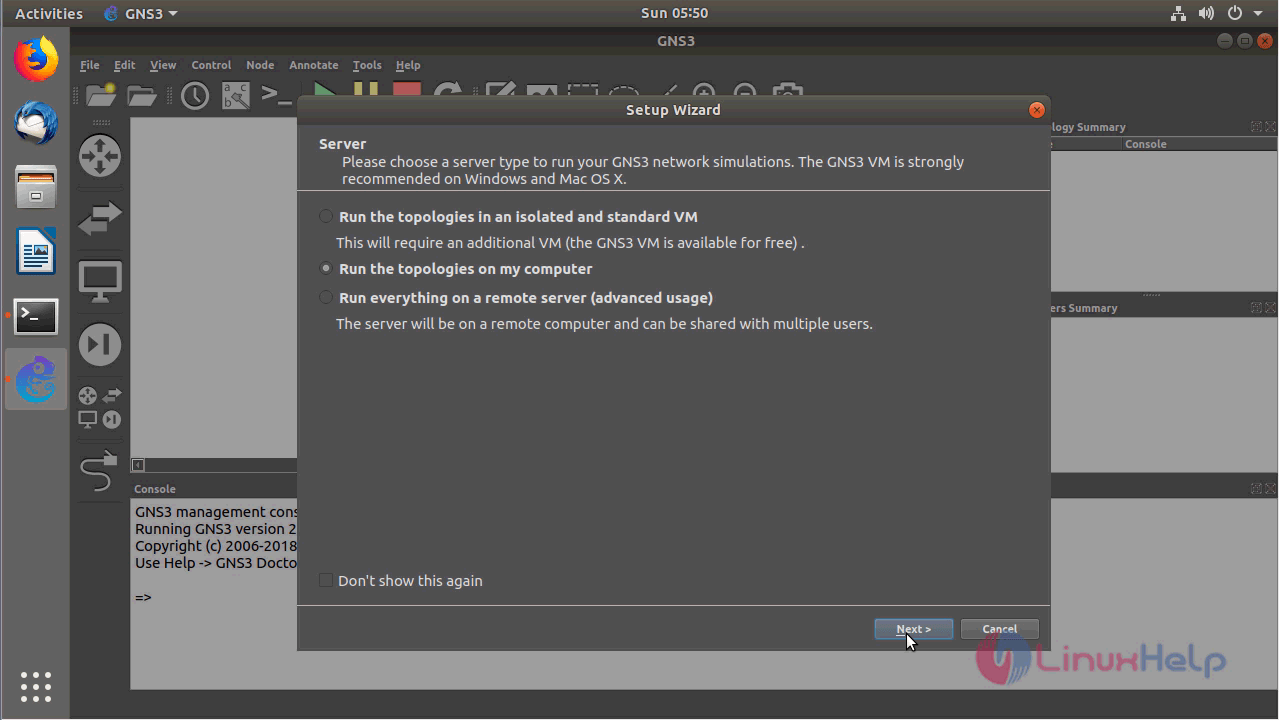
click next to run the topologies on my computer
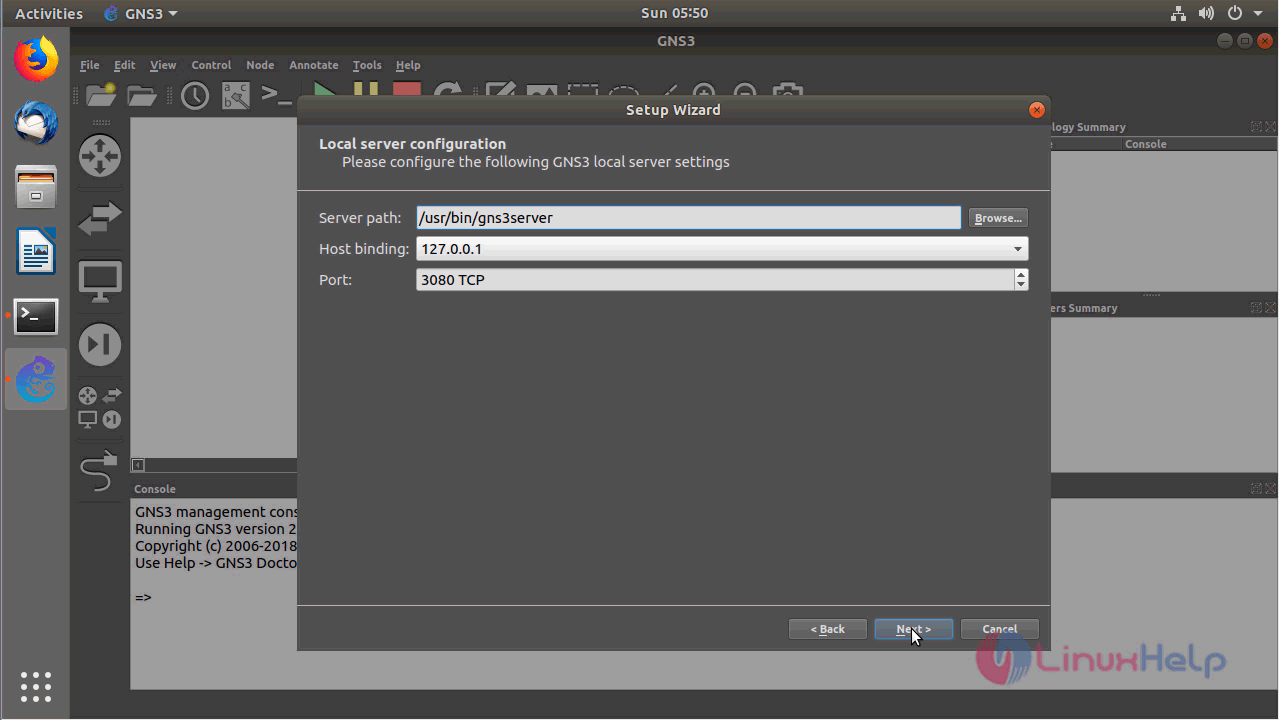
configure the local server and click next
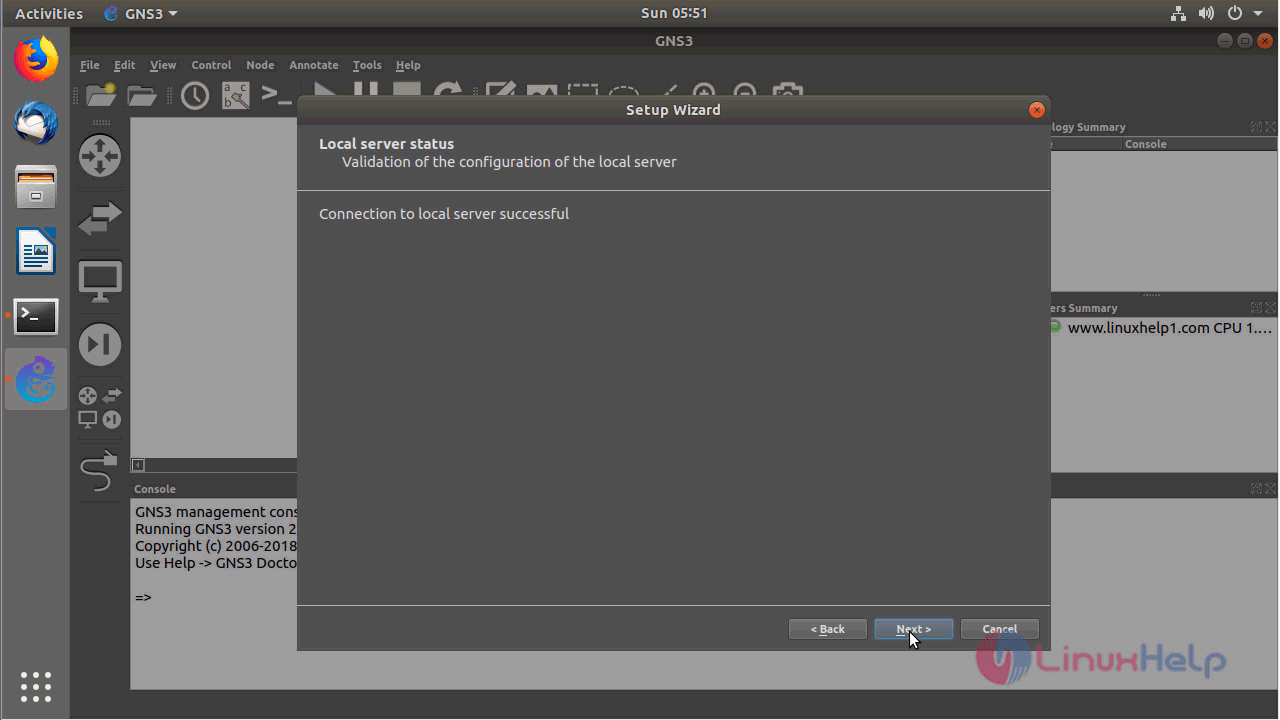
After configuring the local server, the connection will be established.
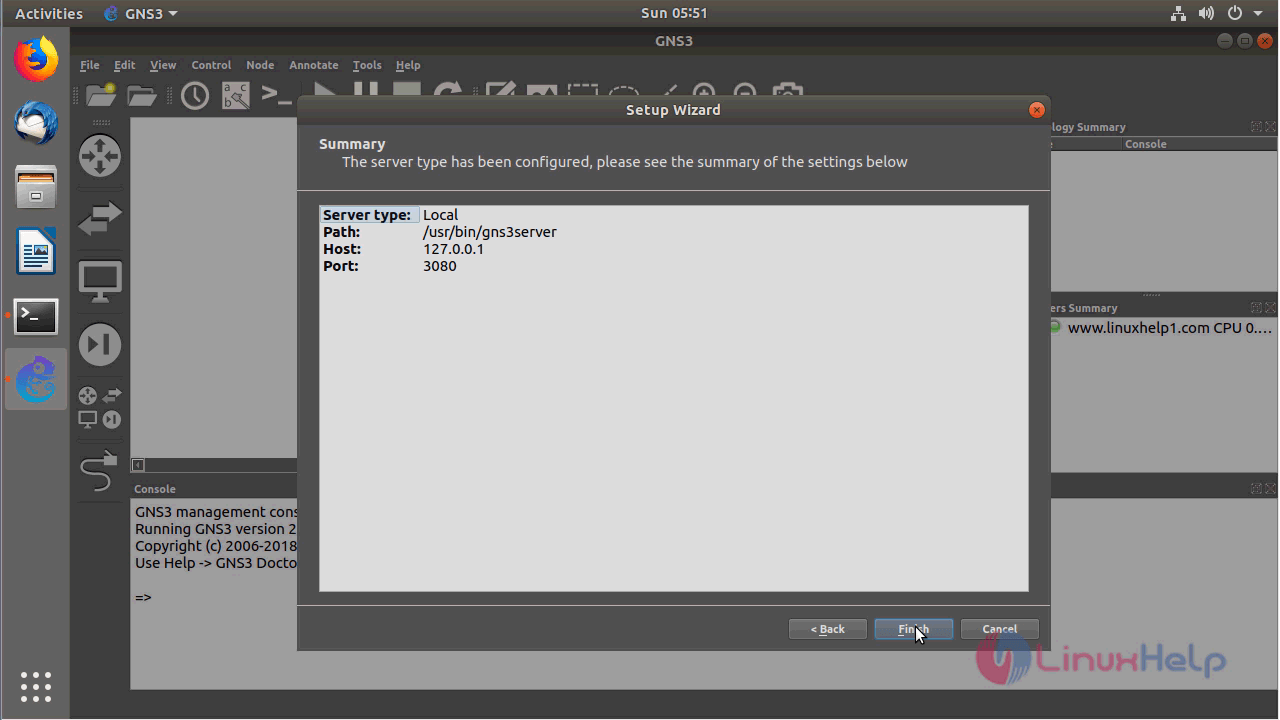
Verify summary of local server configuration and click finish.
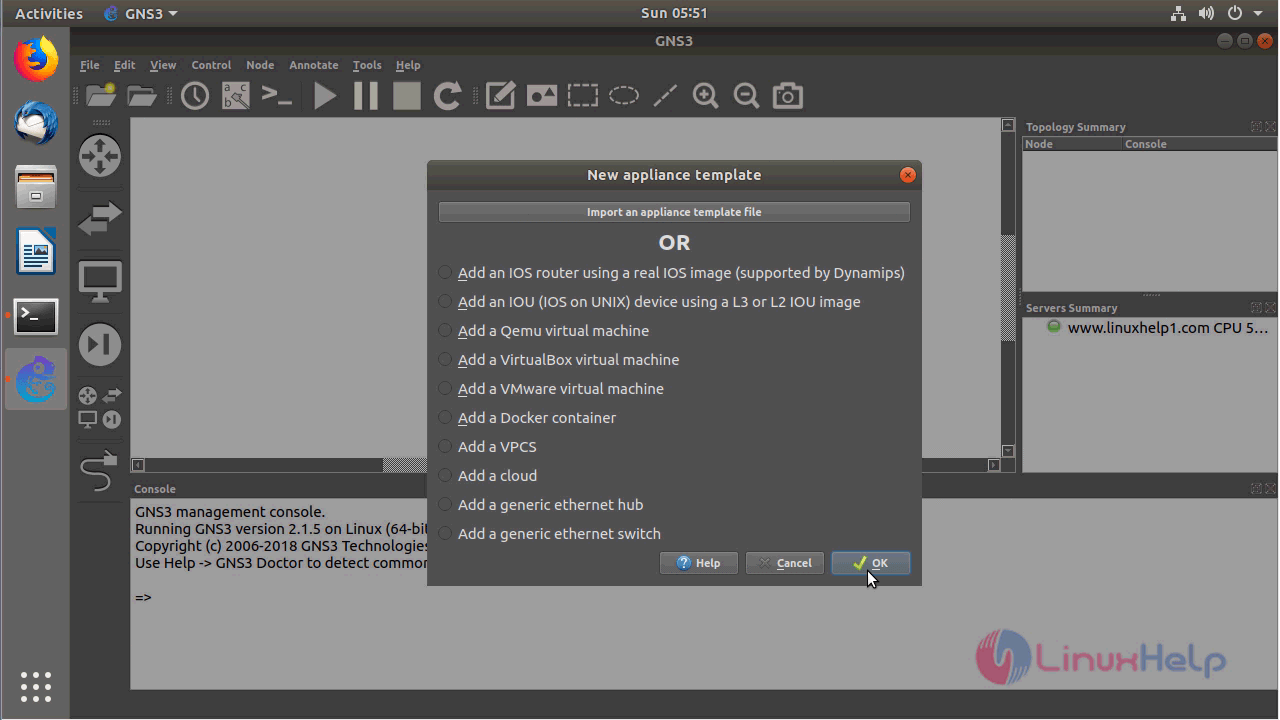
Next, accept to import the appliance to using a GNS3 application.
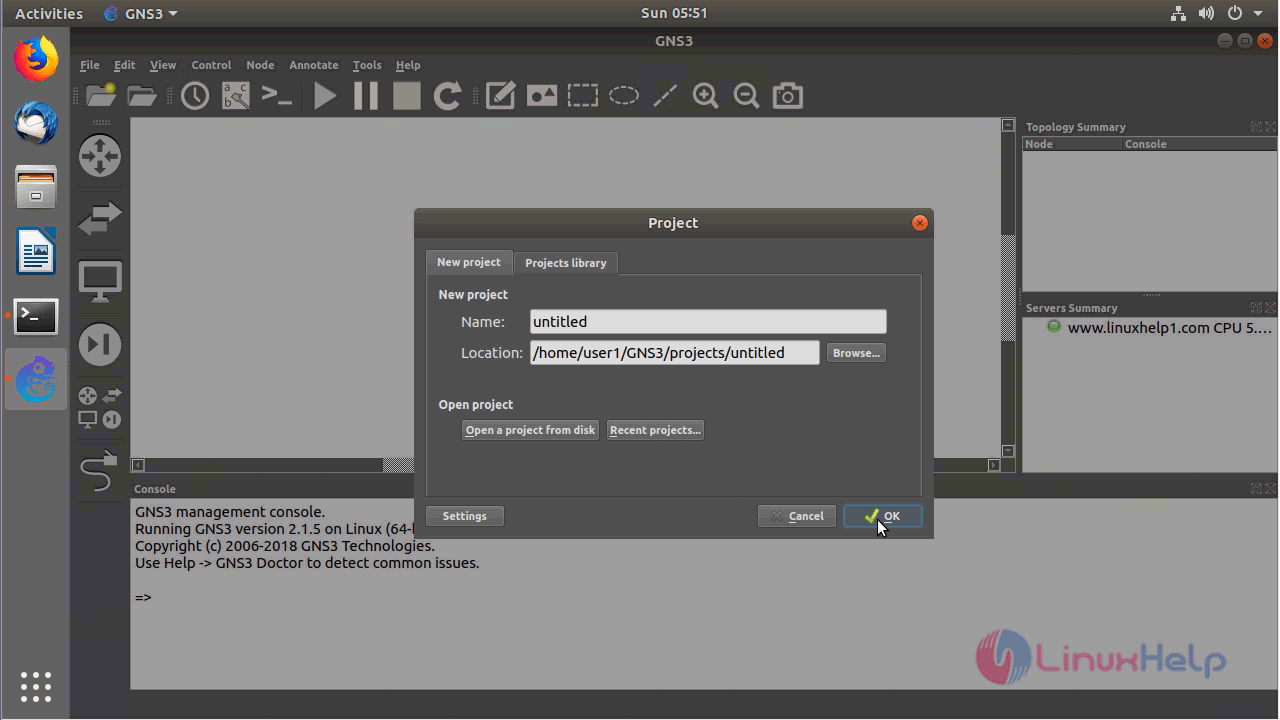
Create a new project and assign a name and location for it and click ok.
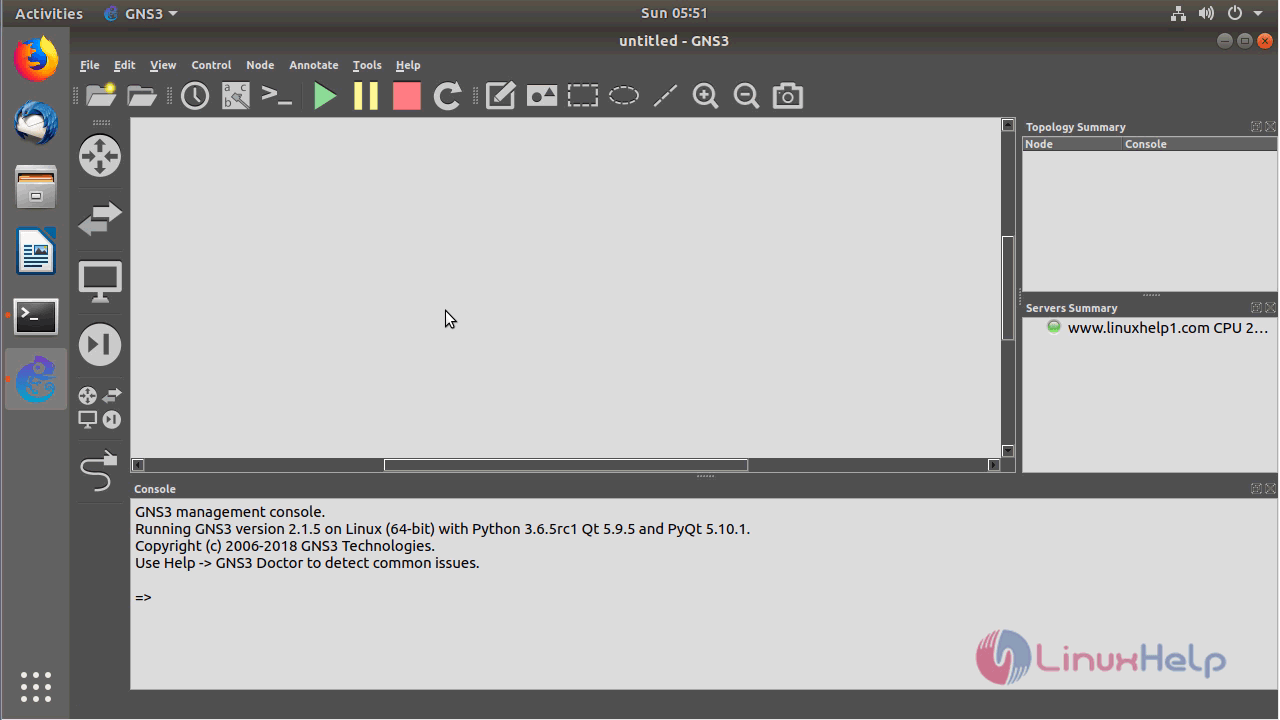
The application is launched now.
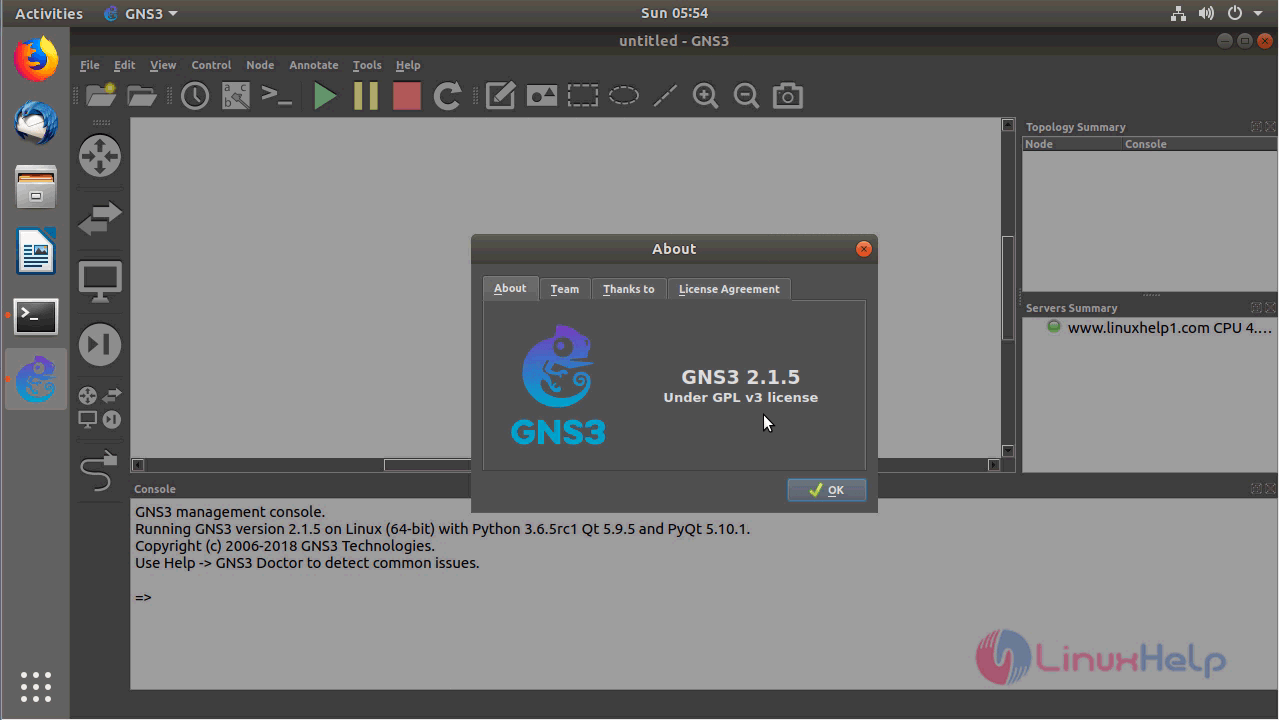
You can verify the version by navigating to the help menu.
With this, the method to install GNS3 -2.1.5 on Ubuntu &ndash 18.04 comes to an end.
Comments ( 1 )
Could not create project directory: [Errno 13] Permission denied: '/home/falcon/GNS3/projects/gre'
I have tried the following options:
$ chown -hR falcon GNS3/projects/
$ chmod -R u=rw,go=r GNS3/projects/
- Nothing has worked.
What should I do to solve this problem?