How to install Gscan2PDF on Linux Mint 18.3
To install Gscan2PDF on Linux Mint 18.3
Gscan2PDF is an open source GUI based application used for creating PDF and DjVu files from scanned documents. If a Scanner is connected to the system with Gscan2PDF, this application can be directly used to convert the scanned documents into PDF files. You can export the scanned documents one by one, in separate PDF files, or export scans all together, in one PDF.
Installing Gscan2PDF
First, make sure you update your system by making use of the following command.
linuxhelp user # apt-get update
Ign:1 http://packages.linuxmint.com sylvia InRelease
Hit:2 http://archive.ubuntu.com/ubuntu xenial InRelease
Hit:3 http://archive.canonical.com/ubuntu xenial InRelease
Hit:4 http://packages.linuxmint.com sylvia Release
Get:6 http://security.ubuntu.com/ubuntu xenial-security InRelease [102 kB]
Get:7 http://archive.ubuntu.com/ubuntu xenial-updates InRelease [102 kB]
Get:8 http://archive.ubuntu.com/ubuntu xenial-backports InRelease [102 kB]
Get:9 http://security.ubuntu.com/ubuntu xenial-security/main amd64 Packages [436 kB]
.
.
Get:15 http://archive.ubuntu.com/ubuntu xenial-updates/main i386 Packages [664 kB]
Get:16 http://archive.ubuntu.com/ubuntu xenial-updates/main Translation-en [297 kB]
Get:17 http://archive.ubuntu.com/ubuntu xenial-updates/universe amd64 Packages [582 kB]
Get:18 http://archive.ubuntu.com/ubuntu xenial-updates/universe i386 Packages [539 kB]
Get:19 http://archive.ubuntu.com/ubuntu xenial-updates/universe Translation-en [235 kB]
Get:20 http://archive.ubuntu.com/ubuntu xenial-backports/main amd64 Packages [4,836 B]
Get:21 http://archive.ubuntu.com/ubuntu xenial-backports/main i386 Packages [4,840 B]
Fetched 4,728 kB in 11s (405 kB/s)
Reading package lists... Done
Once it is done, you need to add the necessary repositories by making use of the following command.
linuxhelp user # add-apt-repository ppa:jeffreyratcliffe/ppa
You are about to add the following PPA:
 gscan2pdf packages and dependencies
 More info: https://launchpad.net/~jeffreyratcliffe/+archive/ubuntu/ppa
Press Enter to continue or Ctrl+C to cancel

Executing: /tmp/tmp.El9MuIycSg/gpg.1.sh --keyserver
hkp://keyserver.ubuntu.com:80
--recv-keys
5BC3E400
gpg: requesting key 5BC3E400 from hkp server keyserver.ubuntu.com
gpg: key 5BC3E400: public key " Launchpad PPA for Jeffrey Ratcliffe"  imported
gpg: Total number processed: 1
gpg:               imported: 1  (RSA: 1)
And then you need to update your system again.
linuxhelp user # apt-get update
Hit:1 http://archive.ubuntu.com/ubuntu xenial InRelease
Hit:2 http://archive.ubuntu.com/ubuntu xenial-updates InRelease
Get:3 http://ppa.launchpad.net/jeffreyratcliffe/ppa/ubuntu xenial InRelease [17.5 kB]
Hit:4 http://archive.canonical.com/ubuntu xenial InRelease
Ign:5 http://packages.linuxmint.com sylvia InRelease
Hit:6 http://security.ubuntu.com/ubuntu xenial-security InRelease
Hit:7 http://archive.ubuntu.com/ubuntu xenial-backports InRelease
Hit:8 http://packages.linuxmint.com sylvia Release
Get:10 http://ppa.launchpad.net/jeffreyratcliffe/ppa/ubuntu xenial/main Sources [1,432 B]
Get:11 http://ppa.launchpad.net/jeffreyratcliffe/ppa/ubuntu xenial/main amd64 Packages [1,072 B]
Get:12 http://ppa.launchpad.net/jeffreyratcliffe/ppa/ubuntu xenial/main i386 Packages [1,072 B]
Get:13 http://ppa.launchpad.net/jeffreyratcliffe/ppa/ubuntu xenial/main Translation-en [784 B]
Fetched 21.9 kB in 2s (10.1 kB/s)
Reading package lists... Done
You shall install GScan2PDF by triggering the following command.
linuxhelp user # apt-get install gscan2pdf
Reading package lists... Done
Building dependency tree
Reading state information... Done
The following additional packages will be installed:
  libbit-vector-perl libcarp-clan-perl libclass-data-inheritable-perl libconfig-general-perl libdate-calc-perl libdevel-stacktrace-perl
  libexception-class-perl libextutils-depends-perl libextutils-pkgconfig-perl libfilesys-df-perl libfont-ttf-perl libgoo-canvas-perl libgoocanvas-common
  libgoocanvas3 libgtk2-ex-simple-list-perl libgtk2-imageview-perl libgtkimageview0 libimage-magick-perl libimage-magick-q16-perl libimage-sane-perl
  liblog-log4perl-perl libossp-uuid-perl libossp-uuid16 libpdf-api2-perl libproc-processtable-perl libreadonly-perl libset-intspan-perl libtiff-tools
.
.
The following NEW packages will be installed:
  gscan2pdf libbit-vector-perl libcarp-clan-perl libclass-data-inheritable-perl libconfig-general-perl libdate-calc-perl libdevel-stacktrace-perl
  libexception-class-perl libextutils-depends-perl libextutils-pkgconfig-perl libfilesys-df-perl libfont-ttf-perl libgoo-canvas-perl libgoocanvas-common
  libgoocanvas3 libgtk2-ex-simple-list-perl libgtk2-imageview-perl libgtkimageview0 libimage-magick-perl libimage-magick-q16-perl libimage-sane-perl
  liblog-log4perl-perl libossp-uuid-perl libossp-uuid16 libpdf-api2-perl libproc-processtable-perl libreadonly-perl libset-intspan-perl libtiff-tools
  libtry-tiny-perl
0 upgraded, 30 newly installed, 0 to remove and 182 not upgraded.
Need to get 3,958 kB of archives.
After this operation, 29.1 MB of additional disk space will be used.
Do you want to continue? [Y/n] y
Get:1 http://ppa.launchpad.net/jeffreyratcliffe/ppa/ubuntu xenial/main amd64 libimage-sane-perl amd64 0.09-0~ppa1xenial [55.5 kB]
Get:2 http://archive.ubuntu.com/ubuntu xenial/universe amd64 libgtkimageview0 amd64 1.6.4+dfsg-1 [27.4 kB]
Get:3 http://archive.ubuntu.com/ubuntu xenial/universe amd64 libgtk2-imageview-perl amd64 0.05-2build2 [59.2 kB]
Get:4 http://archive.ubuntu.com/ubuntu xenial/universe amd64 libgtk2-ex-simple-list-perl all 0.50-2 [21.2 kB]
Get:5 http://archive.ubuntu.com/ubuntu xenial/universe amd64 libclass-data-inheritable-perl all 0.08-2 [8,774 B]
Get:6 http://archive.ubuntu.com/ubuntu xenial/universe amd64 libdevel-stacktrace-perl all 2.0000-1 [20.5 kB]
.
.
.
.
Setting up libtry-tiny-perl (0.24-1) ...
Setting up libfilesys-df-perl (0.92-5build2) ...
Setting up libossp-uuid16:amd64 (1.6.2-1.5build2) ...
Setting up libossp-uuid-perl (1.6.2-1.5build2) ...
Setting up libcarp-clan-perl (6.04-2) ...
Setting up libbit-vector-perl (7.4-1build1) ...
Setting up libdate-calc-perl (6.4-1) ...
Setting up gscan2pdf (1.8.11-0~ppa2xenial) ...
Processing triggers for libc-bin (2.23-0ubuntu9) ...
If you want to confirm your installation, you simply need to run the following command.
linuxhelp user # dpkg -l gscan2pdf
Desired=Unknown/Install/Remove/Purge/Hold
| Status=Not/Inst/Conf-files/Unpacked/halF-conf/Half-inst/trig-aWait/Trig-pend
|/ Err?=(none)/Reinst-required (Status,Err: uppercase=bad)
||/ Name                              Version               Architecture          Description
+++-=================================-=====================-=====================-=======================================================================
ii  gscan2pdf                         1.8.11-0~ppa2xenial   all                   GUI to produce PDFs or DjVus from scanned documents
You can now launch your application from your Linux Mint 18.3 search field. 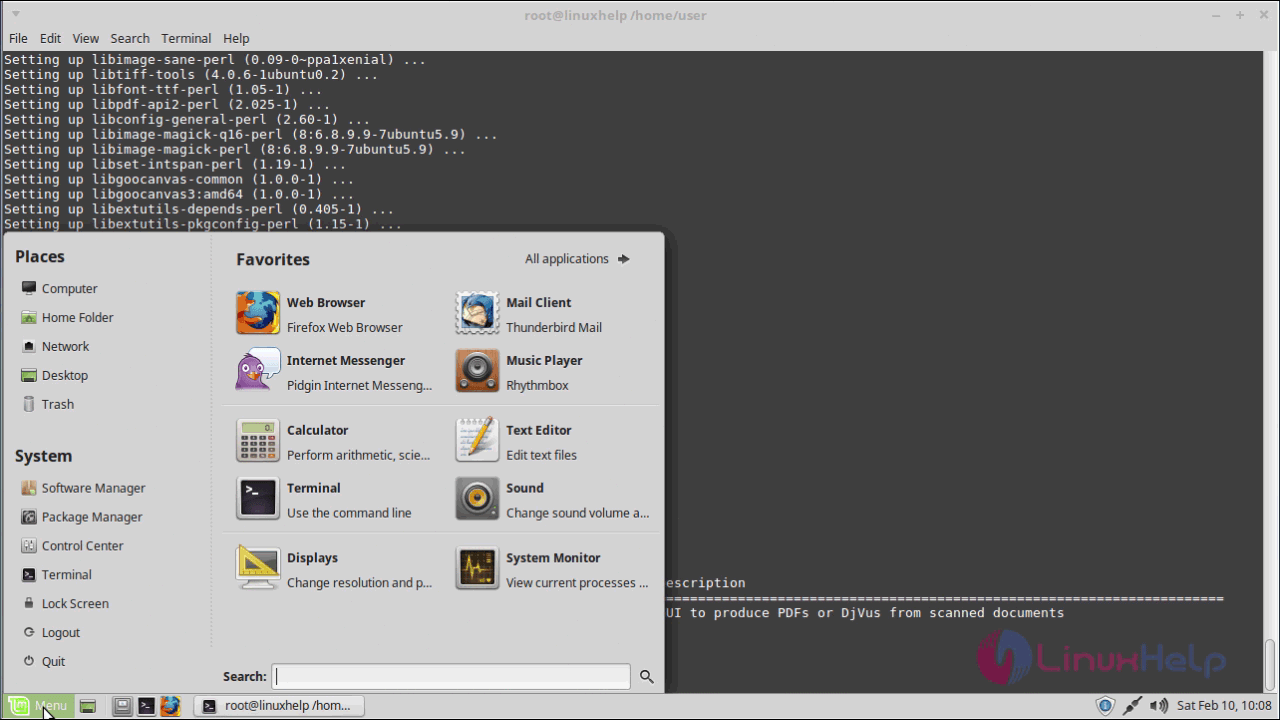
In that search field Gscan2PDF on the search field.
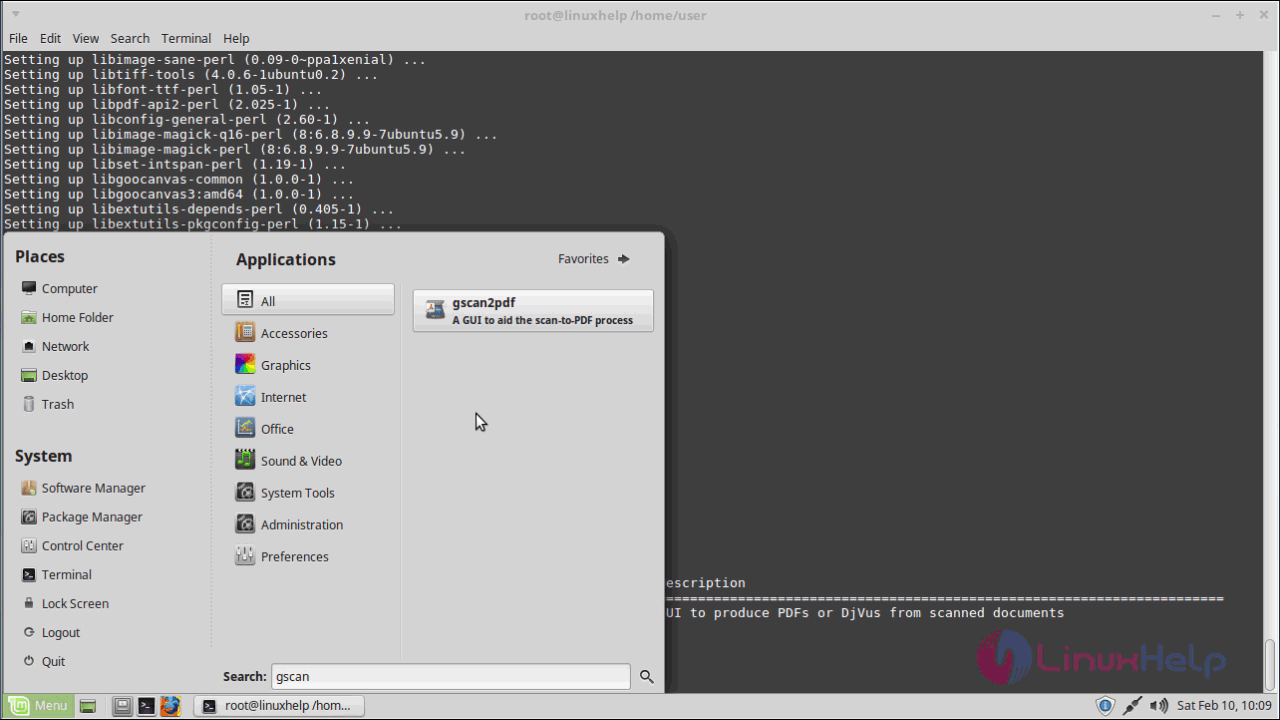
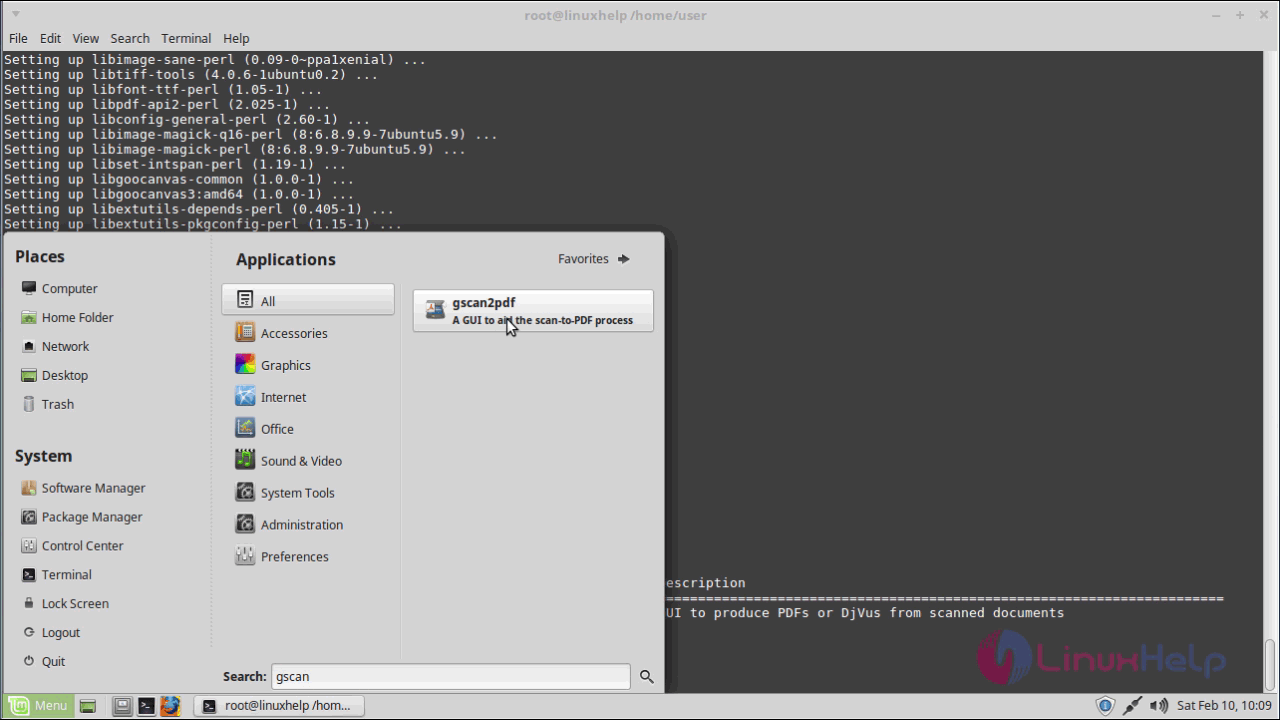
Click on the icon that appears to launch Gscan2PDF .
The Gscan2PDF application now appears on your screen.
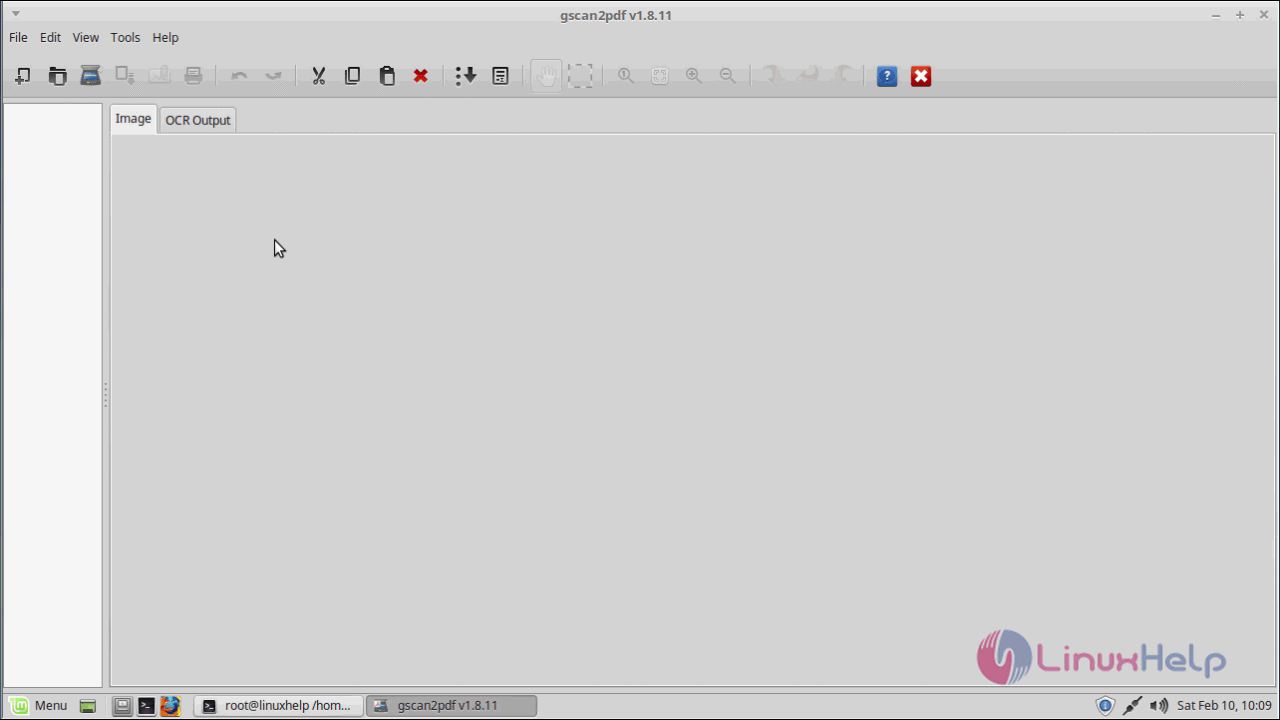
With this, the installation of Gscan2PDF on Linux Mint 18.3 comes to an end.
Comments ( 0 )
No comments available