How to Install MySQL Workbench to Backup and Restore MySQL Database in Ubuntu
To Install MySQL Workbench in Ubuntu
MySQL Workbench is a GUI based tool developed for MySQL databases. It is used by developer for DBAs data modelling, database creation, security management, backup and user administration. Installation of MySQL Workbench to backup and restore MySQL database in Ubuntu is explained in this article.
Installation of MySQL Workbench
Before installing MySQL workbench, install mysql in your system. If already exist means, then just run the below command to update it.
root@linuxhelp:/home/user1# apt-get update
Hit:1 http://in.archive.ubuntu.com/ubuntu xenial InRelease
Get:2 http://security.ubuntu.com/ubuntu xenial-security InRelease [94.5 kB]
Get:3 http://in.archive.ubuntu.com/ubuntu xenial-updates InRelease [95.7 kB]
&hellip
&hellip
Get:61 http://in.archive.ubuntu.com/ubuntu xenial-backports/multiverse amd64 DEP-11 Metadata [194 B]
Fetched 10.7 MB in 1min 2s (173 kB/s)
Reading package lists... Done
Now run the following command to install the MySQL workbench.
root@linuxhelp:/home/user1#apt-get install mysql-workbench
Reading package lists... Done
Building dependency tree
Reading state information... Done
&hellip
&hellip
Setting up mysql-workbench (6.3.6+dfsg-0ubuntu1) ...
Setting up odbcinst (2.3.1-4.1) ...
Processing triggers for libc-bin (2.23-0ubuntu3) ...
Next you should create database, if already created then run the below command to view it.
root@linuxhelp:/home/user1# mysql -u root -p
Enter password:
Welcome to the MySQL monitor. Commands end with   or g.
Your MySQL connection id is 8
Server version: 5.7.11-0ubuntu6 (Ubuntu)
Copyright (c) 2000, 2016, Oracle and/or its affiliates. All rights reserved.
Oracle is a registered trademark of Oracle Corporation and/or its
affiliates. Other names may be trademarks of their respective
owners.
Type ' help '  or ' h'  for help. Type ' c'  to clear the current input statement.
mysql>  show databases
+--------------------+
| Database |
+--------------------+
| information_schema |
| first |
| mysql |
| performance_schema |
| sys |
+--------------------+
5 rows in set (0.05 sec)
I have create database “ first”
mysql>  USE first
Reading table information for completion of table and column names
You can turn off this feature to get a quicker startup with -A
Database changed
mysql>  SELECT * FROM student
+------------+-----------+-----------------+-----------+-------+--------------+------------+------------+
| first_name | last_name | email | city | state | phone | birth_date | student_id |
+------------+-----------+-----------------+-----------+-------+--------------+------------+------------+
| Dale | Cooper | dcooper@aol.com | Yakima | KS | 792-223-8901 | 1959-02-22 | 1 |
| Bobby | Briggs | bbriggs@aol.com | San Diego | CA | 792-223-6178 | 1967-05-24 | 2 |
+------------+-----------+-----------------+-----------+-------+--------------+------------+------------+
2 rows in set (0.05 sec)
To Backup the MySQL database
Here the table contains student details in rows. Then use the mysql workbench for backup process.
To open the MySQL workbench, click on unity dash and type MySQL in the search bar.
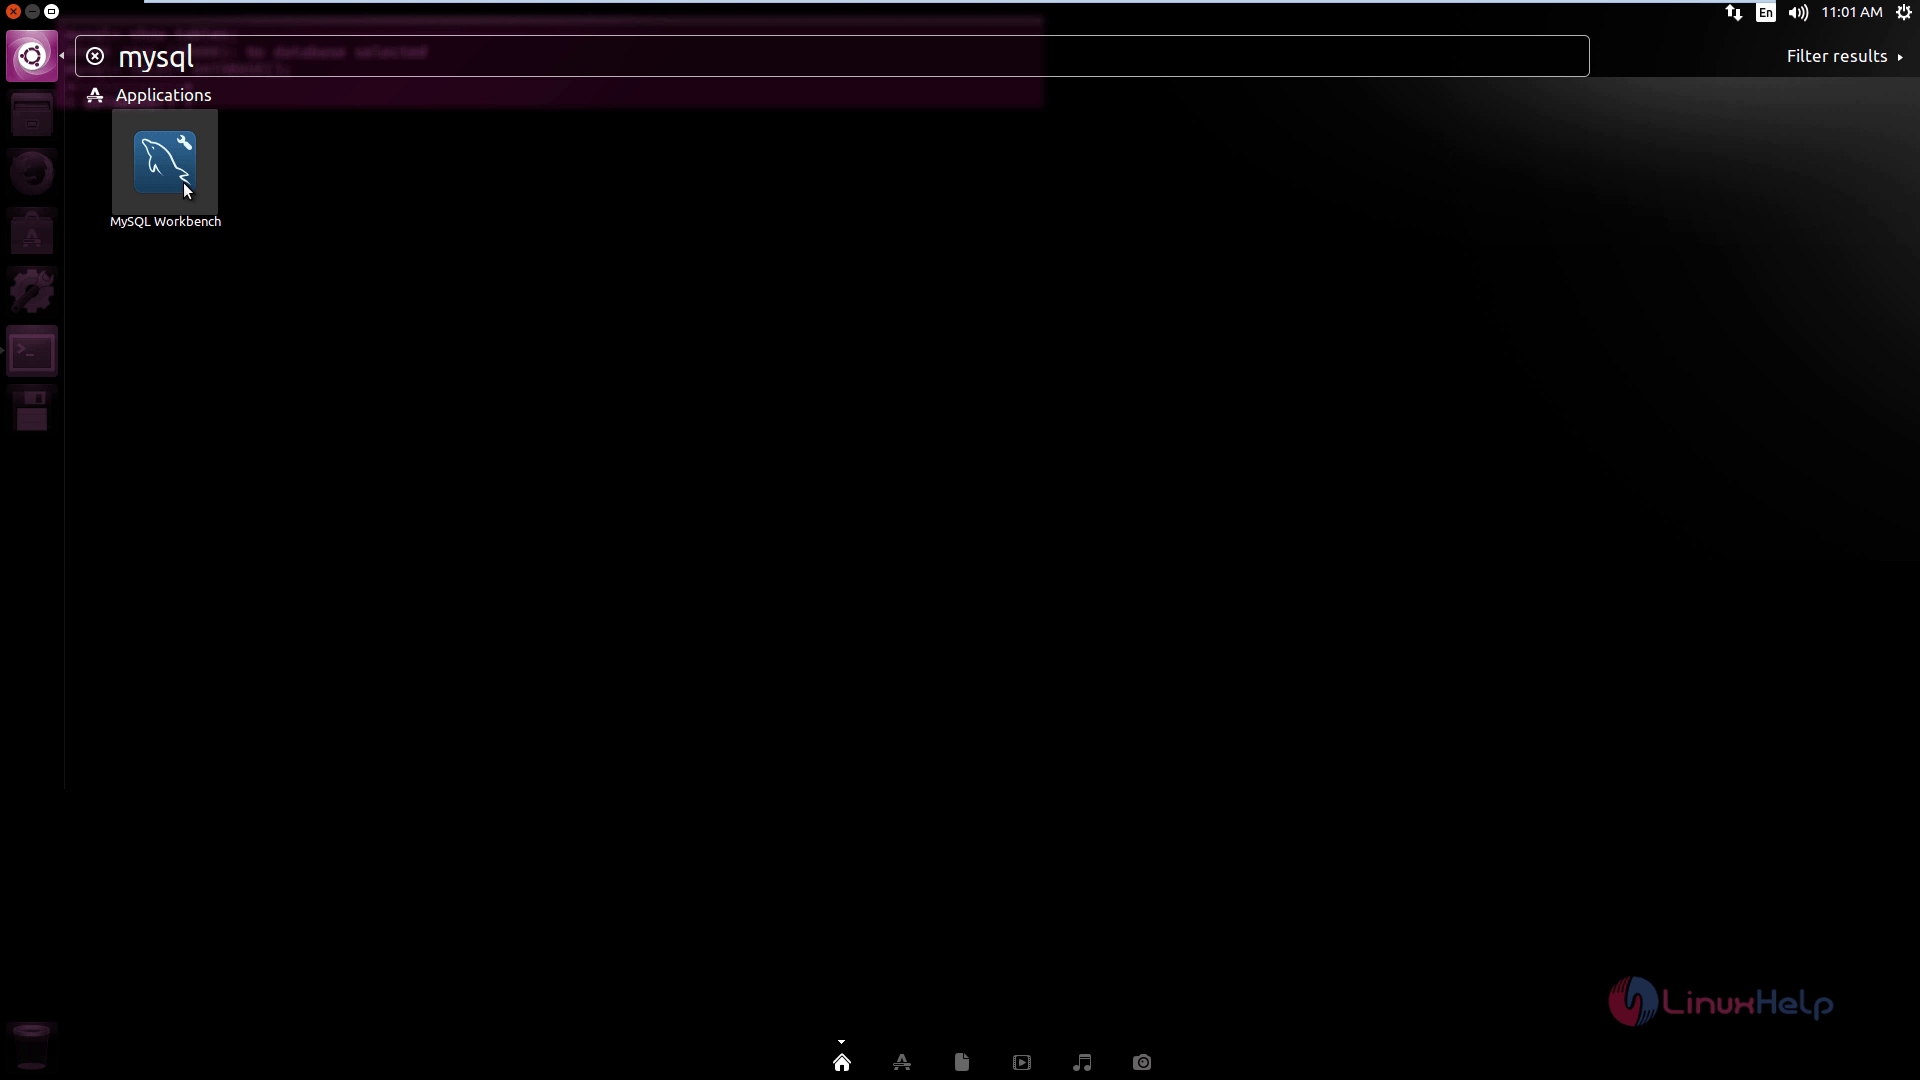
Home page of the MySQL workbench will display as given below.
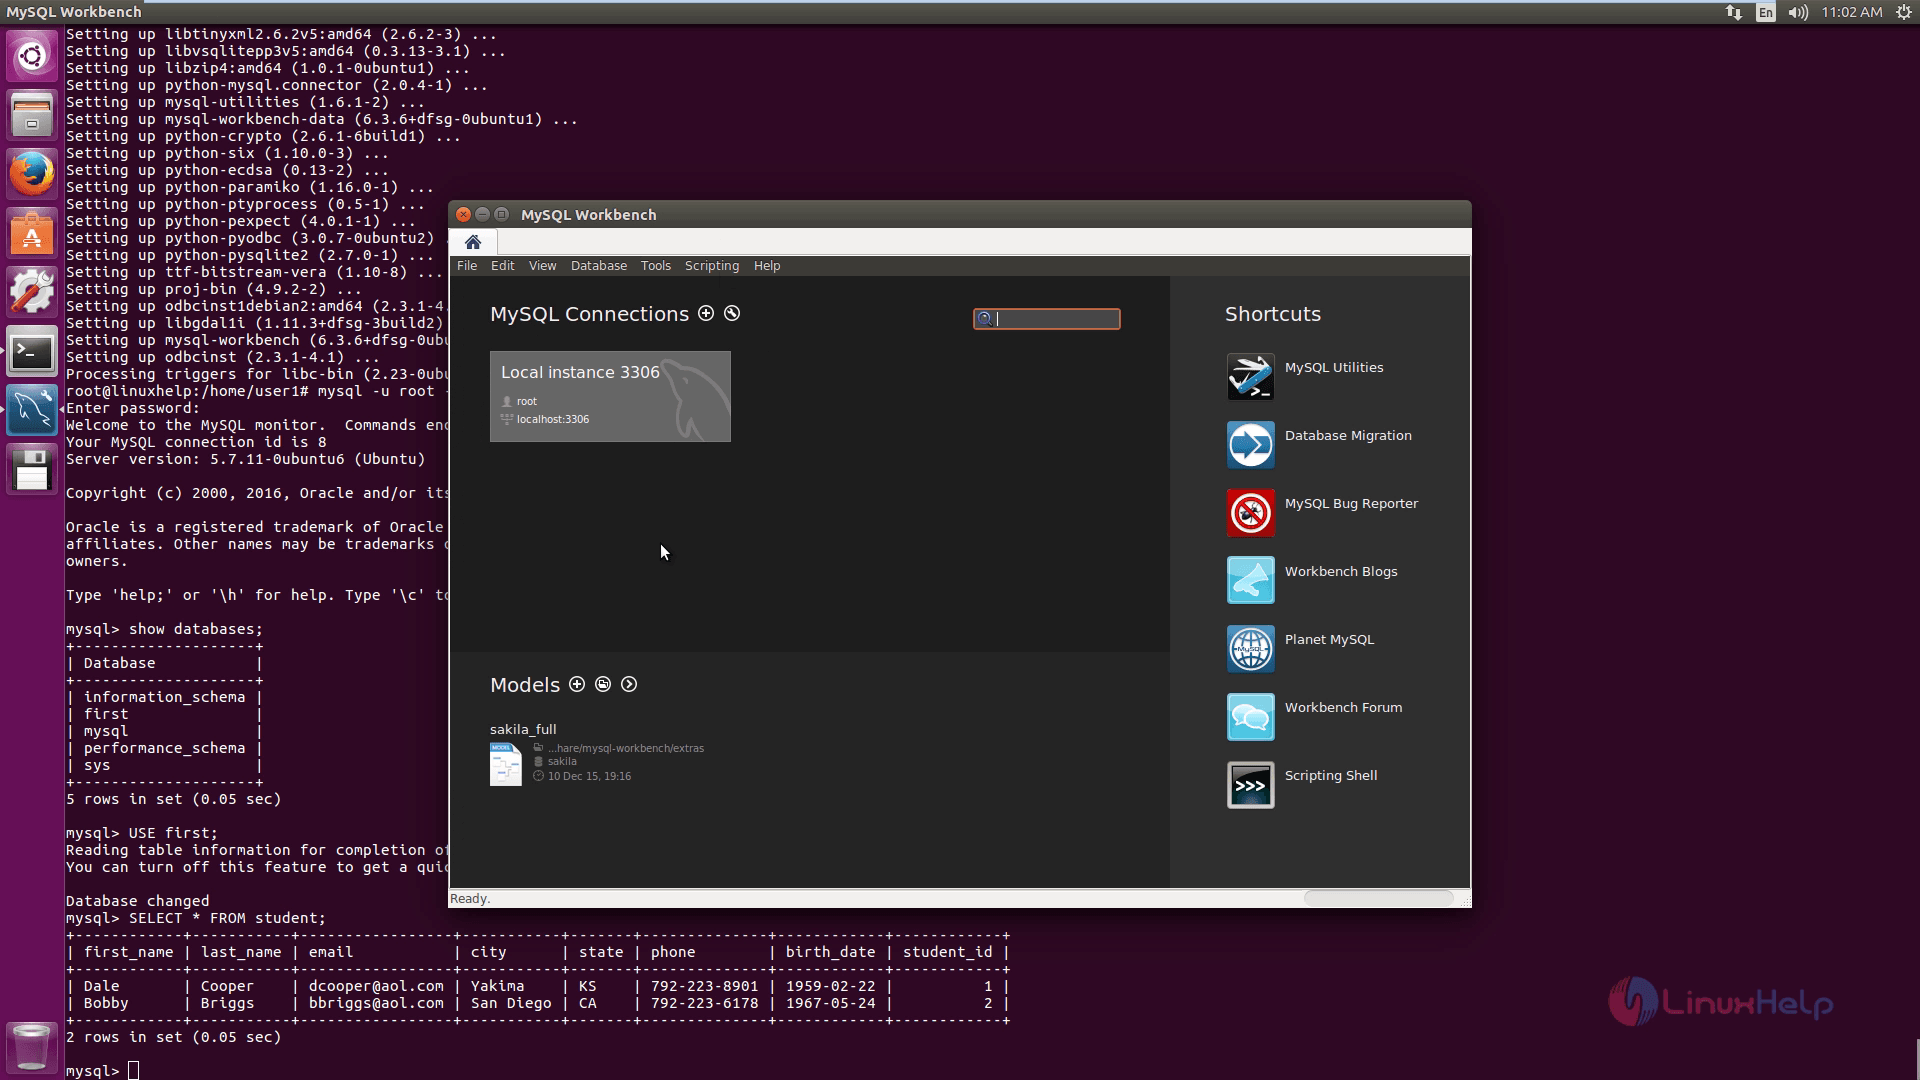
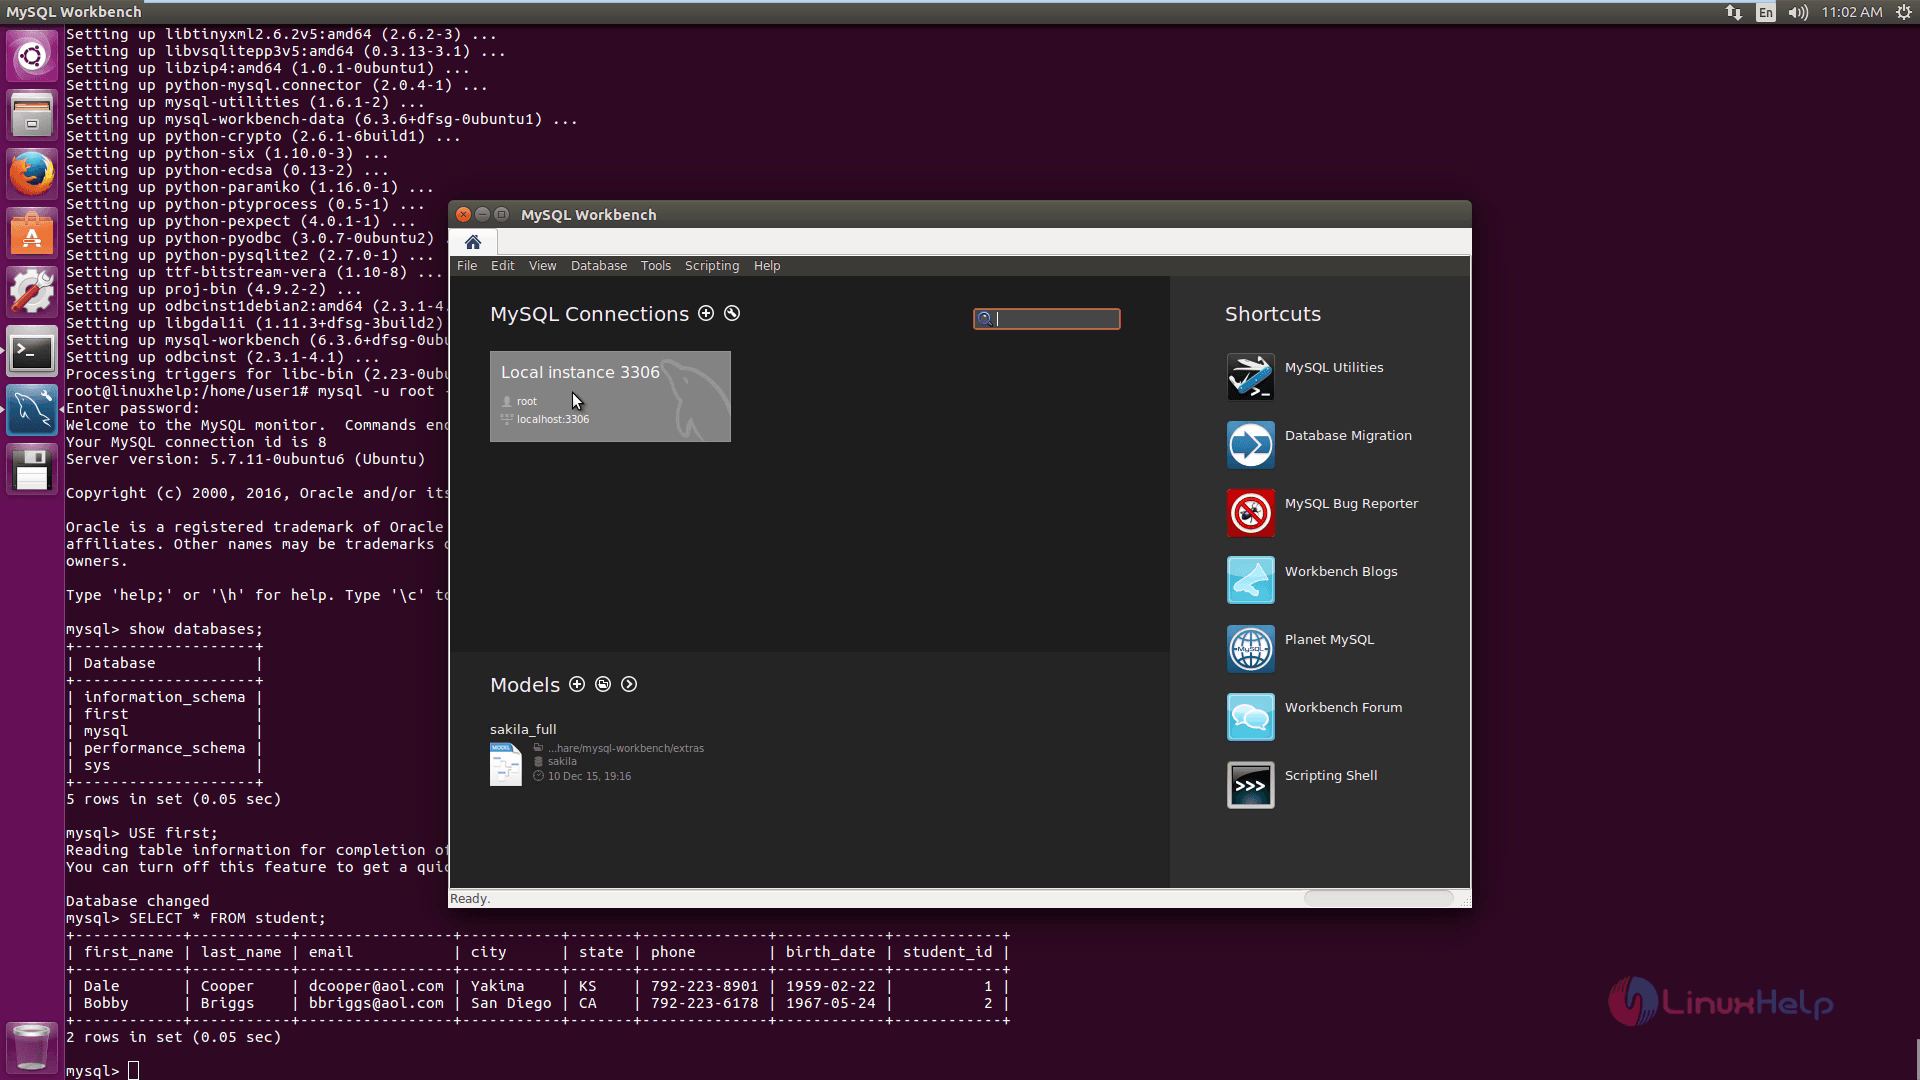
First connect the database server by selecting the local instance option.
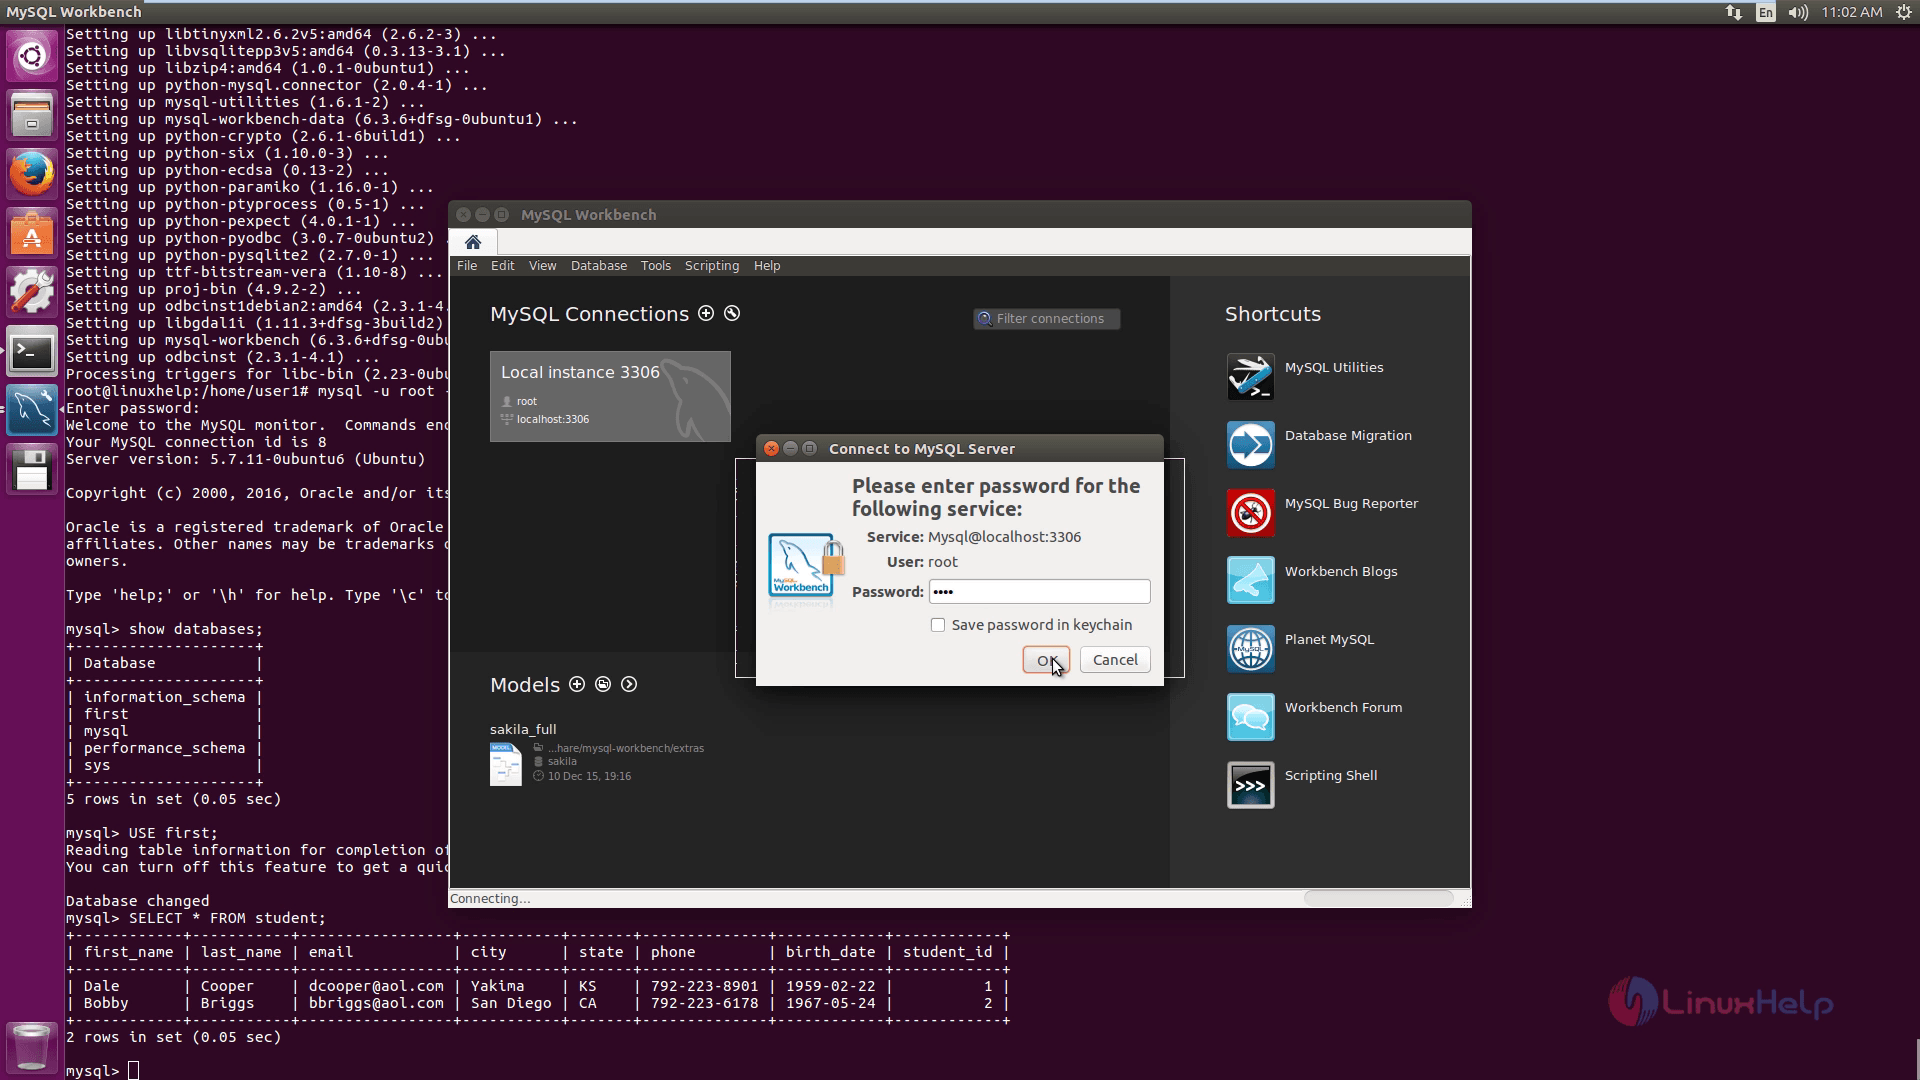
Next enter the user password and click on ok option.
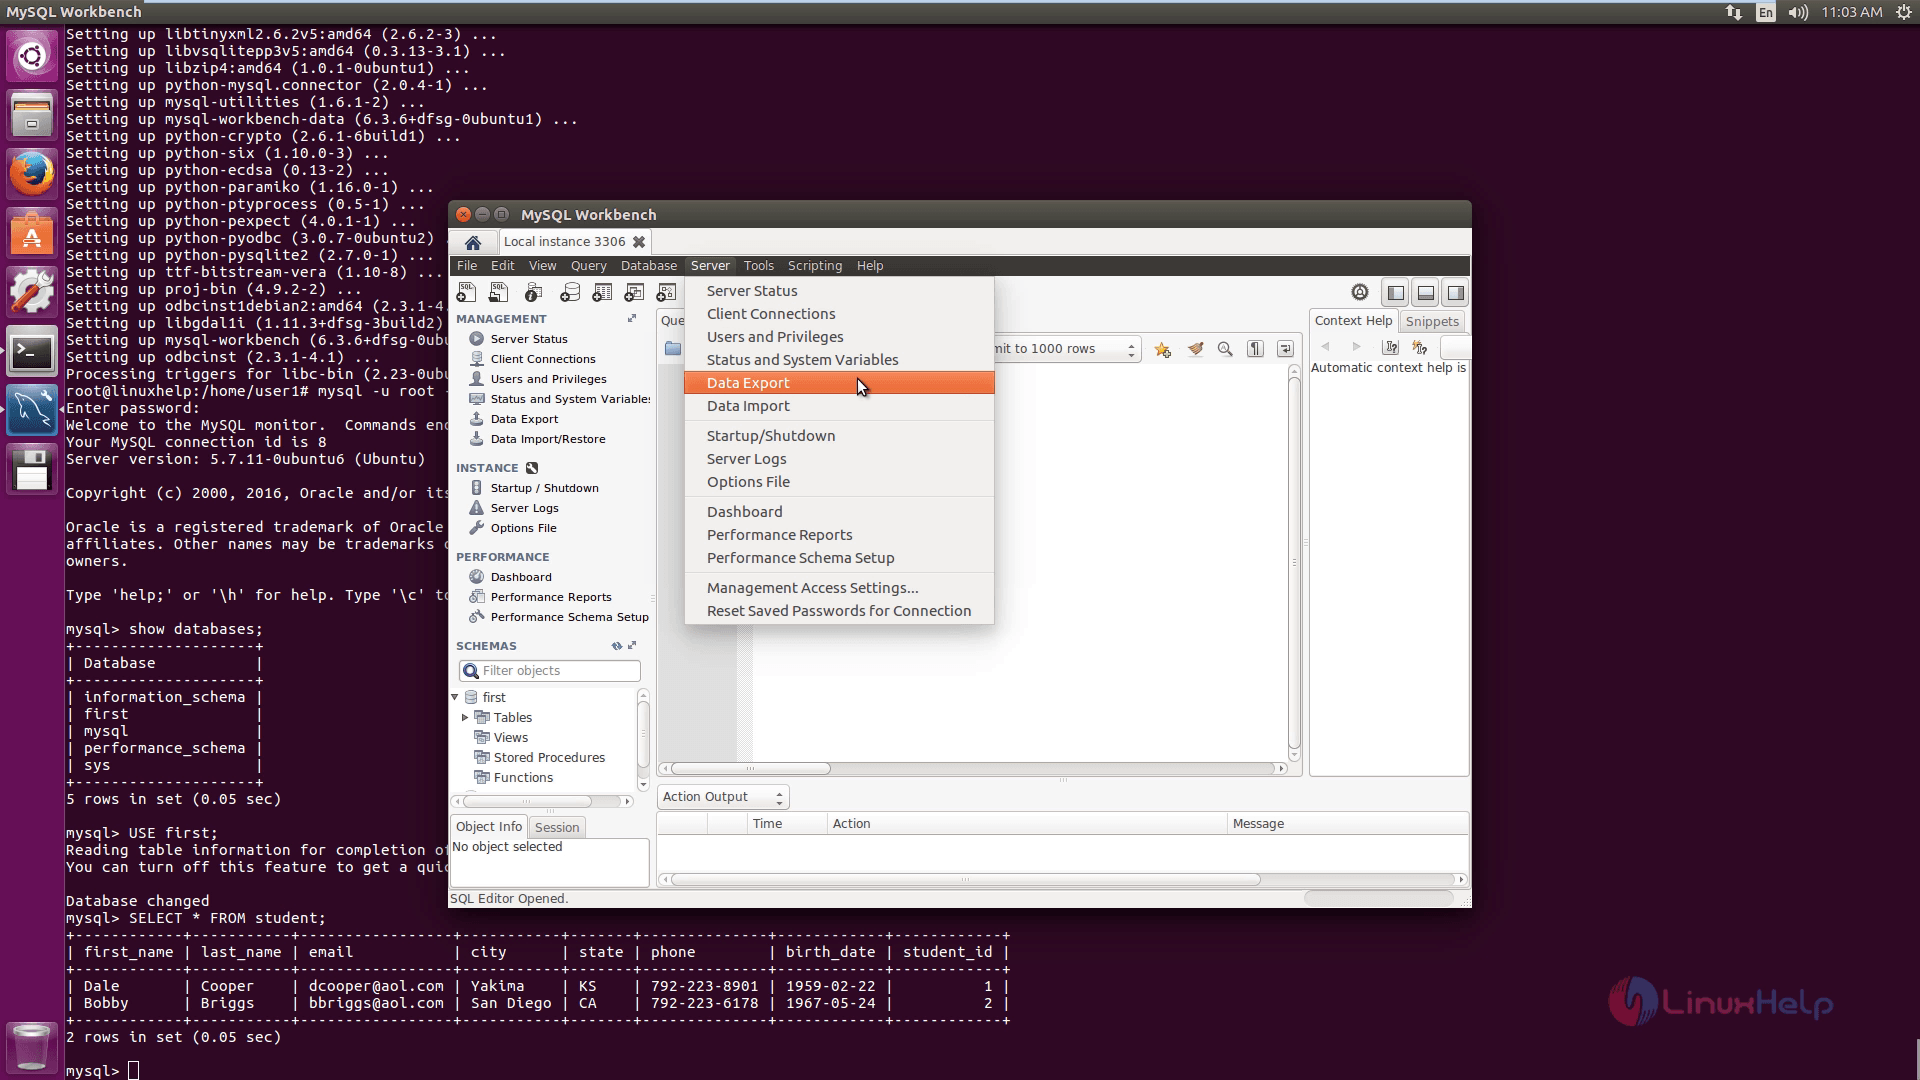
Then click on server option in the menu bar and select Data Export to take backup.
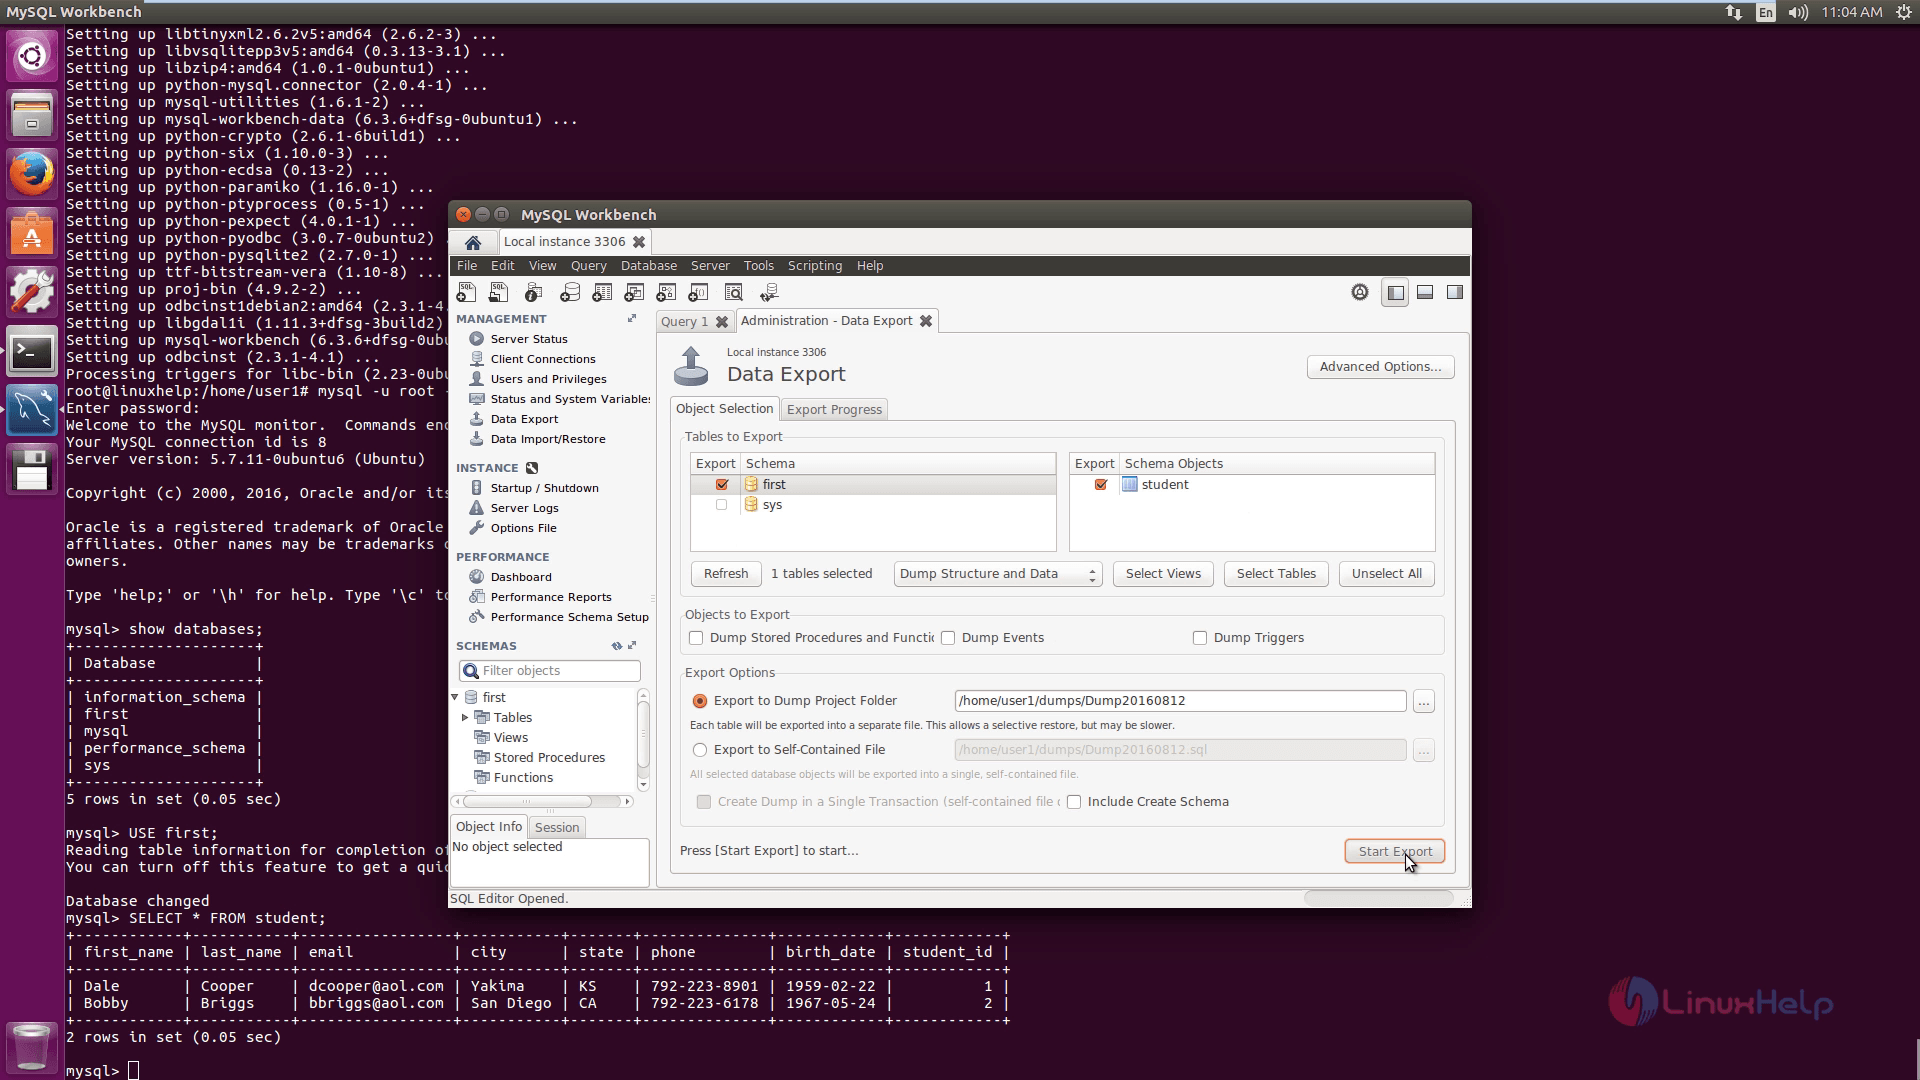
Here select the data which you want to backup and then select the database dump project folder. Finally click on start export option.
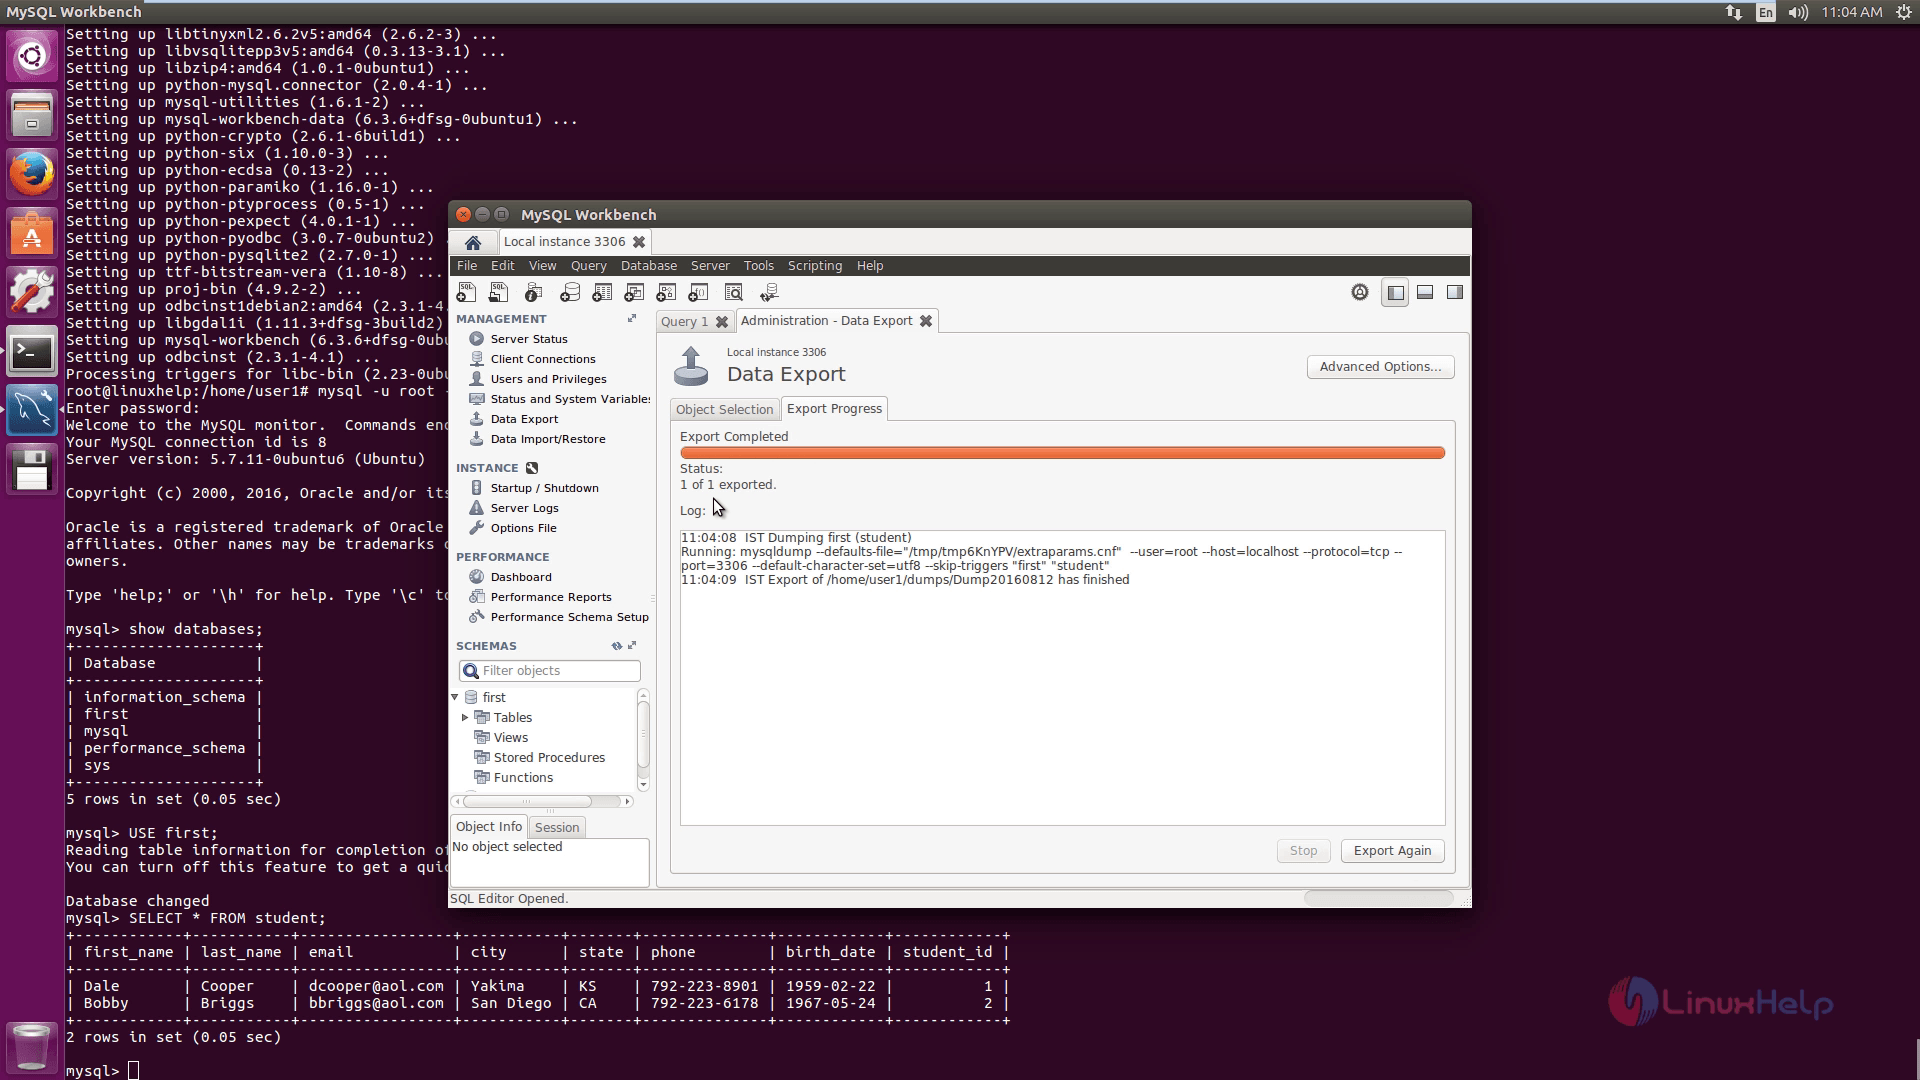
Now the export process gets completed.
After finished the above process, run the below command to view backup database file in the terminal .
root@linuxhelp:/home/user1# ls -l
total 120
drwxr-xr-x 18 user1 user1 4096 Aug 12 11:04 ./
drwxr-xr-x 3 root root 4096 Aug 2 15:08 ../
-rw------- 1 user1 user1 8 Aug 2 09:48 .bash_history
-rw-r--r-- 1 user1 user1 220 Aug 2 15:08 .bash_logout
-rw-r--r-- 1 user1 user1 3771 Aug 2 15:08 .bashrc
drwxr-xr-x 2 user1 user1 4096 Aug 2 09:48 Desktop/
drwxr-xr-x 2 user1 user1 4096 Aug 2 15:14 Documents/
drwxr-xr-x 2 user1 user1 4096 Aug 2 15:14 Downloads/
drwx------ 3 user1 user1 4096 Aug 12 11:04 dumps/
&hellip
&hellip
root@linuxhelp:/home/user1# cd dumps/
root@linuxhelp:/home/user1/dumps# ls -l
total 12
drwx------ 3 user1 user1 4096 Aug 12 11:04 ./
drwxr-xr-x 18 user1 user1 4096 Aug 12 11:04 ../
drwx------ 2 user1 user1 4096 Aug 12 11:04 Dump20160812/
root@linuxhelp:/home/user1/dumps# cd Dump20160812/
root@linuxhelp:/home/user1/dumps/Dump20160812# ls -l
total 12
drwx------ 2 user1 user1 4096 Aug 12 11:04 ./
drwx------ 3 user1 user1 4096 Aug 12 11:04 ../
-rw-rw-r-- 1 user1 user1 2287 Aug 12 11:04 first_student.sql
To Restore the Database Backup
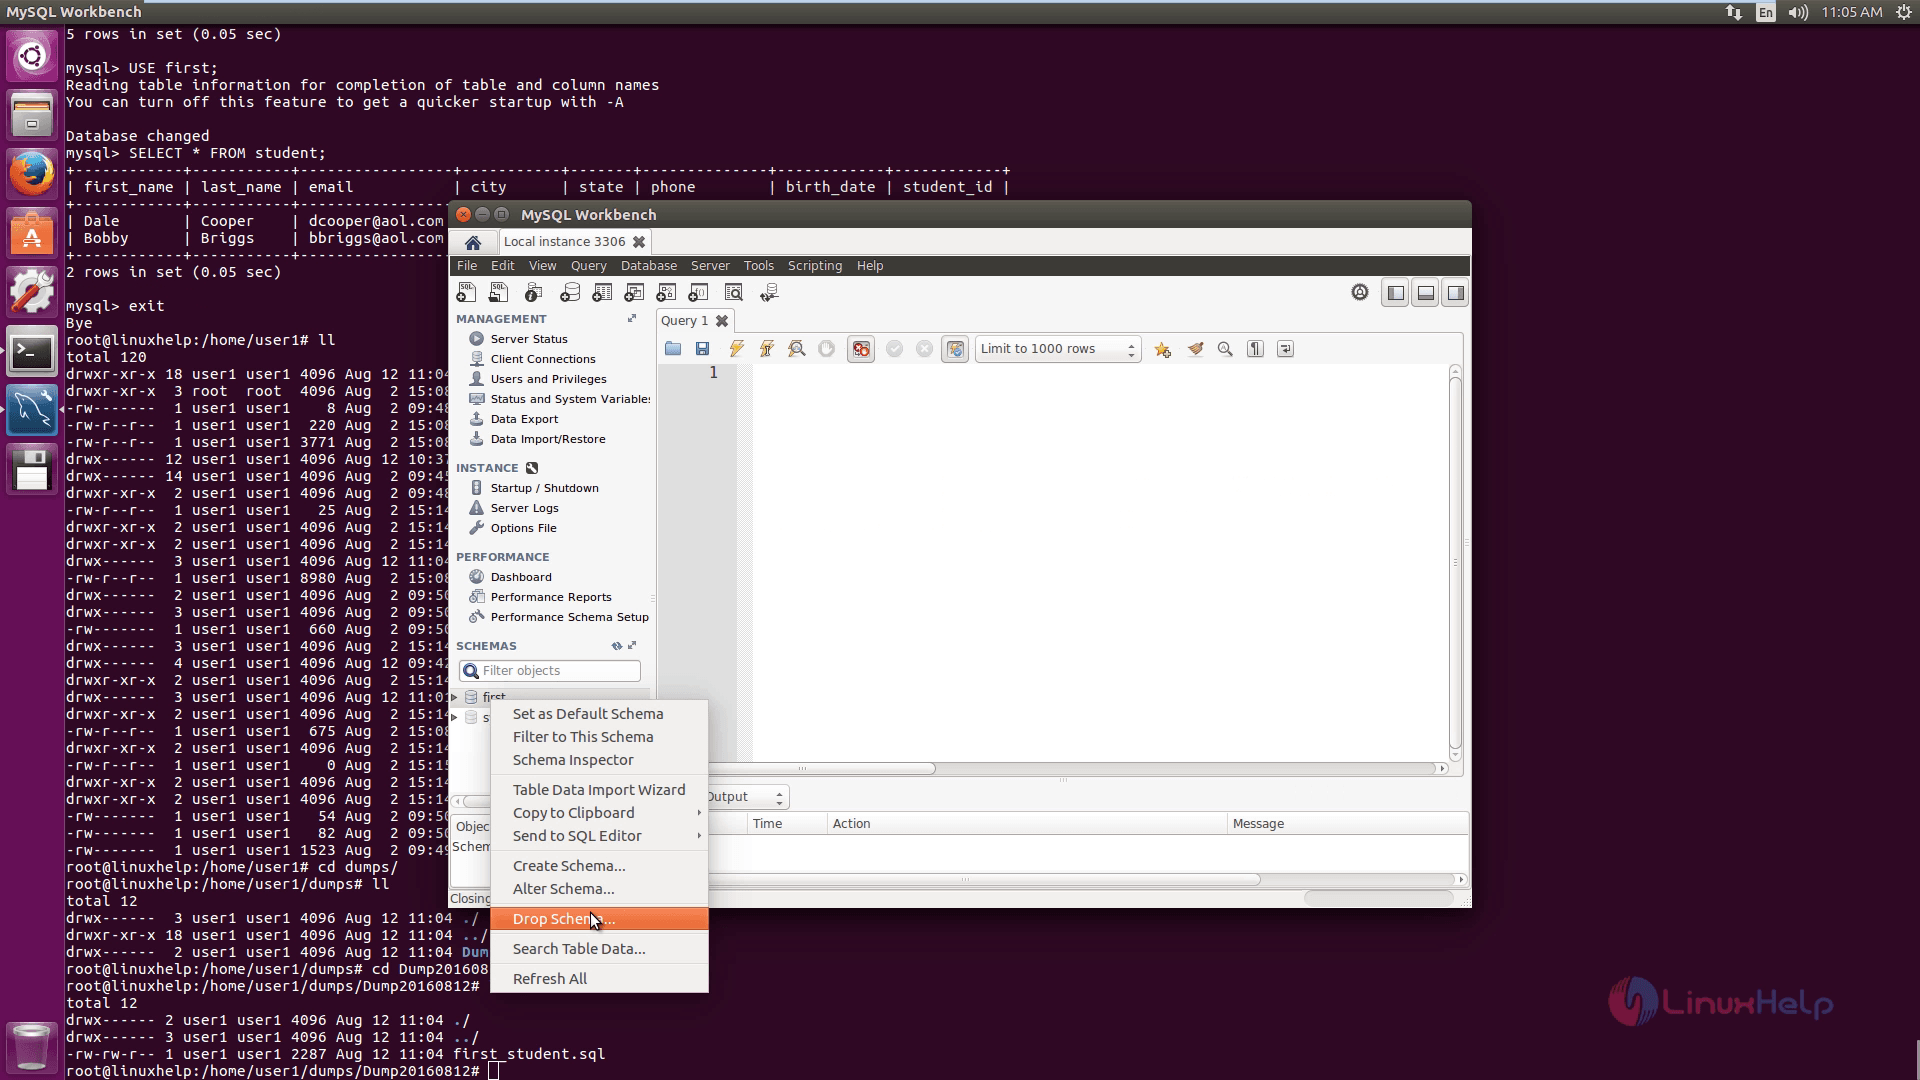
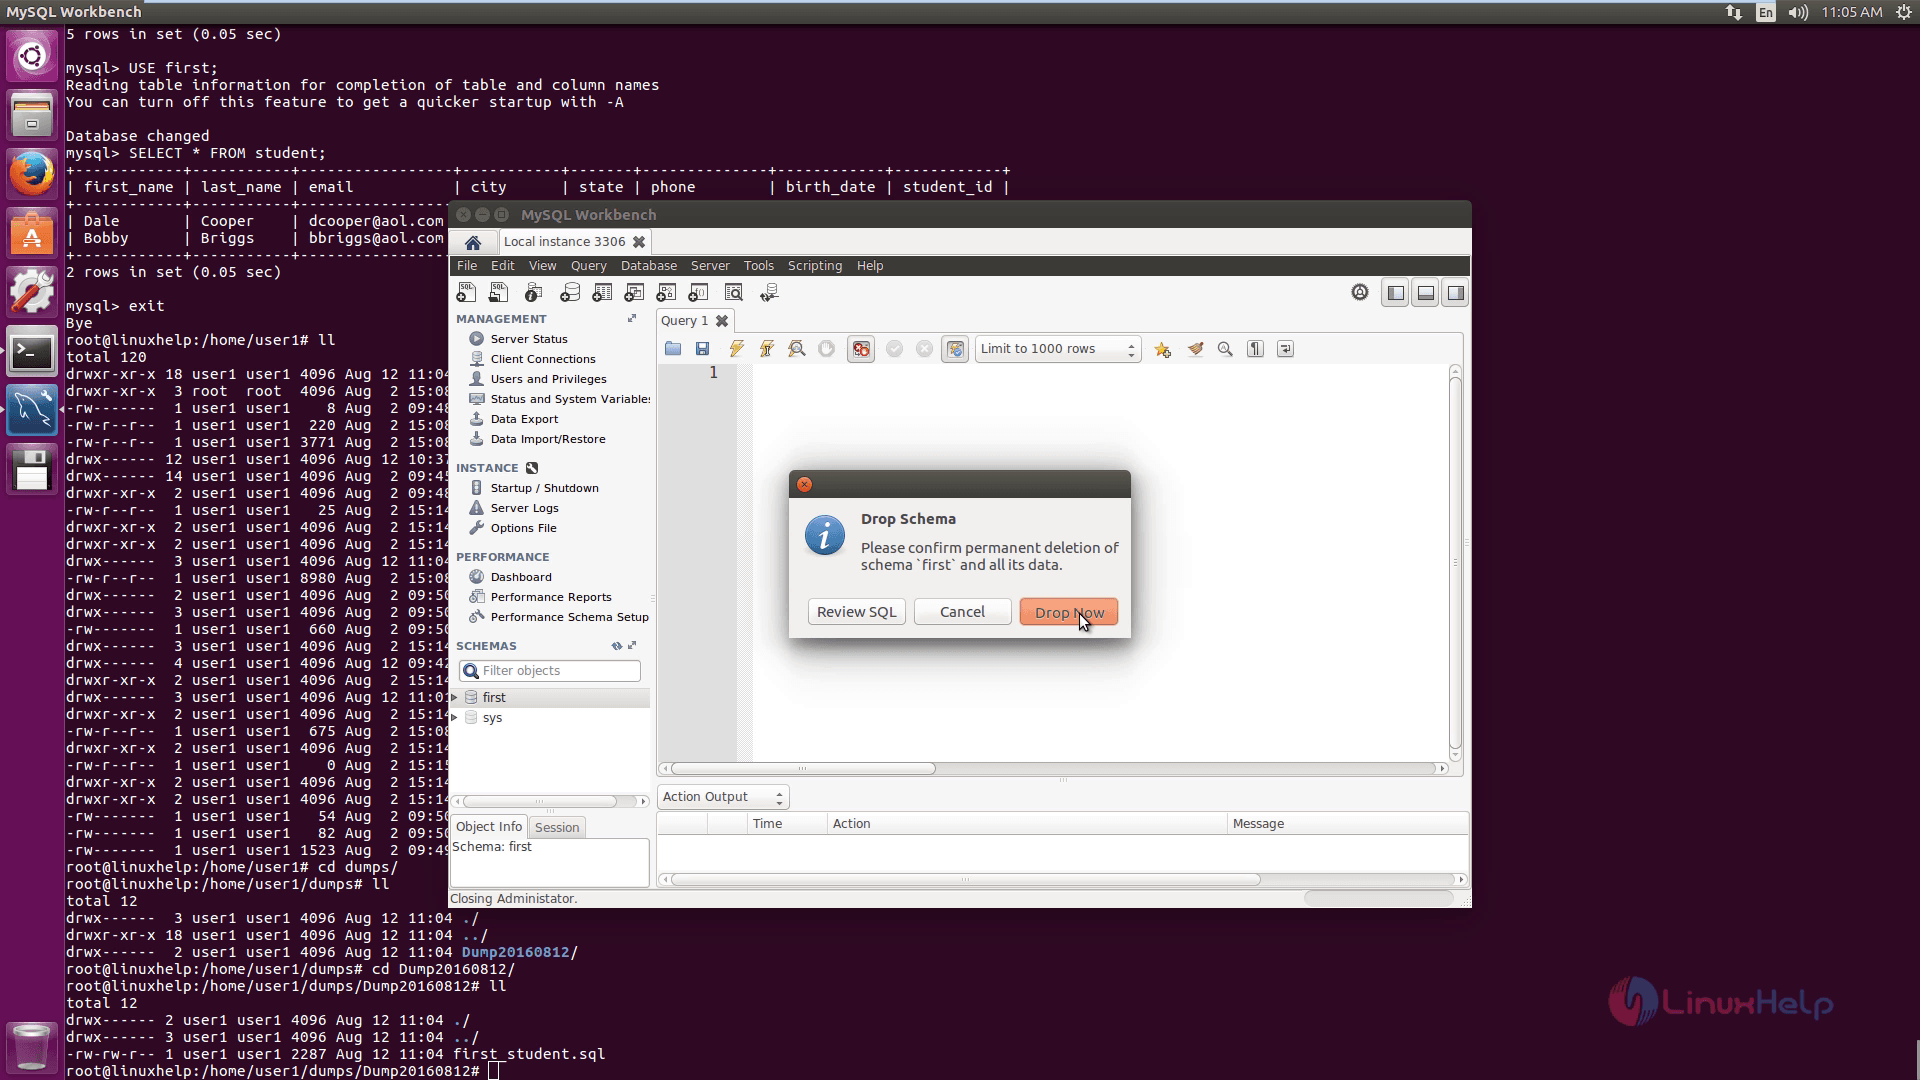
First delete the previous database before restoring. Next right click the database and then click on drop schema.
Next click Drop now.
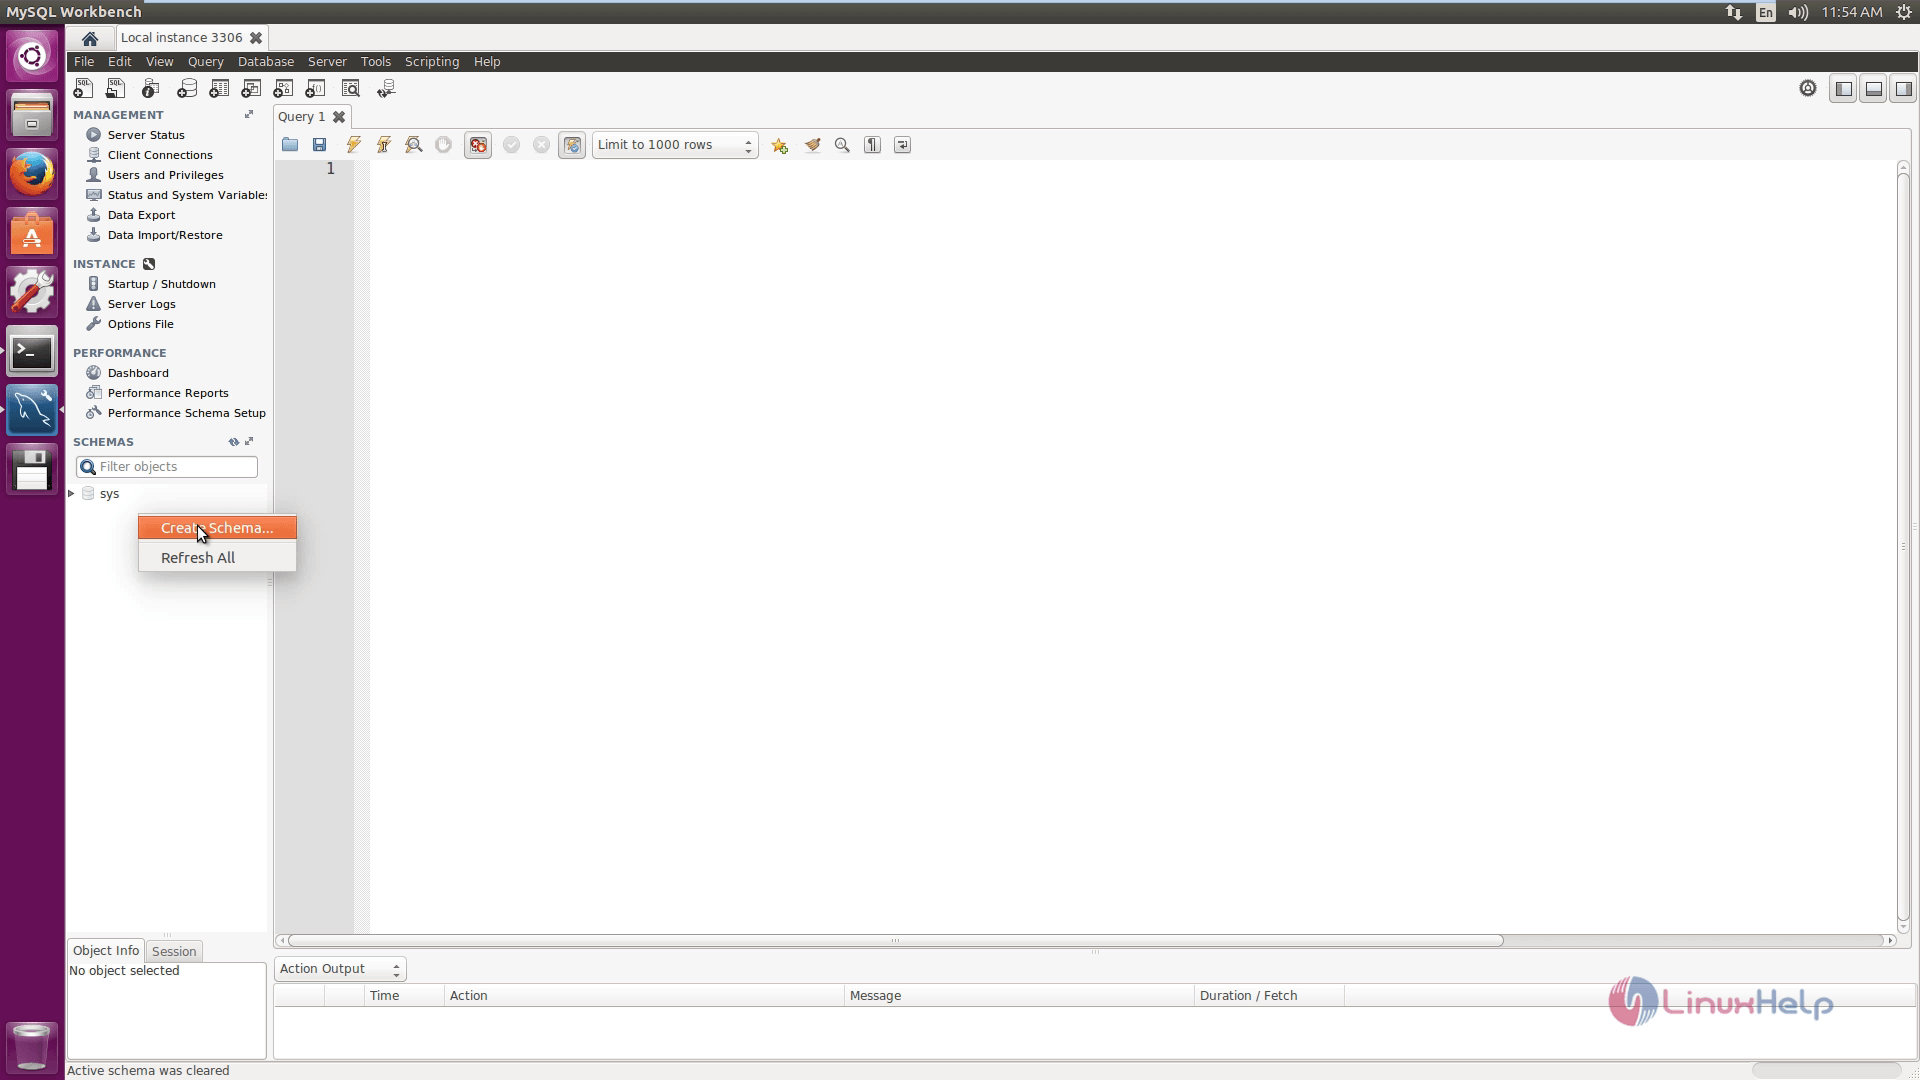
Now create a new database. Then right click on the schemas and select create schema.
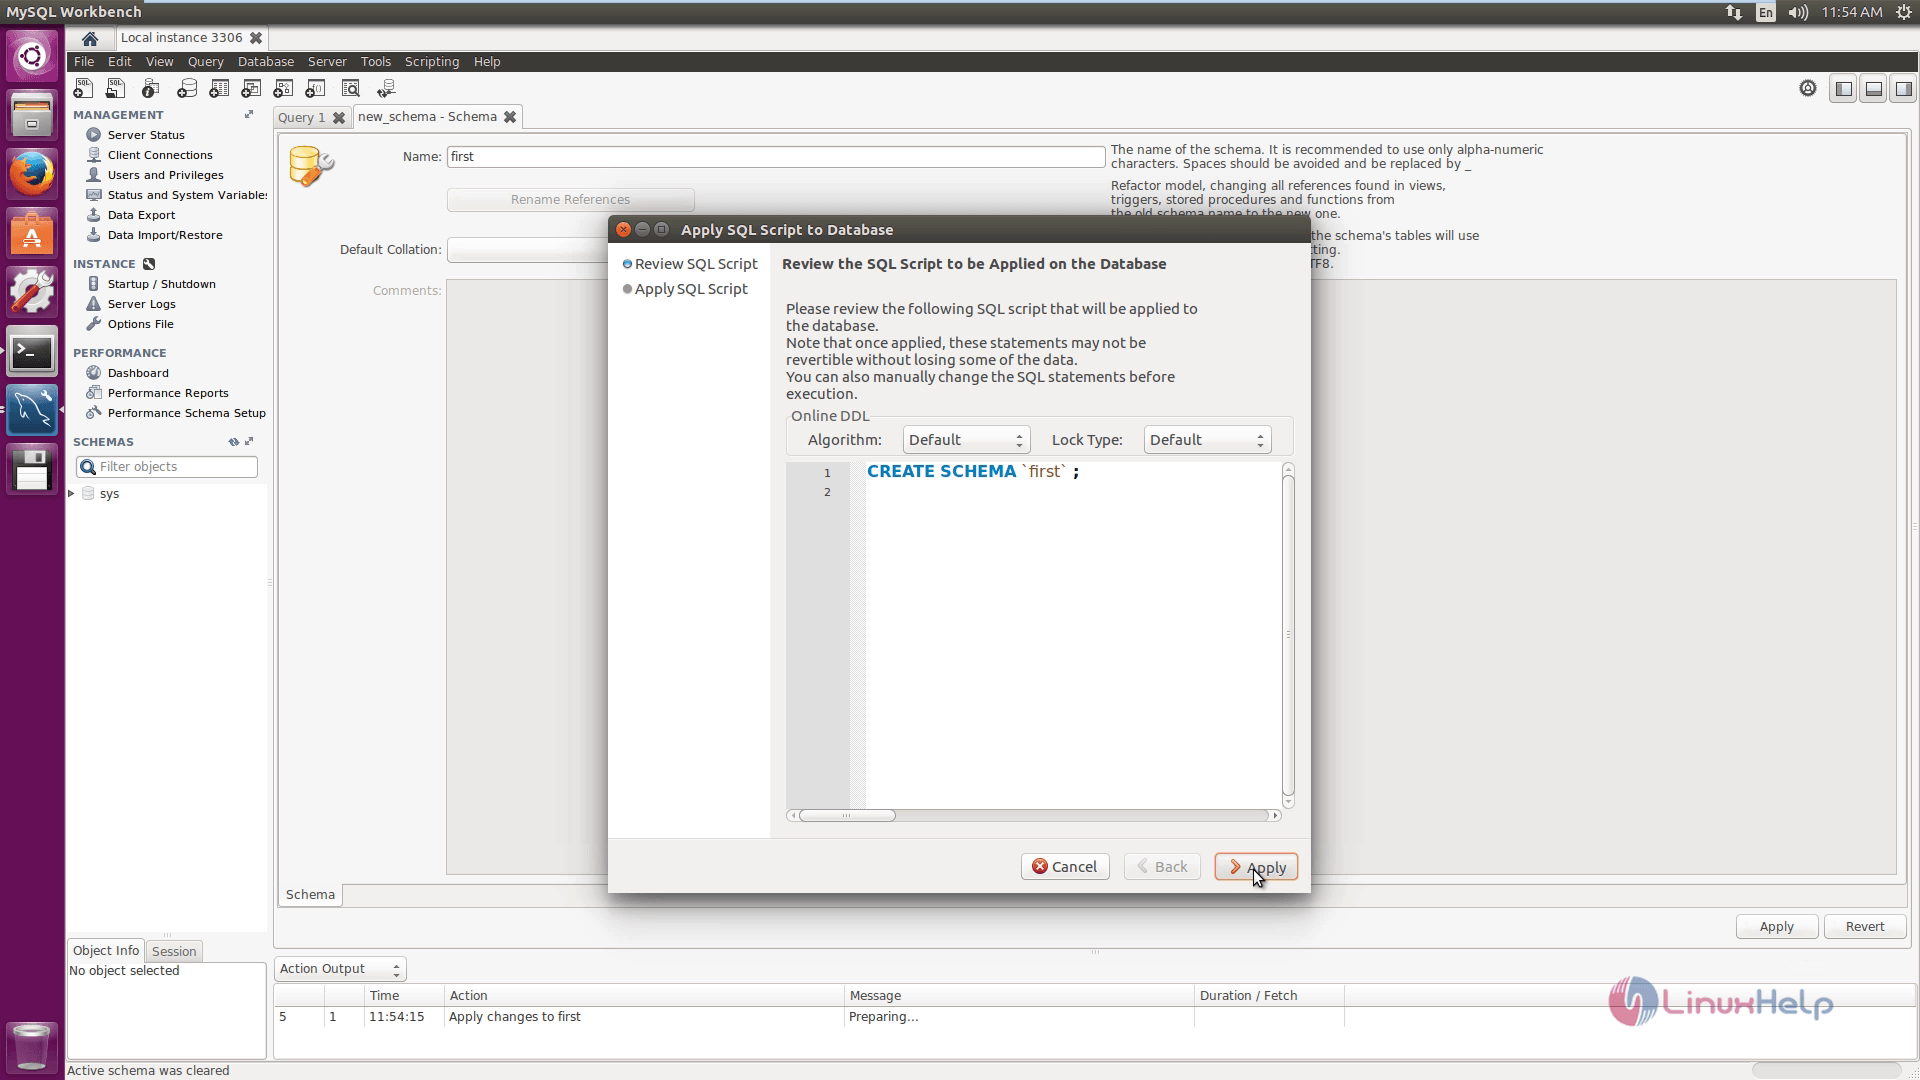
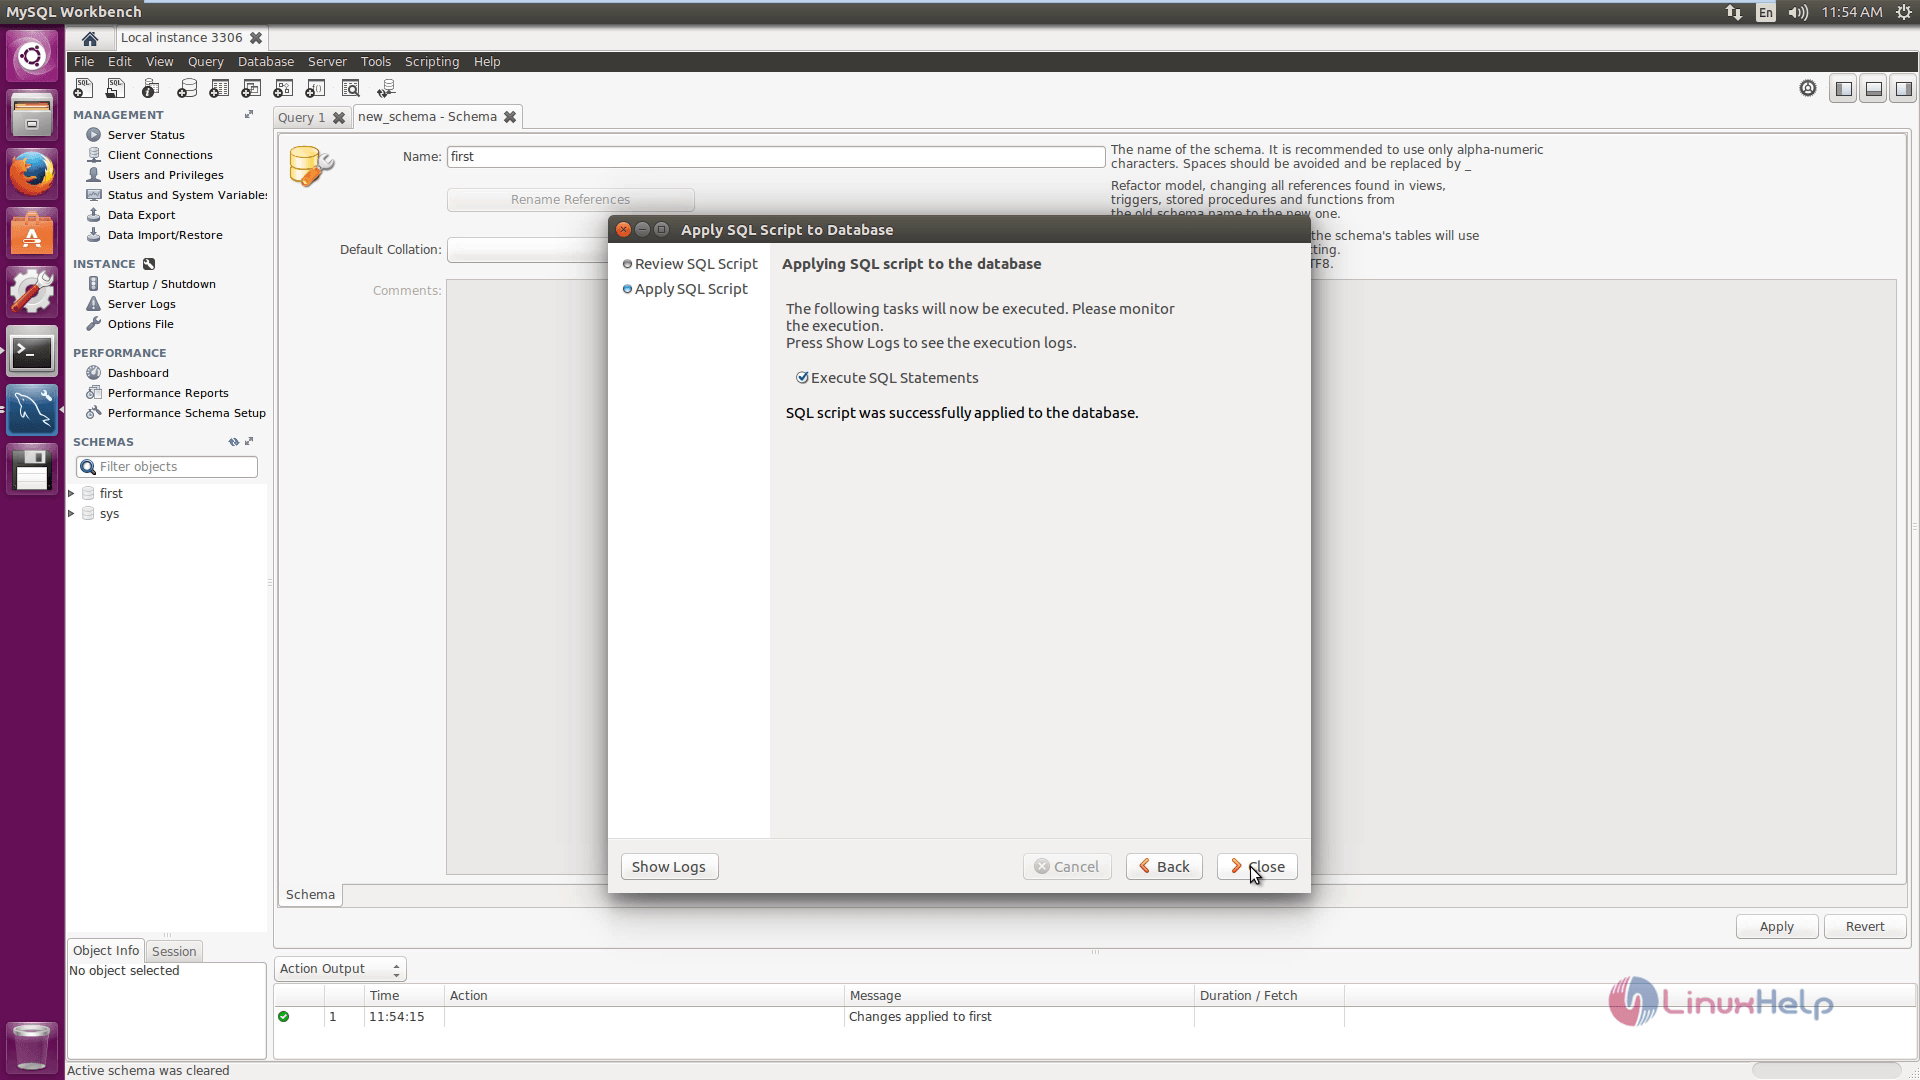
Here enter the database name and click on apply option.
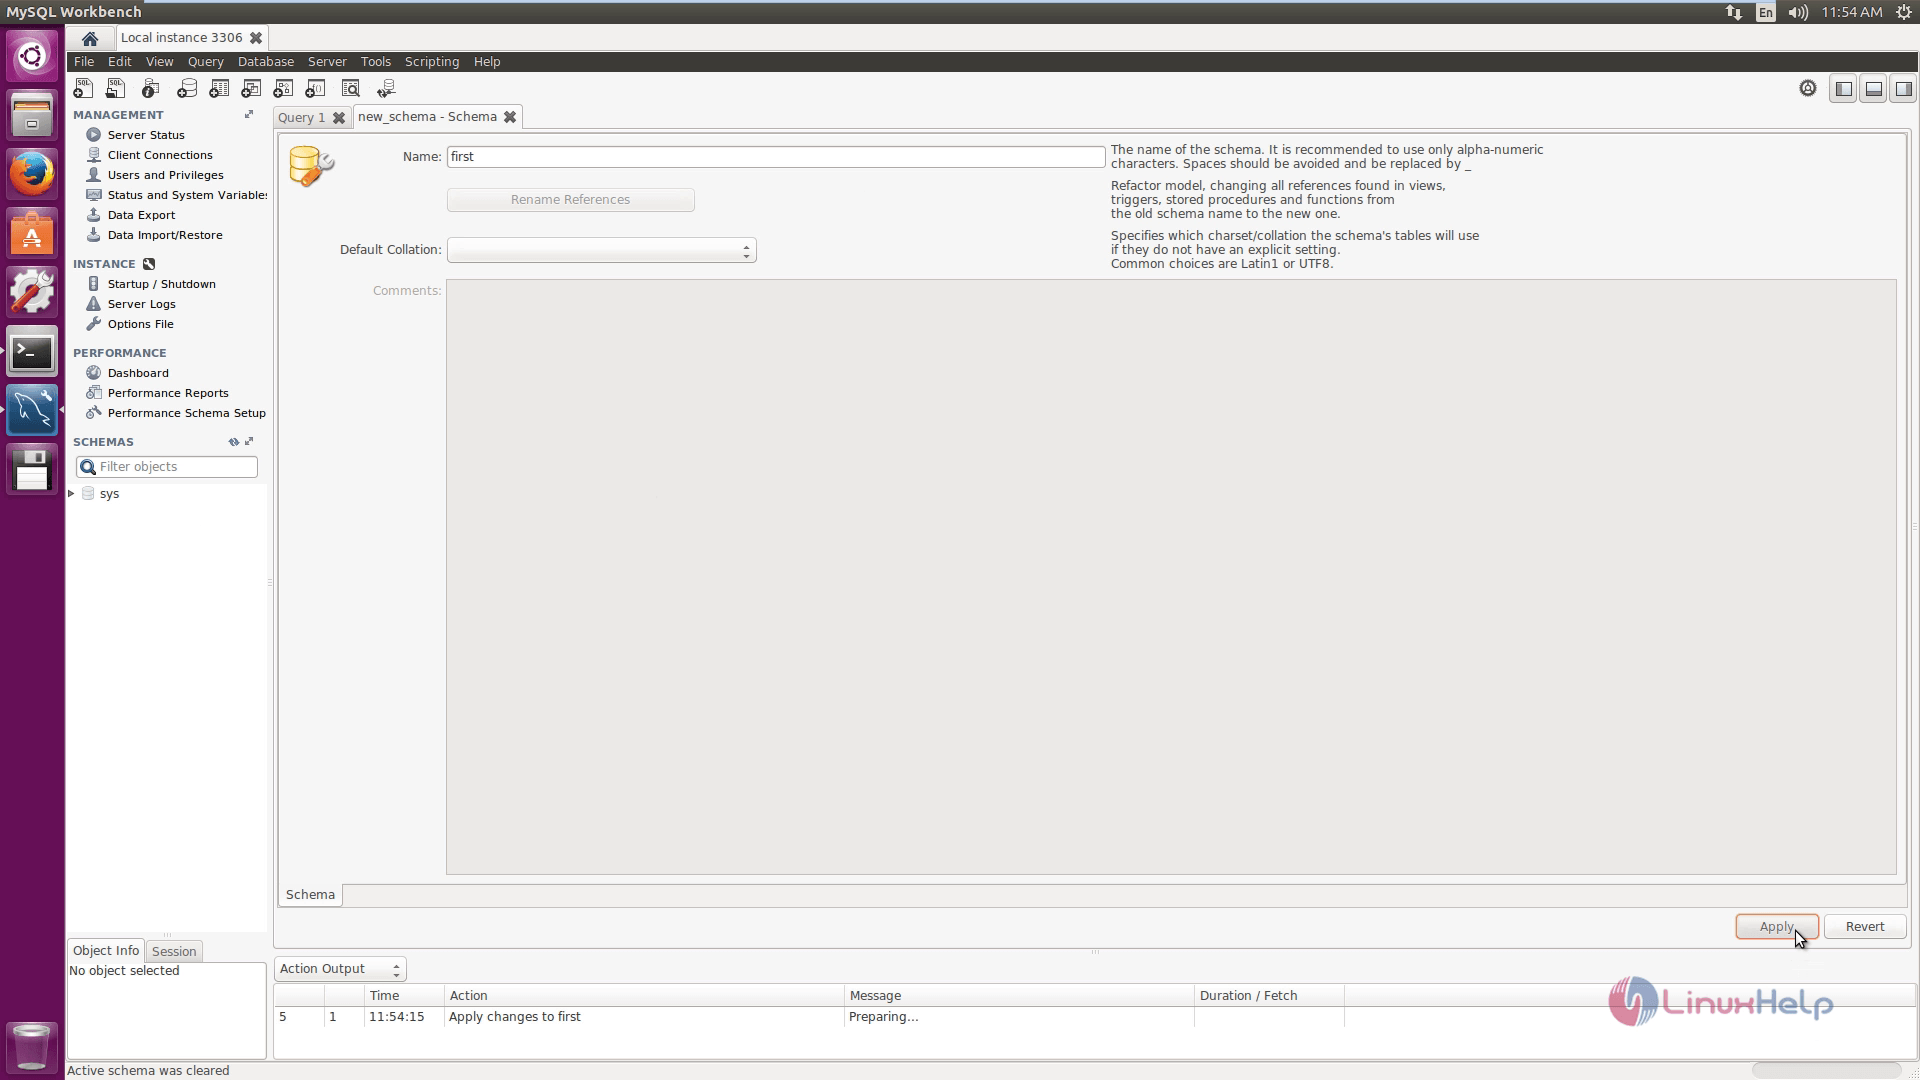
Again click on apply option to create the database and then click on close option.
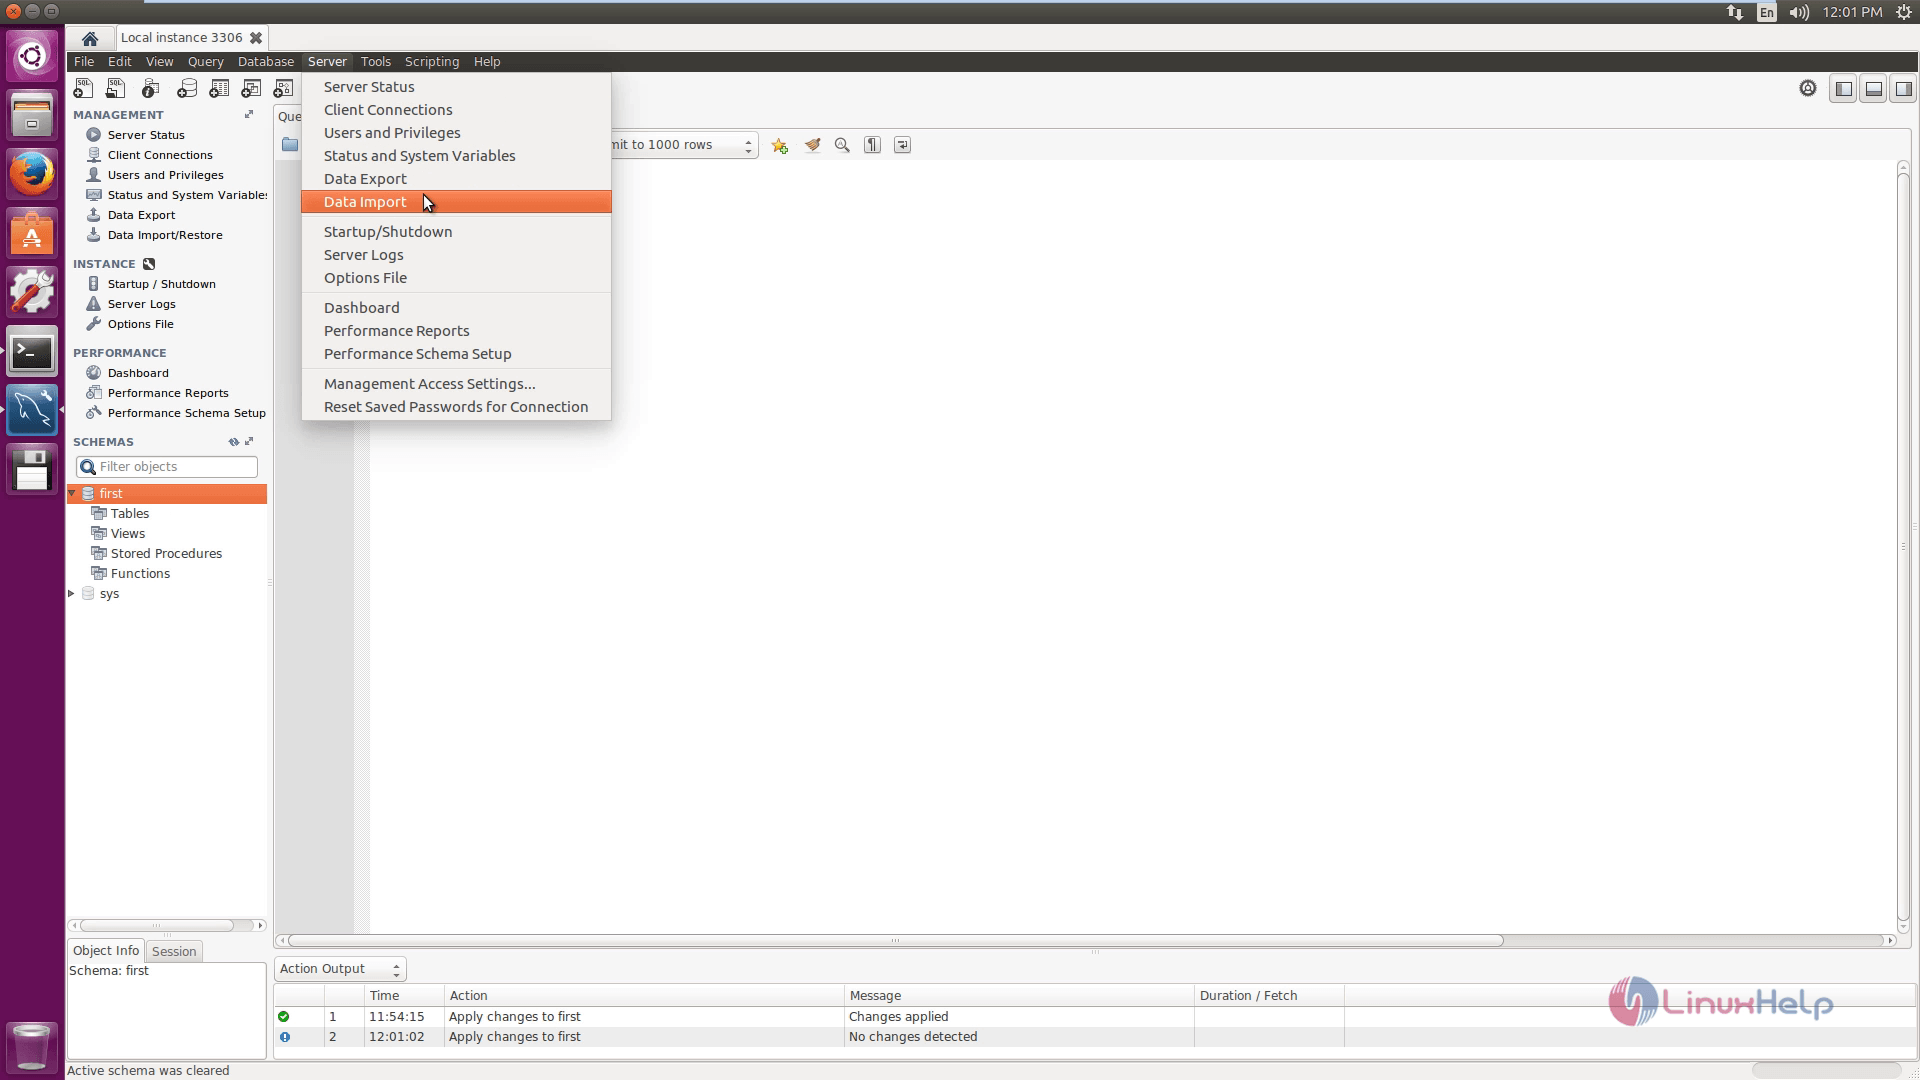
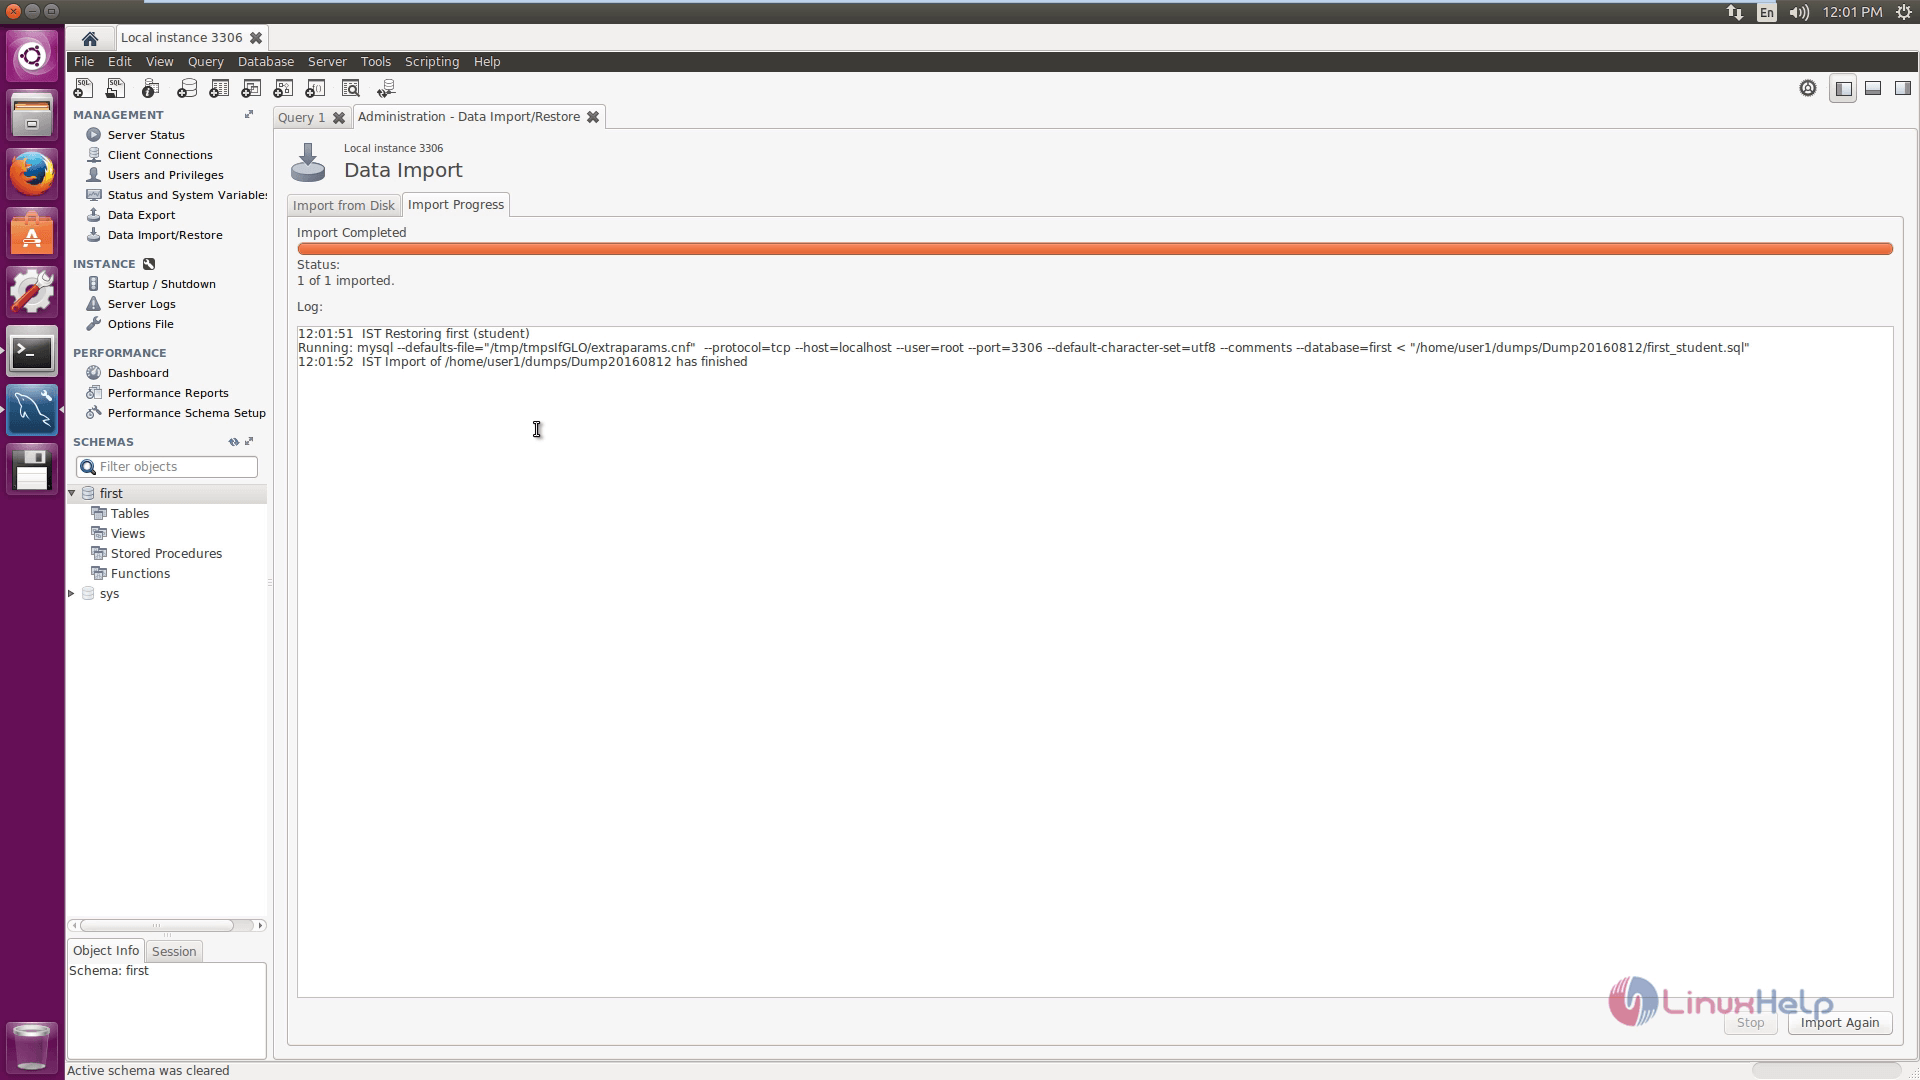
Now you can see the database is empty. Then restore the data in the first database. Here click on server in the menu bar and then click on Data import.
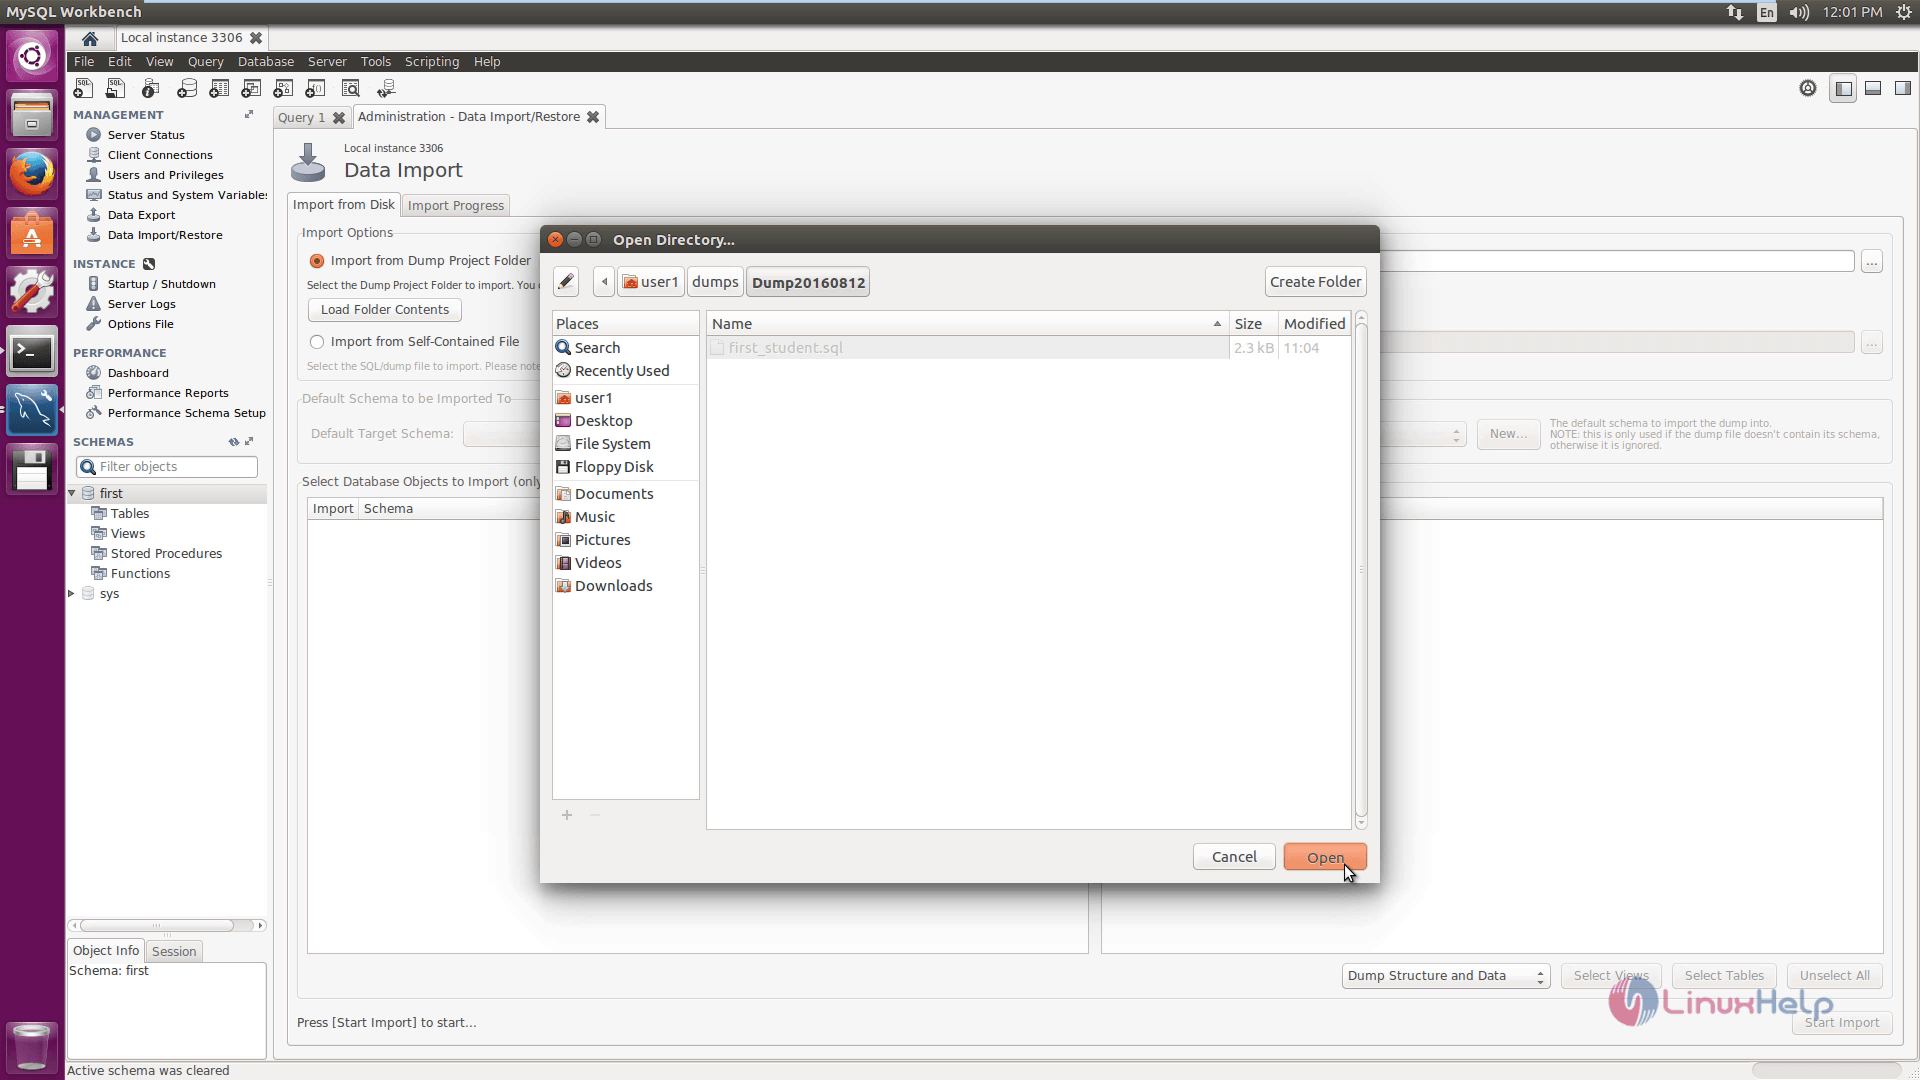
Next select the dump project folder in the import option.
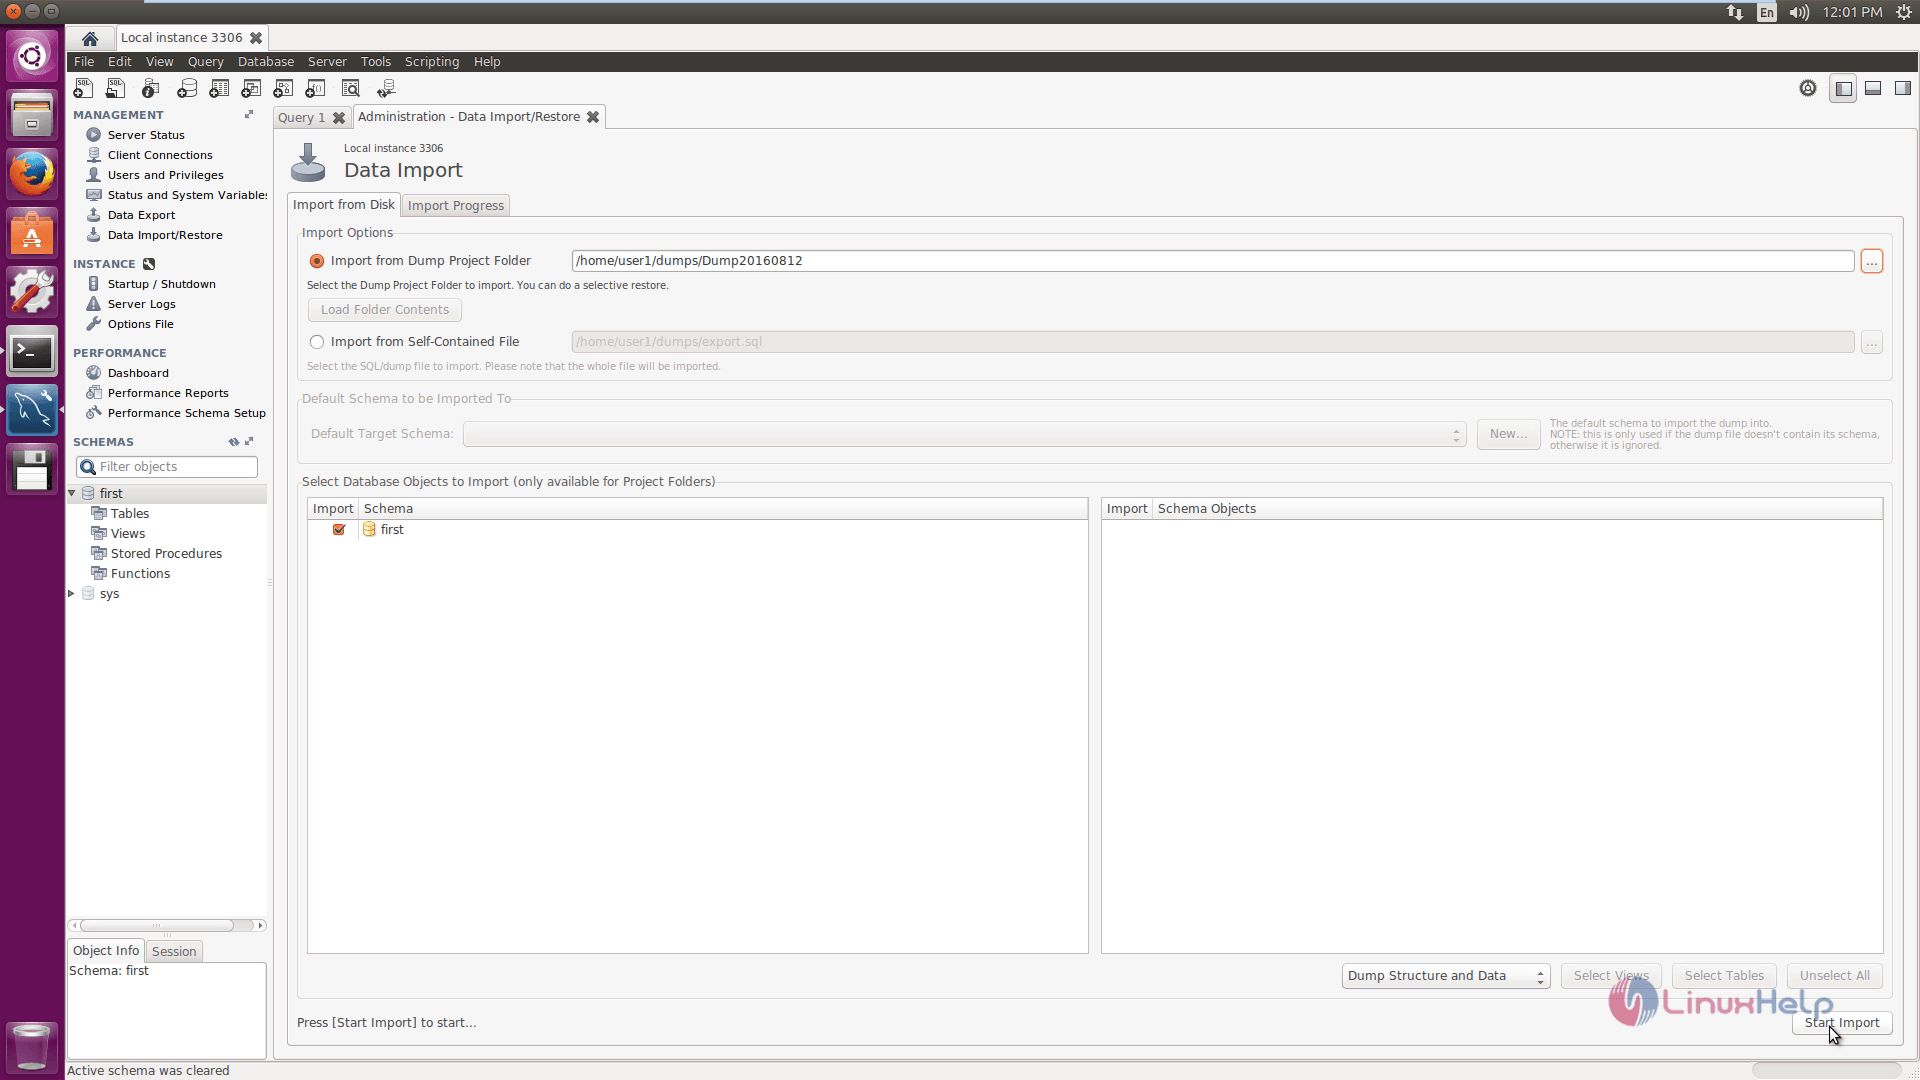
Next select the database objects for import and then click on Start import option.
Imported successfully.
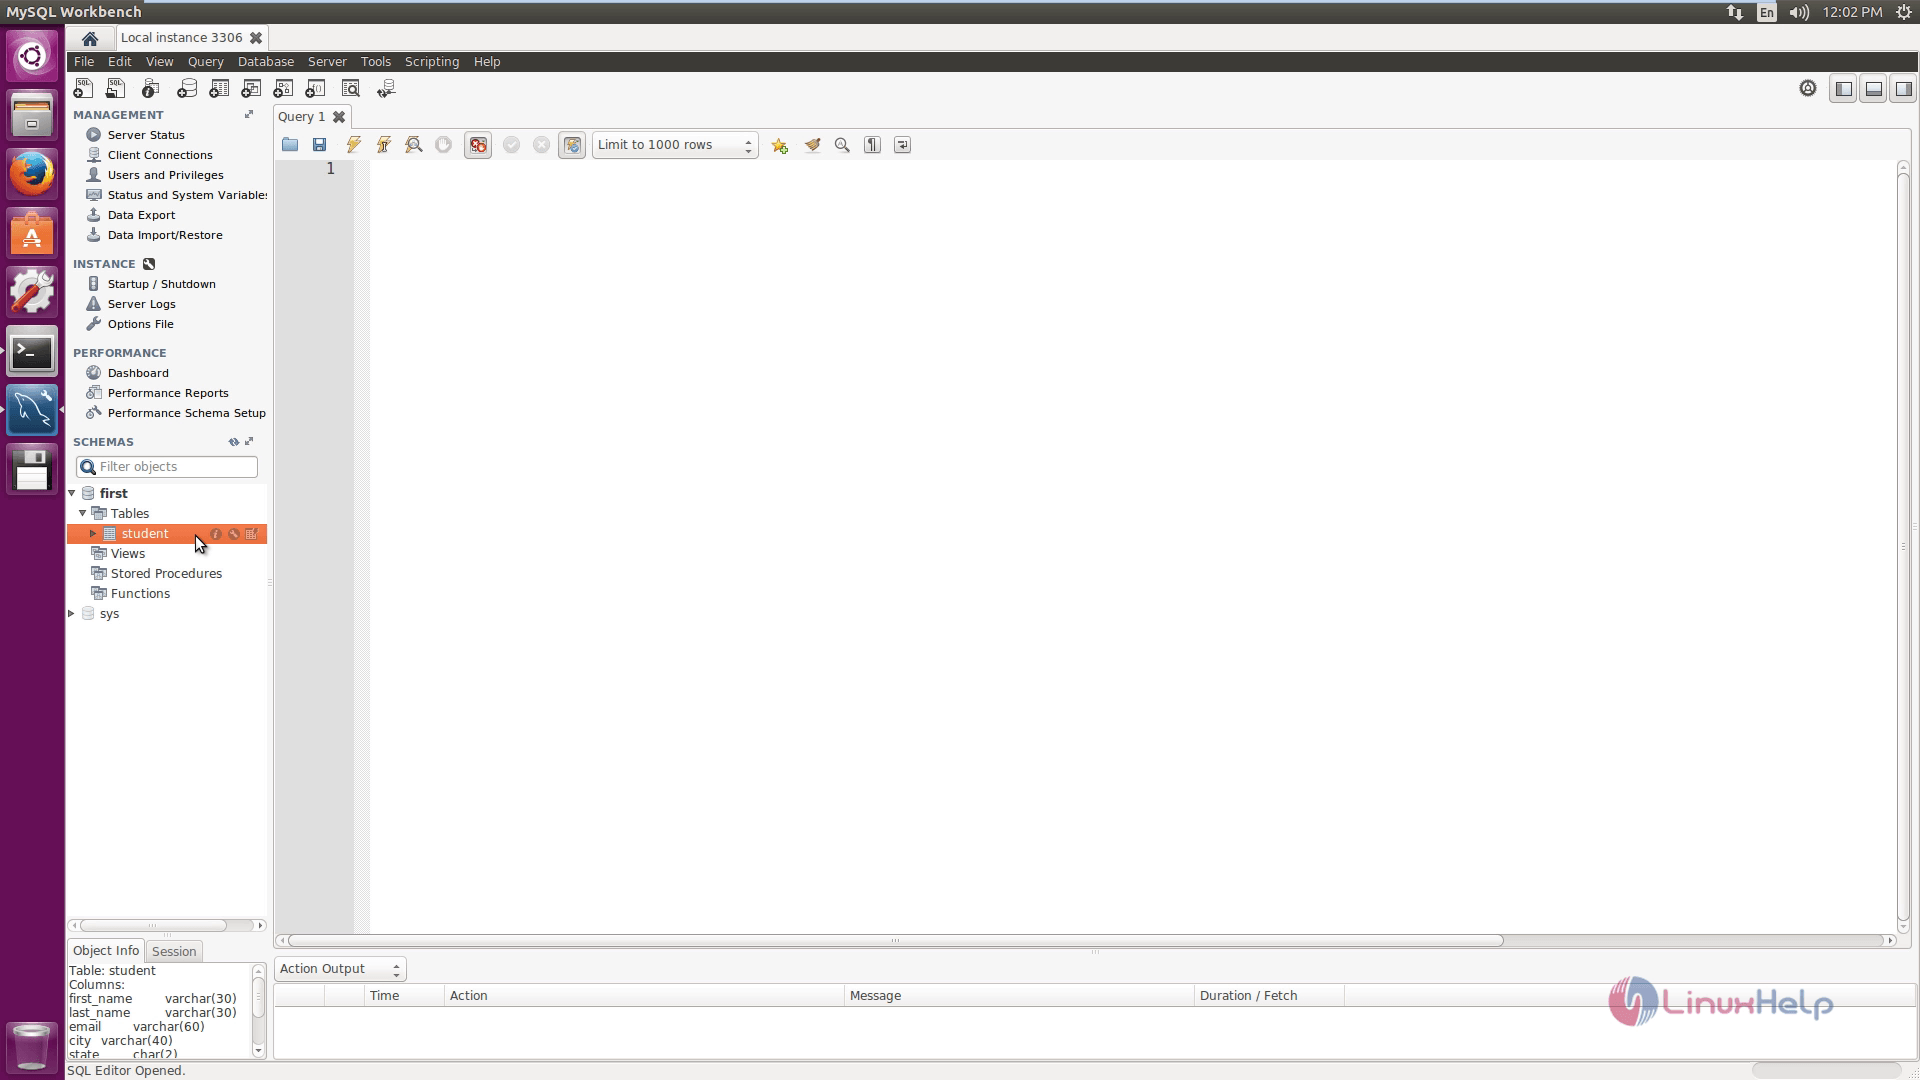
Now you can able to see the student table from the database.
Comments ( 0 )
No comments available