how to install opengts in ubuntu
To install OpenGTS in Ubuntu
OpenGTS is an open source web-based GPS system used to track vehicles. It supports google Maps, Microsoft virtual earth and also integrate with other mapping service provider. OpenGTS is also used for high level tracking issues. Installation of OpenGTS in Ubuntu is explained in this article.
Installation of OpenGTS
Before installing the OpenGTS, update the system with the " apt-get update" command.
user1@linuxhelp:~$ sudo apt-get update
[sudo] password for user1:
Get:1 http://security.ubuntu.com vivid-security InRelease [65.9 kB]
Hit http://in.archive.ubuntu.com vivid InRelease
Get:2 http://in.archive.ubuntu.com vivid-updates InRelease [65.9 kB]
&hellip
&hellip
Fetched 2,289 kB in 18s (123 kB/s)
Reading package lists... Done
Next install the LAMP and unzip packages. Enter the root password for mysql while installing mysql server.
user1@linuxhelp:~$ sudo apt-get install apache2 php5 mysql-server libmysql-java ant unzip
Reading package lists... Done
Building dependency tree
Reading state information... Done
&hellip
&hellip
Updating certificates in /etc/ssl/certs... 0 added, 0 removed  done.
Running hooks in /etc/ca-certificates/update.d....
done.
done.
user1@linuxhelp:~$ sudo /etc/init.d/mysql start
[ ok ] Starting mysql (via systemctl): mysql.service.
Next install the openjdk by using the below given command.
user1@linuxhelp:~$ sudo apt-get install openjdk-7-jdk
Reading package lists... Done
Building dependency tree
Reading state information... Done
&hellip
&hellip
Setting up libgnome2-bin (2.32.1-4ubuntu1) ...
Setting up libgnome2-0:amd64 (2.32.1-4ubuntu1) ...
Processing triggers for libc-bin (2.21-0ubuntu4) ...
Use the below command to define the home environment for java.
user1@linuxhelp:~$ export JAVA_HOME=/usr/lib/jvm/java-7-openjdk-amd64
user1@linuxhelp:~$ echo " export JAVA_HOME=/usr/lib/jvm/java-7-openjdk-amd64"  > >  ~/.bashrc
Now its time to install tomcat server with the below command.
user1@linuxhelp:/tmp$ wget -c http://mirror.fibergrid.in/apache/tomcat/tomcat-8/v8.5.5/bin/apache-tomcat-8.5.5.zip
--2016-09-13 06:31:59--  http://mirror.fibergrid.in/apache/tomcat/tomcat-8/v8.5.5/bin/apache-tomcat-8.5.5.zip
&hellip
&hellip
2016-09-13 06:32:15 (625 KB/s) - ‘ apache-tomcat-8.5.5.zip’  saved [9861090/9861090]
Then extract the installed tomcat server.
user1@linuxhelp:/tmp$ unzip apache-tomcat-8.5.5.zip
Archive:  apache-tomcat-8.5.5.zip
   creating: apache-tomcat-8.5.5/
   creating: apache-tomcat-8.5.5/bin/
   creating: apache-tomcat-8.5.5/conf/
&hellip
&hellip
  inflating: apache-tomcat-8.5.5/webapps/examples/websocket/echo.xhtml
  inflating: apache-tomcat-8.5.5/webapps/examples/websocket/index
Here copy the extracted tomcat server directory to the respective location. Then set that location as the home directory path.
user1@linuxhelp:/tmp$ sudo cp -a apache-tomcat-${VER} /usr/local/
user1@linuxhelp:/tmp$ export CATALINA_HOME=/usr/local/apache-tomcat-8.5.5
user1@linuxhelp:/tmp$ cd /usr/local
user1@linuxhelp:/usr/local$ sudo ln -s $CATALINA_HOME tomcat
user1@linuxhelp:/usr/local$ cd $CATALINA_HOME/bin
user1@linuxhelp:/bin$ chmod a+x *.sh
user1@linuxhelp:/bin$ $CATALINA_HOME/bin/startup.sh
user1@linuxhelp:/bin$ echo " export CATALINA_HOME=/usr/local/apache-tomcat-8.5.5"  > >  ~/.bashrc
Then configure the java mail and java connector with the below command.
user1@linuxhelp:/tmp$  wget -c http://dev.mysql.com/get/Downloads/Connector-J/mysql-connector-java-5.1.37.zip
user1@linuxhelp:/tmp$ unzip mysql-connector-java-5.1.37.zip
inflating: mysql-connector-java-5.1.37/src/testsuite/ssl-test-certs/mykey.pub
&hellip
&hellip
  inflating: mysql-connector-java-5.1.37/src/testsuite/ssl-test-certs/server-cert.pem
  inflating: mysql-connector-java-5.1.37/src/testsuite/ssl-test-certs/server-key.pem
  inflating: mysql-connector-java-5.1.37/src/testsuite/ssl-test-certs/server-req.pem
  inflating: mysql-connector-java-5.1.37/src/testsuite/ssl-test-certs/test-cert-store
user1@linuxhelp:/tmp/mysql-connector-java-5.1.37$ sudo cp mysql-connector-java-5.1.37-bin.jar $JAVA_HOME/jre/lib/ext
user1@linuxhelp:/tmp/mysql-connector-java-5.1.37$ cd /tmp/
user1@linuxhelp:/tmp$ wget -c https://maven.java.net/content/repositories/releases/com/sun/mail/javax.mail/1.5.2/javax.mail-1.5.2.jar
--2016-09-13 06:46:28--  https://maven.java.net/content/repositories/releases/com/sun/mail/javax.mail/1.5.2/javax.mail-1.5.2.jar
&hellip
&hellip
2016-09-13 06:46:32 (350 KB/s) - ‘ javax.mail-1.5.2.jar’  saved [571102/571102]
user1@linuxhelp:/tmp$ sudo cp javax.mail-1.5.2.jar $JAVA_HOME/jre/lib/ext/
user1@linuxhelp:/tmp$ sudo mv $JAVA_HOME/jre/lib/ext/javax.mail-1.5.2.jar $JAVA_HOME/jre/lib/ext/javax.mail.jar
Now you need to Download and Configure the OpenGTS with the following command.
user1@linuxhelp:/tmp$ wget -c http://liquidtelecom.dl.sourceforge.net/project/opengts/server-base/2.6.2/OpenGTS_2.6.2.zip
--2016-09-13 06:49:40--  http://liquidtelecom.dl.sourceforge.net/project/opengts/server-base/2.6.2/OpenGTS_2.6.2.zip
&hellip
&hellip
2016-09-13 06:49:51 (510 KB/s) - ‘ OpenGTS_2.6.2.zip’  saved [5489160/5489160]
user1@linuxhelp:/tmp$ sudo unzip /tmp/OpenGTS_2.6.2.zip -d /usr/local/
Archive:  /tmp/OpenGTS_2.6.2.zip
   creating: /usr/local/OpenGTS_2.6.2/
 extracting: /usr/local/OpenGTS_2.6.2/.RELEASE_2.6.2
   creating: /usr/local/OpenGTS_2.6.2/ant/
&hellip
&hellip
inflating: /usr/local/OpenGTS_2.6.2/war/track/WEB-INF/tld/Track.tld
  inflating: /usr/local/OpenGTS_2.6.2/war/track/WEB-INF/web.xml
  inflating: /usr/local/OpenGTS_2.6.2/webapp.conf
user1@linuxhelp:/tmp$ sudo chown -R user1:sudo /usr/local/OpenGTS_2.6.2
Defining GTS_HOME
user1@linuxhelp:/tmp$ export GTS_HOME=/usr/local/OpenGTS_2.6.2
user1@linuxhelp:/tmp$ echo " export GTS_HOME=/usr/local/OpenGTS_2.6.2"  > >  ~/.bashrc
Next configure the environmental variables.
user1@linuxhelp:/tmp$ echo " export ANT_HOME=/usr/share/ant"  > >  ~/.bashrc
user1@linuxhelp:/tmp$ source ~/.bashrc
user1@linuxhelp:/tmp$ sudo ln -s $JAVA_HOME /usr/local/java
user1@linuxhelp:/tmp$ sudo ln -s $CATALINA_HOME /usr/local/tomcat
user1@linuxhelp:/tmp$ sudo ln -s $GTS_HOME /usr/local/gts
Edit and open the Config.conf file with the below command.
user1@linuxhelp:/tmp$ nano /usr/local/OpenGTS_2.6.2/config.conf
While executing the above command, just uncomment the below lines
Db.sql.user=gts
Db.sql.password=opengts
Save the file and exit. Verify that $CATALINA_HOME has a folder apache-tomcat.
user1@linuxhelp:/tmp$ ls -l $CATALINA_HOME
If recursive link is exist, then unlink it to avoid the compilation problem.
user1@linuxhelp:/tmp$ unlink /usr/local/apache-tomcat-8.5.5/apache-tomcat-8.5.5
Here you need to compile the OpenGTS.
user1@linuxhelp:/tmp$ cd $GTS_HOME
user1@linuxhelp:/usr/local/OpenGTS_2.6.2$ ant all
Picked up JAVA_TOOL_OPTIONS: -javaagent:/usr/share/java/jayatanaag.jar
Buildfile: /usr/local/OpenGTS_2.6.2/build.xml
clean:
custom.jar:
.
.
.
.
BUILD SUCCESSFUL
Total time: 43 seconds
Then initialize the OpenGTS with the below command.
user1@linuxhelp:/usr/local/OpenGTS_2.6.2$ bin/initdb.sh -rootuser=root -rootPass=123
Picked up JAVA_TOOL_OPTIONS: -javaagent:/usr/share/java/jayatanaag.jar
Version: 2.6.2
Database created: gts
Privileges granted to user: gts
&hellip
&hellip
Column validation completed successfully.
Updating GTS Version: 2.6.2
Updating DMTP Version: 1.3.6
Check whether everthing' s correct.
user1@linuxhelp:/usr/local/OpenGTS_2.6.2$ bin/checkInstall.sh
Picked up JAVA_TOOL_OPTIONS: -javaagent:/usr/share/java/jayatanaag.jar
Version: 2.6.2
GTS_HOME: /usr/local/OpenGTS_2.6.2
Memory-Mb: Max=247.5, Total=14.9, Free=11.1, Used=3.8 [2%]
&hellip
&hellip
No errors reported

-- Found 1 Warning(s):
1) Memory below recommended value
-- Recommendations:
- Highly recommend increasing memory to at least 4096 Mb for a production environment.
Now add account and install the Track Java Servlet.
user1@linuxhelp:/usr/local/OpenGTS_2.6.2$ bin/admin.sh Account -account=sysadmin -pass=password -create
Entry Point: org.opengts.db.tables.Account
Picked up JAVA_TOOL_OPTIONS: -javaagent:/usr/share/java/jayatanaag.jar
Created Account-ID: sysadmin
user1@linuxhelp:/usr/local/OpenGTS_2.6.2$ ant track
Picked up JAVA_TOOL_OPTIONS: -javaagent:/usr/share/java/jayatanaag.jar
Buildfile: /usr/local/OpenGTS_2.6.2/build.xml
&hellip
&hellip
[echo] ' track.war'  created.
BUILD SUCCESSFUL
Total time: 3 seconds
user1@linuxhelp:/usr/local/OpenGTS_2.6.2$ cp build/track.war /usr/local/apache-tomcat-8.5.5/webapps/
Restart the tomcat server for further process.
user1@linuxhelp:/usr/local/OpenGTS_2.6.2$ $CATALINA_HOME/bin/shutdown.sh
Using CATALINA_BASE: /usr/local/apache-tomcat-8.5.5
Using CATALINA_HOME: /usr/local/apache-tomcat-8.5.5
Using CATALINA_TMPDIR: /usr/local/apache-tomcat-8.5.5/temp
Using JRE_HOME: /usr/lib/jvm/java-7-openjdk-amd64
Using CLASSPATH: /usr/local/apache-tomcat-8.5.5/bin/bootstrap.jar:/usr/local/apache-tomcat-8.5.5/bin/tomcat-juli.jar
Picked up JAVA_TOOL_OPTIONS: -javaagent:/usr/share/java/jayatanaag.jar
Remove the webapp track files with the below command.
user1@linuxhelp:/usr/local/OpenGTS_2.6.2$ rm -rf /usr/local/apache-tomcat-8.5.5/webapps/track*
user1@linuxhelp:/usr/local/OpenGTS_2.6.2$ cp $GTS_HOME/build/track.war $CATALINA_HOME/webapps/
Again start the tomcat service by using the below command.
user1@linuxhelp:/usr/local/OpenGTS_2.6.2$ $CATALINA_HOME/bin/startup.sh
Using CATALINA_BASE: /usr/local/apache-tomcat-8.5.5
Using CATALINA_HOME: /usr/local/apache-tomcat-8.5.5
Using CATALINA_TMPDIR: /usr/local/apache-tomcat-8.5.5/temp
Using JRE_HOME: /usr/lib/jvm/java-7-openjdk-amd64
Using CLASSPATH: /usr/local/apache-tomcat-8.5.5/bin/bootstrap.jar:/usr/local/apache-tomcat-8.5.5/bin/tomcat-juli.jar
Tomcat started.
Finally run the below command to install the Event Java Servlet and gprmc package.
user1@linuxhelp:/usr/local/OpenGTS_2.6.2$ ant events
Picked up JAVA_TOOL_OPTIONS: -javaagent:/usr/share/java/jayatanaag.jar
Buildfile: /usr/local/OpenGTS_2.6.2/build.xml
&hellip
&hellip
BUILD SUCCESSFUL
Total time: 3 seconds
user1@linuxhelp:/usr/local/OpenGTS_2.6.2$ cp -v build/events.war $CATALINA_HOME/webapps
‘ build/events.war’  ->  ‘ /usr/local/apache-tomcat-8.5.5/webapps/events.war’
user1@linuxhelp:/usr/local/OpenGTS_2.6.2$ ant gprmc
Picked up JAVA_TOOL_OPTIONS: -javaagent:/usr/share/java/jayatanaag.jar
Buildfile: /usr/local/OpenGTS_2.6.2/build.xml
&hellip
&hellip
[echo] ' gprmc.war'  created.
BUILD SUCCESSFUL
Total time: 3 seconds
user1@linuxhelp:/usr/local/OpenGTS_2.6.2$ cp build/gprmc.war /usr/local/apache-tomcat-8.5.5/webapps/
Again verify the installation process.
user1@linuxhelp:/usr/local/OpenGTS_2.6.2$ bin/checkInstall.sh
Picked up JAVA_TOOL_OPTIONS: -javaagent:/usr/share/java/jayatanaag.jar
Version: 2.6.2
GTS_HOME: /usr/local/OpenGTS_2.6.2
Memory-Mb: Max=247.5, Total=14.9, Free=11.1, Used=3.8 [2%]
&hellip
&hellip
No errors reported
-- Found 1 Warning(s):
1) Memory below recommended value

done.
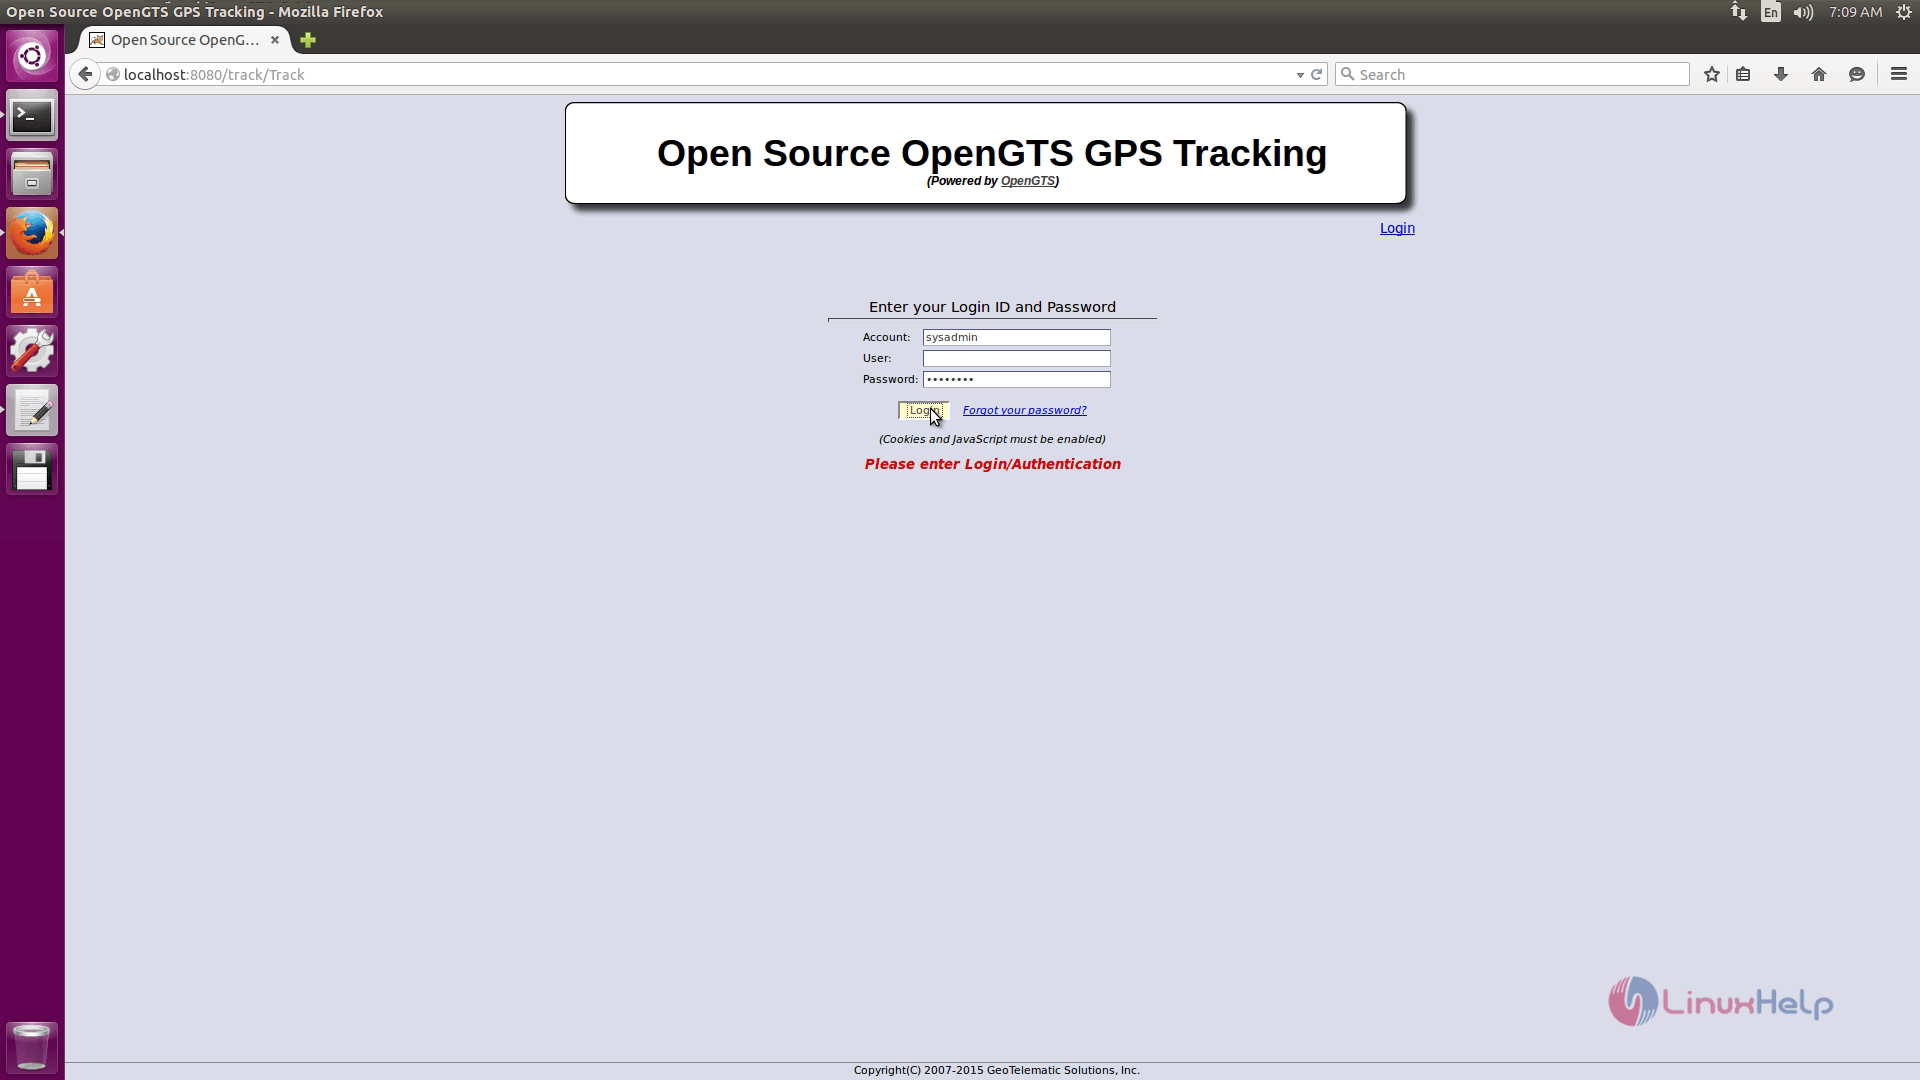
Now its time to open the browser and enter the URL localhost:8080/track/Track. Enter the following credentials in the OpenGTS login page.
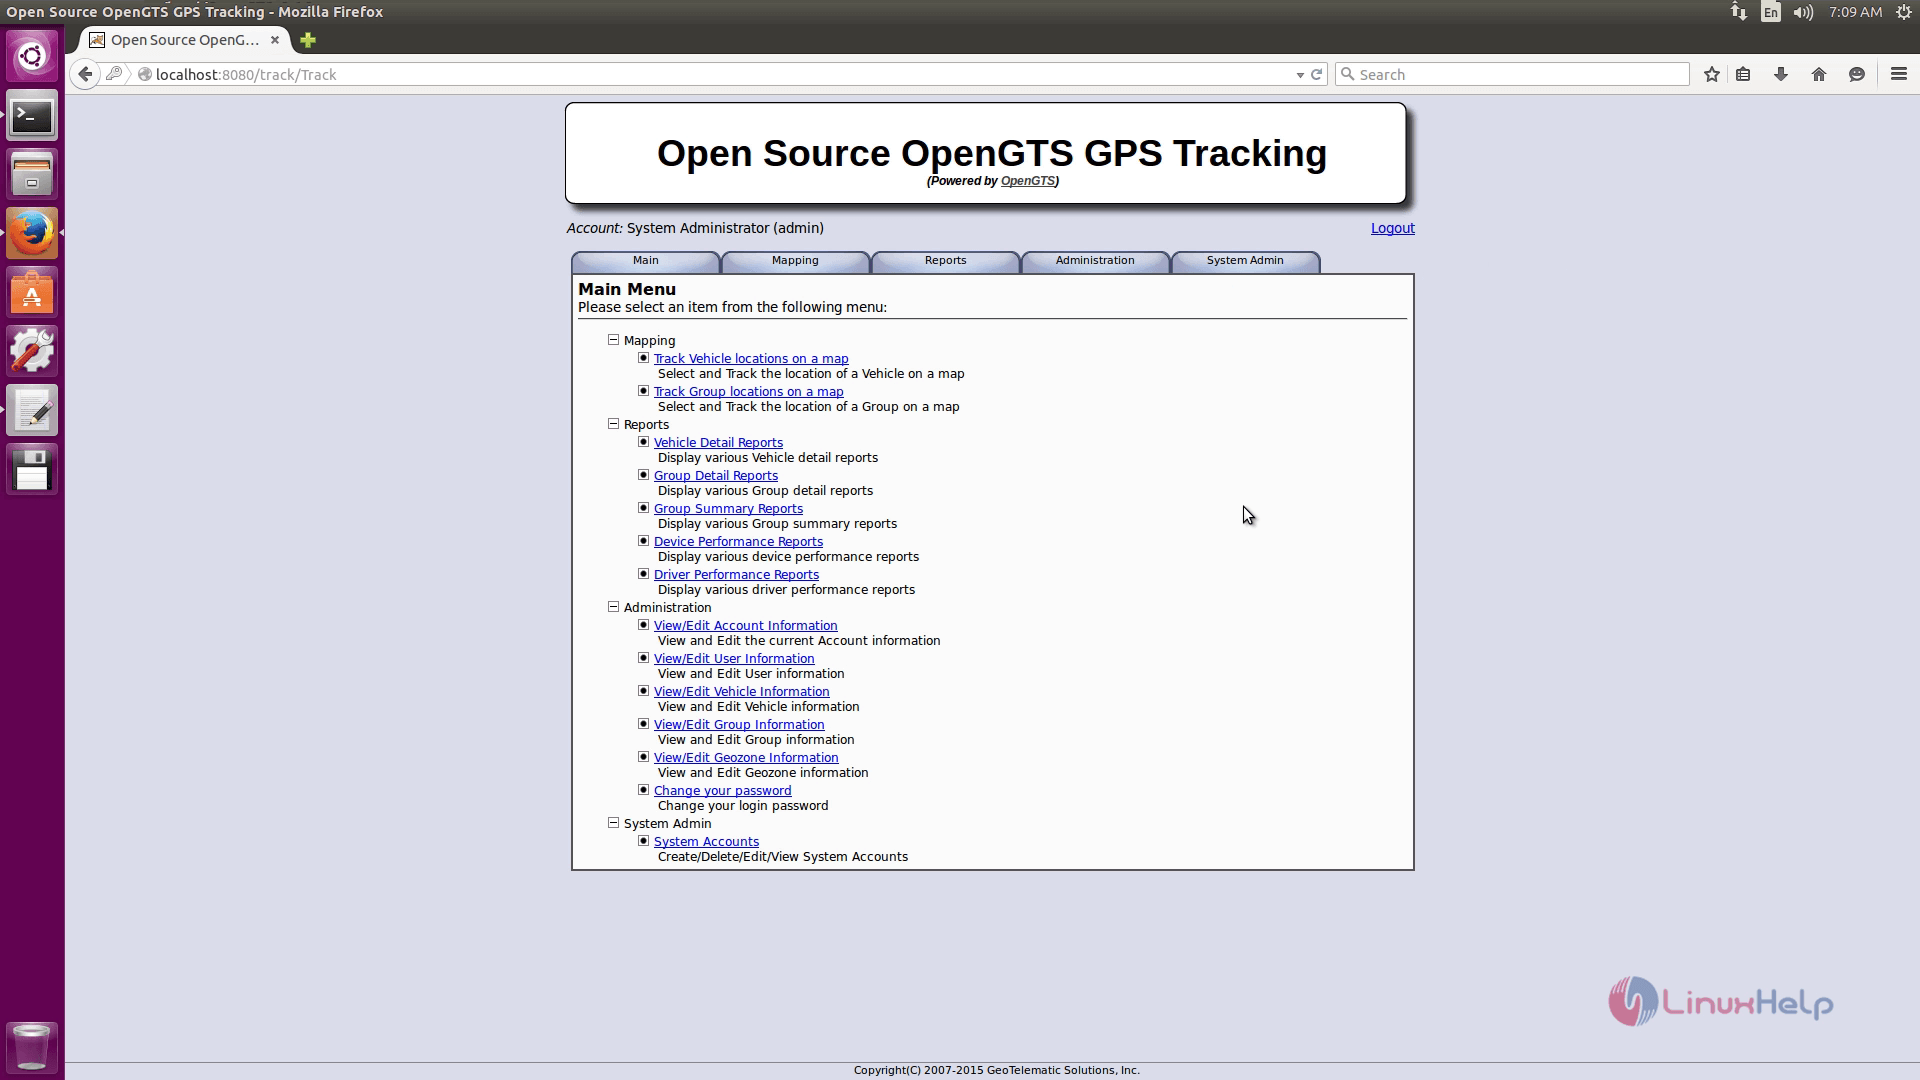
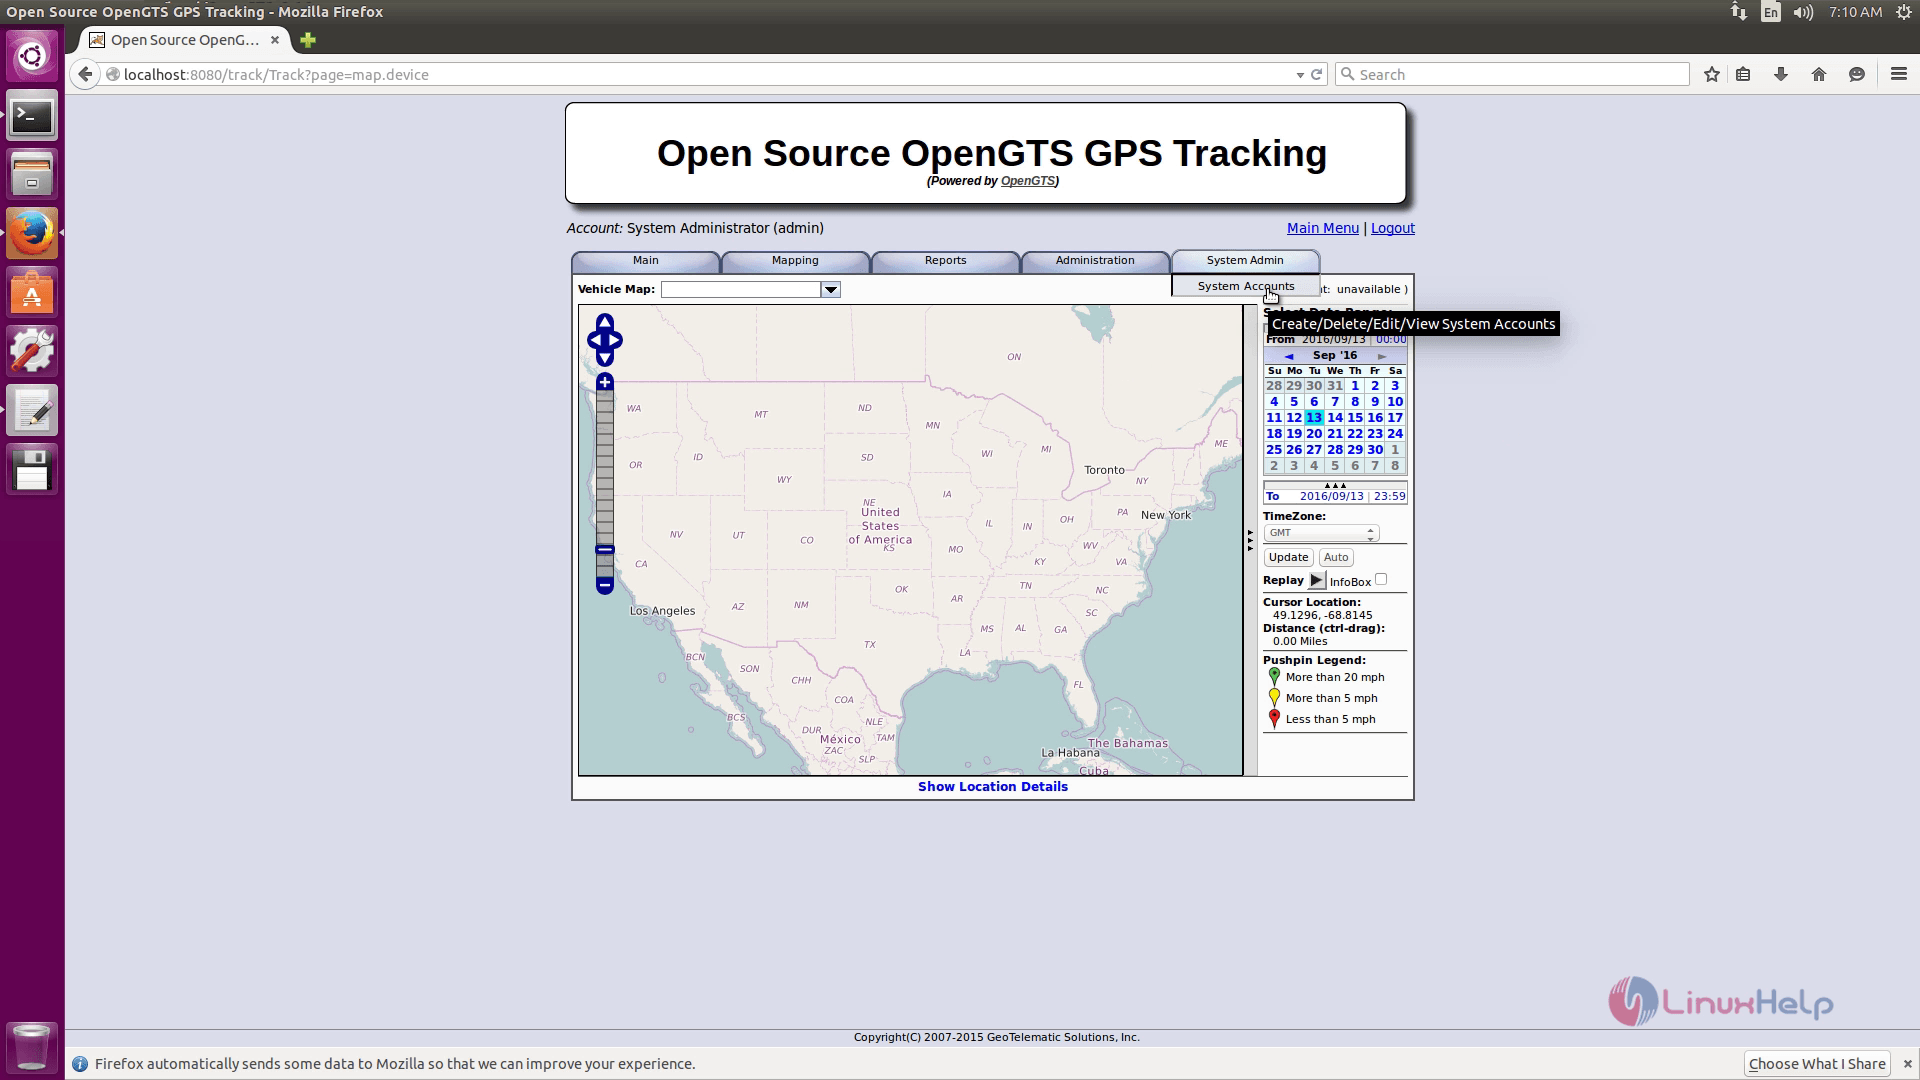
Now you can able to see the main menu of the OpenGTS.
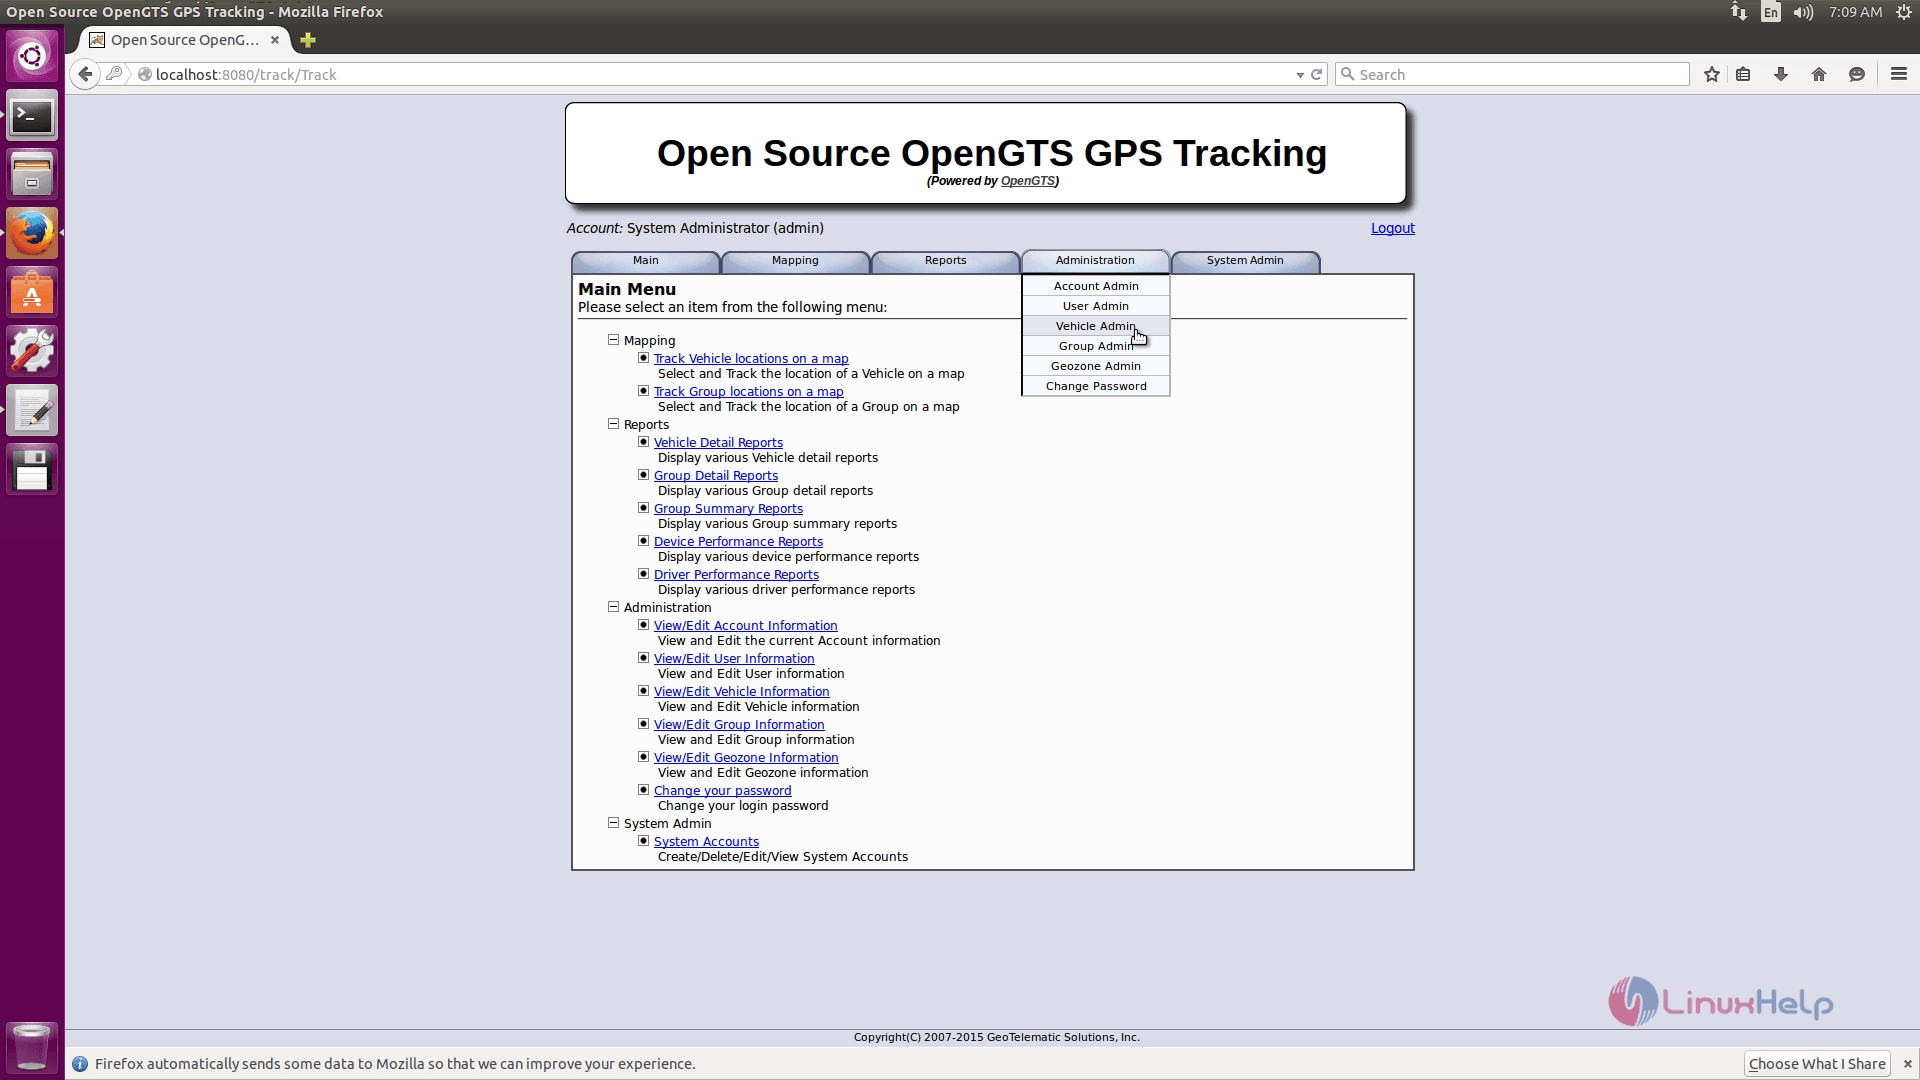
Click on Administration option to access vehicle admin.
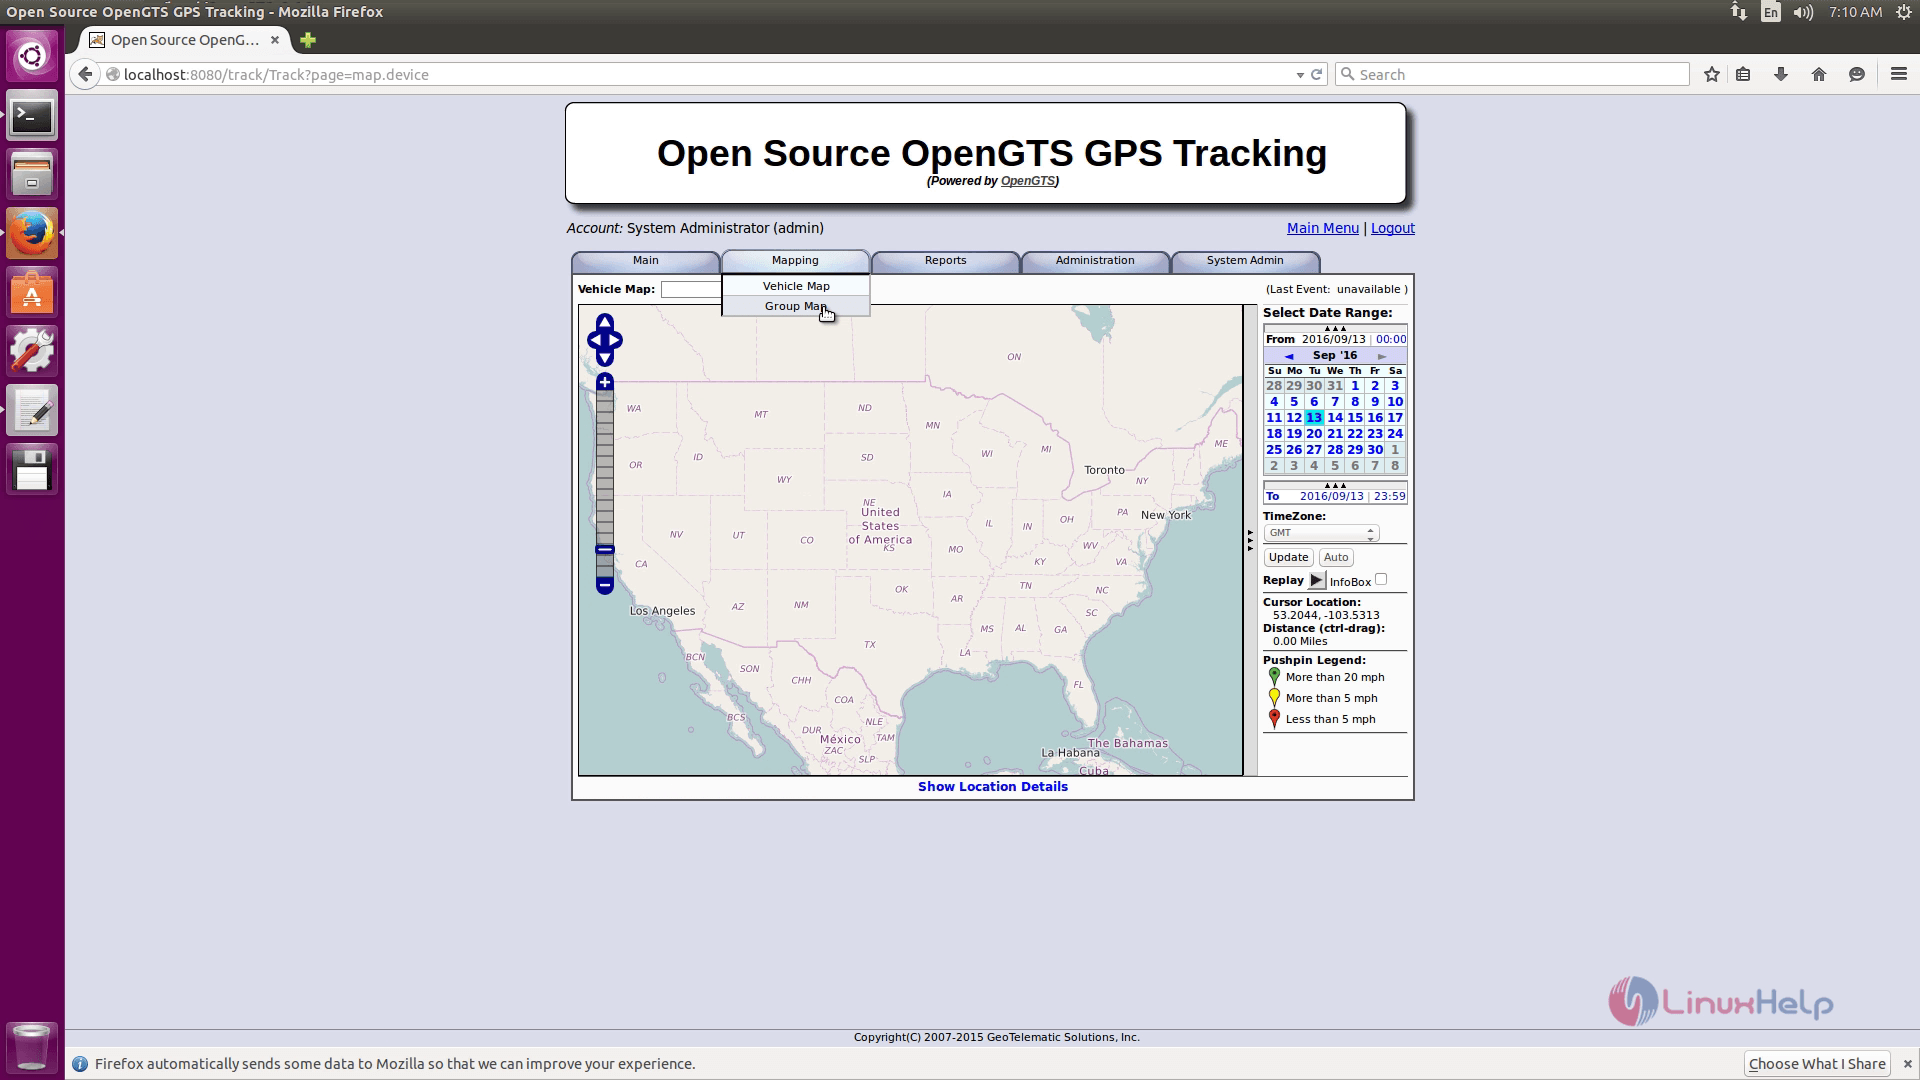
Click on Mapping option for GPS tracking.
Click on System admin option to view the system accounts.
Comments ( 4 )
mire@ubuntu:/usr/local/OpenGTS_2.6.2$ bin/initdb.sh -rootuser=root -rootPass=123
Version: 2.6.2
[ERROR|DBAdmin.execCommands:943] SQLException message: Access denied for user 'root'@'localhost' (using password: YES)
[ERROR|DBAdmin.execCommands:944] ==> SQLException: DB create error [jdbc:mysql://localhost:3306/]
[ERROR|DBAdmin.execCommands:944] Message: Access denied for user 'root'@'localhost' (using password: YES)
[ERROR|DBAdmin.execCommands:944] SQLState: 28000
[ERROR|DBAdmin.execCommands:944] ErrorCode: 1045
[DBAdmin.execCommands:944] java.sql.SQLException: Access denied for user 'root'@'localhost' (using password: YES)
java.sql.SQLException: Access denied for user 'root'@'localhost' (using password: YES)