How to install OpenMRS in CentOS
To Install OpenMRS in CentOS 6
Open Medical Record System (OpenMRS), is a free source that is used for health care in developing countries. Installation of OpenMRS in CentOS is explained in this manual.
To install the dependencies
Check the versions of java by using the following command.
[root@linuxhelp Desktop]# rpm -qa | grep -E ' ^open[jre|jdk]|j[re|dk]'
java-1.6.0-openjdk-1.6.0.39-1.13.11.1.el6_8.x86_64
libbasicobjects-0.1.1-11.el6.x86_64
openjpeg-libs-1.3-11.el6.x86_64
pygobject2-2.20.0-5.el6.x86_64
cjkuni-fonts-common-0.2.20080216.1-36.el6.noarch
java-1.7.0-openjdk-1.7.0.101-2.6.6.4.el6_8.x86_64
eject-2.1.5-17.el6.x86_64
cjkuni-uming-fonts-0.2.20080216.1-36.el6.noarch
Remove the java version 1.7 by executing the following command.
[root@linuxhelp Desktop]# yum remove java-1.7.0-openjdk
Loaded plugins: fastestmirror, refresh-packagekit, security
Setting up Remove Process
Resolving Dependencies
-->  Running transaction check
--->  Package java-1.7.0-openjdk.x86_64 1:1.7.0.101-2.6.6.4.el6_8 will be erased
-->  Finished Dependency Resolution
.
.
.
Removed:
java-1.7.0-openjdk.x86_64 1:1.7.0.101-2.6.6.4.el6_8

Complete!
Check the version of java.
[root@linuxhelp Desktop]# java -version
java version " 1.6.0_39"
OpenJDK Runtime Environment (IcedTea6 1.13.11) (rhel-1.13.11.1.el6_8-x86_64)
OpenJDK 64-Bit Server VM (build 23.25-b01, mixed mode)
Utilise the following command to install the mysql and mysql-server package
[root@linuxhelp Desktop]# yum install mysql mysql-server -y
Loaded plugins: fastestmirror, refresh-packagekit, security
Setting up Install Process
Loading mirror speeds from cached hostfile
* base: mirror.fibergrid.in
* extras: mirror.fibergrid.in
* updates: mirror.fibergrid.in
Resolving Dependencies
-->  Running transaction check
--->  Package mysql.x86_64 0:5.1.73-7.el6 will be installed
--->  Package mysql-server.x86_64 0:5.1.73-7.el6 will be installed
.
.
.
Installed:
mysql.x86_64 0:5.1.73-7.el6 mysql-server.x86_64 0:5.1.73-7.el6

Dependency Installed:
perl-DBD-MySQL.x86_64 0:4.013-3.el6 perl-DBI.x86_64 0:1.609-4.el6

Complete!
Start the mysql services.
[root@linuxhelp Desktop]# service mysqld start
Initializing MySQL database: WARNING: The host ' linuxhelp'  could not be looked up with resolveip.
This probably means that your libc libraries are not 100 % compatible
with this binary MySQL version. The MySQL daemon, mysqld, should work
normally with the exception that host name resolving will not work.
This means that you should use IP addresses instead of hostnames
when specifying MySQL privileges !
Installing MySQL system tables...
OK
Filling help tables...
OK

To start mysqld at boot time you have to copy
support-files/mysql.server to the right place for your system

PLEASE REMEMBER TO SET A PASSWORD FOR THE MySQL root USER !
To do so, start the server, then issue the following commands:

/usr/bin/mysqladmin -u root password ' new-password'
/usr/bin/mysqladmin -u root -h linuxhelp password ' new-password'

Alternatively you can run:
/usr/bin/mysql_secure_installation

which will also give you the option of removing the test
databases and anonymous user created by default. This is
strongly recommended for production servers.

See the manual for more instructions.

You can start the MySQL daemon with:
cd /usr   /usr/bin/mysqld_safe &

You can test the MySQL daemon with mysql-test-run.pl
cd /usr/mysql-test   perl mysql-test-run.pl

Please report any problems with the /usr/bin/mysqlbug script!

[ OK ]
Starting mysqld: [ OK ]
Then start the mysqld on system boot.
[root@linuxhelp Desktop]# chkconfig mysqld on
Set root password for mysql by using the following command.
[root@linuxhelp Desktop]# mysql_secure_installation

NOTE: RUNNING ALL PARTS OF THIS SCRIPT IS RECOMMENDED FOR ALL MySQL
SERVERS IN PRODUCTION USE! PLEASE READ EACH STEP CAREFULLY!

In order to log into MySQL to secure it, we' ll need the current
password for the root user. If you' ve just installed MySQL, and
you haven' t set the root password yet, the password will be blank,
so you should just press enter here.

Enter current password for root (enter for none):
OK, successfully used password, moving on...

Setting the root password ensures that nobody can log into the MySQL
root user without the proper authorisation.

Set root password? [Y/n] y
New password:
Re-enter new password:
Password updated successfully!
Reloading privilege tables..
... Success!

By default, a MySQL installation has an anonymous user, allowing anyone
to log into MySQL without having to have a user account created for
them. This is intended only for testing, and to make the installation
go a bit smoother. You should remove them before moving into a
production environment.

.
.
.

Remove test database and access to it? [Y/n]
- Dropping test database...
... Success!
- Removing privileges on test database...
... Success!

Reloading the privilege tables will ensure that all changes made so far
will take effect immediately.

Reload privilege tables now? [Y/n]
... Success!

Cleaning up...

All done! If you' ve completed all of the above steps, your MySQL
installation should now be secure.

Thanks for using MySQL!
Now install the tomcat package
[root@linuxhelp Desktop]# yum install tomcat6 tomcat6-webapps tomcat6-admin-webapps -y
Loaded plugins: fastestmirror, refresh-packagekit, security
Setting up Install Process
Loading mirror speeds from cached hostfile
* base: mirror.fibergrid.in
* extras: mirror.fibergrid.in
* updates: mirror.fibergrid.in
Resolving Dependencies
-->  Running transaction check
--->  Package tomcat6.noarch 0:6.0.24-95.el6 will be installed
-->  Processing Dependency: tomcat6-lib = 6.0.24-95.el6 for package: tomcat6-6.0.24-95.el6.noarch
-->  Processing Dependency: mx4j for package: tomcat6-6.0.24-95.el6.noarch
.
.
.
Installed:
tomcat6.noarch 0:6.0.24-95.el6 tomcat6-admin-webapps.noarch 0:6.0.24-95.el6 tomcat6-webapps.noarch 0:6.0.24-95.el6

Dependency Installed:
apache-tomcat-apis.noarch 0:0.1-1.el6 axis.noarch 0:1.2.1-7.5.el6_5
bcel.x86_64 0:5.2-7.2.el6 classpathx-jaf.x86_64 0:1.0-15.4.el6
classpathx-mail.noarch 0:1.1.1-9.4.el6 ecj.x86_64 1:3.4.2-6.el6
jakarta-commons-collections.noarch 0:3.2.1-3.5.el6_7 jakarta-commons-daemon.x86_64 1:1.0.1-8.9.el6
jakarta-commons-dbcp.noarch 0:1.2.1-13.9.el6 jakarta-commons-discovery.noarch 1:0.4-5.4.el6
jakarta-commons-httpclient.x86_64 1:3.1-0.9.el6_5 jakarta-commons-logging.noarch 0:1.0.4-10.el6
jakarta-commons-pool.x86_64 0:1.3-12.7.el6 jakarta-taglibs-standard.noarch 0:1.1.1-11.7.el6_7
java-1.5.0-gcj.x86_64 0:1.5.0.0-29.1.el6 java_cup.x86_64 1:0.10k-5.el6
libgcj.x86_64 0:4.4.7-17.el6 log4j.x86_64 0:1.2.14-6.4.el6
mx4j.noarch 1:3.0.1-9.13.el6 regexp.x86_64 0:1.5-4.4.el6
sinjdoc.x86_64 0:0.5-9.1.el6 tomcat6-el-2.1-api.noarch 0:6.0.24-95.el6
tomcat6-jsp-2.1-api.noarch 0:6.0.24-95.el6 tomcat6-lib.noarch 0:6.0.24-95.el6
tomcat6-servlet-2.5-api.noarch 0:6.0.24-95.el6 wsdl4j.noarch 0:1.5.2-7.8.el6
xalan-j2.noarch 0:2.7.0-9.9.el6_5 xml-commons-apis.x86_64 0:1.3.04-3.6.el6
xml-commons-resolver.x86_64 0:1.1-4.18.el6

Complete!
Start the tomcat service
[root@linuxhelp Desktop]# service tomcat6 start
Starting tomcat6: [ OK ]
[root@linuxhelp Desktop]# chkconfig tomcat6 on
Open the iptables file and edit as follows.
[root@linuxhelp Desktop]# vim /etc/sysconfig/iptables
-A INPUT -m state --state NEW -m tcp -p tcp --dport 8080 -j ACCEPT
Save and Restart the iptables services.
[root@linuxhelp Desktop]# service iptables save
iptables: Saving firewall rules to /etc/sysconfig/iptables:[ OK ]
[root@linuxhelp Desktop]# service iptables restart
iptables: Setting chains to policy ACCEPT: filter [ OK ]
iptables: Flushing firewall rules: [ OK ]
iptables: Unloading modules: [ OK ]
iptables: Applying firewall rules: [ OK ]
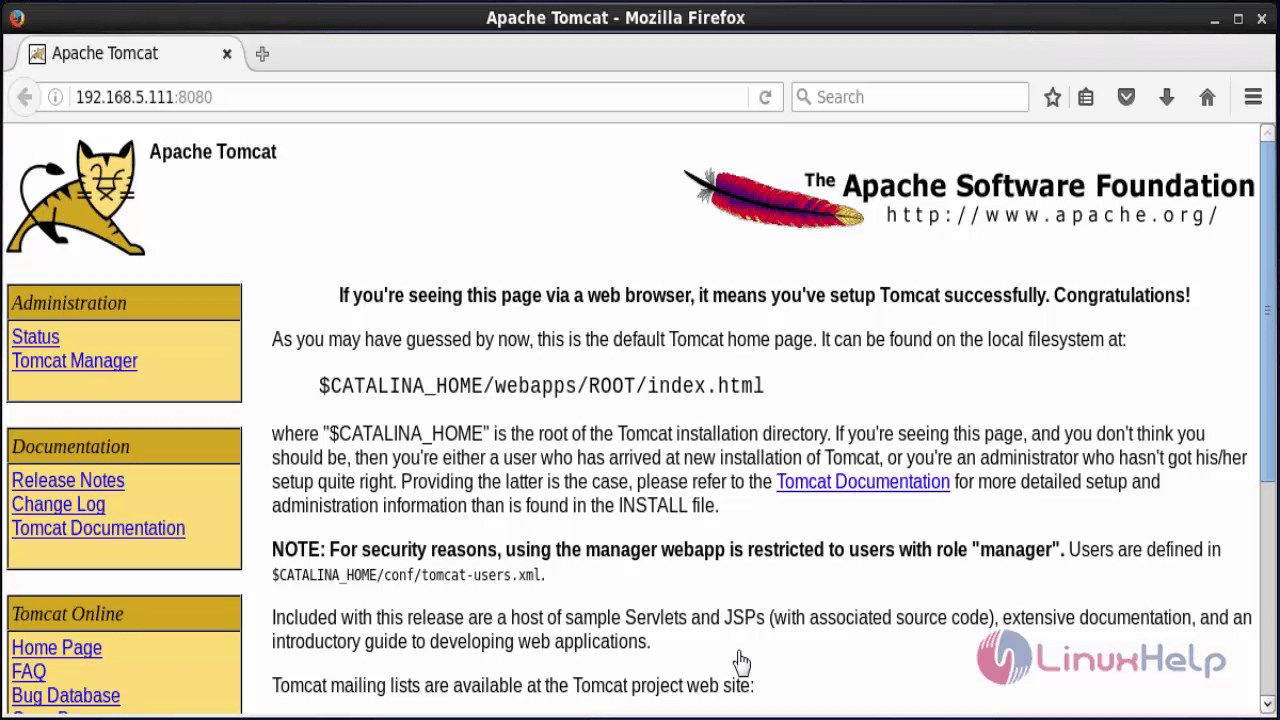
Open the browser and dive into http://< IP_address> :8080
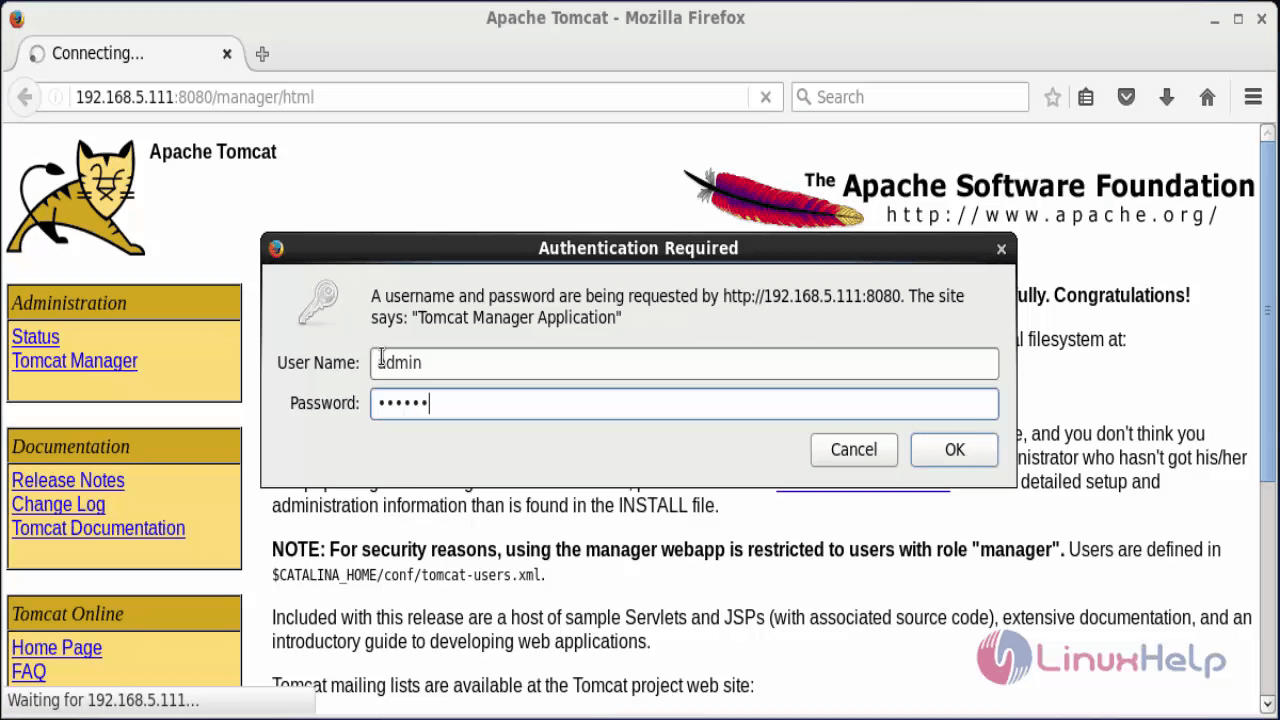
Edit the cofiguration file to set the credentials for the manager.
[root@linuxhelp Desktop]# vim /usr/share/tomcat6/conf/tomcat-users.xml < role rolename=" manager" /> < user name=" admin" password=" linuxc" roles=" manager" />
Restart the tomcat services
[root@linuxhelp Desktop]# service tomcat6 restart Stopping tomcat6: waiting for processes 28314 to exit [ OK ] Starting tomcat6: [ OK ]
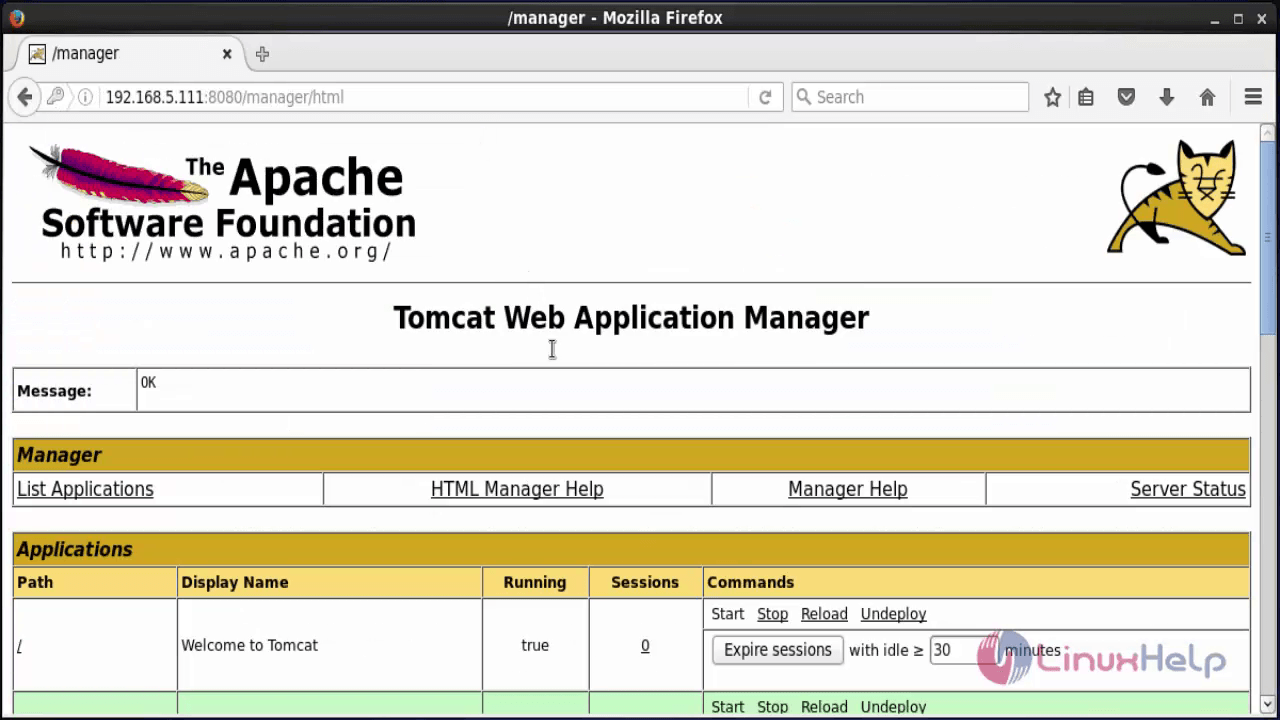
Access the Tomcat manager using, http://< IP_address> :8080/manager/html
Now start deploying OpenMRS.
To Install OpenMRS
Download the OpenMRS package by using the following command.
[root@linuxhelp Desktop]# wget https://sourceforge.net/projects/openmrs/files/releases/OpenMRS_Platform_1.11.6/openmrs.war
--2016-07-22 17:27:22-- http://liquidtelecom.dl.sourceforge.net/project/openmrs/releases/OpenMRS_Platform_1.11.6/openmrs.war
Resolving liquidtelecom.dl.sourceforge.net... 197.155.77.8
Connecting to liquidtelecom.dl.sourceforge.net|197.155.77.8|:80... connected.
HTTP request sent, awaiting response... 200 OK
Length: 52038031 (50M) [application/octet-stream]
Saving to: “ openmrs.war”

100%[===========================================================================> ] 52,038,031 595K/s in 2m 29s

2016-07-22 17:29:52 (341 KB/s) - “ openmrs.war”  saved [52038031/52038031]
Create a directory and change the ownership to the tomcat user.
[root@linuxhelp Desktop]# mkdir /usr/share/tomcat6/.OpenMRS/
[root@linuxhelp Desktop]# chown -R tomcat:root /usr/share/tomcat6/.OpenMRS/
After downloading OpenMRS, Open the browser and navigate to http://ip-address/manager/html
Move to the Deploy section and click browse.
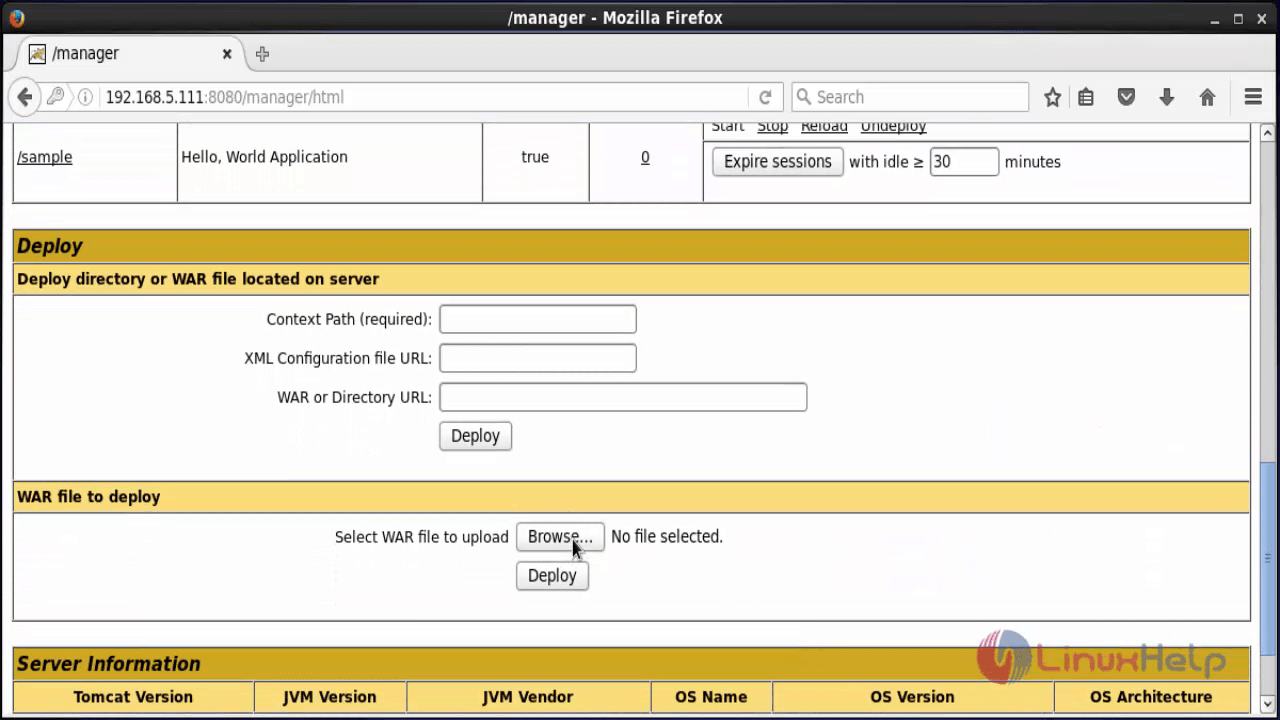
Select the openmrs.war file
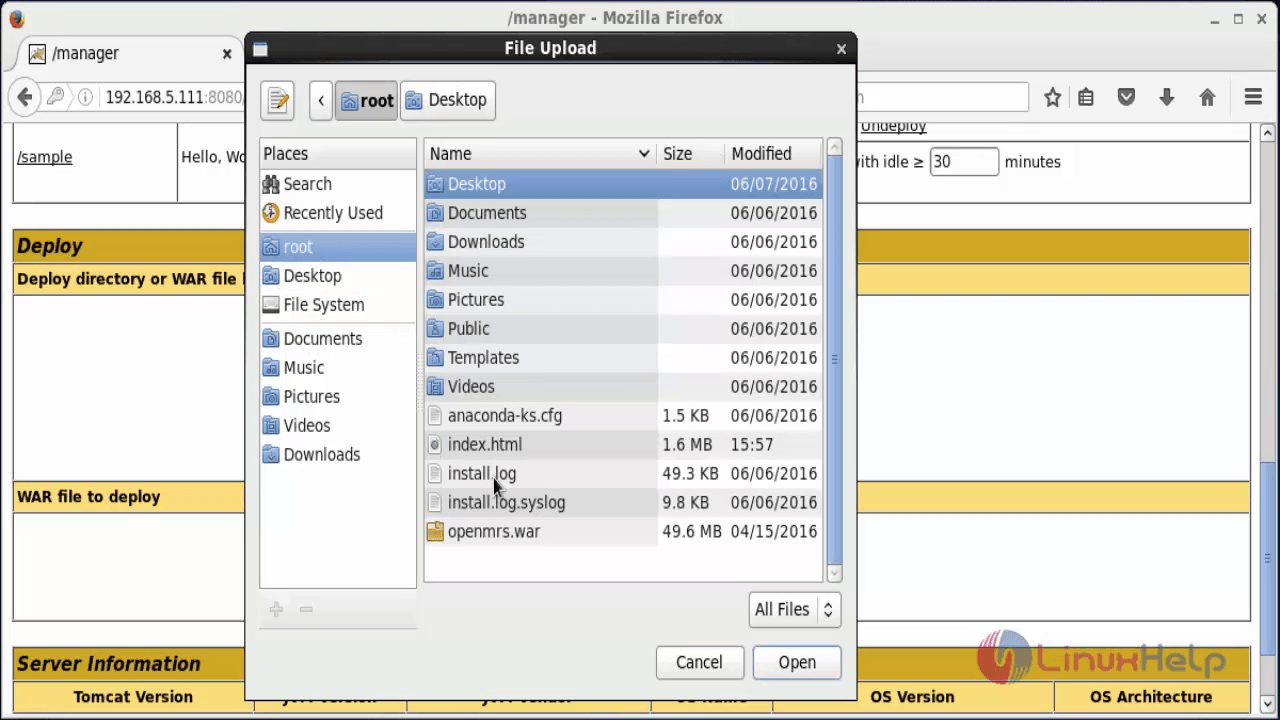
And then Click Deploy.

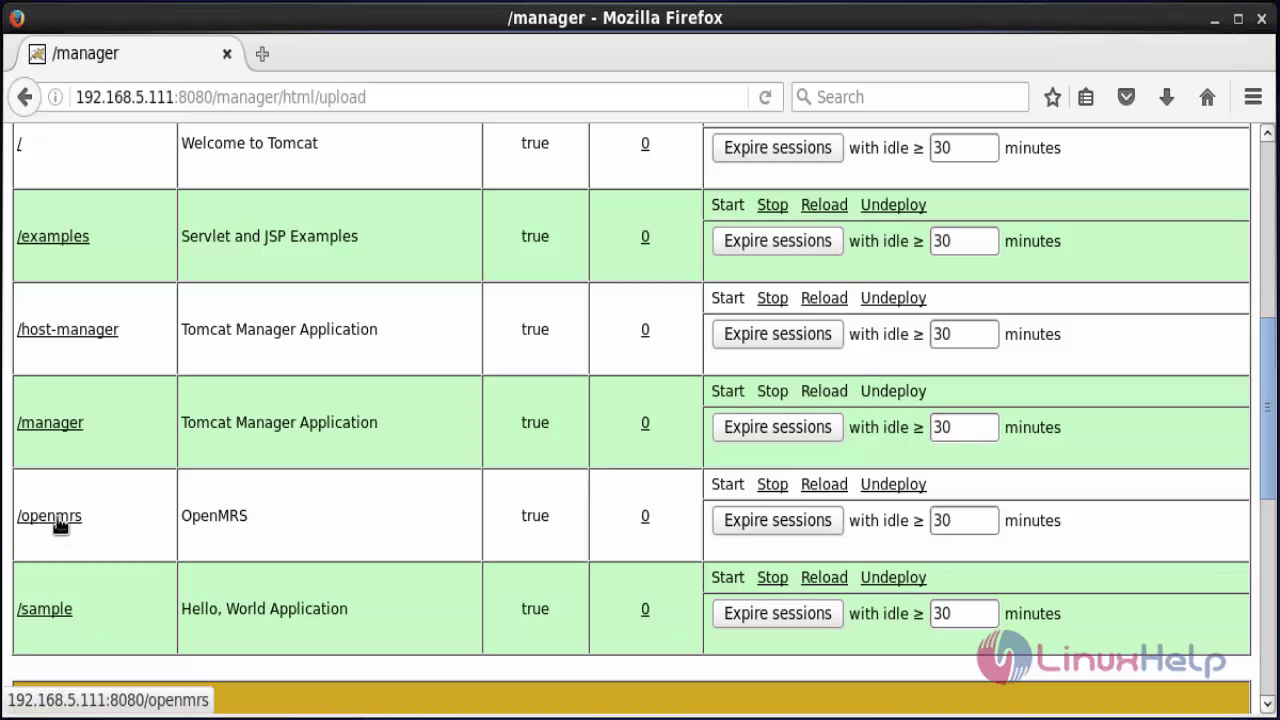
Once the OpenMRS application is deployed it will be automatically listed in the Tomcat manager page. Click /openmrs. It unfolds the Installation wizard.
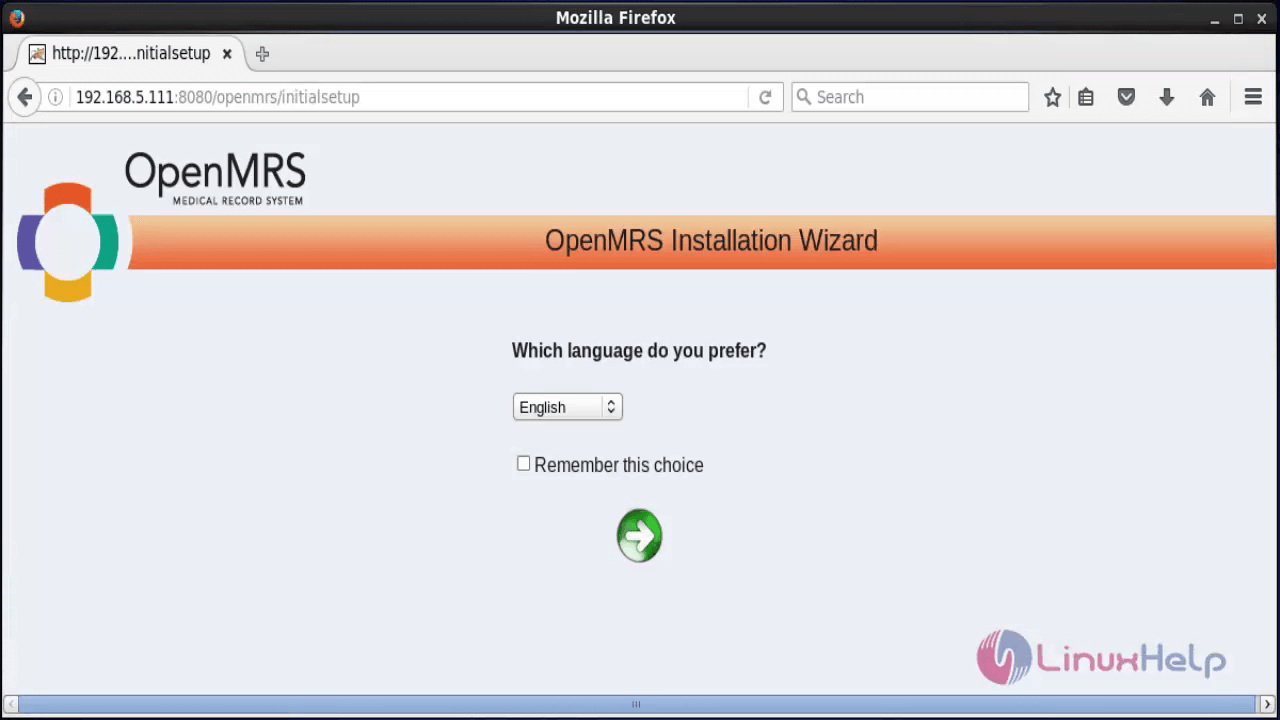
Choose your preferred language and forward arrow button.
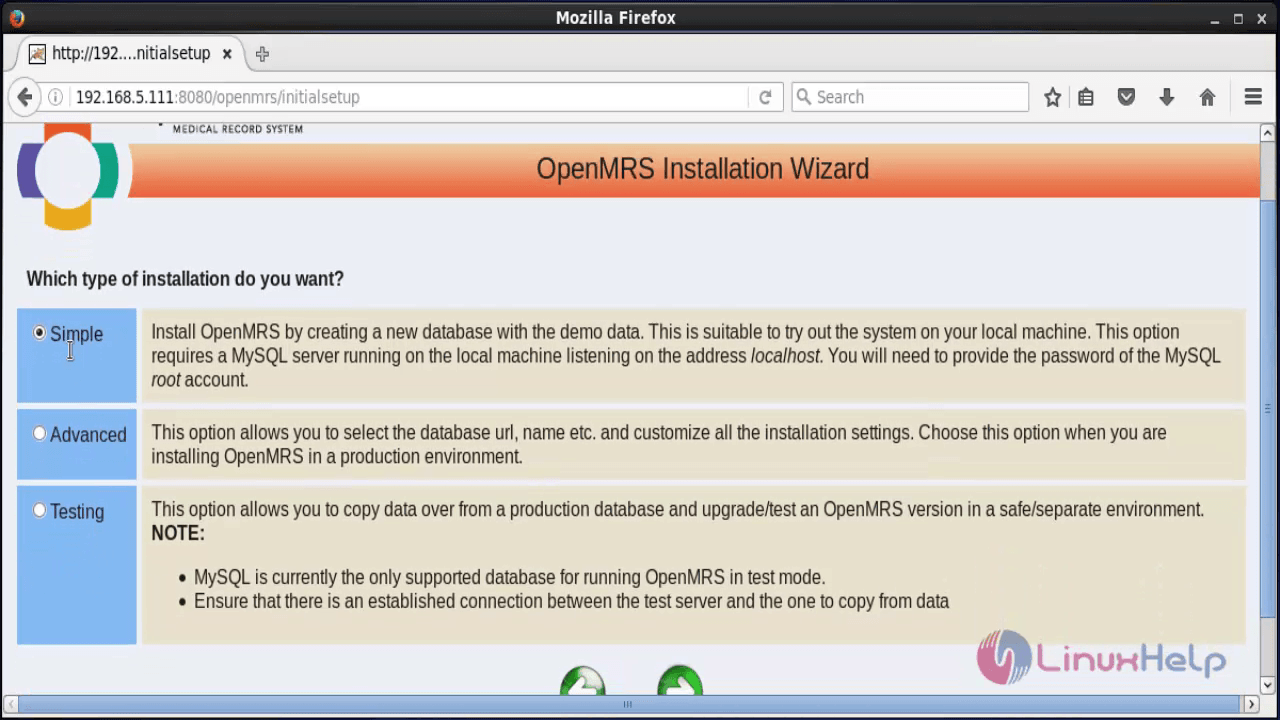
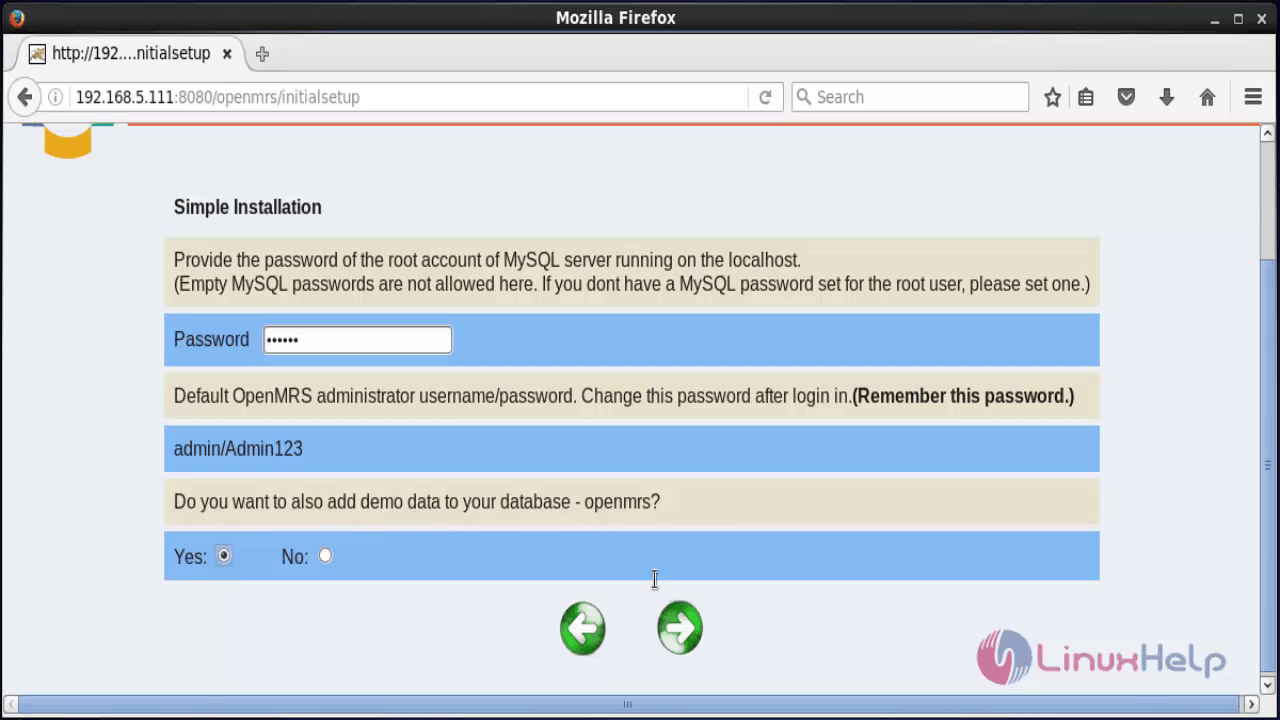
Choose the type of installation and click the forward arrow button. Here we are doing a trial on Simple installation.
Enter the MySQL root user password. The default username is " admin" , and the default password is " Admin123" . If you want to add demo data to the database, select Yes and click on the forward arrow.
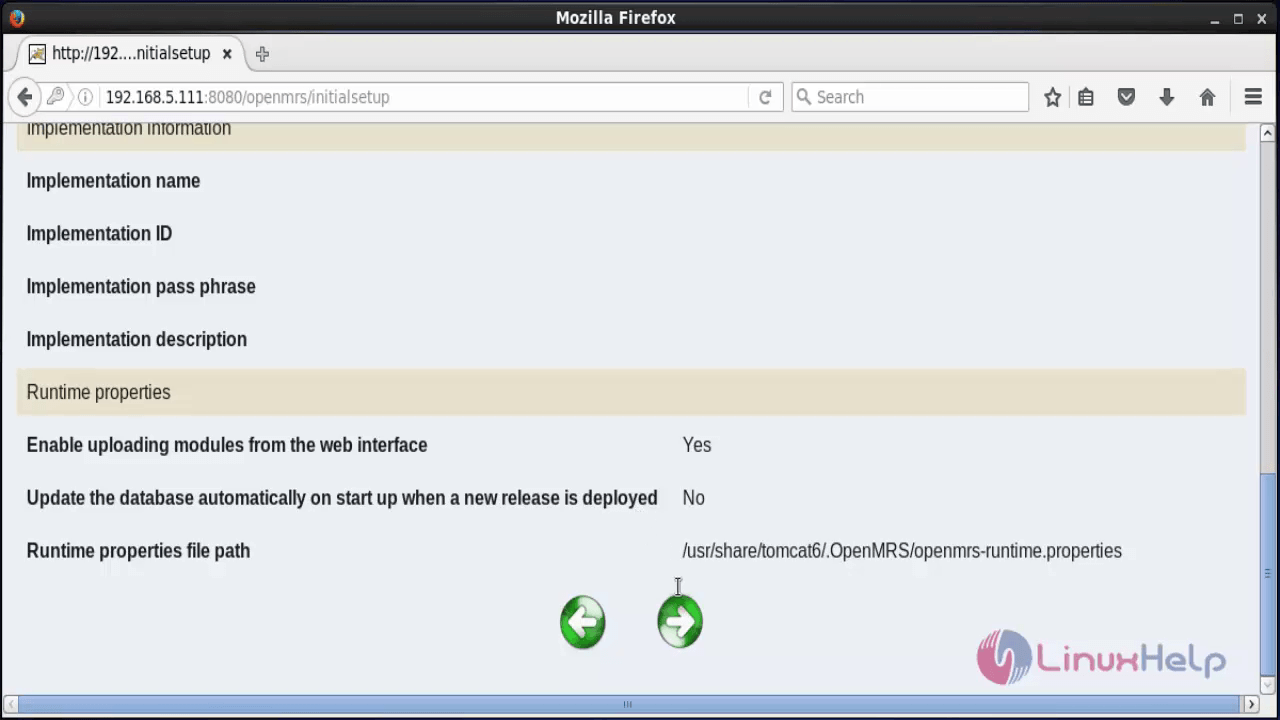
Click the forward arrow button to create tables, data, etc.
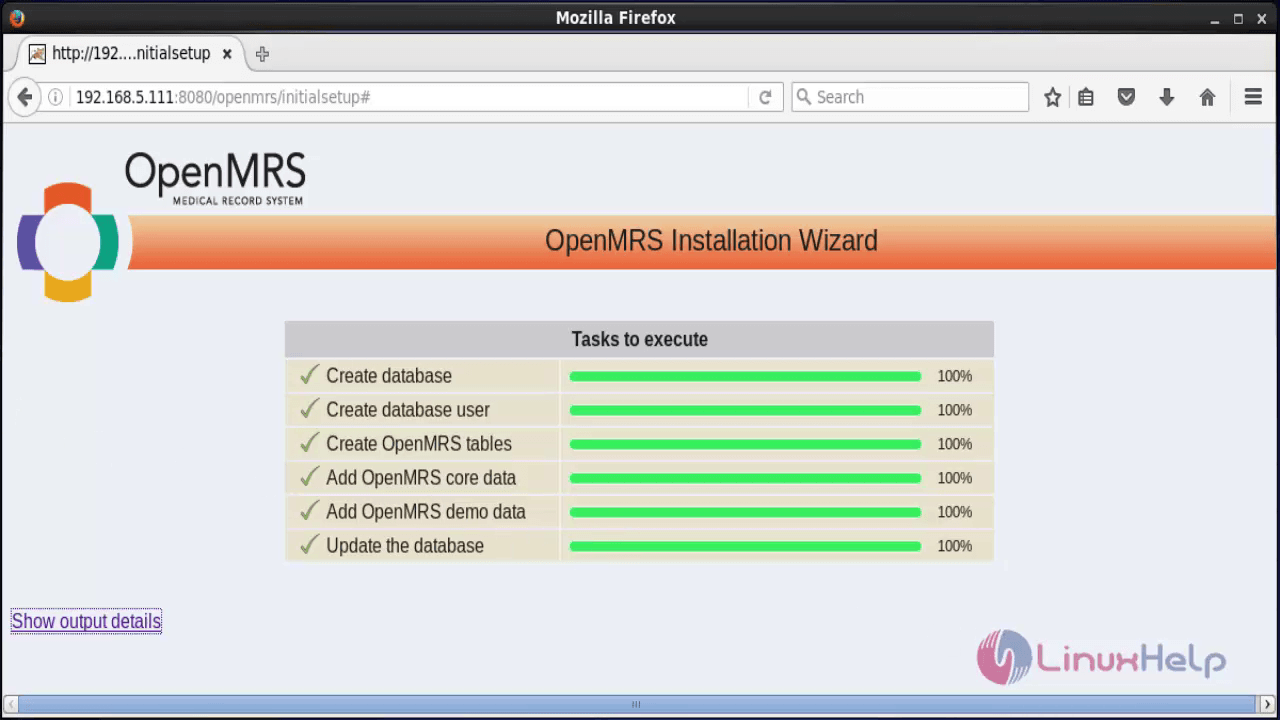
OpenMRS installation is in progress.
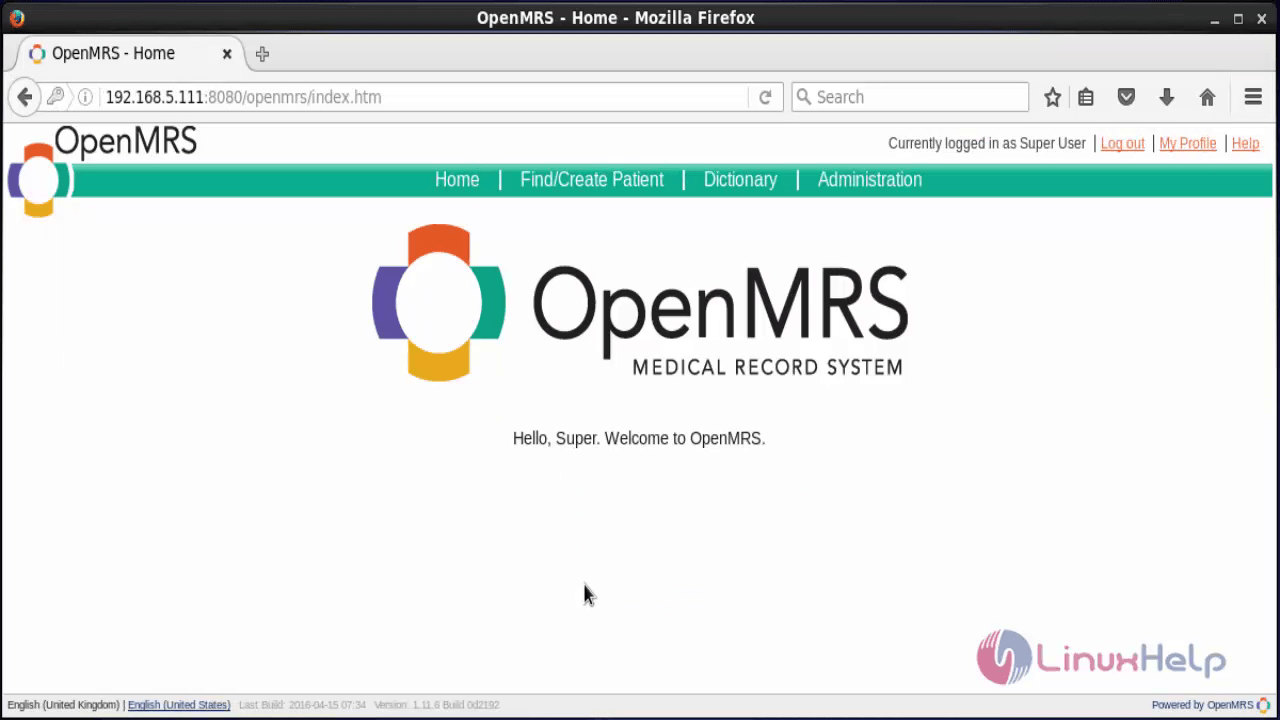
Login to OpenMRS with user credentials.
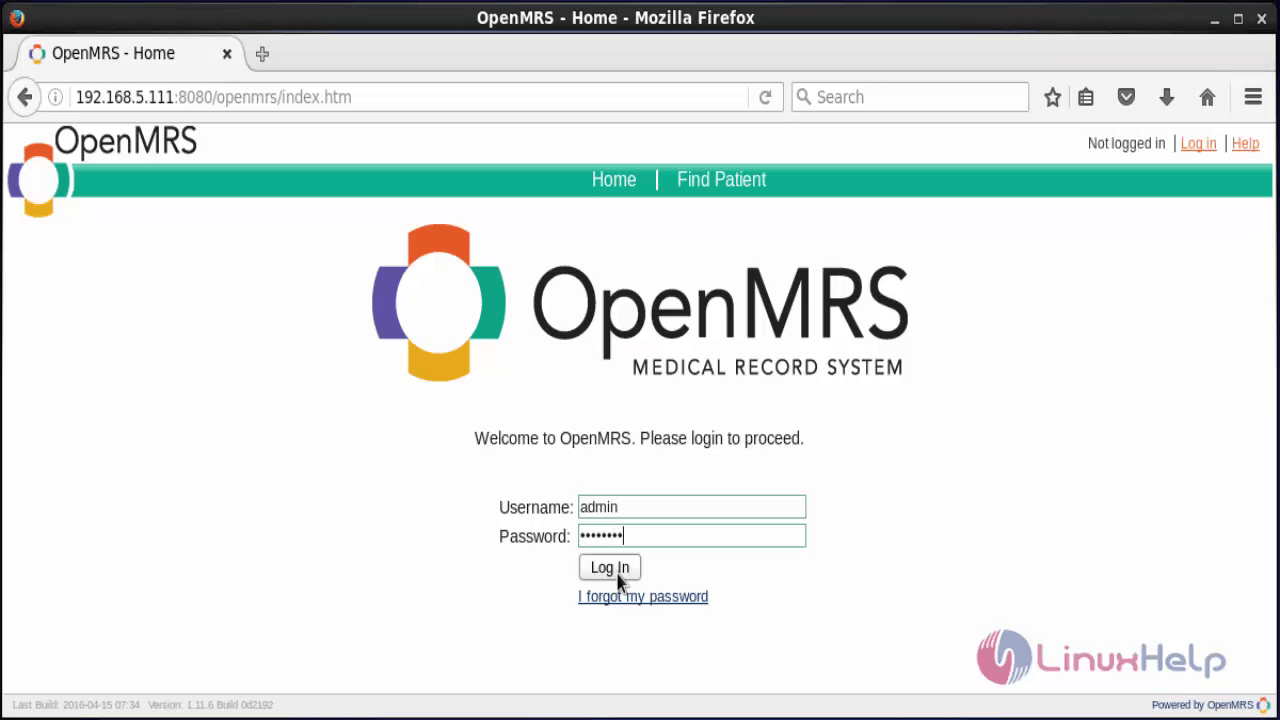
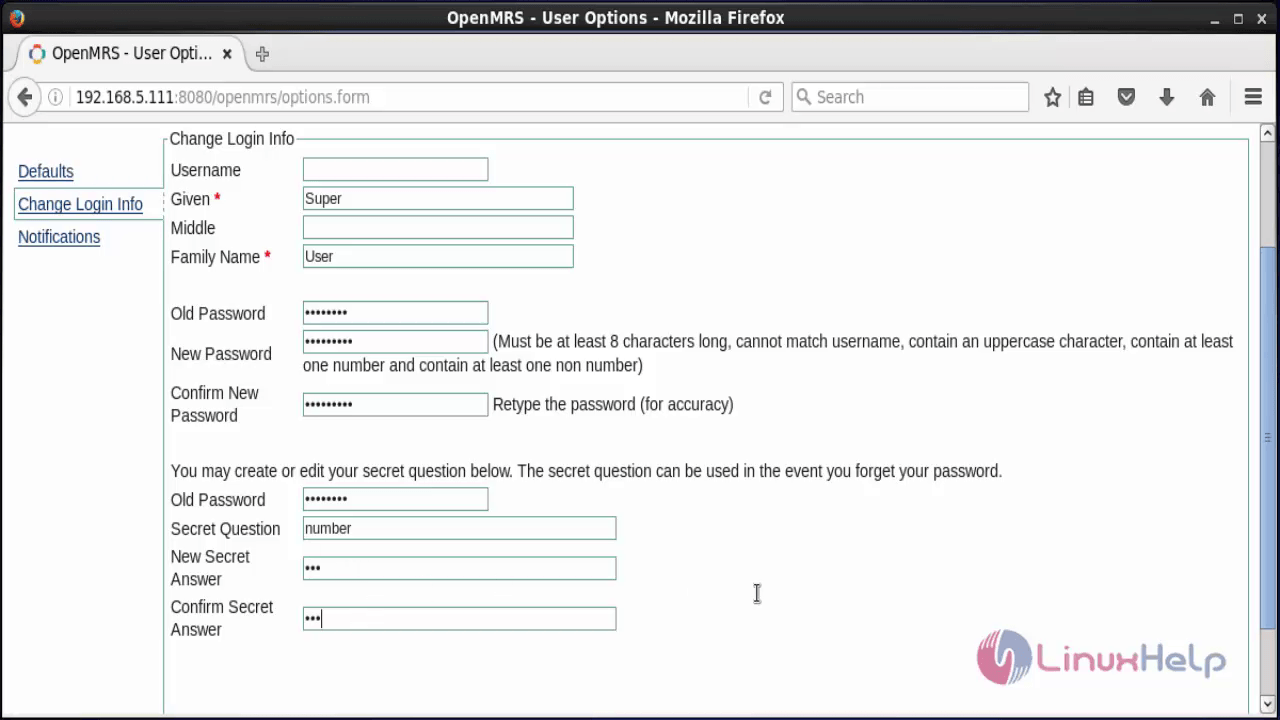
Go to My Profile &rarr Change Login Info tab, and then change the password.
Now login back with the new user credentials and start analysing your patients details.
Comments ( 0 )
No comments available