How to install OSticket in CentOS
To install Osticket in CentOS
Osticket is an open source ticketing software which provides quick fix any issue or technical problem raised by any company/organisation. It can be done through web-forms, email, and phone calls into web based customer support platform. Installation of OSticket is explained in this article.
Execute the following command to setup the LAMP server.
[root@linuxhelp ~]# yum install httpd php php-{cli,common,gd,mysql,imap,mbstring,xml} mysql mysql-server -y
Loaded plugins: aliases, changelog, fastestmirror, kabi, presto, refresh-packagekit, security, tmprepo, verify, versionlock
Loading support for CentOS kernel ABI
Setting up Install Process
Determining fastest mirrors
Resolving Dependencies
-->  Running transaction check
--->  Package httpd.x86_64 0:2.2.15-47.el6.centos.4 will be updated
-->  Processing Dependency: httpd = 2.2.15-47.el6.centos.4 for package: httpd-devel-2.2.15-47.el6.centos.4.x86_64
-->  Processing Dependency: httpd = 2.2.15-47.el6.centos.4 for package: httpd-manual-2.2.15-47.el6.centos.4.noarch
--->  Package httpd.x86_64 0:2.2.15-54.el6.centos will be an update
-->  Processing Dependency: httpd-tools = 2.2.15-54.el6.centos for package: httpd-2.2.15-54.el6.centos.x86_64
.
.
.
Dependency Updated:
  httpd-devel.x86_64 0:2.2.15-54.el6.centos          httpd-manual.noarch 0:2.2.15-54.el6.centos          httpd-tools.x86_64 0:2.2.15-54.el6.centos
  mysql-bench.x86_64 0:5.1.73-7.el6                  mysql-libs.x86_64 0:5.1.73-7.el6                    mysql-test.x86_64 0:5.1.73-7.el6

Complete!
Run the following command to test the PHP installation by setting up info.php file under the root document.
[root@linuxhelp ~]# echo -e " < ?php
	phpinfo()
?> "  >  /var/www/html/info.php

[root@linuxhelp ~]# cat /var/www/html/info.php
< ?php
phpinfo()
?>
Start and enable the service for apache and mysql.
[root@linuxhelp ~]# service httpd start
Starting httpd:                                            [  OK  ]
[root@linuxhelp ~]# chkconfig --levels 235 httpd on
[root@linuxhelp ~]# service mysqld start
Starting mysqld:                                           [  OK  ]
[root@linuxhelp ~]# chkconfig --levels 235 mysqld on
Set up the root password for mysql.
[root@linuxhelp ~]# mysql_secure_installation

NOTE: RUNNING ALL PARTS OF THIS SCRIPT IS RECOMMENDED FOR ALL MySQL
      SERVERS IN PRODUCTION USE!  PLEASE READ EACH STEP CAREFULLY!

In order to log into MySQL to secure it, we' ll need the current
password for the root user.  If you' ve just installed MySQL, and
you haven' t set the root password yet, the password will be blank,
so you should just press enter here.

Enter current password for root (enter for none):
OK, successfully used password, moving on...

Setting the root password ensures that nobody can log into the MySQL
root user without the proper authorisation.

Set root password? [Y/n] y
New password:
Re-enter new password:
Password updated successfully!
Reloading privilege tables..
 ... Success!

By default, a MySQL installation has an anonymous user, allowing anyone
to log into MySQL without having to have a user account created for
them.  This is intended only for testing, and to make the installation
go a bit smoother.  You should remove them before moving into a
production environment.

Remove anonymous users? [Y/n] y
 ... Success!

Normally, root should only be allowed to connect from ' localhost' .  This
ensures that someone cannot guess at the root password from the network.

Disallow root login remotely? [Y/n] y
 ... Success!

By default, MySQL comes with a database named ' test'  that anyone can
access.  This is also intended only for testing, and should be removed
before moving into a production environment.

Remove test database and access to it? [Y/n] y
 - Dropping test database...
 ... Success!
 - Removing privileges on test database...
 ... Success!

Reloading the privilege tables will ensure that all changes made so far
will take effect immediately.

Reload privilege tables now? [Y/n] y
 ... Success!

Cleaning up...


All done!  If you' ve completed all of the above steps, your MySQL
installation should now be secure.

Thanks for using MySQL!
To Install Osticket
Create a new /opt directory and download the OSticket by running the following commands.
[root@linuxhelp ~]# mkdir -p /opt/osticket
[root@linuxhelp ~]# wget http://osticket.com/sites/default/files/download/osTicket-v1.9.2.zip
--2016-07-19 09:27:38--  http://osticket.com/sites/default/files/download/osTicket-v1.9.2.zip
Resolving osticket.com... 69.164.192.85, 2600:3c00::3a:9200
Connecting to osticket.com|69.164.192.85|:80... connected.
HTTP request sent, awaiting response... 200 OK
Length: 7010103 (6.7M) [application/zip]
Saving to: “ osTicket-v1.9.2.zip”

100%[===================================================================================================================> ] 7,010,103    376K/s   in 23s

2016-07-19 09:28:01 (304 KB/s) - “ osTicket-v1.9.2.zip”  saved [7010103/7010103]
Extract the downloaded package to /opt/osticket directory as follows.
[root@linuxhelp ~]# unzip -d /opt/osticket osTicket-v1.9.2.zip
Archive:  osTicket-v1.9.2.zip
  inflating: /opt/osticket/LICENSE.txt
  inflating: /opt/osticket/README.txt
  inflating: /opt/osticket/UPGRADING.txt
  inflating: /opt/osticket/WHATSNEW.txt
   creating: /opt/osticket/scripts/
.
.
.
/opt/osticket/upload/setup/images/tip_arrow.png
 extracting: /opt/osticket/upload/setup/images/user.png
  inflating: /opt/osticket/upload/setup/images/yes.png
   creating: /opt/osticket/upload/setup/js/
  inflating: /opt/osticket/upload/setup/js/setup.js
  inflating: /opt/osticket/upload/setup/js/tips.js
Then create a soft link as shown below.
[root@linuxhelp ~]# ln -s /opt/osticket/upload /var/www/html/support
Run the following command to enable name based virtual host in the apache configuration file.
[root@linuxhelp ~]# sed -i " /^#NameVirtualHost *:80$/ s/#NameVirtualHost *:80/NameVirtualHost *:80/" /etc/httpd/conf/httpd.conf
Or
Open the apache config file
[root@linuxhelp ~]# vim /etc/httpd/conf/httpd.conf
And add the following entries.
< VirtualHost *:80>
DocumentRoot /var/www/html/support
ServerName linuxhelp.example.com
ServerAlias www.linuxhelp.example.com

< Directory " /var/www/html/support" >
AllowOverride All
< /Directory>

ErrorLog logs/linuxhelp.example.com-error_log
CustomLog logs/linuxhelp.example.com-access_log common
< /VirtualHost>
Now restart the apache services.
[root@linuxhelp ~]# service httpd restart
Stopping httpd: [ OK ]
Starting httpd: [ OK ]
Run the below commands to create mysql database.
[root@linuxhelp ~]# mysql -u root -p
Enter password:
Welcome to the MySQL monitor. Commands end with   or g.
Your MySQL connection id is 12
Server version: 5.1.73 Source distribution

Copyright (c) 2000, 2013, Oracle and/or its affiliates. All rights reserved.

Oracle is a registered trademark of Oracle Corporation and/or its
affiliates. Other names may be trademarks of their respective
owners.

Type ' help '  or ' h'  for help. Type ' c'  to clear the current input statement.

mysql>  create database linuxhelp
Query OK, 1 row affected (0.06 sec)

mysql>  grant all on linuxhelp.* to linuxhelp@localhost identified by ' linux'
Query OK, 0 rows affected (0.00 sec)

mysql>  exit
Bye
Go to the below mentioned directory.
[root@linuxhelp ~]# cd /var/www/html/support
Run the following command to copy ost-sampleconfig.php file into ost-config.php file.
[root@linuxhelp support]# cp include/ost-sampleconfig.php include/ost-config.php
Change the ownership for the following directory.
[root@linuxhelp support]# chown apache: -R /var/www/html/support /opt/osticket
Open the browser and navigate to http://< IP_address> /setup/install.php
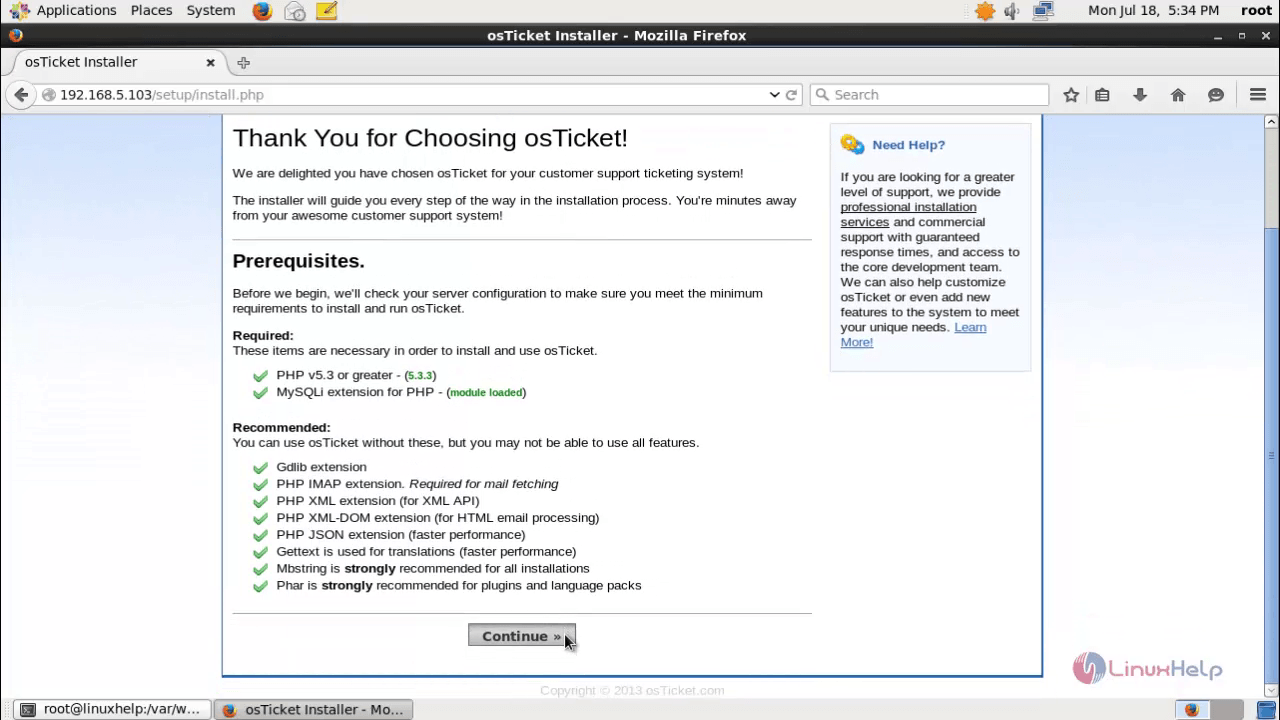
Fill the information like admin user and database settings.

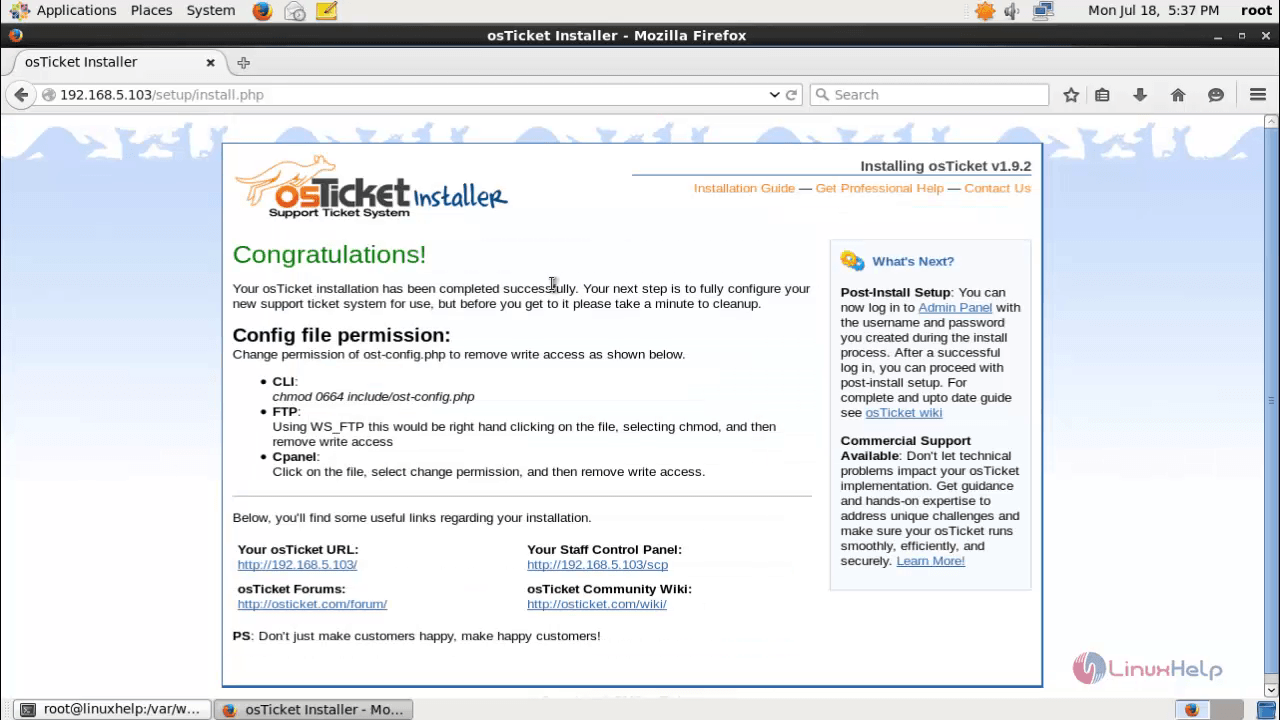
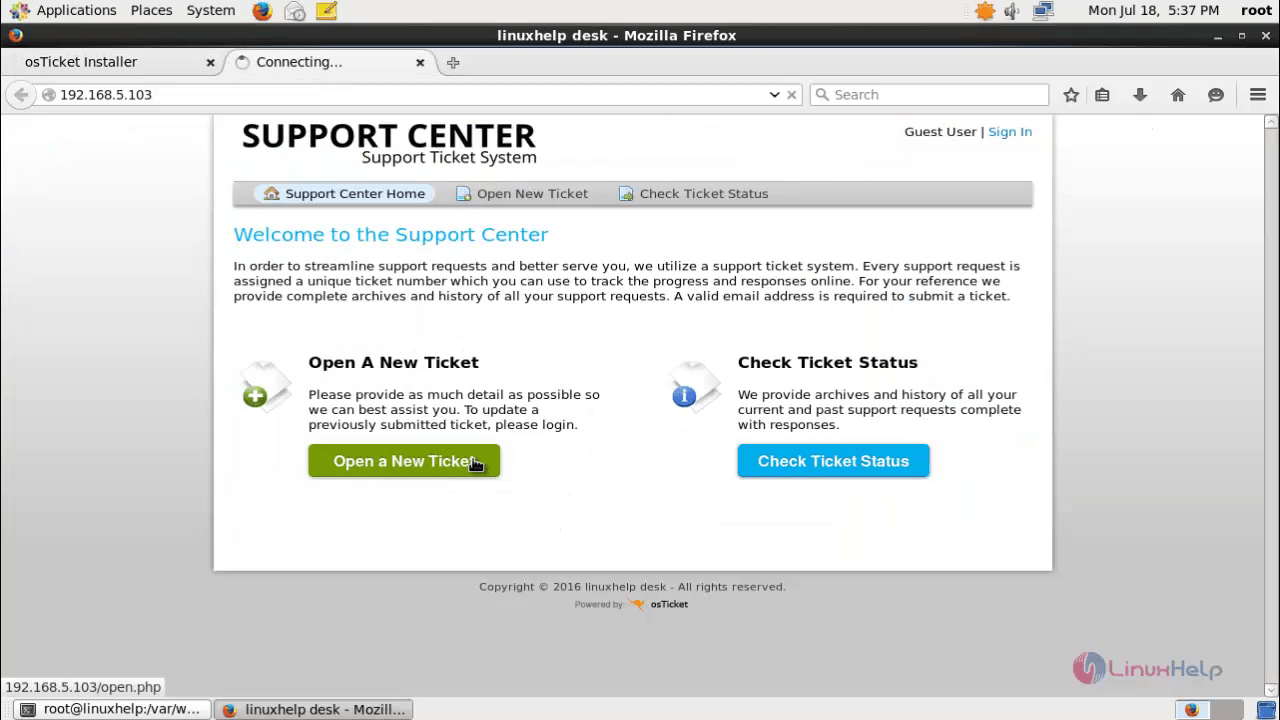
Click Open a New Ticket, to raise a new ticket.
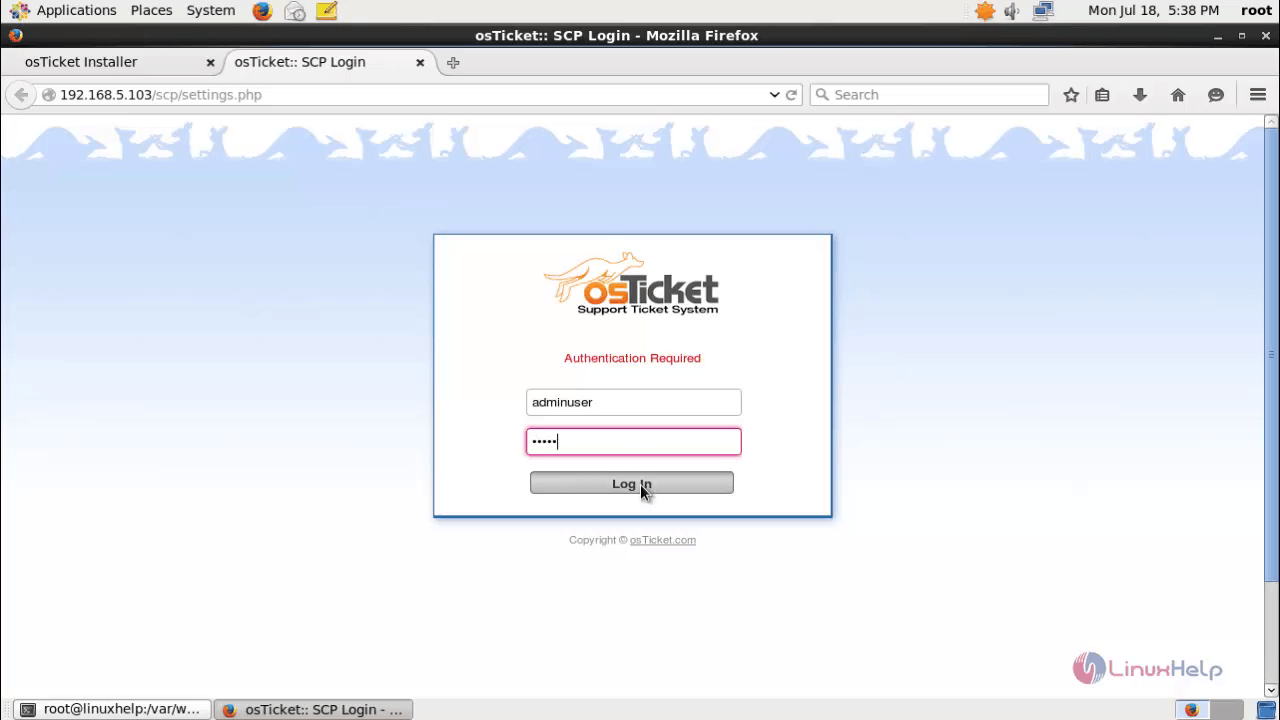
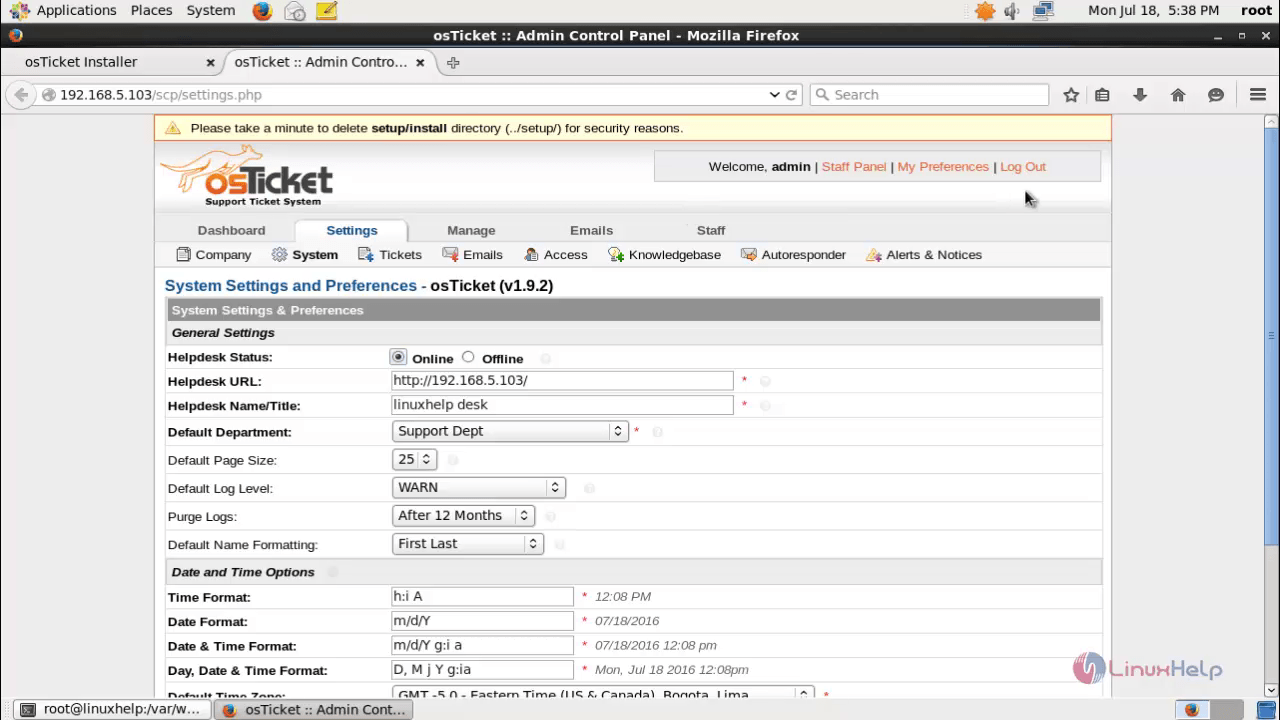
Login with the admin credentials.
Comments ( 1 )