How to install pimcore 4 CMS On Centos 7.5
- 00:57 cat /etc/centos-release
- 01:09 yum install httpd mariadb-server -y
- 01:23 systemctl enable httpd mariadb
- 01:33 systemctl start httpd mariadb
- 01:59 mysql_secure_installation
- 02:27 mysql -u root -p
- 02:52 create database pimcore character set utf8mb4;
- 03:09 create user user@localhost identified by 'linuxc';
- 03:23 grant all on elxis.* to user@localhost;
- 03:29 flush privileges;
- 03:52 yum install epel-release yum-utils -y
- 04:03 wget https://mirror.webtatic.com/yum/el7/webtatic-release.rpm
- 04:18 rpm -Uvh webtatic-release.rpm
- 04:27 wget http://rpms.remirepo.net/enterprise/remi-release-7.rpm
- 04:42 rpm -Uvh remi-release 7.rpm
- 04:58 yum-config-manager --enable remi-php71
- 05:03 yum install php php-gd php-pdo php-mysql php-mbstring php-pecl-zip php-mcrypt php-simplexml -y
- 05:17 yum groupinstall "Development Tools" -y
- 05:33 yum install php-pear php-devel ImageMagick ImageMagick-devel -y
- 05:48 pecl install imagick
- 06:09 echo "extension=imagick.so" >/etc/php.ini
- 06:45 curl -sS https://getcomposer.org/installer | php
- 06:48 mv composer.phar /usr/local/bin/composer
- 06:58 composer
- 07:14 wget https://www.pimcore.org/download/pimcore-latest.zip
- 08:22 chmod –R 775 ./
- 08:51 vim /etc/httpd/conf.d/pimcor.conf
- 09:11 httpd -t
- 09:22 systemctl restart httpd
Installation of Pimcore CMS Version 4 On Centos 7.5
Pimcore is a software vendor for free and open-source customer experience management , digital asset management, product information management, multi-channel publishing and e-commerce software.Pimcore is a web-based application and employs the PHPprogramming language and the MySQL/MariaDB relational database management system.
Pimcore CMS allows you to edit and manage content in just one place and reuse it in all output channels. With the help of Pimcore Data Manager, you can also manage all your digital media assets and product data in one place. Multi-channel publishing functionalities which can be used to build websites, portals, mobile apps.
Pre – Requisite
LAMP stack
Apache
MariaDB
PHP 7.1
To Check the Version of Centos:
[root@linuxhelp ~]# cat /etc/centos-release
CentOS Linux release 7.5.1804 (Core)
LAMP Stack Installation Procedure
Install Apache And MariaDB Server into the system using the command as given below
[root@linuxhelp ~]# yum install httpd mariadb-server -y
Loaded plugins: fastestmirror, langpacks
Loading mirror speeds from cached hostfile
 * base: mirror.nbrc.ac.in
 * extras: mirror.ehost.vn
 * updates: mirror.nbrc.ac.in
Resolving Dependencies
--> Running transaction check
---> Package httpd.x86_64 0:2.4.6-88.el7.centos will be installed
.
.
.
Installed:
  httpd.x86_64 0:2.4.6-88.el7.centos                                 mariadb-server.x86_64 1:5.5.60-1.el7_5

Dependency Installed:
  apr.x86_64 0:1.4.8-3.el7_4.1              apr-util.x86_64 0:1.5.2-6.el7               httpd-tools.x86_64 0:2.4.6-88.el7.centos
  mailcap.noarch 0:2.1.41-2.el7             mariadb.x86_64 1:5.5.60-1.el7_5             perl-DBD-MySQL.x86_64 0:4.023-6.el7

Dependency Updated:
  mariadb-libs.x86_64 1:5.5.60-1.el7_5
After Successful Installation of Apache And MariaDB Servers, Now do Enable and Start the service of both Apache And MariaDB
[root@linuxhelp ~]# systemctl enable httpd mariadb
Created symlink from /etc/systemd/system/multi-user.target.wants/httpd.service to /usr/lib/systemd/system/httpd.service.
Created symlink from /etc/systemd/system/multi-user.target.wants/mariadb.service to /usr/lib/systemd/system/mariadb.service.
Use the following command to check the service status of Apache and Mariadb
[root@linuxhelp ~]# systemctl start httpd mariadb

Check the status of Apache And MariaDB by executing the following command.
[root@linuxhelp ~]# systemctl status httpd mariadb
● httpd.service - The Apache HTTP Server
   Loaded: loaded (/usr/lib/systemd/system/httpd.service; enabled; vendor preset: disabled)
   Active: active (running) since Thu 2019-03-28 13:15:25 IST; 34s ago

● mariadb.service - MariaDB database server
   Loaded: loaded (/usr/lib/systemd/system/mariadb.service; enabled; vendor preset: disabled)
   Active: active (running) since Thu 2019-03-28 13:15:28 IST; 30s ago
Secure MariaDB by setting the root password with the following installation
[root@linuxhelp ~]# mysql_secure_installation

NOTE: RUNNING ALL PARTS OF THIS SCRIPT IS RECOMMENDED FOR ALL MariaDB
      SERVERS IN PRODUCTION USE!  PLEASE READ EACH STEP CAREFULLY!

In order to log into MariaDB to secure it, we'll need the current
password for the root user.  If you've just installed MariaDB, and
you haven't set the root password yet, the password will be blank,
so you should just press enter here.

Enter current password for root (enter for none):
OK, successfully used password, moving on...

Setting the root password ensures that nobody can log into the MariaDB
root user without the proper authorisation.

Set root password? [Y/n] y
New password:
Re-enter new password:
Password updated successfully!
Reloading privilege tables..
 ... Success!


By default, a MariaDB installation has an anonymous user, allowing anyone
to log into MariaDB without having to have a user account created for
them.  This is intended only for testing, and to make the installation
go a bit smoother.  You should remove them before moving into a
production environment.

Remove anonymous users? [Y/n] y
 ... Success!

Normally, root should only be allowed to connect from 'localhost'.  This
ensures that someone cannot guess at the root password from the network.

Disallow root login remotely? [Y/n] y
 ... Success!

By default, MariaDB comes with a database named 'test' that anyone can
access.  This is also intended only for testing, and should be removed
before moving into a production environment.

Remove test database and access to it? [Y/n] y
 - Dropping test database...
 ... Success!
 - Removing privileges on test database...
 ... Success!

Reloading the privilege tables will ensure that all changes made so far
will take effect immediately.

Reload privilege tables now? [Y/n] y
 ... Success!

Cleaning up...

All done!  If you've completed all of the above steps, your MariaDB
installation should now be secure.

Thanks for using MariaDB!
Create new database for Pimcore CMS and set permissions to a particular user to access the pimcore database with a password
[root@linuxhelp ~]# mysql -u root -p
Enter password:
Welcome to the MariaDB monitor.  Commands end with ; or \g.
Your MariaDB connection id is 10
Server version: 5.5.60-MariaDB MariaDB Server

Copyright (c) 2000, 2018, Oracle, MariaDB Corporation Ab and others.

Type 'help;' or '\h' for help. Type '\c' to clear the current input statement.

MariaDB [(none)]> show databases;
+--------------------+
| Database           |
+--------------------+
| information_schema |
| mysql              |
| performance_schema |
+--------------------+
3 rows in set (0.00 sec)

MariaDB [(none)]> create database pimcore character set utf8mb4;
Query OK, 1 row affected (0.00 sec)

MariaDB [(none)]> use pimcore;
Database changed
MariaDB [pimcore]> create user user@localhost identified by 'linuxc';
Query OK, 0 rows affected (0.00 sec)

MariaDB [pimcore]> grant all on pimcore.* to user@localhost;
Query OK, 0 rows affected (0.00 sec)

MariaDB [pimcore]> flush privileges;
Query OK, 0 rows affected (0.00 sec)

MariaDB [pimcore]> exit
Bye
PHP Installation Procedure
To install PHP,we need to install 3 third-party yum repositories which are epel-release,webtatic and remi-release
Install the epel-release repository with the following command
[root@linuxhelp ~]# yum install epel-release yum-utils -y
Loaded plugins: fastestmirror, langpacks
Loading mirror speeds from cached hostfile
 * base: mirror.nbrc.ac.in
 * extras: mirror.ehost.vn
 * updates: mirror.nbrc.ac.in
Resolving Dependencies
--> Running transaction check
---> Package epel-release.noarch 0:7-11 will be installed
---> Package yum-utils.noarch 0:1.1.31-45.el7 will be updated
.
.
.
.

Verifying  : epel-release-7-11.noarch                                                                                                 1/3
Verifying  : yum-utils-1.1.31-50.el7.noarch                                                                                           2/3
Verifying  : yum-utils-1.1.31-45.el7.noarch                                                                                           3/3

Installed:
  epel-release.noarch 0:7-11

Updated:
  yum-utils.noarch 0:1.1.31-50.el7

Complete!
Install the Webtatic repository with the following link
[root@linuxhelp ~]# rpm -Uvh https://mirror.webtatic.com/yum/el7/webtatic-release.rpm
Retrieving https://mirror.webtatic.com/yum/el7/webtatic-release.rpm
warning: /var/tmp/rpm-tmp.k8XZHi: Header V4 RSA/SHA1 Signature, key ID 62e74ca5: NOKEY
Preparing...                          ################################# [100%]
Updating / installing...
   1:webtatic-release-7-3             ################################# [100%]
Download the remi-release repository by using the wget command then install it
[root@linuxhelp ~]# wget http://rpms.remirepo.net/enterprise/remi-release-7.rpm
--2019-03-28 13:30:16--  http://rpms.remirepo.net/enterprise/remi-release-7.rpm
Resolving rpms.remirepo.net (rpms.remirepo.net)... 195.154.241.117, 2001:bc8:33a1:100::1
Connecting to rpms.remirepo.net (rpms.remirepo.net)|195.154.241.117|:80... connected.
HTTP request sent, awaiting response... 200 OK
Length: 16004 (16K) [application/x-rpm]
Saving to: ‘remi-release-7.rpm’

100%[==================================================================================================>] 16,004      --.-K/s   in 0s

2019-03-28 13:30:17 (169 MB/s) - ‘remi-release-7.rpm’ saved [16004/16004]
[root@linuxhelp ~]# rpm -Uvh remi-release-7.rpm
warning: remi-release-7.rpm: Header V4 DSA/SHA1 Signature, key ID 00f97f56: NOKEY
Preparing...                          ################################# [100%]
Updating / installing...
   1:remi-release-7.6-2.el7.remi      ################################# [100%]
Enable the remi repository with PHP 7.1 version
[root@linuxhelp ~]# yum-config-manager --enable remi-php71
Loaded plugins: fastestmirror, langpacks
============================================================= repo: remi-php71 =============================================================
[remi-php71]
async = True
bandwidth = 0
base_persistdir = /var/lib/yum/repos/x86_64/7
baseurl =
cache = 0
cachedir = /var/cache/yum/x86_64/7/remi-php71
.
.
.
.
timeout = 30.0
ui_id = remi-php71
ui_repoid_vars = releasever,
   basearch
username =
Install The following PHP modules that are essential to access the Pimcore CMS
[root@linuxhelp ~]# yum install php php-gd php-pdo php-mysql php-mbstring php-pecl-zip php-mcrypt php-simplexml
Loaded plugins: fastestmirror, langpacks
Loading mirror speeds from cached hostfile
epel/x86_64/metalink                                                                                                 | 4.8 kB  00:00:00
 * base: centos.excellmedia.net
 * epel: mirror01.idc.hinet.net
 * extras: centos.excellmedia.net
 * remi-php71: mirror.awanti.com
 * remi-safe: mirror.awanti.com
 * updates: centos.excellmedia.net
 * webtatic: uk.repo.webtatic.com
epel                                                                                                                 | 4.7 kB  00:00:00
remi-php71                                                                                                           | 3.0 kB  00:00:00
remi-safe                                                                                                            | 3.0 kB  00:00:00
webtatic                                                                                                             | 3.6 kB  00:00:00
(1/7): epel/x86_64/group_gz                                                                                          |  88 kB  00:00:00
(2/7): epel/x86_64/updateinfo                                                                                        | 1.0 MB  00:00:03
(3/7): webtatic/x86_64/group_gz                                                                                      |  448 B  00:00:01
.
.
.
.
.

  gd-last.x86_64 0:2.2.5-8.el7.remi             libmcrypt.x86_64 0:2.5.8-13.el7              libwebp7.x86_64 0:1.0.2-1.el7.remi
  libzip5.x86_64 0:1.5.2-1.el7.remi             php-cli.x86_64 0:7.1.27-1.el7.remi           php-common.x86_64 0:7.1.27-1.el7.remi
  php-json.x86_64 0:7.1.27-1.el7.remi
Complete!
Install Development Tools to build bundle of software at once rather to install each application separately
[root@linuxhelp ~]# yum groupinstall "Development Tools" -y
Loaded plugins: fastestmirror, langpacks
There is no installed groups file.
Maybe run: yum groups mark convert (see man yum)
Loading mirror speeds from cached hostfile
 * base: mirror.nbrc.ac.in
 * epel: mirror.premi.st
 * extras: mirror.ehost.vn
 * remi-php71: fr2.rpmfind.net
 * remi-safe: fr2.rpmfind.net
 * updates: mirror.nbrc.ac.in
 * webtatic: uk.repo.webtatic.com
Resolving Dependencies
--> Running transaction check
---> Package autoconf.noarch 0:2.69-11.el7 will be installed
--> Processing Dependency: m4 >= 1.4.14 for package: autoconf-2.69-11.el7.noarch
.
.
.
.
.

Dependency Installed:
  cpp.x86_64 0:4.8.5-36.el7_6.1                dwz.x86_64 0:0.11-3.el7                         efivar-libs.x86_64 0:36-11.el7_6.1
  gettext-common-devel.noarch 0:0.19.8.1-2.el7 gettext-devel.x86_64 0:0.19.8.1-2.el7           glibc-devel.x86_64 0:2.17-260.el7_6.3
  glibc-headers.x86_64 0:2.17-260.el7_6.3      kernel-debug-devel.x86_64 0:3.10.0-957.10.1.el7 kernel-headers.x86_64 0:3.10.0-957.10.1.el7
Install imagick to create,edit,rotate and transform images over 200 formats by the following command
[root@linuxhelp ~]# yum install php-pear php-devel ImageMagick ImageMagick-devel -y
Loaded plugins: fastestmirror, langpacks
  libgfortran.x86_64 0:4.8.5-36.el7_6.1        libmpc.x86_64 0:1.0.1-3.el7                     libquadmath.x86_64 0:4.8.5-36.el7_6.1
  libquadmath-devel.x86_64 0:4.8.5-36.el7_6.1  libstdc++-devel.x86_64 0:4.8.5-36.el7_6.1       m4.x86_64 0:1.4.16-10.el7
  mokutil.x86_64 0:15-2.el7.centos             perl-Error.noarch 1:0.17020-2.el7               perl-Git.noarch 0:1.8.3.1-20.el7
.
.
.
.
.
Dependency Updated:
  freetype.x86_64 0:2.8-12.el7_6.1           ghostscript.x86_64 0:9.07-31.el7_6.10        ghostscript-cups.x86_64 0:9.07-31.el7_6.10
  jasper-libs.x86_64 0:1.900.1-33.el7        libjpeg-turbo.x86_64 0:1.2.90-6.el7          zlib.x86_64 0:1.2.7-18.el7

Complete!
[root@linuxhelp ~]# pecl install imagick
WARNING: channel "pecl.php.net" has updated its protocols, use "pecl channel-update pecl.php.net" to update
downloading imagick-3.4.3.tgz ...
Starting to download imagick-3.4.3.tgz (245,410 bytes)
...................................................done: 245,410 bytes
19 source files, building
running: phpize
Configuring for:
PHP Api Version:         20160303
Zend Module Api No:      20160303
Zend Extension Api No:   320160303
Please provide the prefix of Imagemagick installation [autodetect] :
.
.
.
.

Build process completed successfully
Installing '/usr/include/php/ext/imagick/php_imagick_shared.h'
Installing '/usr/lib64/php/modules/imagick.so'
install ok: channel://pecl.php.net/imagick-3.4.3
configuration option "php_ini" is not set to php.ini location
You should add "extension=imagick.so" to php.ini
Add the imagick php extension in the configuration file of php
[root@linuxhelp ~]# vim /etc/php.ini
extension=imagick.so
check the installed php modules by executing the following command
[root@linuxhelp ~]# php -m
[PHP Modules]
bz2
calendar
Core
ctype
curl
date
dom
exif
fileinfo
filter
ftp
gd
gettext
hash
iconv
imagick
.
.
.
.
.
.
xsl
zip
zlib

[Zend Modules]
Install the composer to manage all the libraries of php, per project basis
[root@linuxhelp ~]# curl -sS https://getcomposer.org/installer | php
All settings correct for using Composer
Downloading...

Composer (version 1.8.4) successfully installed to: /root/composer.phar
Use it: php composer.phar
To access the composer libraries globally, move the php archive file to the following path
[root@linuxhelp ~]# mv composer.phar /usr/local/bin/composer
Run the command to check ,has composer installed or not in our system by the following command
root@linuxhelp ~]# composer
Do not run Composer as root/super user! See https://getcomposer.org/root for details
   ______
  / ____/___  ____ ___  ____  ____  ________  _____
 / /   / __ \/ __ `__ \/ __ \/ __ \/ ___/ _ \/ ___/
/ /___/ /_/ / / / / / / /_/ / /_/ (__  )  __/ /
\____/\____/_/ /_/ /_/ .___/\____/____/\___/_/
                    /_/
Composer version 1.8.4 2019-02-11 10:52:10
.
.
.
Download the pimcore cms from its website using wget,by the following link
root@linuxhelp ~]# wget https://www.pimcore.org/download/pimcore-latest.zip
--2019-03-28 14:40:30--  https://www.pimcore.org/download/pimcore-latest.zip
Resolving www.pimcore.org (www.pimcore.org)... 62.138.199.172
Connecting to www.pimcore.org (www.pimcore.org)|62.138.199.172|:443... connected.
HTTP request sent, awaiting response... 200 OK
Length: 69668557 (66M) [application/zip]
Saving to: ‘pimcore-latest.zip’

100%[==================================================================================================>] 69,668,557   763KB/s   in 97s
2019-03-28 14:45:32 (701 KB/s) - ‘pimcore-latest.zip’ saved [69668557/69668557]
Move the pimcore zip file to the Apache’s Document Root directory
root@linuxhelp ~]# mv pimcore-latest.zip /var/www
create a directory pimcore to unzip the pimcore downloaded file
[root@linuxhelp www]#mkdir pimcore
[root@linuxhelp www]#unzip pimcore-latest.zip -d pimcore
List the extracted files of the pimcore zip file
[root@linuxhelp www]#cd pimcore
[root@linuxhelp pimcore]# ls -la
total 196
-rwxrwxr-x  1 root root   2863 Jan  9 22:05 composer.json
-rwxrwxr-x  1 root root 155582 Jan  9 22:10 composer.lock
-rwxrwxr-x  1 root root    274 Jan  9 22:03 constants.example.php
-rwxrwxr-x  1 root root   4865 Jan  9 22:03 .htaccess
-rwxrwxr-x  1 root root    675 Jan  9 22:03 index.php
drwxrwxr-x  9 root root   4096 Jan  9 22:03 pimcore
drwxrwxr-x  2 root root   4096 Jan  9 22:03 plugins
drwxrwxr-x 39 root root   4096 Jan  9 22:10 vendor
drwxrwxr-x  8 root root   4096 Jan  9 22:03 website
set writeable permissions to the pimcore directory and to its subdirectories in the below command
[root@linuxhelp pimcore]#chmod –R 775 ./
Customize the configuration file for pimcore CMS using vim
[root@linuxhelp pimcore]# vim /etc/httpd/conf.d/pimcor.conf
<VirtualHost *:80>
servername www.linuxhelp1.com
Documentroot  /var/www/pimcore/
<Directory /var/www/pimcore/>
allowoverride all
allow from all
</Directory>
</Virtualhost>
Test The Configuration Of Apache
[root@linuxhelp pimcore]# httpd -t
Syntax OK
Restart the service of Apache to reload the changes that had done in the customised configuration file
[root@linuxhelp pimcore]# systemctl restart httpd
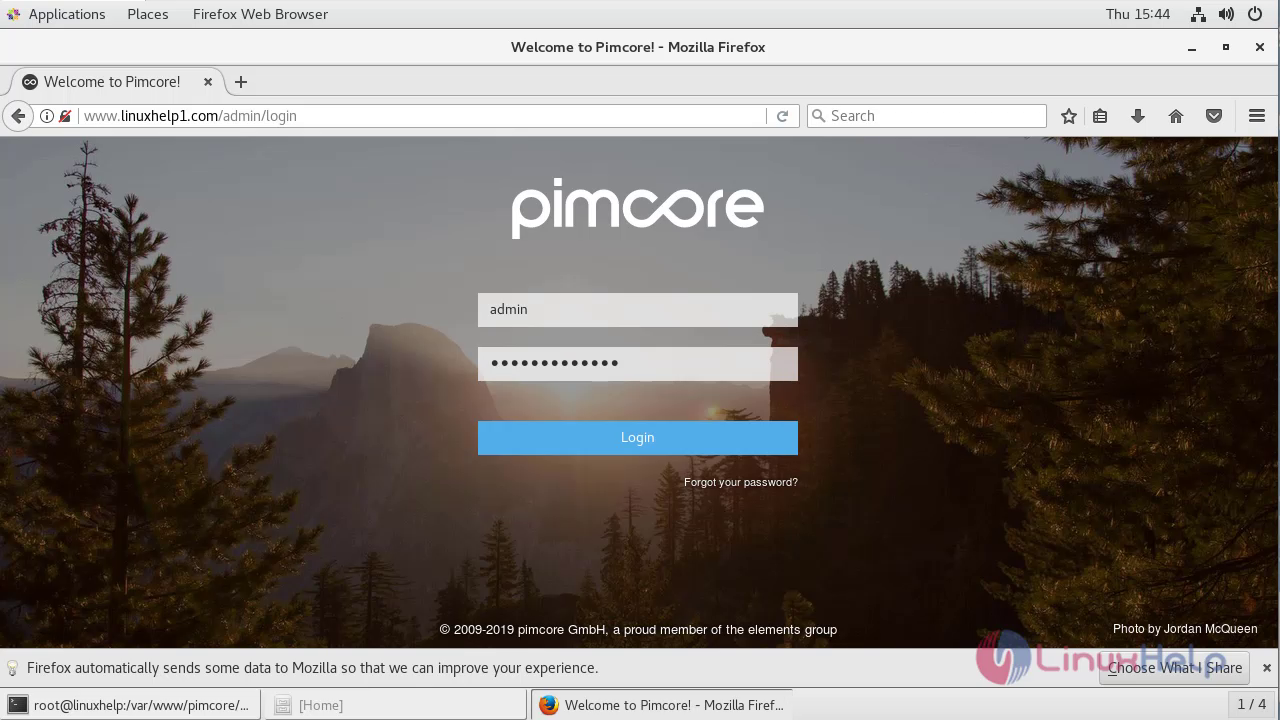
Now configuration on pimcore cms via terminal side is successful. Switchover to the browser by entering the servername that has set
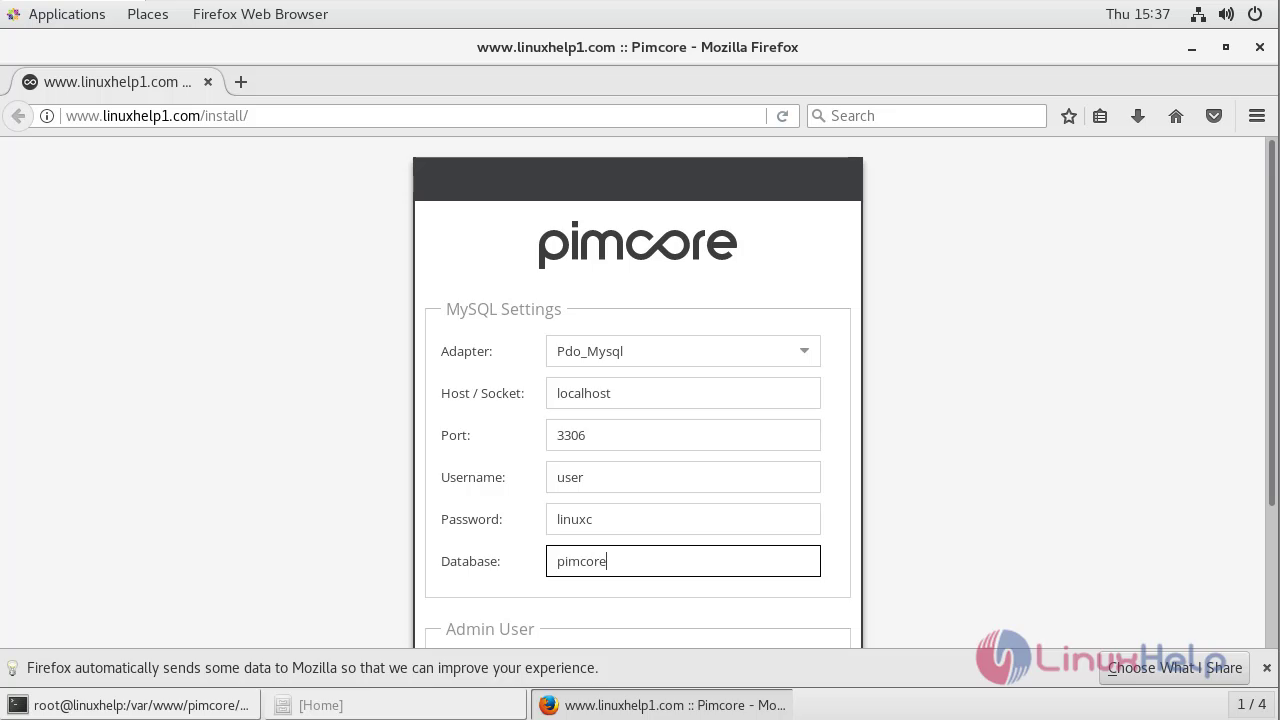
Enter the details that has set in the MariaDB and enroll the login credentials
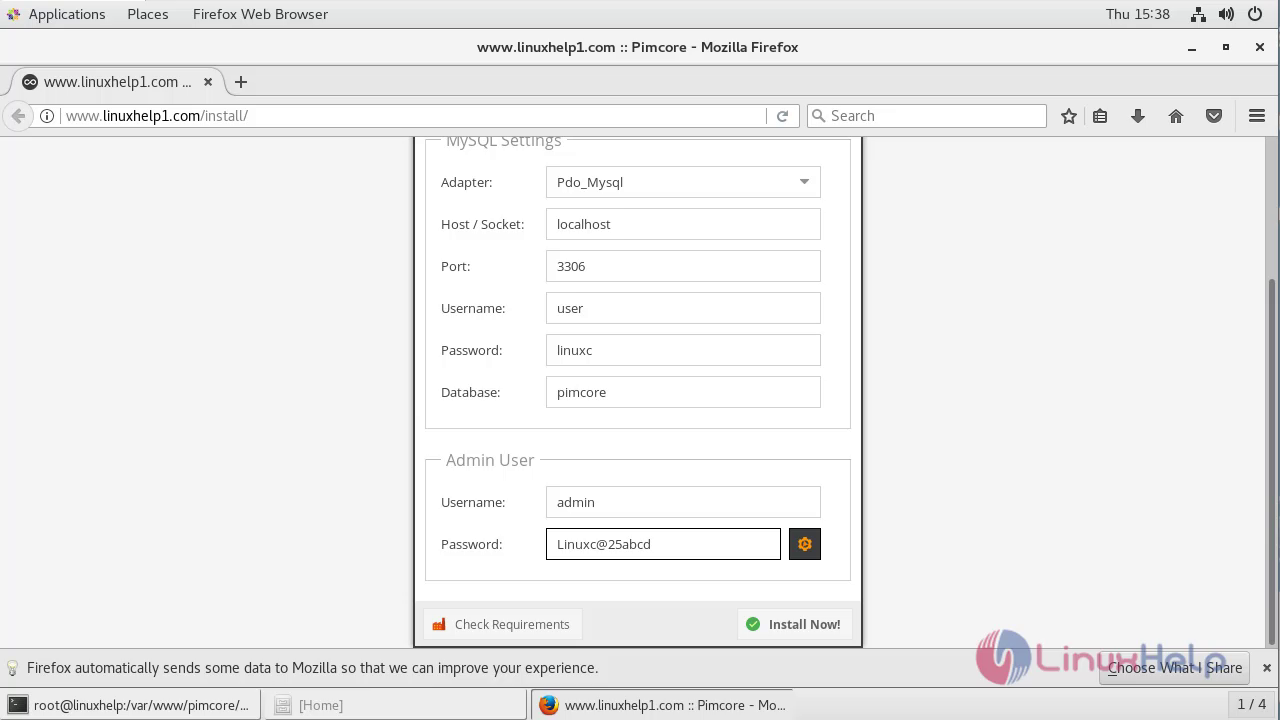
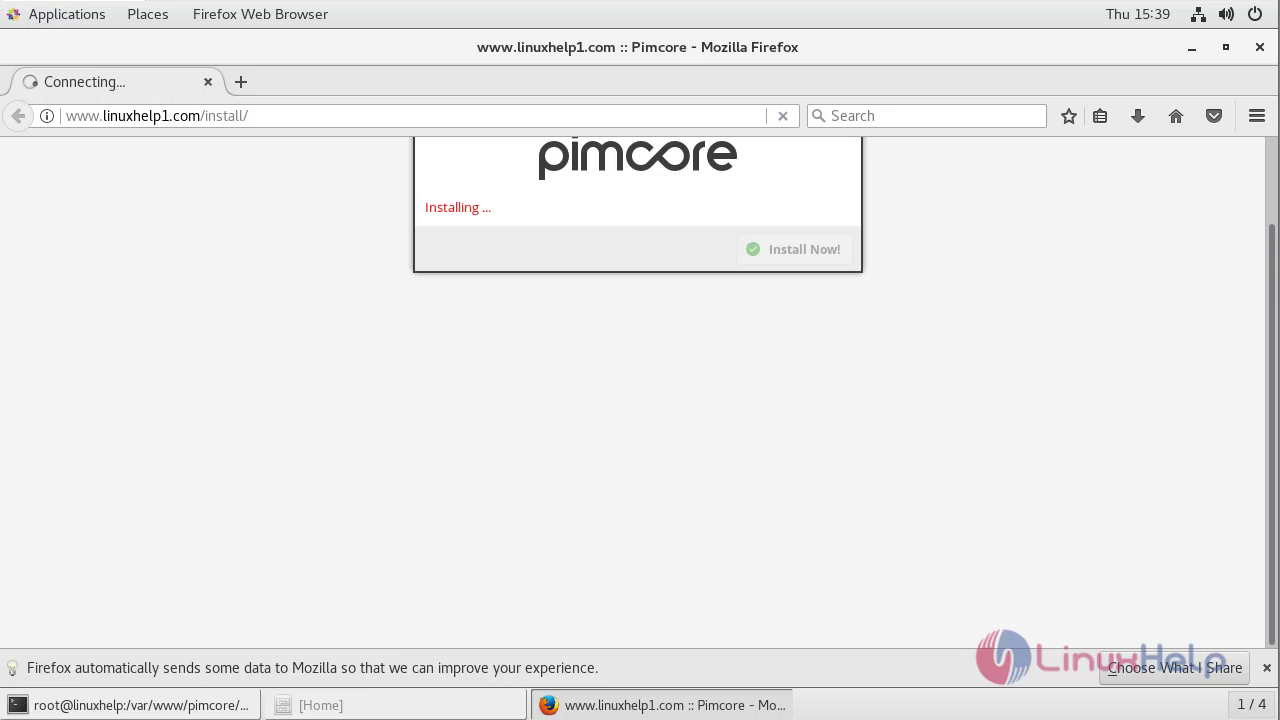
Login the credentials to access the Pimcore CMS
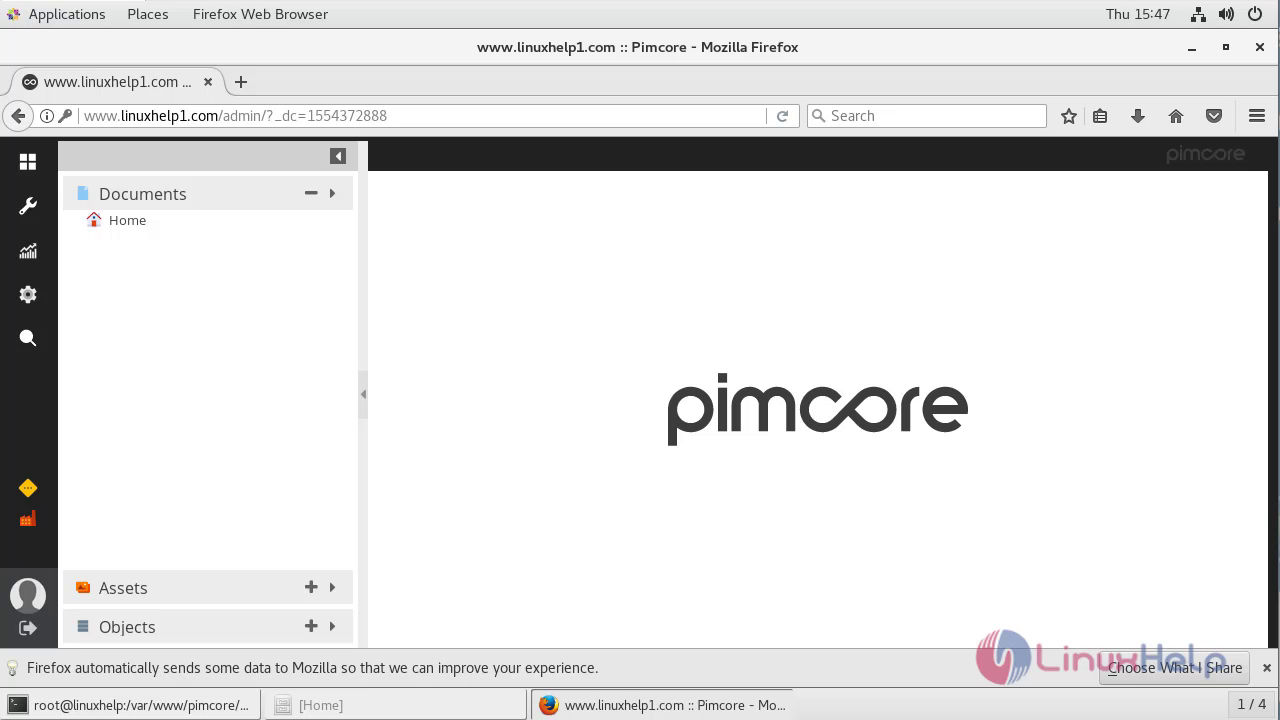
Thus we have successfully installed the pimcore CMS on Centos 7.
Comments ( 0 )
No comments available