How to install Rainloop Webmail 1.12.0 on Ubuntu 18.04
To install Rainloop Webmail 1.12.0 on Ubuntu 18.04
RainLoop is a fast and lightweight e-mail client software which supports protocols such as IMAP, SSL, SMTP, etc. RainLoop allows the user to login with multiple e-mail accounts even with different browser tabs. It can also be integrated with Google, Facebook, Twitter, Dropbox, etc. The method to install Rainloop Webmail 1.12.0 on Ubuntu 18.04 is covered here.
Prerequisites
To install LAMP(Apache, MariaDB, php7)
In MariaDB (create database and user and give privileges to that user )
PHP Modules
add-apt-repository ppa:ondrej/php
apt-get update
apt-get install php7.0 php7.0-mysql php7.0-curl php7.0-json php7.0-cgi libapache2-mod-php7.0 php7.0-mcrypt php7.0-xmlrpc php7.0-gd php7.0-mbstring php7.0  php7.0-common  php7.0-xmlrpc php7.0-soap
php7.0-xml php7.0-intl  php7.0-cli  php7.0-ldap php7.0-zip php7.0-readline php7.0-imap php7.0-tidy php7.0-recode php7.0-sq php7.0-intl
Installing Rainloop Webmail 1.12.0
Download a Rainloop Webmail package from the terminal using wget command.
root@linuxhelp1:~# wget https://www.rainloop.net/repository/webmail/rainloop-community-latest.zip
--2018-05-30 12:35:48--  https://www.rainloop.net/repository/webmail/rainloop-community-latest.zip
Resolving www.rainloop.net (www.rainloop.net)... 104.28.7.34, 104.28.6.34
Connecting to www.rainloop.net (www.rainloop.net)|104.28.7.34|:443... connected.
HTTP request sent, awaiting response... 200 OK
Length: 5933307 (5.7M) [application/zip]
Saving to: ‘ rainloop-community-latest.zip’

rainloop-community-late 100%[==============================> ]   5.66M  1.02MB/s    in 7.1s

2018-05-30 12:35:58 (815 KB/s) - ‘ rainloop-community-latest.zip’  saved [5933307/5933307]
The downloaded package is a unzip file, so we need to unzip the package as follows.
root@linuxhelp1:~# unzip rainloop-community-latest.zip -d rainloop
Archive:  rainloop-community-latest.zip
   creating: rainloop/data/
  inflating: rainloop/index.php
   creating: rainloop/rainloop/
  inflating: rainloop/data/EMPTY
  inflating: rainloop/data/VERSION
.
.
  inflating: rainloop/rainloop/v/1.12.0/app/libraries/SabreForRainLoop/DAV/Browser/assets/icons/collection.png
  inflating: rainloop/rainloop/v/1.12.0/app/libraries/SabreForRainLoop/DAV/Browser/assets/icons/file.png
  inflating: rainloop/rainloop/v/1.12.0/app/libraries/SabreForRainLoop/DAV/Browser/assets/icons/parent.png
  inflating: rainloop/rainloop/v/1.12.0/app/libraries/SabreForRainLoop/DAV/Browser/assets/icons/principal.png
Move the extracted file into the HTML location.
root@linuxhelp1:~# mv rainloop /var/www/
And then switch to the following directory.
root@linuxhelp1:~# cd /var/www/
Change the ownership and permission of the file as follows.
root@linuxhelp1:/var/www# chown -R www-data.www-data rainloop
root@linuxhelp1:/var/www# chmod -R 775 rainloop
Create a new virtual host configuration for accessing the Rainloop Webmail application.
root@linuxhelp1:/var/www# vim /etc/apache2/sites-available/rainloop.conf
< VirtualHost *:80>
ServerName www.linuxhelp1.com
DocumentRoot /var/www/rainloop

< Directory /var/www/rainloop/>
AllowOverride All
allow from all
< /Directory>

< /VirtualHost>
Enable the site access.
root@linuxhelp1:/var/www# a2ensite rainloop.conf
Enabling site rainloop.
To activate the new configuration, you need to run:
systemctl reload apache2
Disable the default site access as follows.
root@linuxhelp1:/var/www# a2dissite 000-default.conf
Site 000-default disabled.
To activate the new configuration, you need to run
systemctl reload apache2
Enable the rewrite module.
root@linuxhelp1:/var/www# a2enmod rewrite
Enabling module rewrite.
To activate the new configuration, you need to run
systemctl restart apache2
Restart the apache2 service.
root@linuxhelp1:/var/www# systemctl restart apache2
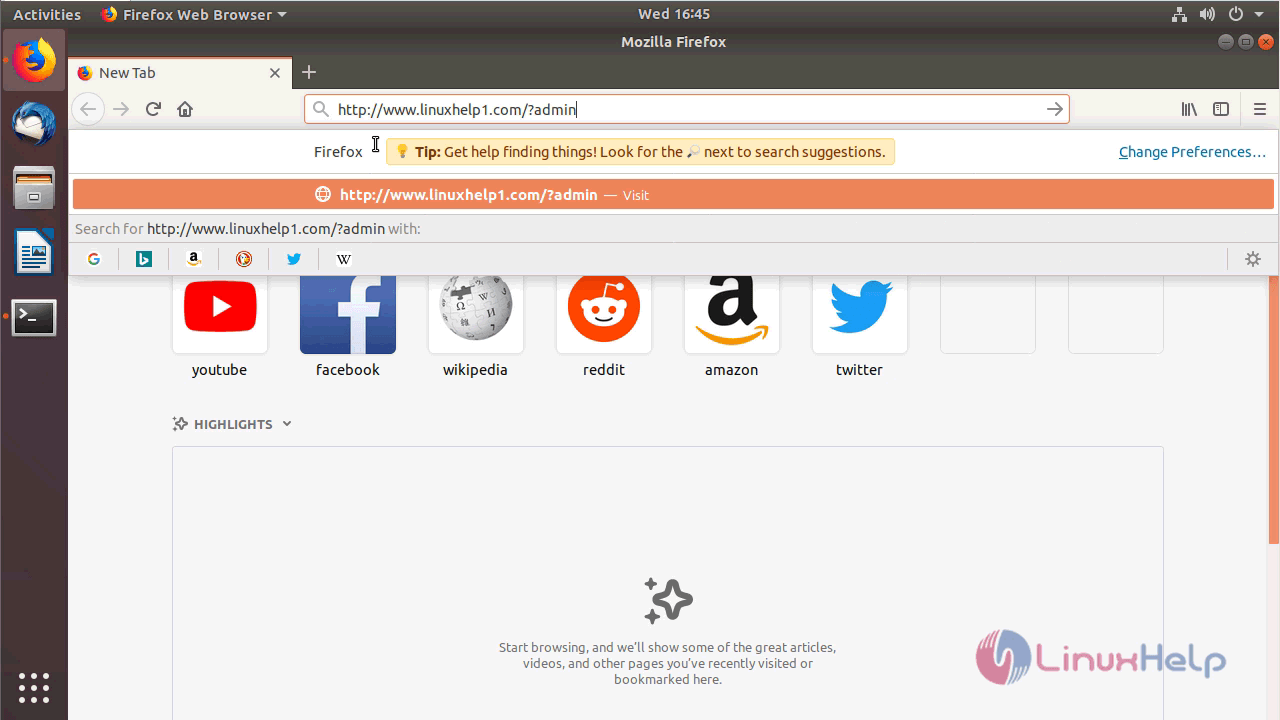
Now you can proceed the further installation and configuration from the browser by navigating to the following URL: http://< ipaddress or domain name.
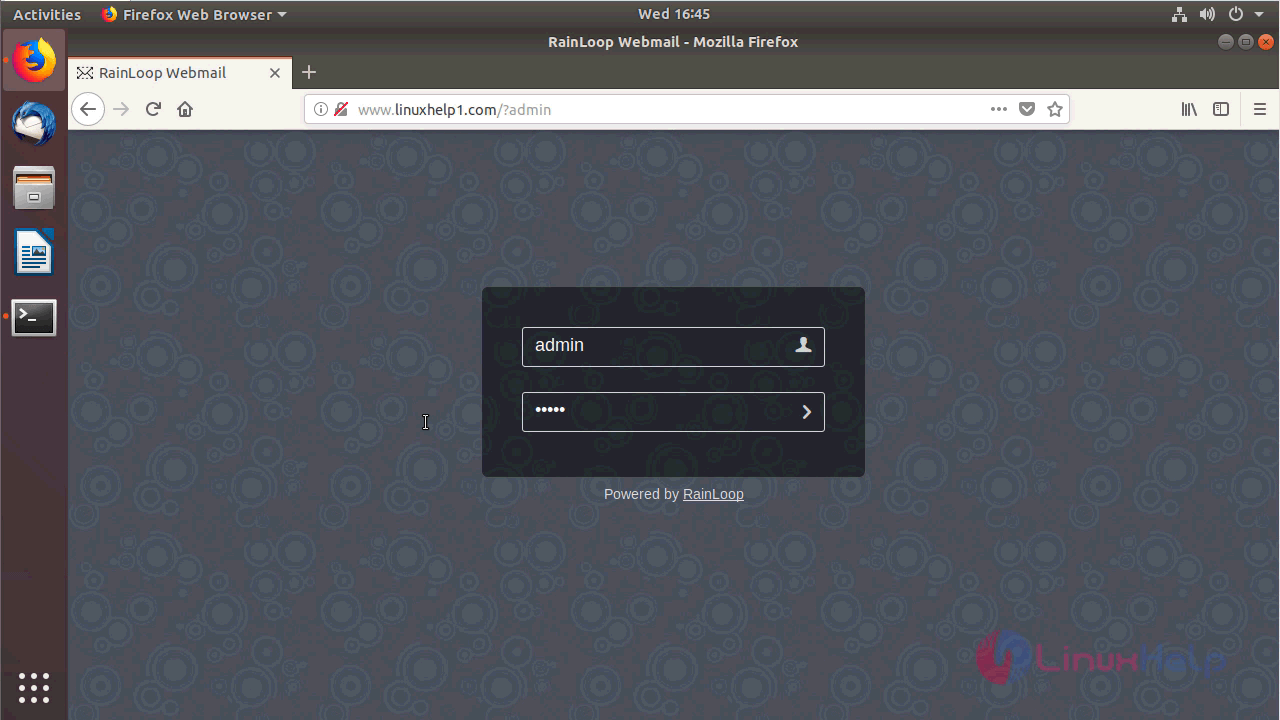
Now login to the Rainloop with the default credential “ admin:12345”
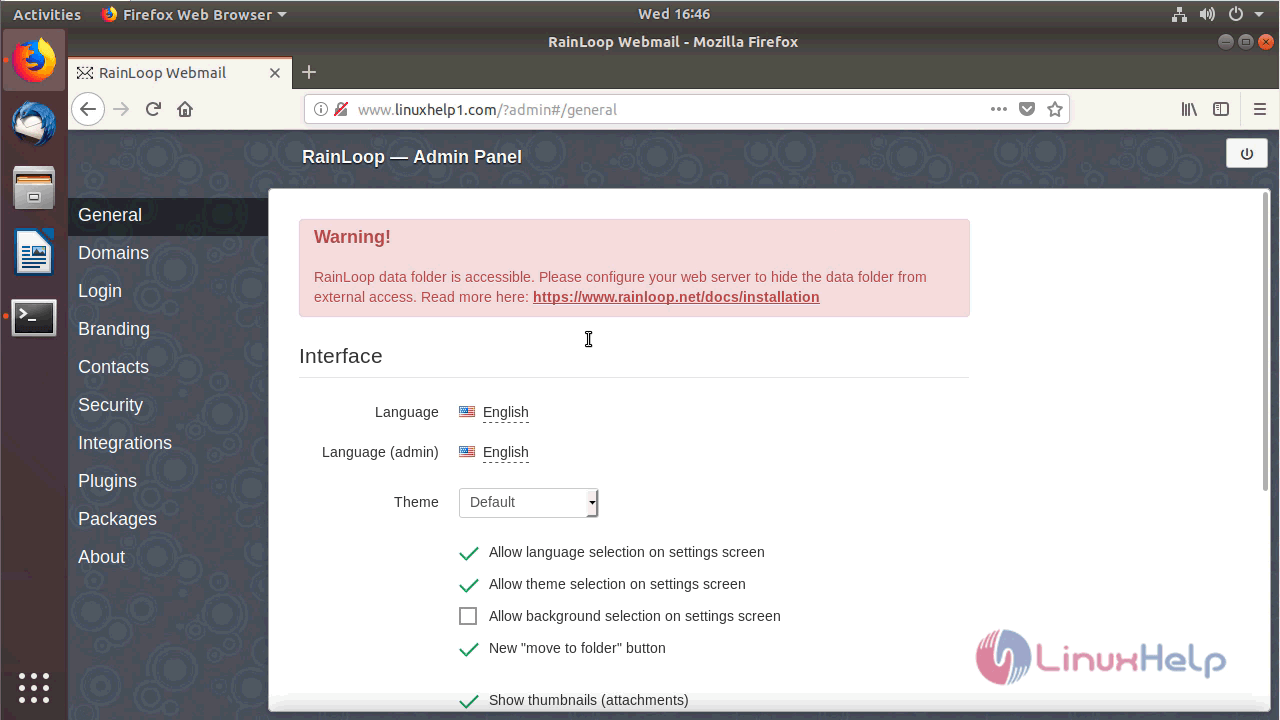
After successful login, you will see the admin panel of Rainloop as shown below.
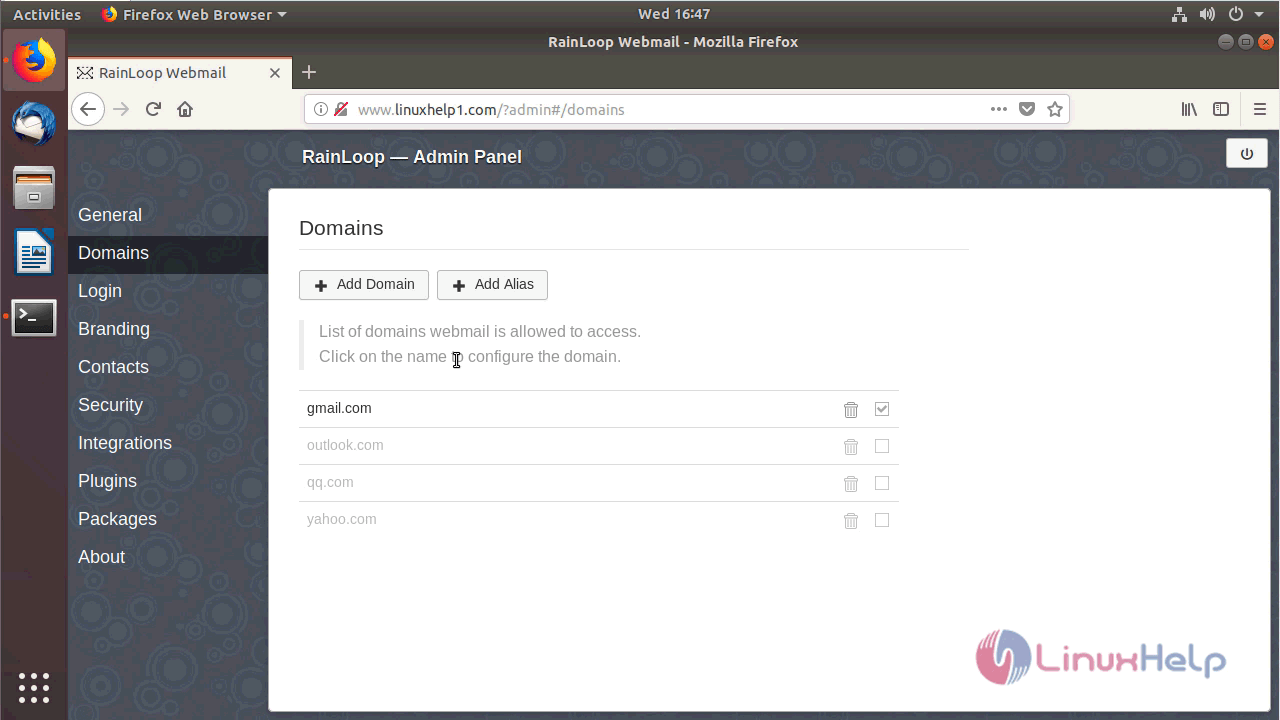
Configure the domain setup as follows.
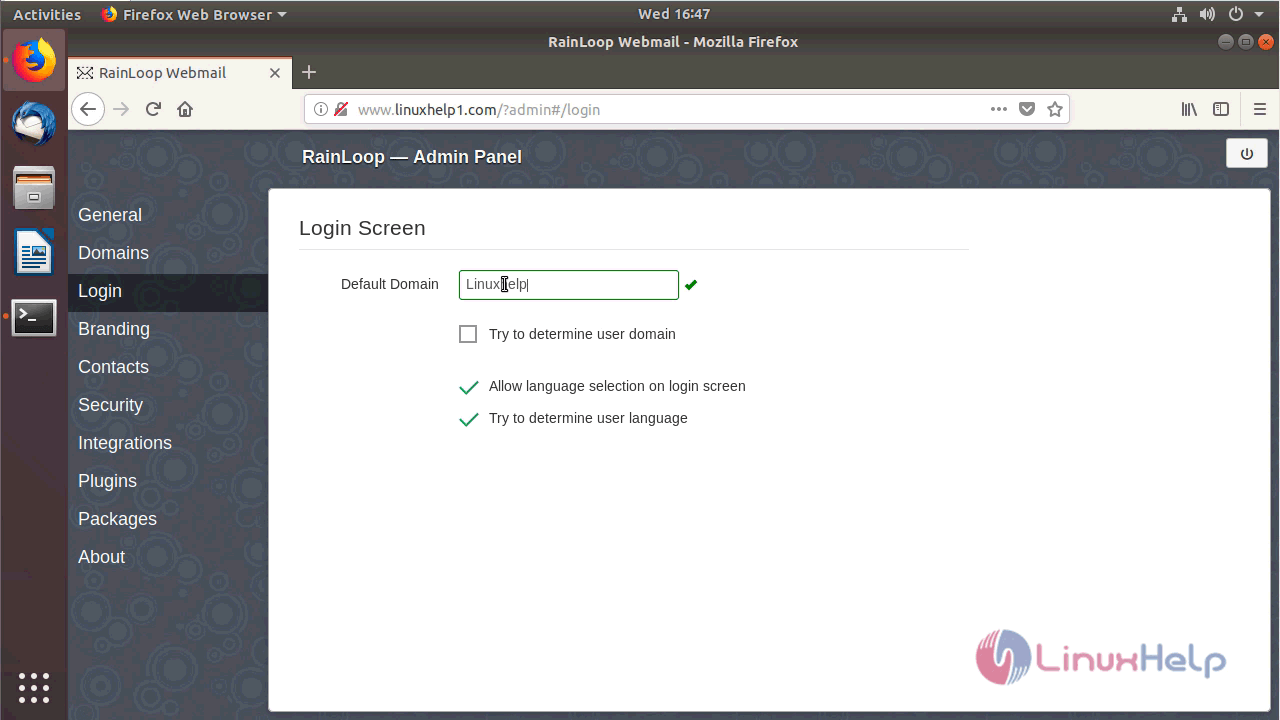
Next, configure the login setup as follows.
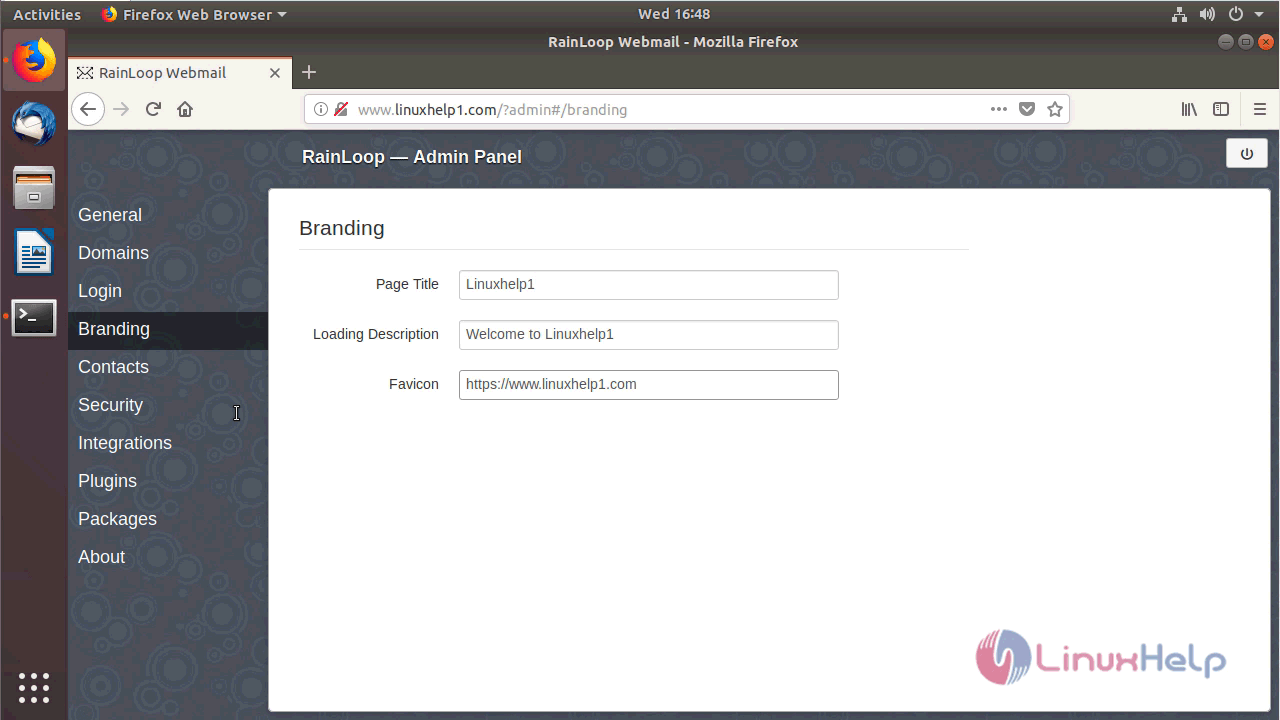
Setup the page information on Branding section.
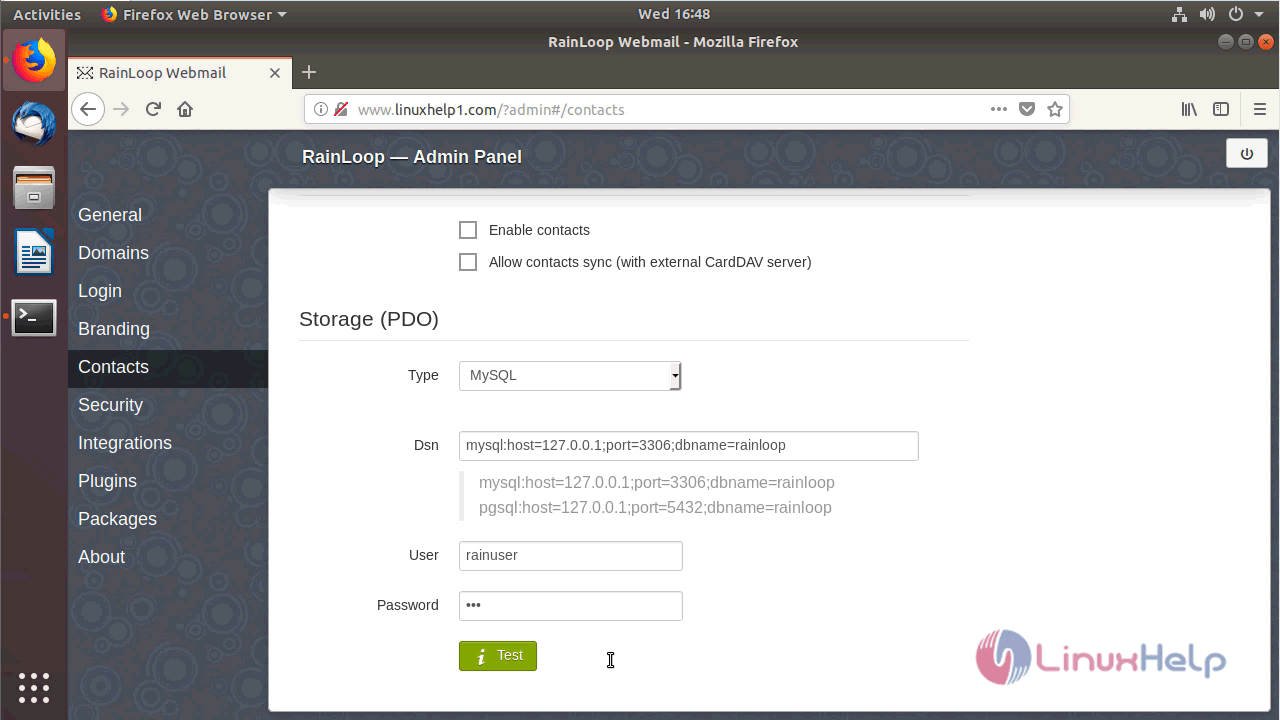
Setup the contact configuration of Storage.
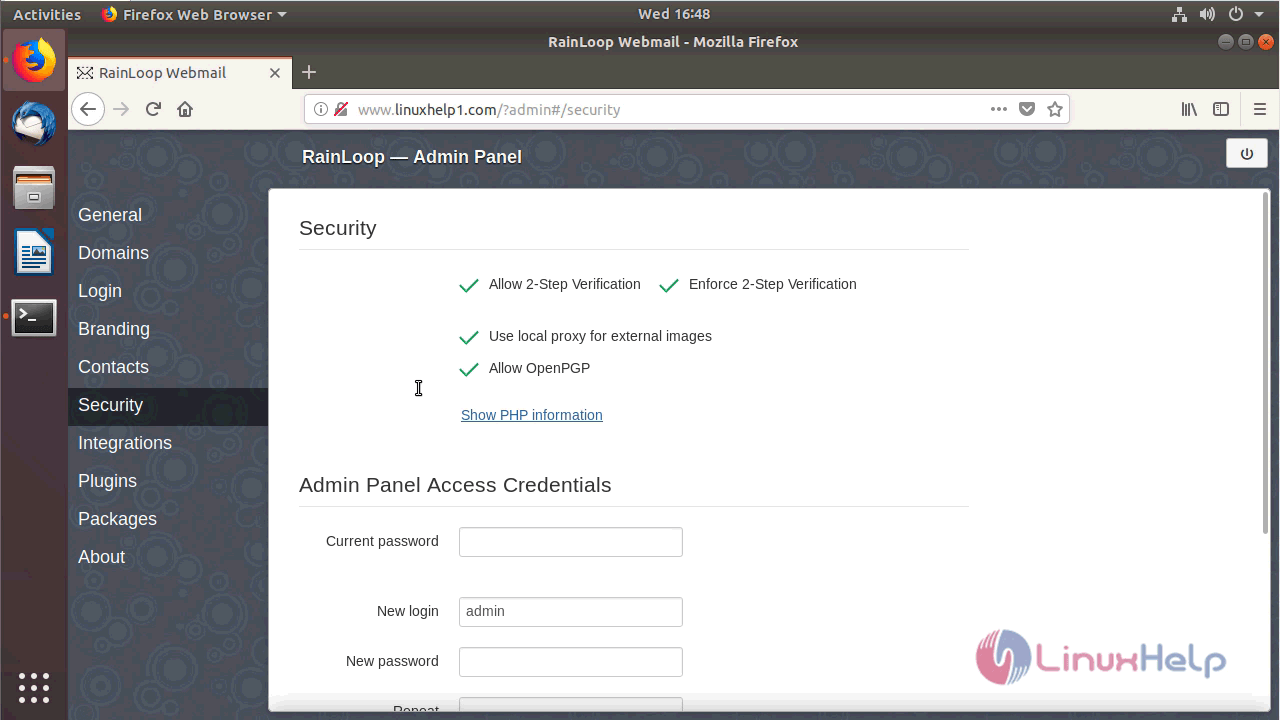
Configure the site security as shown here.
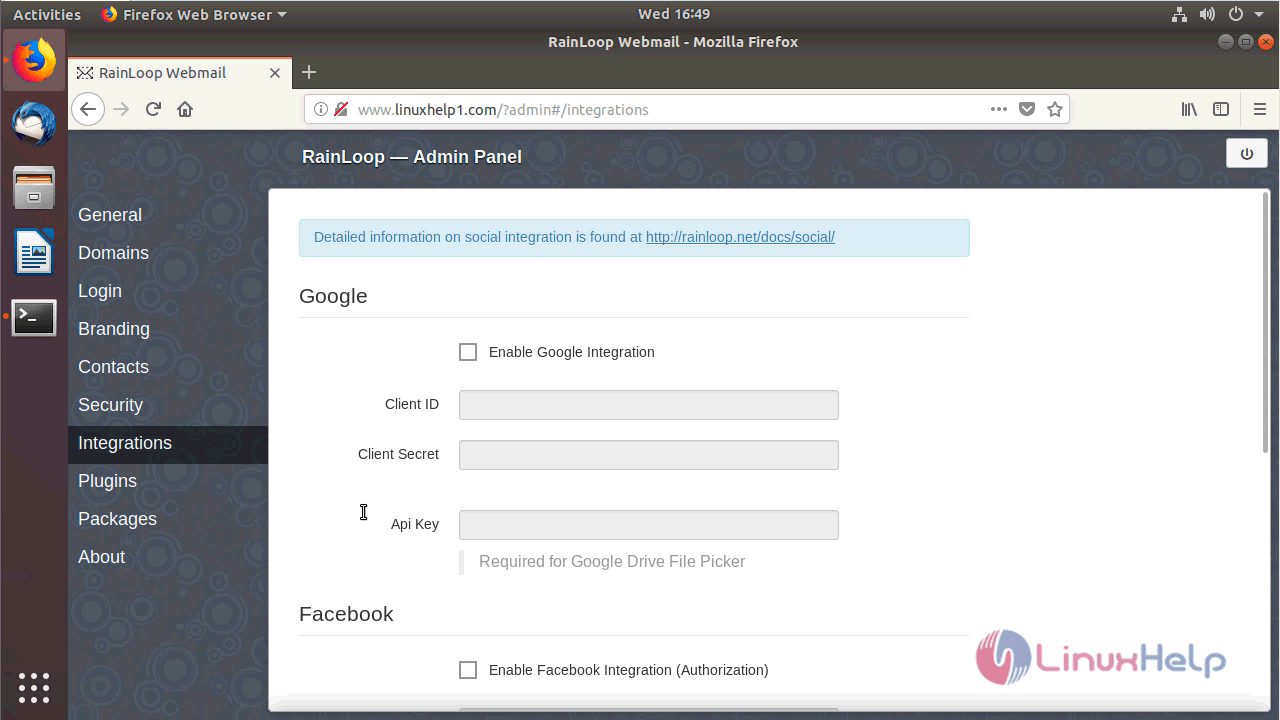
Now make a social media integration as follows.
Now setup the plugin that you require.

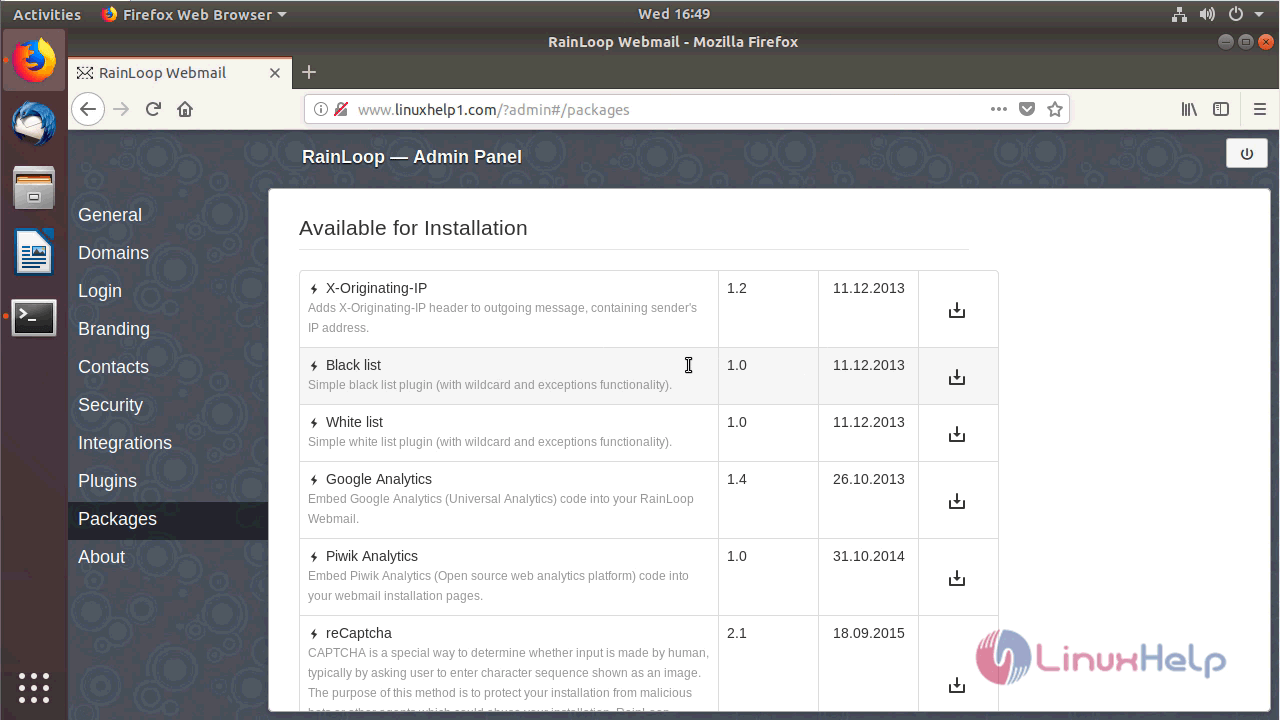
Here you can add the additional packages for your site.
With this, the method to install Rainloop Webmail 1.12.0 on Ubuntu 18.04 comes to an end.
Comments ( 0 )
No comments available