How to install ResourceSpace on OpenSUSE Leap 42.3
To install ResourceSpace on OpenSUSE Leap 42.3
ResourceSpace is a free and open-source Digital Asset Management (DAM) software. It is written in PHP and stores its database in MySQL server. It provides a better way to organize, manage and share the digital assets such as images, design files, photos, videos, audio and more into an organization. It requires PHP, MySQL, and optionally utilities such as FFmpeg and ImageMagick that provide image processing capabilities. It works with most web server software such as Apache. This tutorial covers the installation procedure of ResourceSpace on OpenSUSE Leap 42.3.
Pre- Requisite
LAMP Setup
- Apache
- MariaDB
- PHP 5.6
Installation procedure
To proceed with the installation procedure, download the package using wget command followed by the download link.
www:~ # wget https://www.resourcespace.com/downloads/ResourceSpace_8_1_10036.zip
--2017-10-19 12:01:09--  https://www.resourcespace.com/downloads/ResourceSpace_8_1_10036.zip
Resolving www.resourcespace.com (www.resourcespace.com)... 93.93.130.35
Connecting to www.resourcespace.com (www.resourcespace.com)|93.93.130.35|:443... connected.
HTTP request sent, awaiting response... 200 OK
Length: 27350568 (26M) [application/zip]
Saving to: ‘ ResourceSpace_8_1_10036.zip’

100%[==============================================================================================================================================> ] 27,350,568   798KB/s   in 45s

2017-10-19 12:01:55 (594 KB/s) - ‘ ResourceSpace_8_1_10036.zip’  saved [27350568/27350568]
Extract the downloaded package using unzip command.
www:~ # unzip ResourceSpace_8_1_10036.zip -d /srv/www/htdocs/
Archive:  ResourceSpace_8_1_10036.zip
   creating: /srv/www/htdocs/api/
  inflating: /srv/www/htdocs/api/index.php
  inflating: /srv/www/htdocs/api/example.php
   creating: /srv/www/htdocs/batch/
   creating: /srv/www/htdocs/batch/cron_jobs/
 extracting: /srv/www/htdocs/batch/cron_jobs/002_copy_hitcount.php
  inflating: /srv/www/htdocs/batch/cron_jobs/006_update_disk_usage.php
 extracting: /srv/www/htdocs/batch/cron_jobs/004_send_periodic_reports.php
  inflating: /srv/www/htdocs/batch/cron_jobs/009_flush_unused_keywords.php
  inflating: /srv/www/htdocs/batch/cron_jobs/003_send_statistics.php
  inflating: /srv/www/htdocs/batch/cron_jobs/008_offline_jobs.php
  inflating: /srv/www/htdocs/batch/cron_jobs/001_populate_resource_nodes.php
.
.
.
inflating: /srv/www/htdocs/tests/test_list/000950_do_search_nodes_non-fixed.php
  inflating: /srv/www/htdocs/tests/test_list/001200_get_users.php
  inflating: /srv/www/htdocs/tests/test.php
   creating: /srv/www/htdocs/upgrade/
  inflating: /srv/www/htdocs/upgrade/upgrade.php
  inflating: /srv/www/htdocs/upgrade/readme.txt
   creating: /srv/www/htdocs/upgrade/scripts/
  inflating: /srv/www/htdocs/upgrade/scripts/001_migrate_to_nodes.php
  inflating: /srv/www/htdocs/upgrade/scripts/002_check_resource_node_table.php
Provide the owner permission and file execution permission for the extracted files.
www:/srv/www/htdocs # chown -R wwwrun:www /srv/www/htdocs/
www:/srv/www/htdocs # chmod -R 777 /srv/www/htdocs/
Next configure the PHP configuration file by making the following changes in the file. Save and exit the file.
www:/srv/www/htdocs # vim /etc/php7/apache2/php.ini
upload_max_filesize = 512M
post_max_size = 512M
memory_limit = 512M
Create a Virtual host configuration named resource.conf and enter the following changes in the file. Save and exit the file.
www:/srv/www/htdocs # vim /etc/apache2/conf.d/resource.conf
< VirtualHost *:80>
DocumentRoot " /srv/www/htdocs"
ServerName www.linuxhelp1.com
< Directory " /srv/www/htdocs/" >
DirectoryIndex index.php
Options FollowSymLinks
AllowOverride All
Require all granted
< /Directory>
< /VirtualHost>
Restart the Apache service.
www:/srv/www/htdocs # systemctl restart apache2
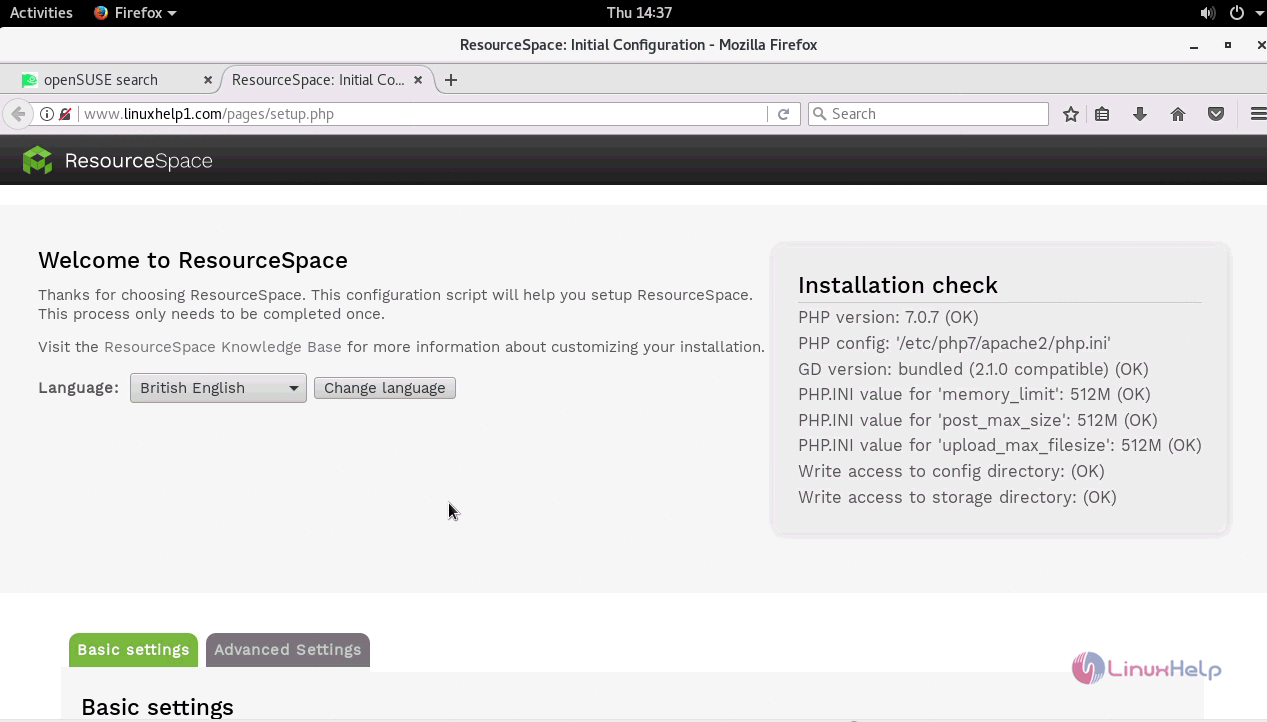
Switch over to the browser and enter the URL as http://yourdomain/index.php. The installation page of ResourceSpace appears on the screen. Select the required language.
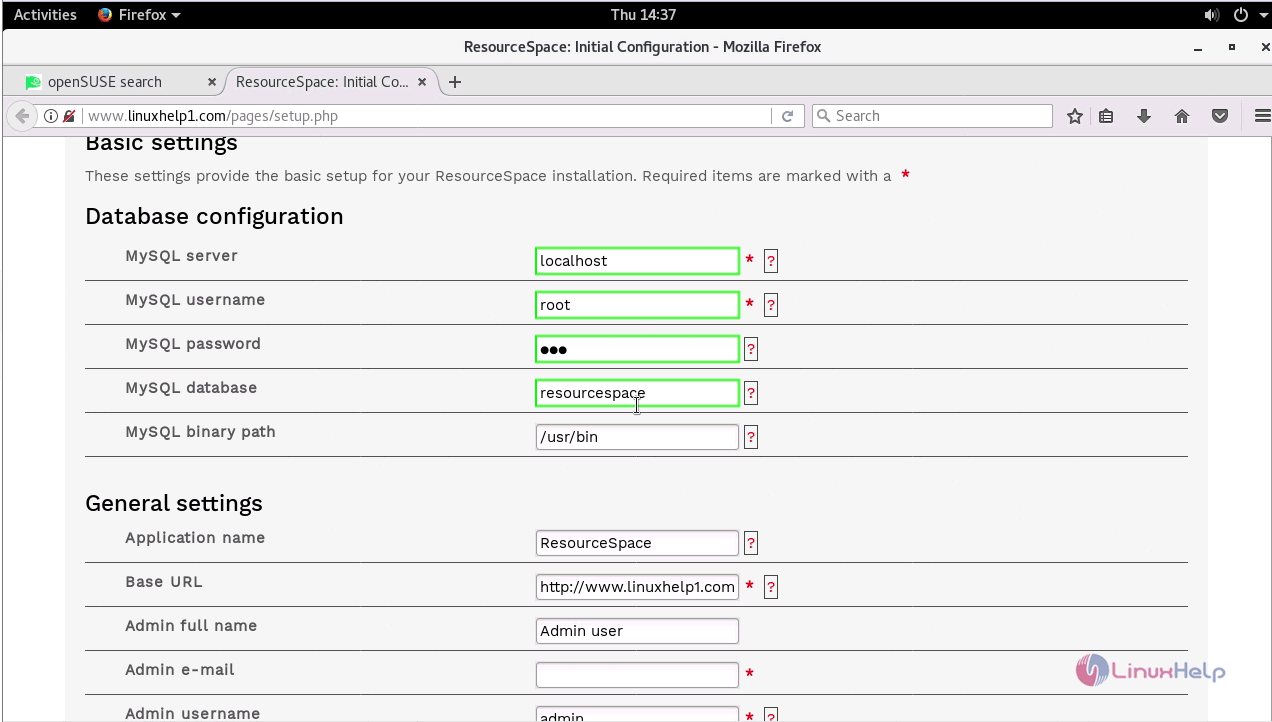
Enter the database configuration details as shown below.
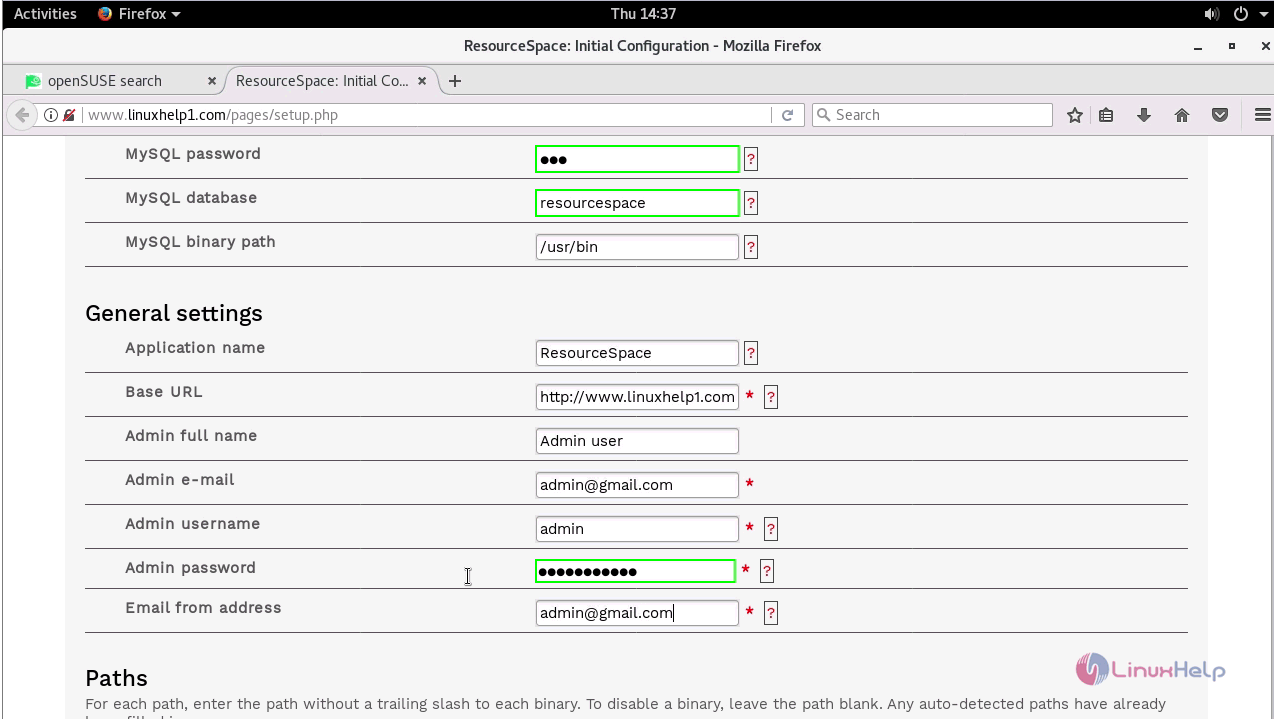
Next enter the General settings details for the creating the admin.
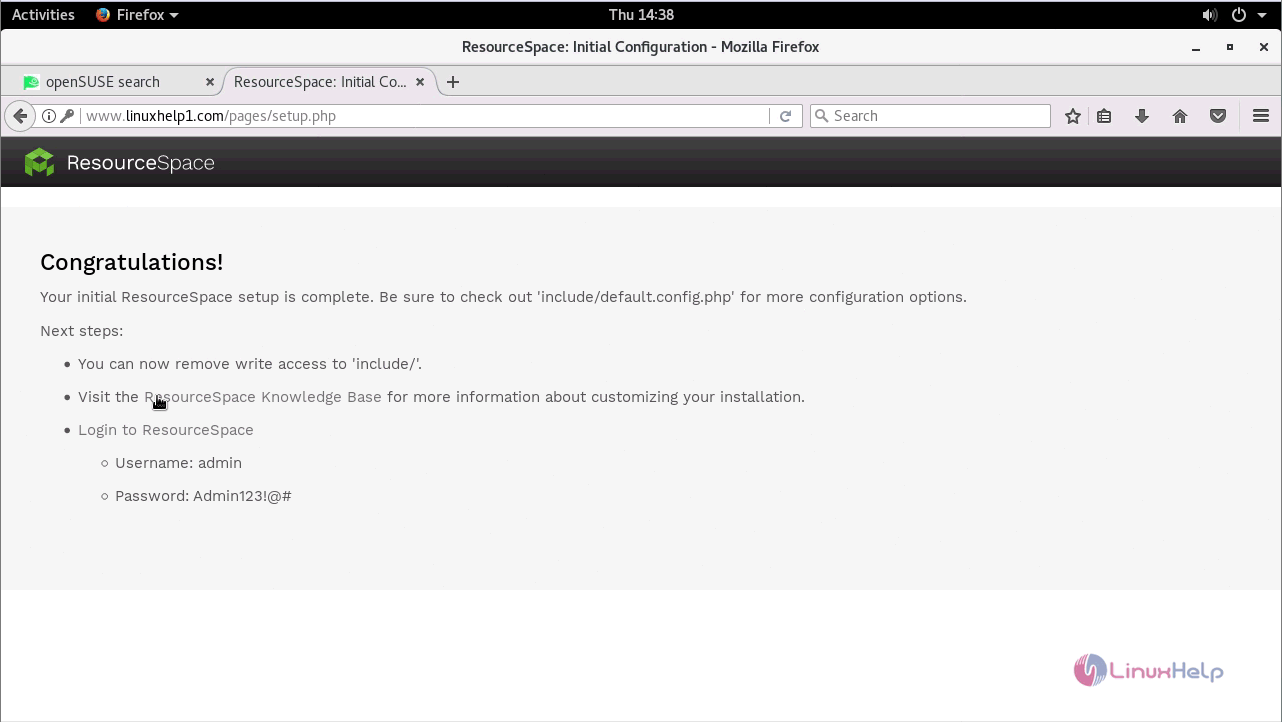
The installation process is completed and the login details for admin are shown below.
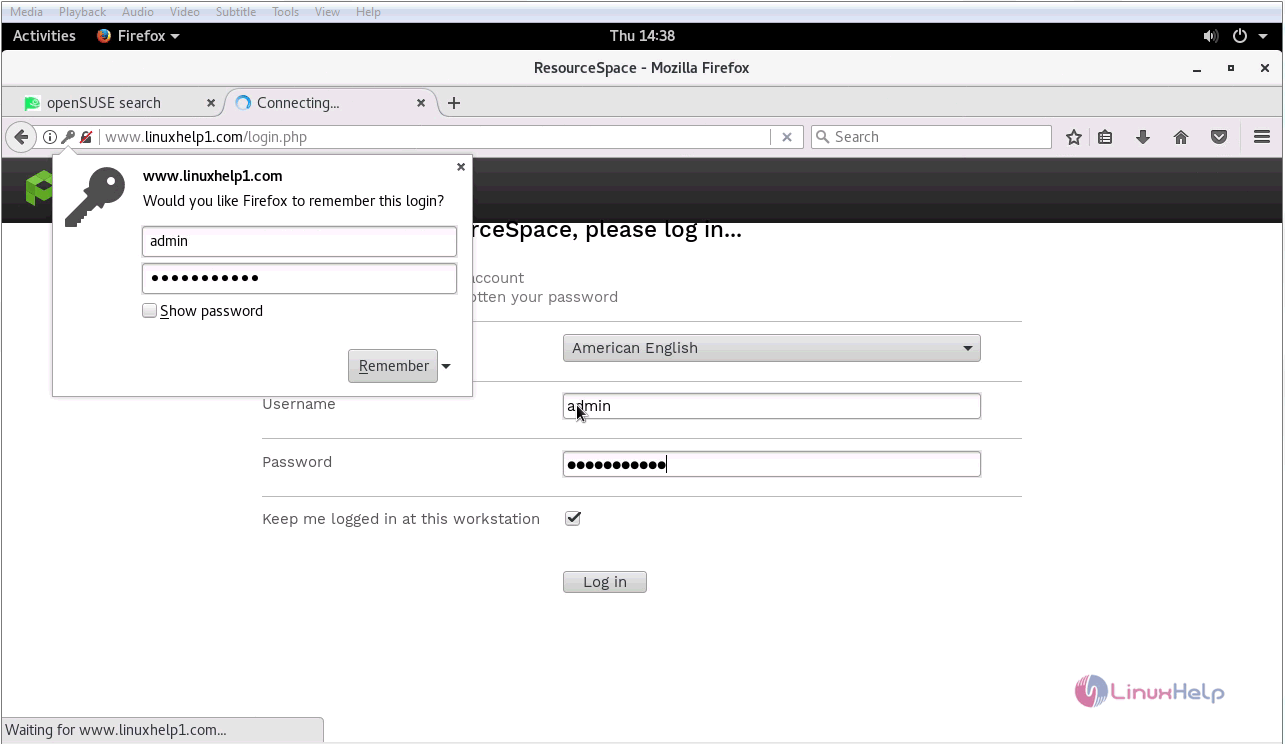
The Login page appears on the screen and now enter the required admin credentials and click Log In option.
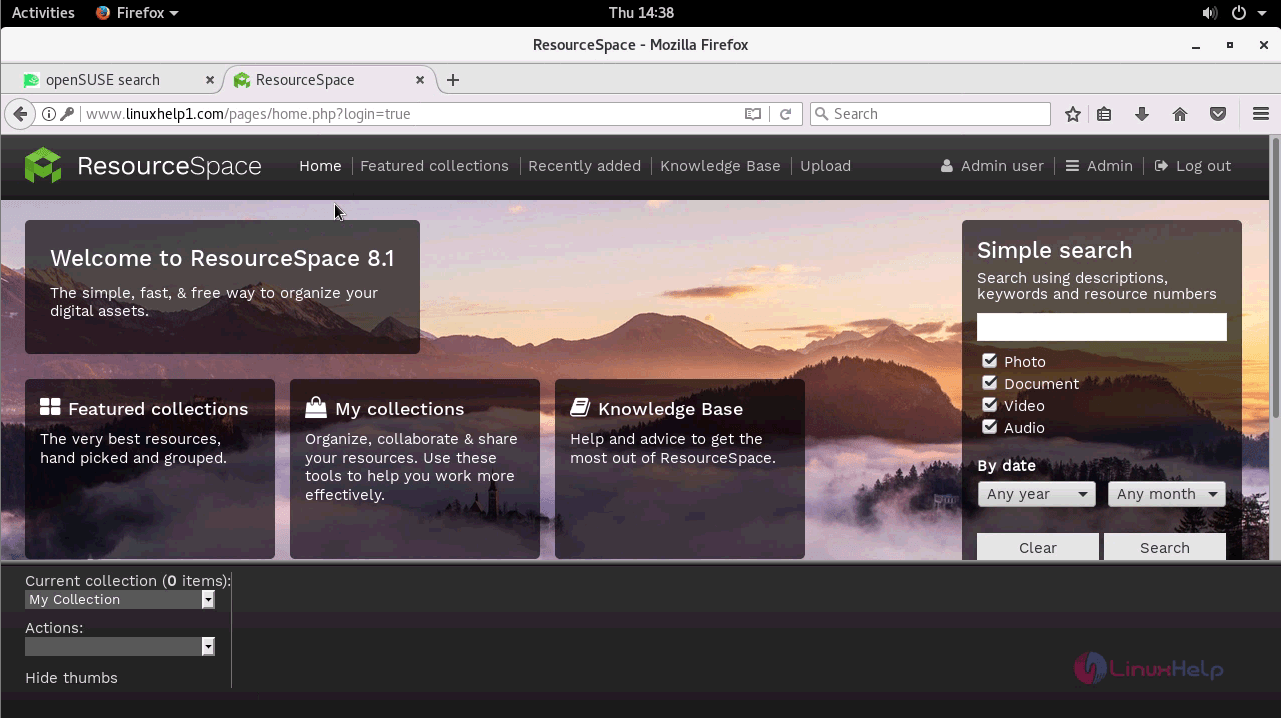
The dashboard of the ResourceSpace appears on the screen.
Thus we conclude the installation procedure of ResourceSpace on OpenSUSE Leap 42.3 .

Comments ( 0 )
No comments available