How to install squid in windows 7
To install Squid in Windows 7
Squid is a proxy/cache tool with a variety of acl configurations and it is released under GPL 3. It is usually used to reduce bandwidth and to increase response time. It is also used to filter traffic on HTTP, FTP and HTTPS. It also increases the speed for a web server via caching. It is so simple to install Squid and in this article, you will learn about the method to install and configure Squid on Windows.
Installing Squid
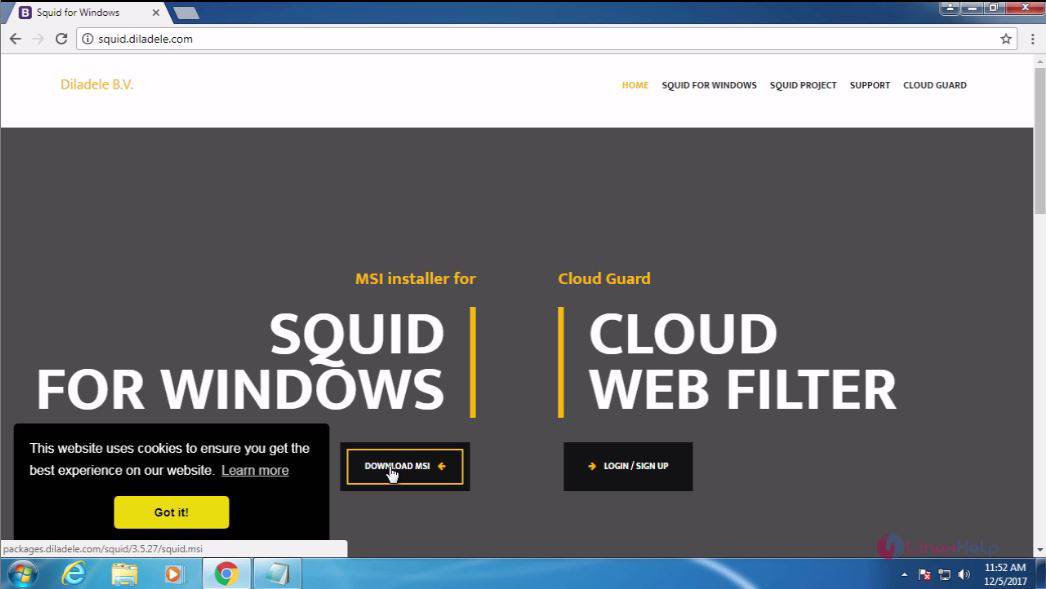
Go to the official Squid website and download the Squid installation package.
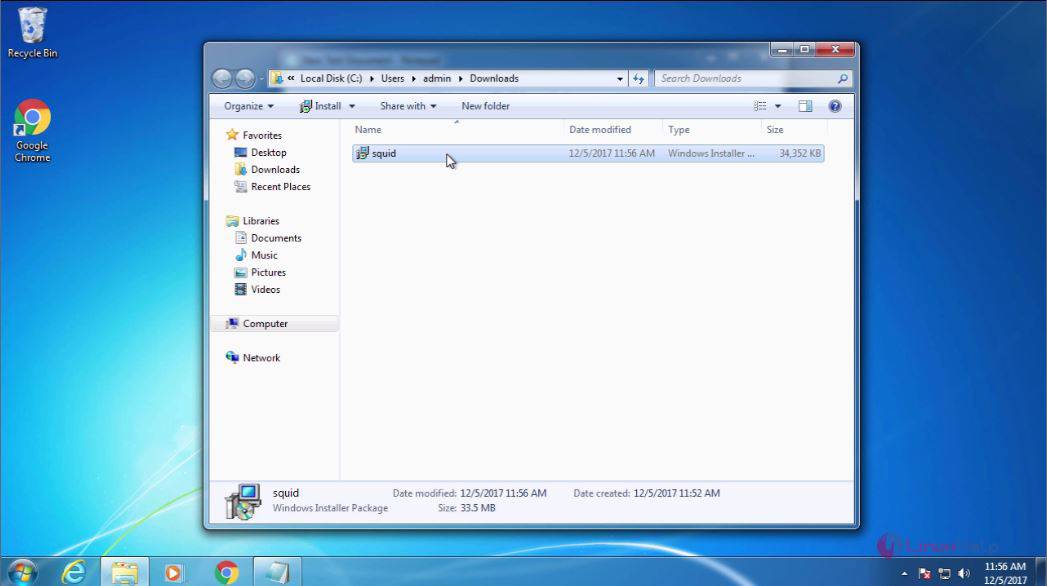
Next, open the downloaded file in file manager.
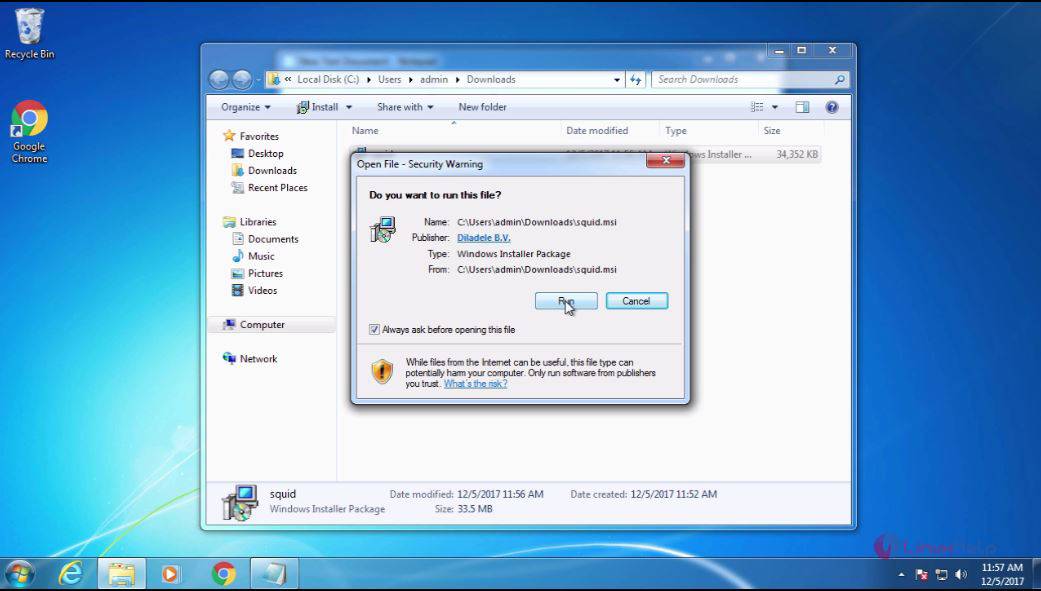
And then execute the downloaded file, and for that click run.
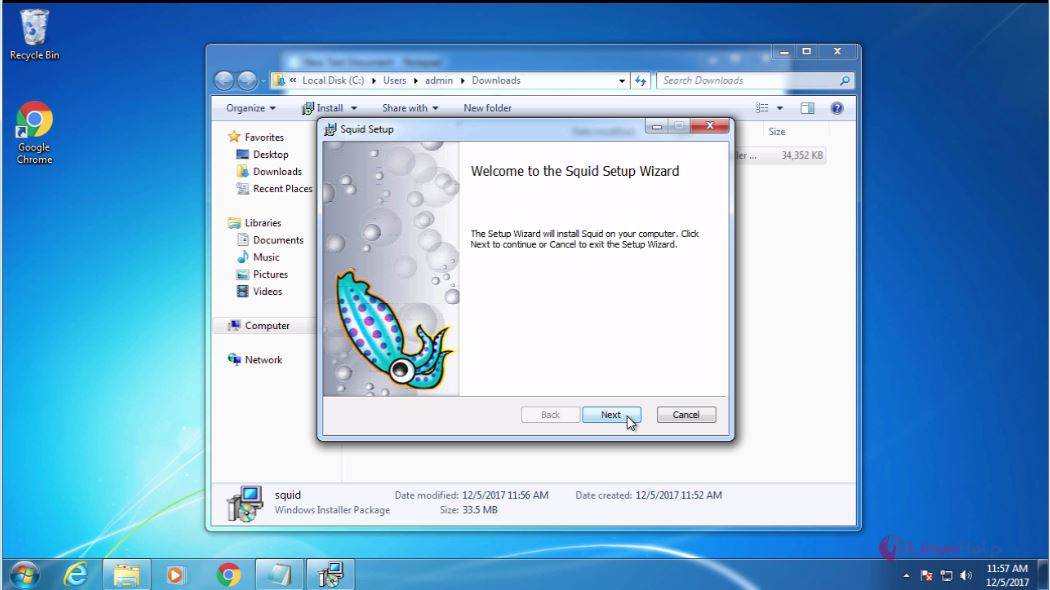
After that, you need to proceed with the Next option.
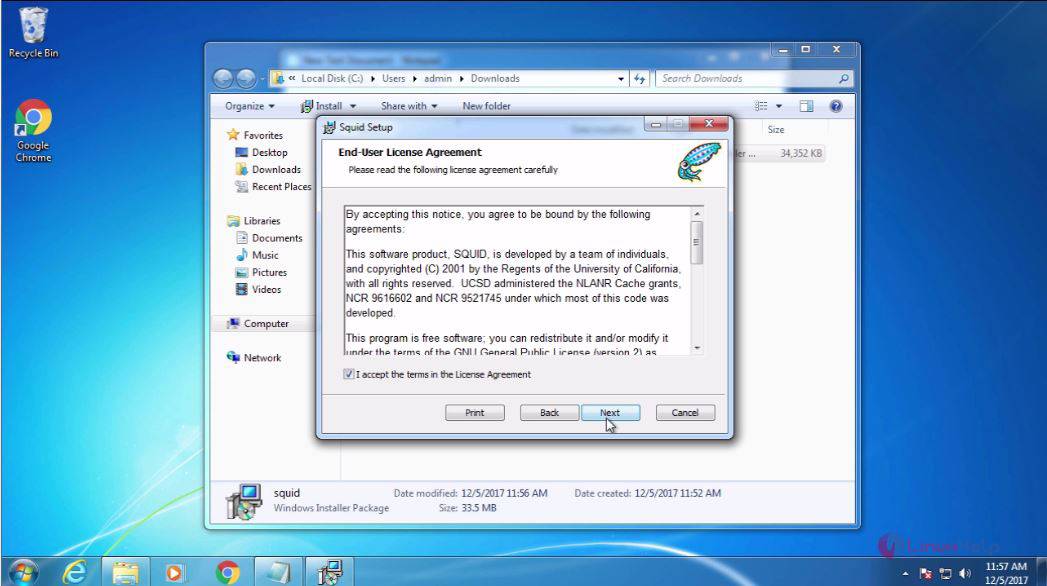
In the next page, select I accept, and click Next.
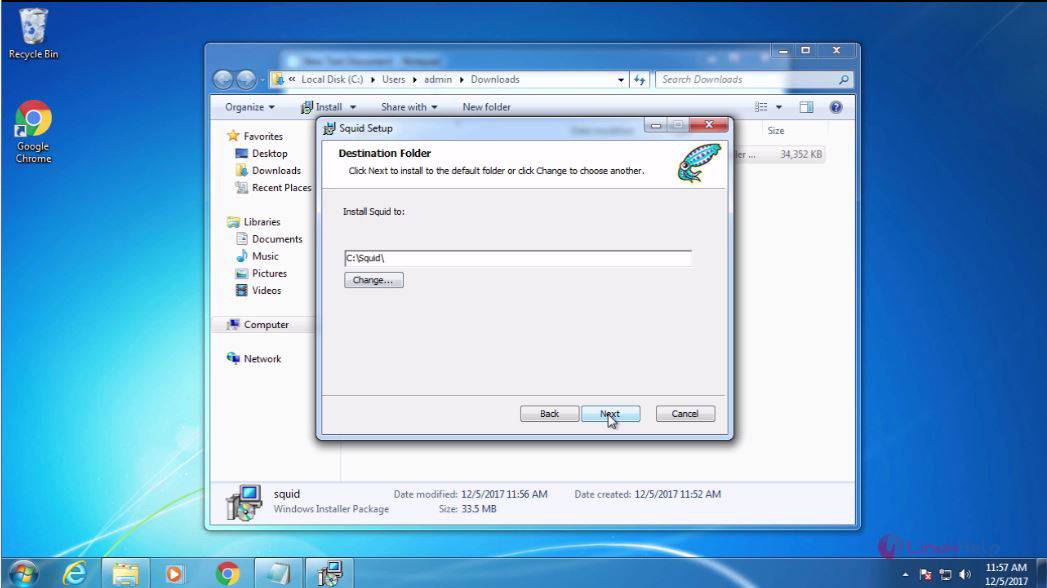
Check the details and click Next to proceed further.
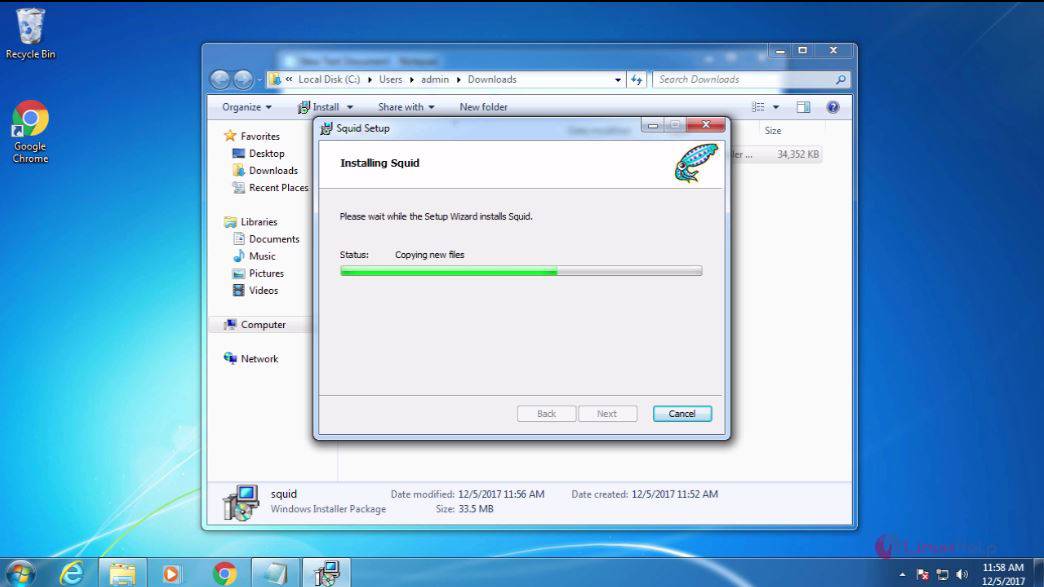
Now, you shall click the Install button to trigger the installation.

Your Squid is getting installed now.
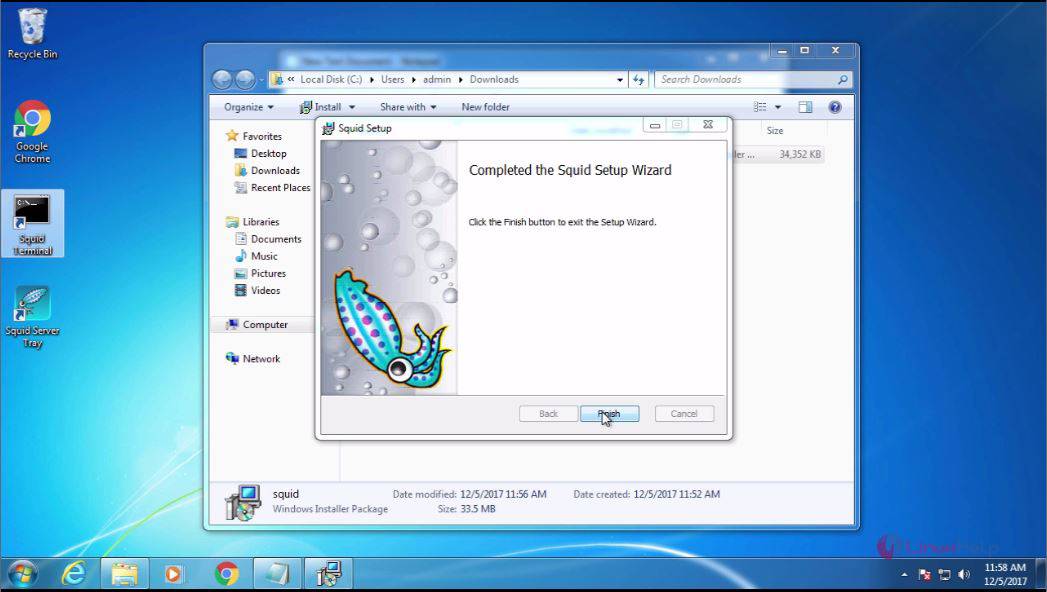
When this page appears, you need to click Finish. It means that your installation has been completed.
Now that the installation has been completed, you can click on the squid icon in task bar and open squid configuration.
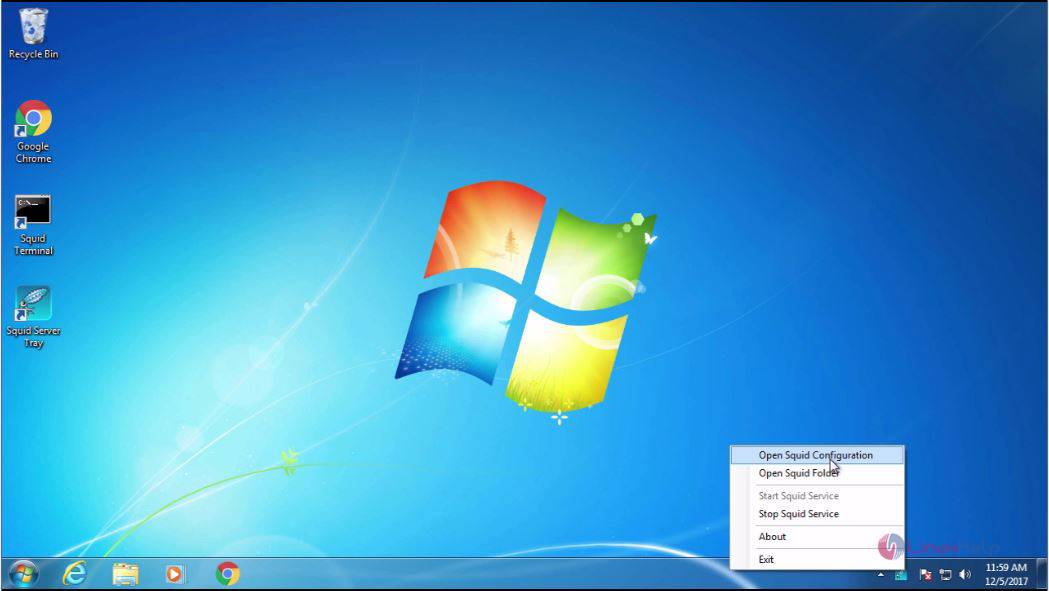
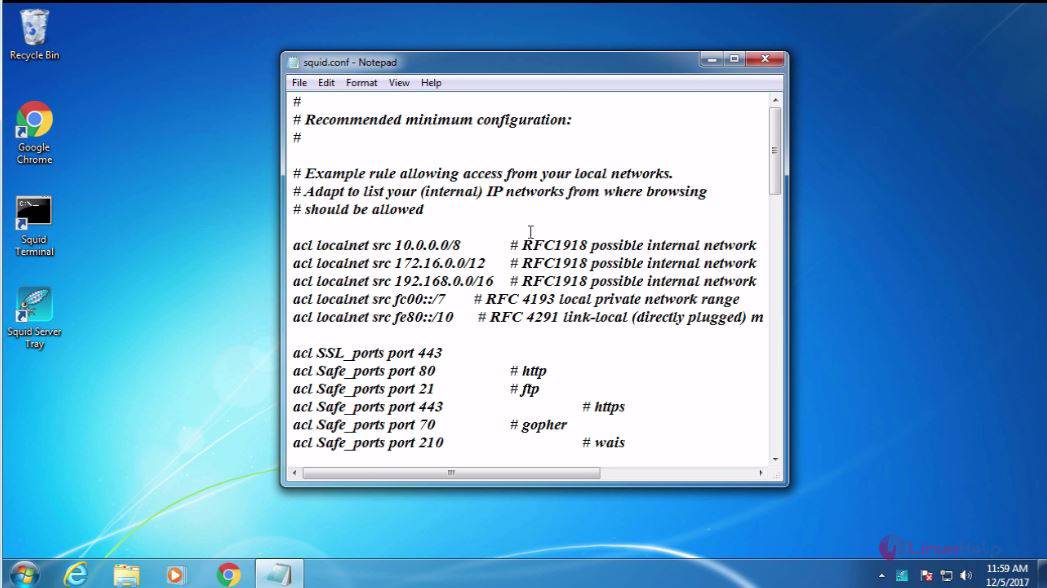
The squid configuration page appears.
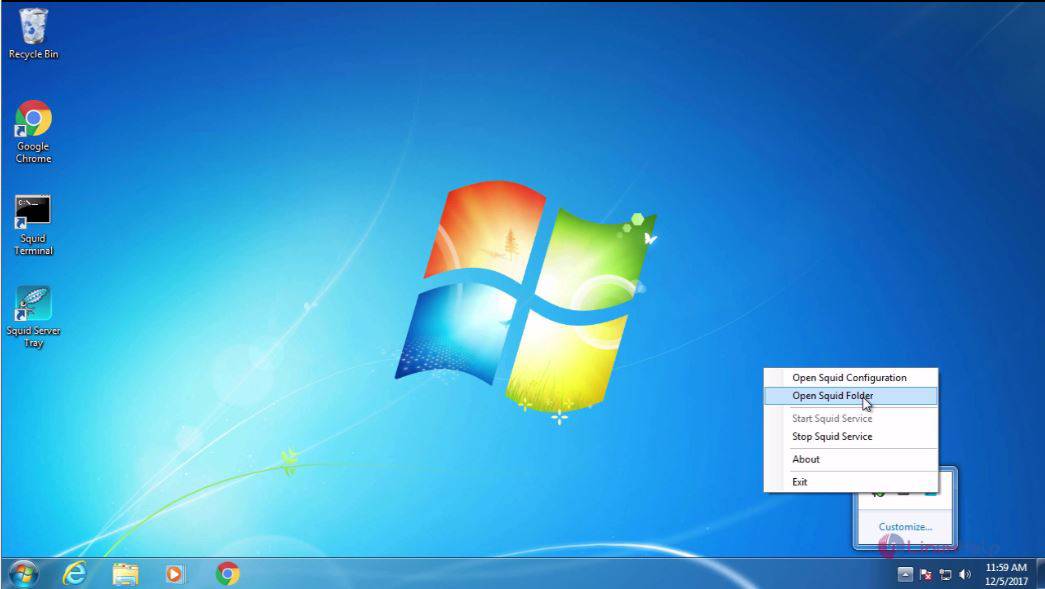
In that, you need to open the squid folder.
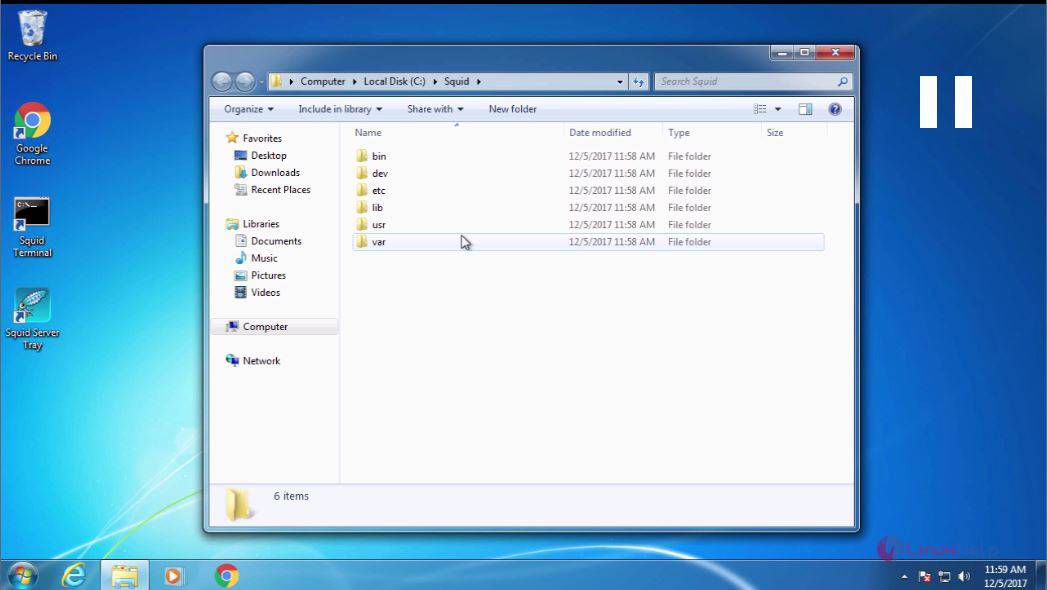
Your Squid folder looks like the one given in the following image.
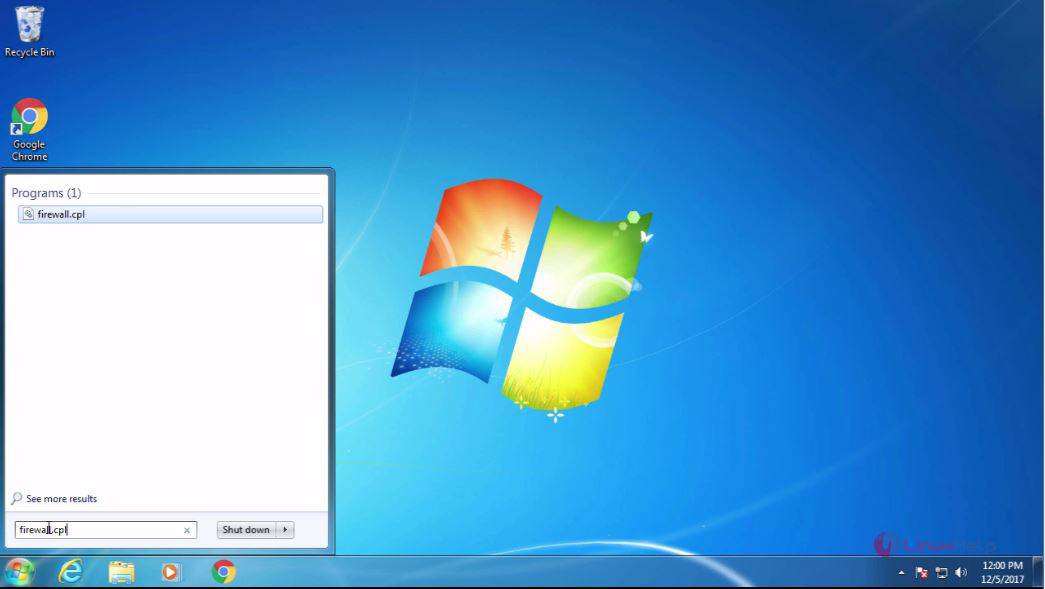
Later, enable the port in firewall, and for that open the firewall.
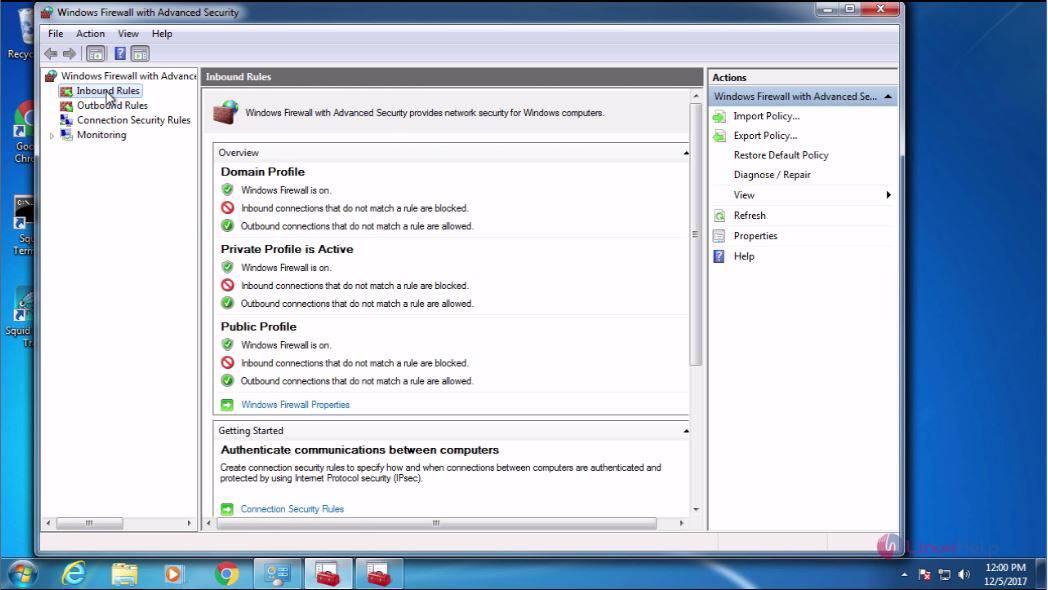
The firewall settings is now open. Click on the advanced settings option.

In Advanced Settings, you choose the Inbound rules from the left panel.
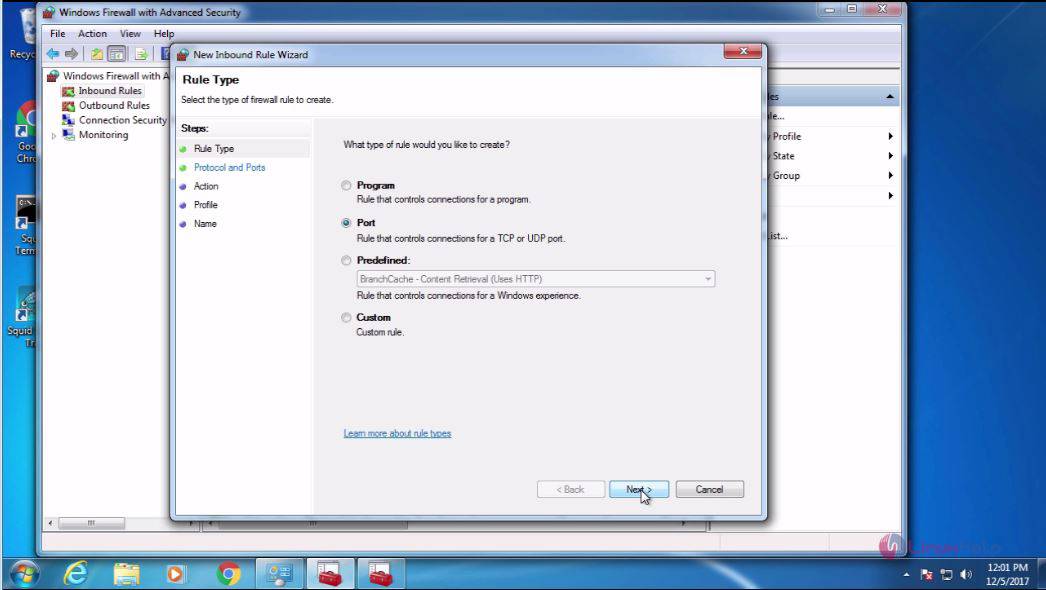
And then, click on the New rule option.

Later, select the port and click Next to proceed further.
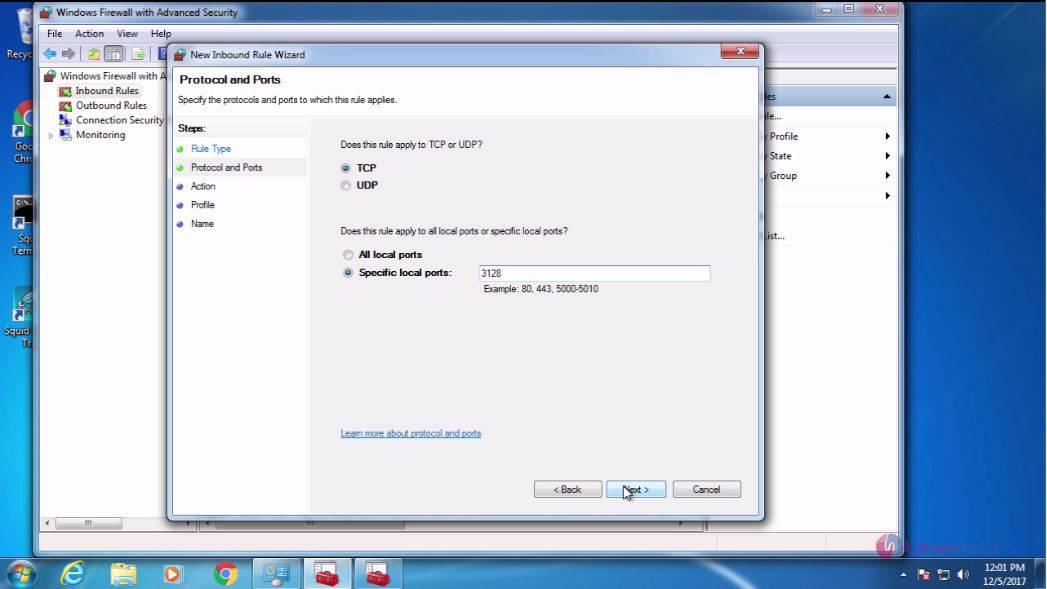
And after that, you need to select TCP and enter the port number, after which you need to click Next.
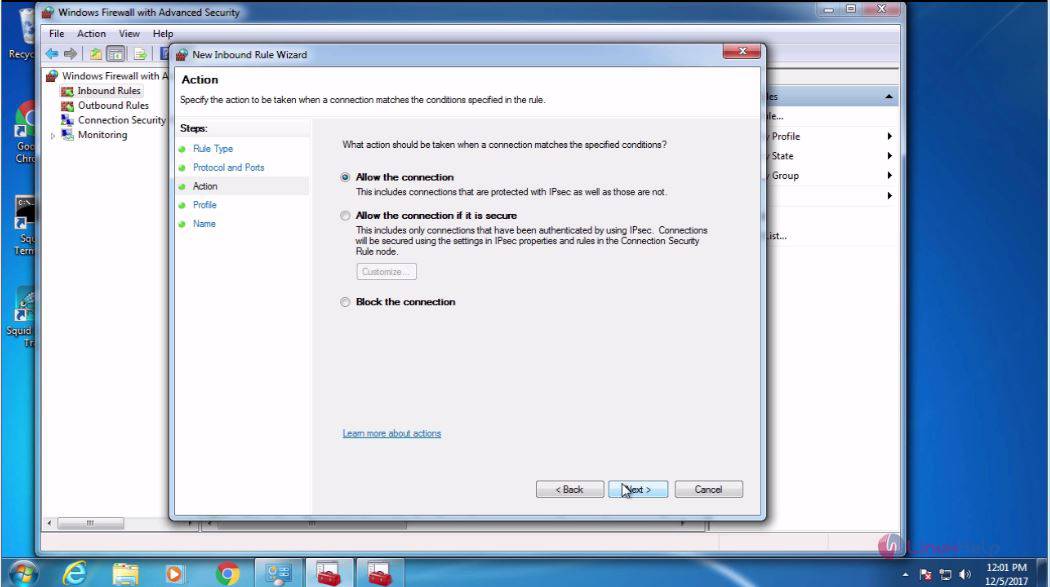
After that, you shall choose the Next option.
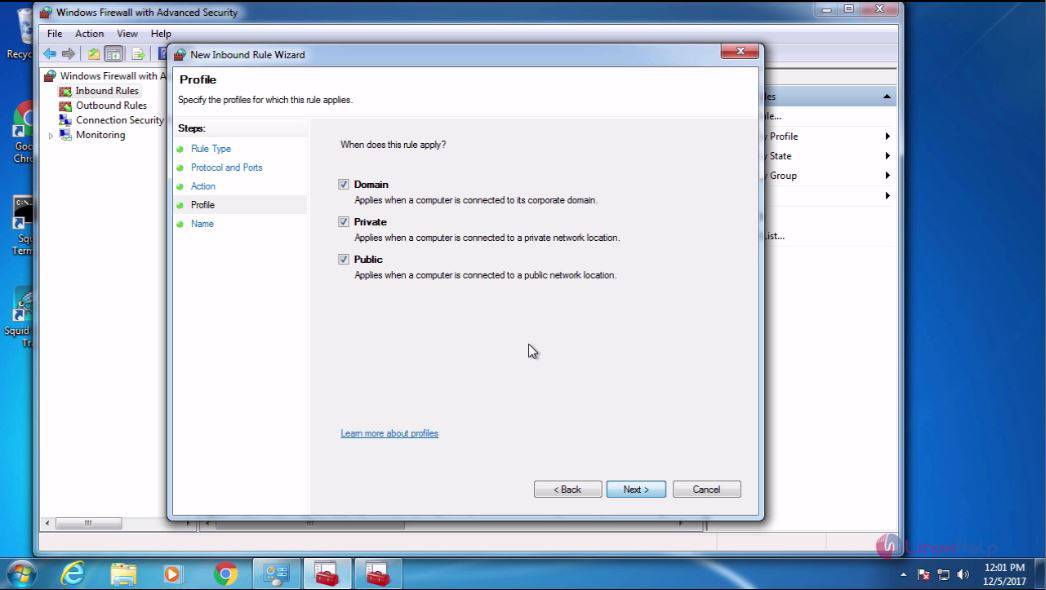
And after that, you need to choose the Next option.
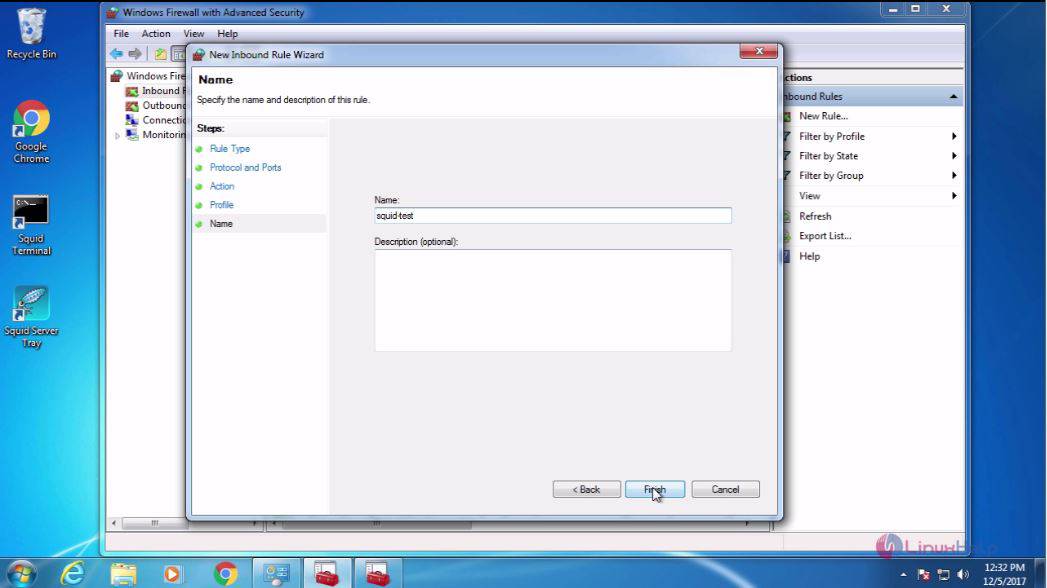
In your New Inbound Rule Wizard, you need to give the name and click Finish.
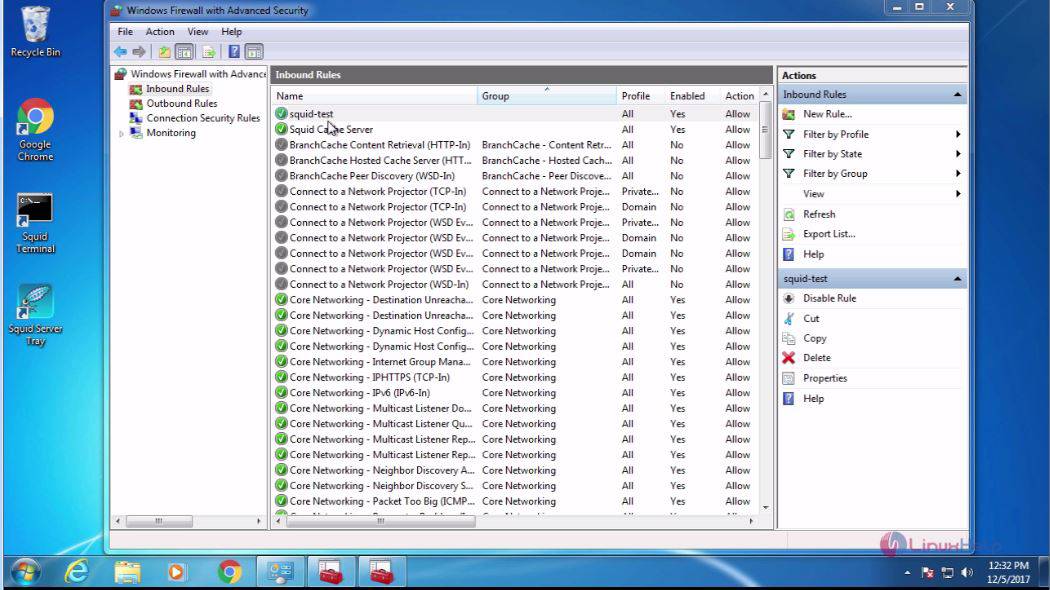
Chech if things are proper in the Inbound Rules.
The installation process of Squid has been completed.
Comments ( 0 )
No comments available