How to install Tiki Wiki CMS Groupware on CentOS 7
To install Tiki Wiki CMS Groupware on CentOS 7
Tiki Wiki is a free and open source Wiki-based Content Management System written in PHP. It contains a number of collaboration features and acts as a Geospatial Content Management System (GeoCMS). It also contains some basic features of a CMS and maintains individual user accounts within a flexible and rich privilege system, RSS feeds and customize page layout. In this tutorial, we will cover the installation of Tiki Wiki CMS Groupware on CentOS 7.
Prerequisites
To install LAMP (Apache, MariaDB, PHP7)
In MariaDB (create database and user and give privileges to that user)
PHP installation with required following modules
rpm -Uvh https://dl.fedoraproject.org/pub/epel/epel-release-latest-7.noarch.rpm
rpm -Uvh https://mirror.webtatic.com/yum/el7/webtatic-release.rpm
yum install php56w php56w-opcache php56w-mysql php56w-curl php56w-xml  php56w-mcrypt php56w-gd php56w-mbstring
Installation
Switch to any local directory Where you want to download the package.
[root@linuxhelp1 ~]# cd /home/user1/
Download a package using the following command as follows.
[root@linuxhelp1 user1]# wget https://sourceforge.net/projects/tikiwiki/files/latest/download --no-check-certificate
--2018-04-16 03:12:27--  https://sourceforge.net/projects/tikiwiki/files/latest/download
Resolving sourceforge.net (sourceforge.net)... 216.105.38.13
Connecting to sourceforge.net (sourceforge.net)|216.105.38.13|:443... connected.
.
.
TTP request sent, awaiting response... 200 OK
Length: 70662006 (67M) [application/octet-stream]
Saving to: ‘ download’

100%[============================================================> ] 70,662,006   344KB/s   in 3m 52s

2018-04-16 03:16:22 (298 KB/s) - ‘ download’  saved [70662006/70662006]
The downloaded package is a zip file, so we need to unzip the file now.
[root@linuxhelp1 user1]# unzip download
Archive:  download
   creating: tiki-18.1/
  inflating: tiki-18.1/tiki-print_pages.php
  inflating: tiki-18.1/tiki-list_trackers.php
  inflating: tiki-18.1/tiki-file_archives.php
.
.
extracting: tiki-18.1/vendor_extra/anythingslider-themes/images/tabs-dark2.png
  inflating: tiki-18.1/vendor_extra/anythingslider-themes/images/polished.png
   creating: tiki-18.1/vendor_extra/webodf/
  inflating: tiki-18.1/vendor_extra/webodf/webodf.js
  inflating: tiki-18.1/vendor_extra/index.php
  inflating: tiki-18.1/tiki-minichat_ajax.php
Next, move the file to the Apache document directory.
[root@linuxhelp1 user1]# mv tiki-18.1 /var/www/

Now we have to switch the following directory
[root@linuxhelp1 user1]# cd /var/www/
And then we have to change the ownership information of the file as follows.
[root@linuxhelp1 www]# chown -R apache.apache tiki-18.1
 [root@linuxhelp1 www]# chmod -R 775 tiki-18.1
Now create a new virtual host configuration for accessing the TikiWiki
[root@linuxhelp1 www]# vim /etc/httpd/conf.d/tiki.conf
< VirtualHost *:80>
ServerName www.linuxhelp1.com
DocumentRoot /var/www/tiki-18.1/

< Directory /var/www/tiki-18.1/>
AllowOverride All
allow from all
< /Directory>

< /VirtualHost>
Then, restart the httpd service.
[root@linuxhelp1 www]# systemctl restart httpd
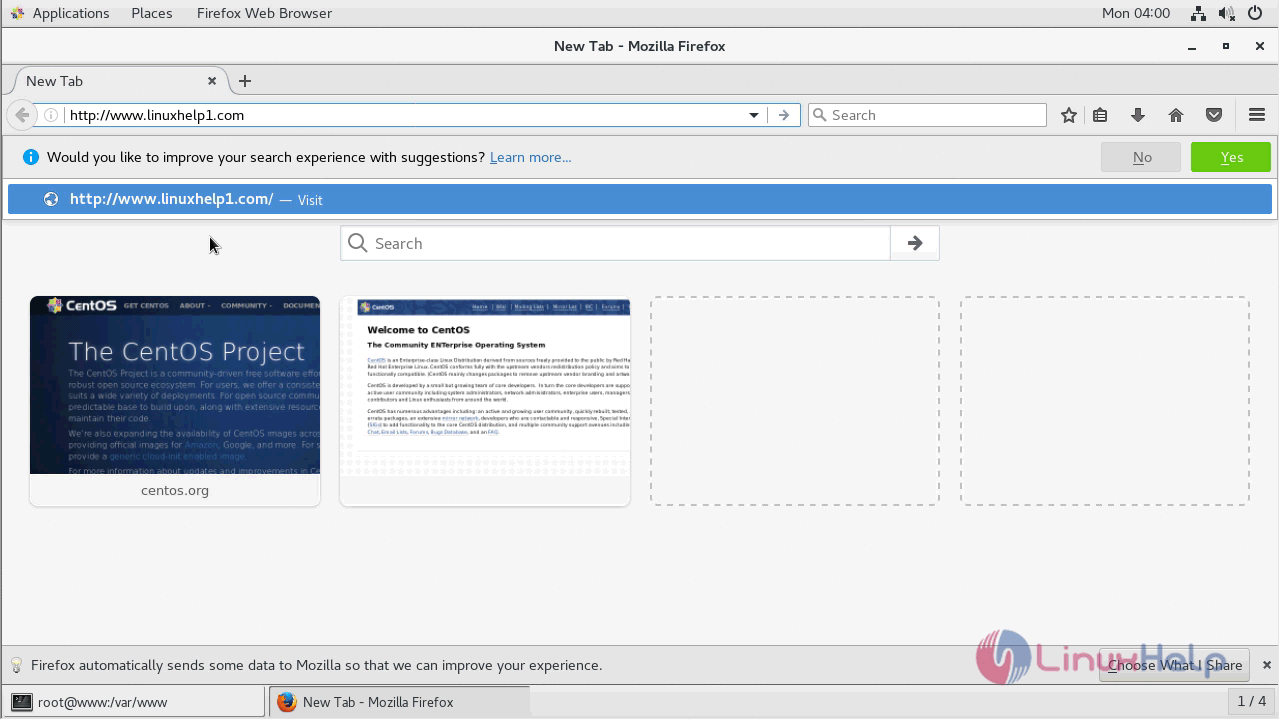
Now you can proceed the further installation and configuration from the browser by navigating to the following URL: http://< ipaddress or domain name .
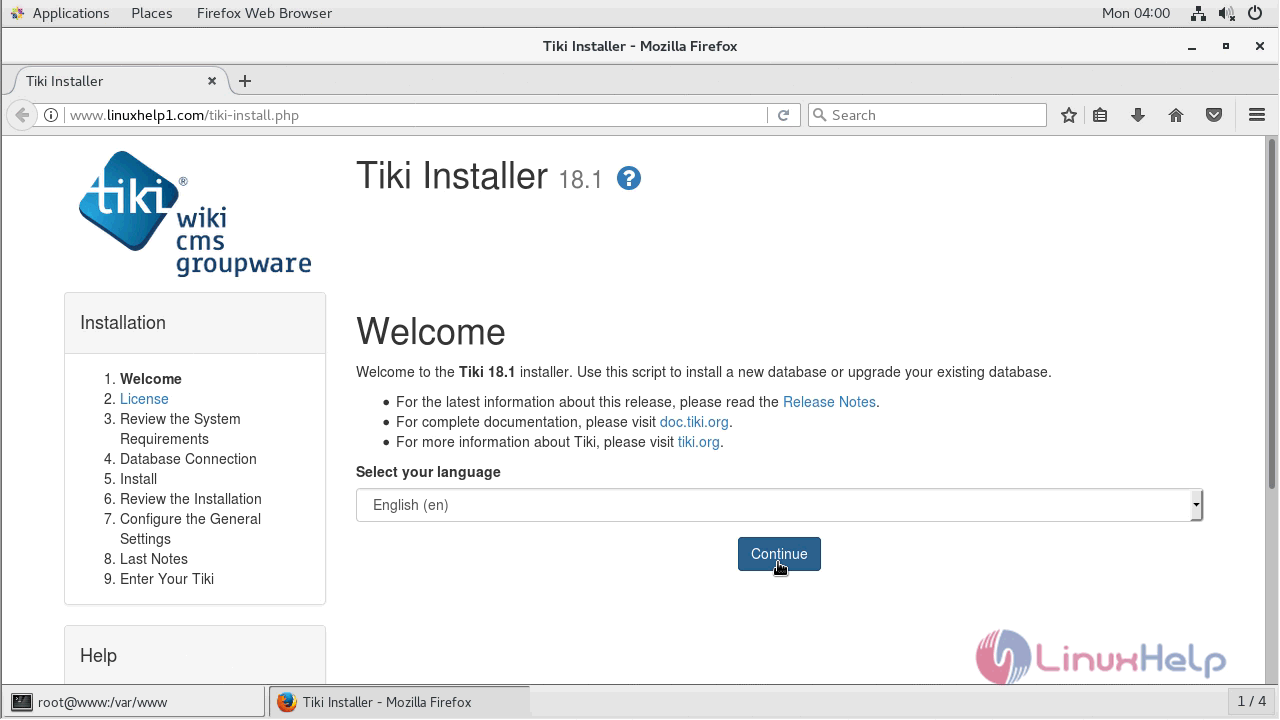
Now configure the installation setup as follows. choose the language of your preference and click continue.
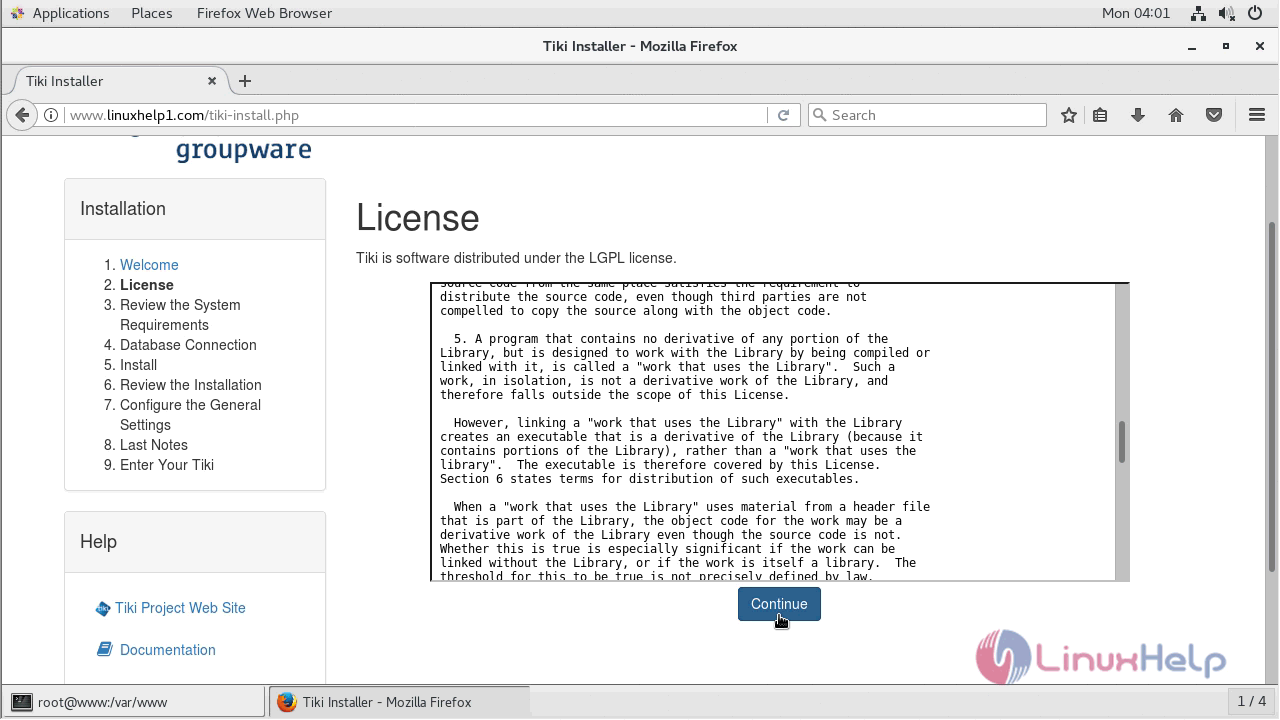
Accept the license agreement to use the TikiWiki.
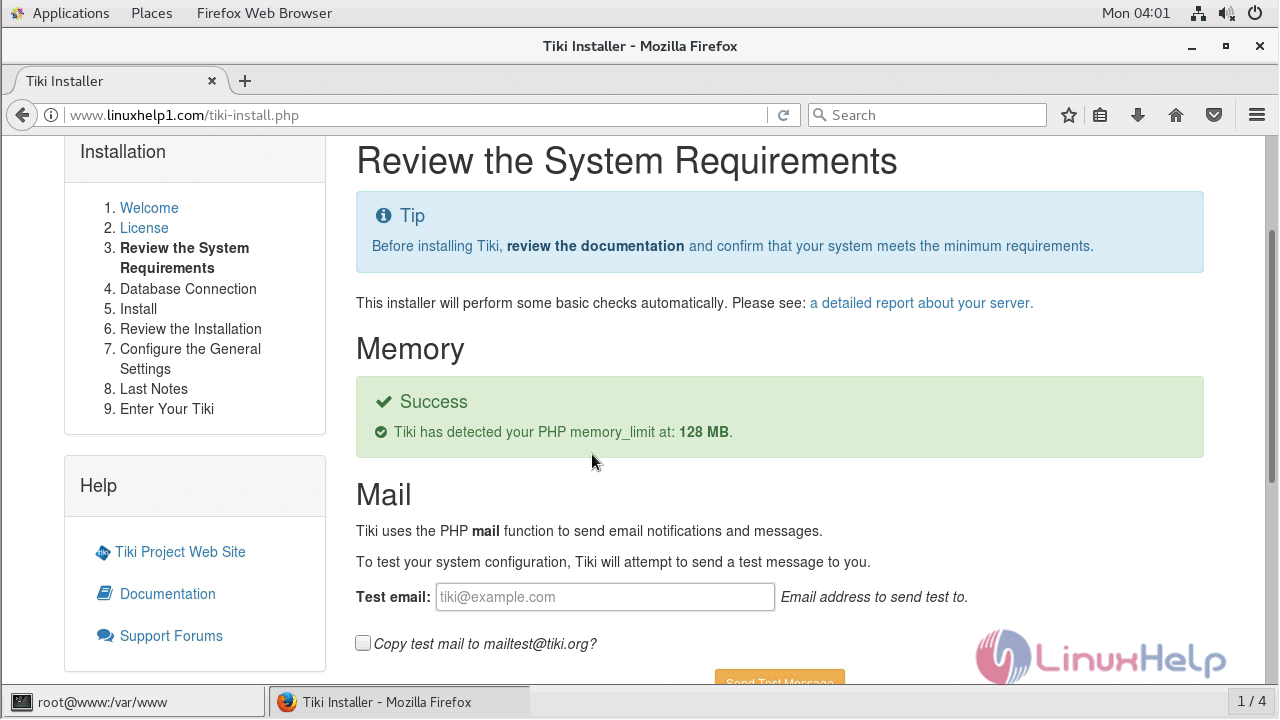
Review the system requirements and continue.
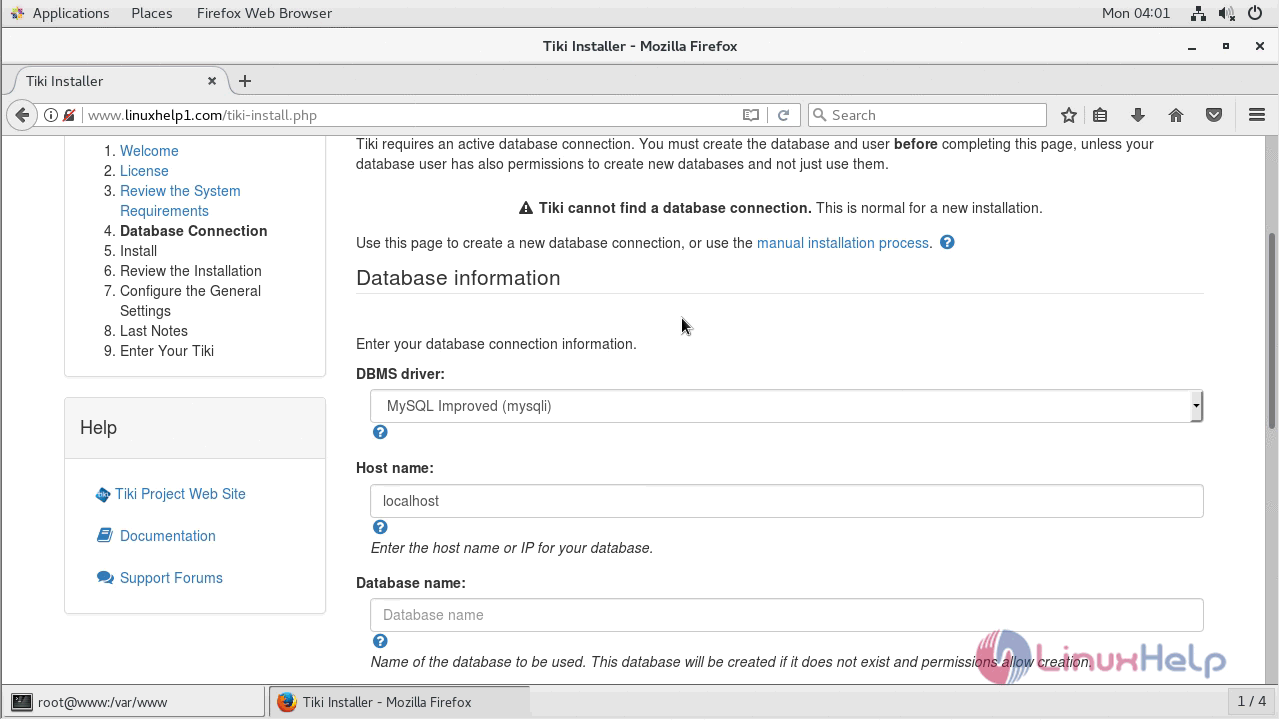
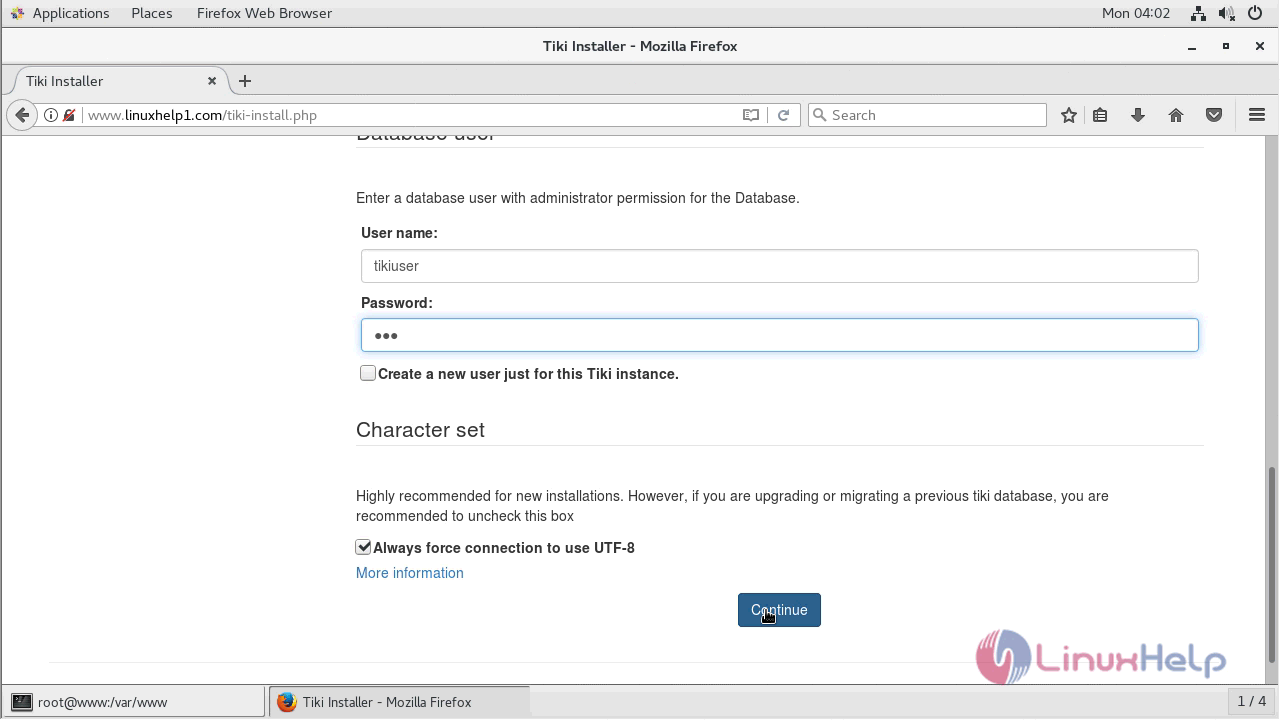
Next, configure the database setup as follows.
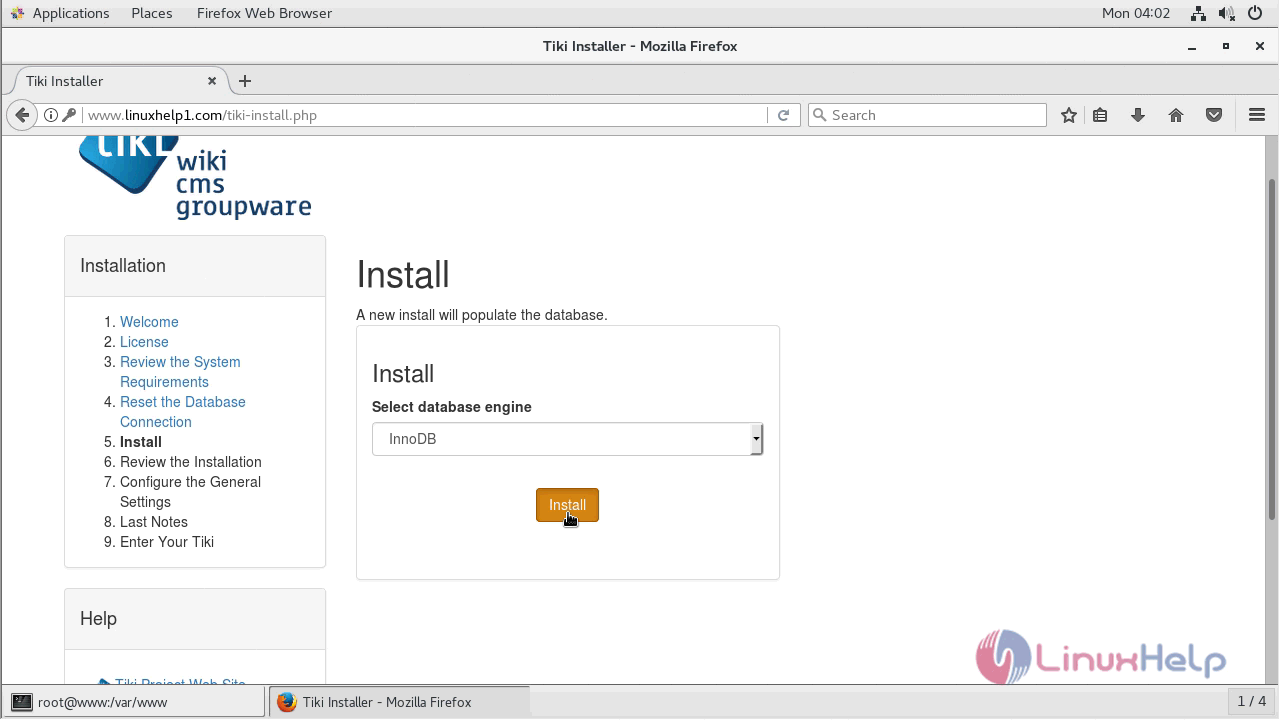
And then choose the database type to proceed the installation.
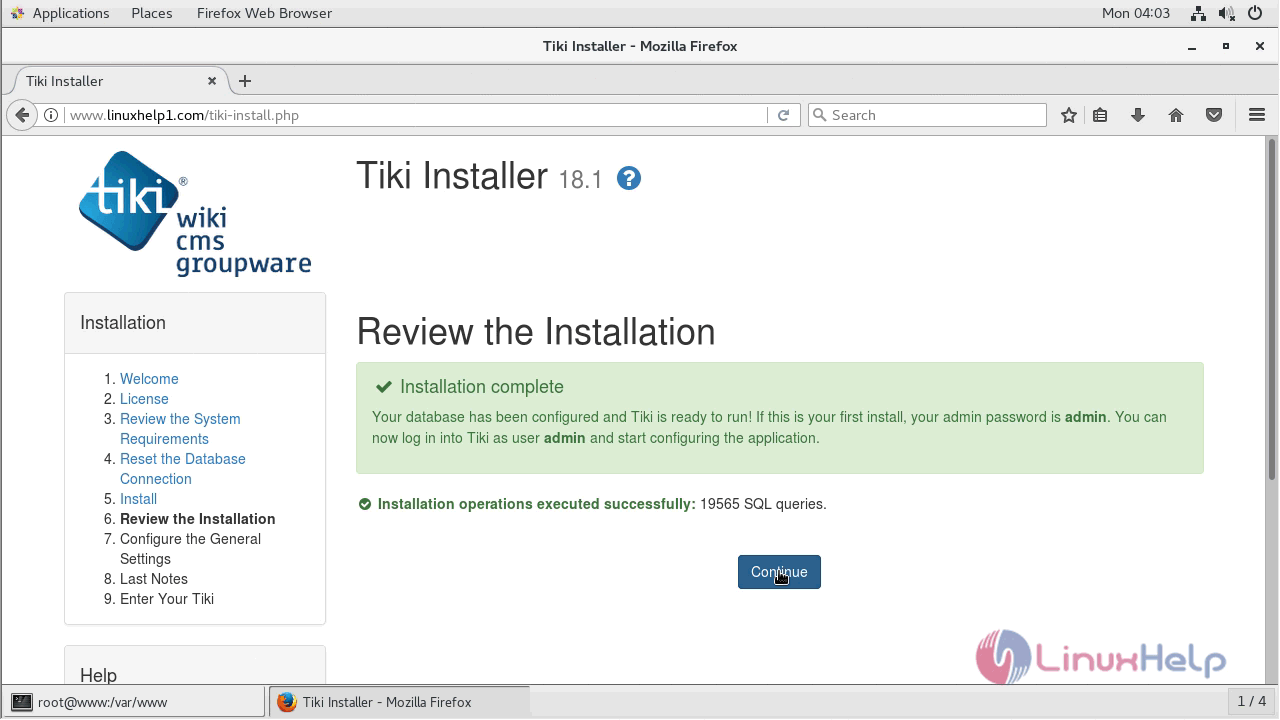
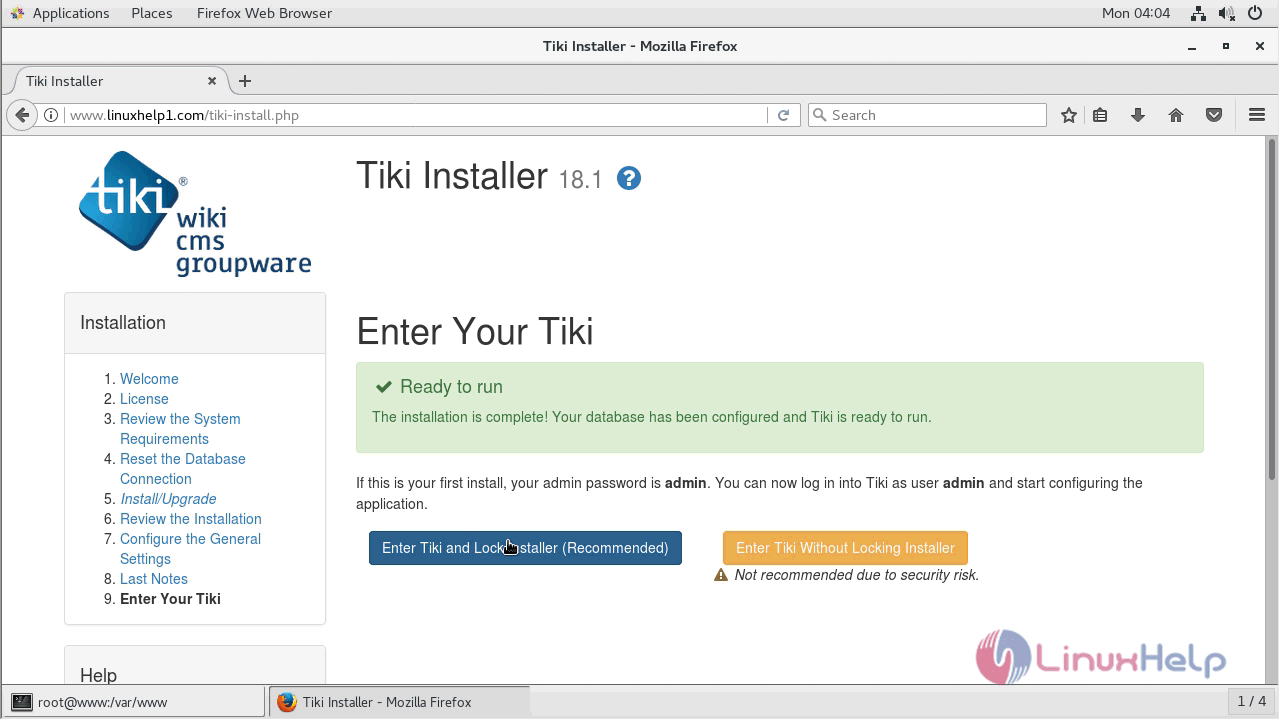
At the end of the installation, you will see the following screen and then click on continue to proceed.
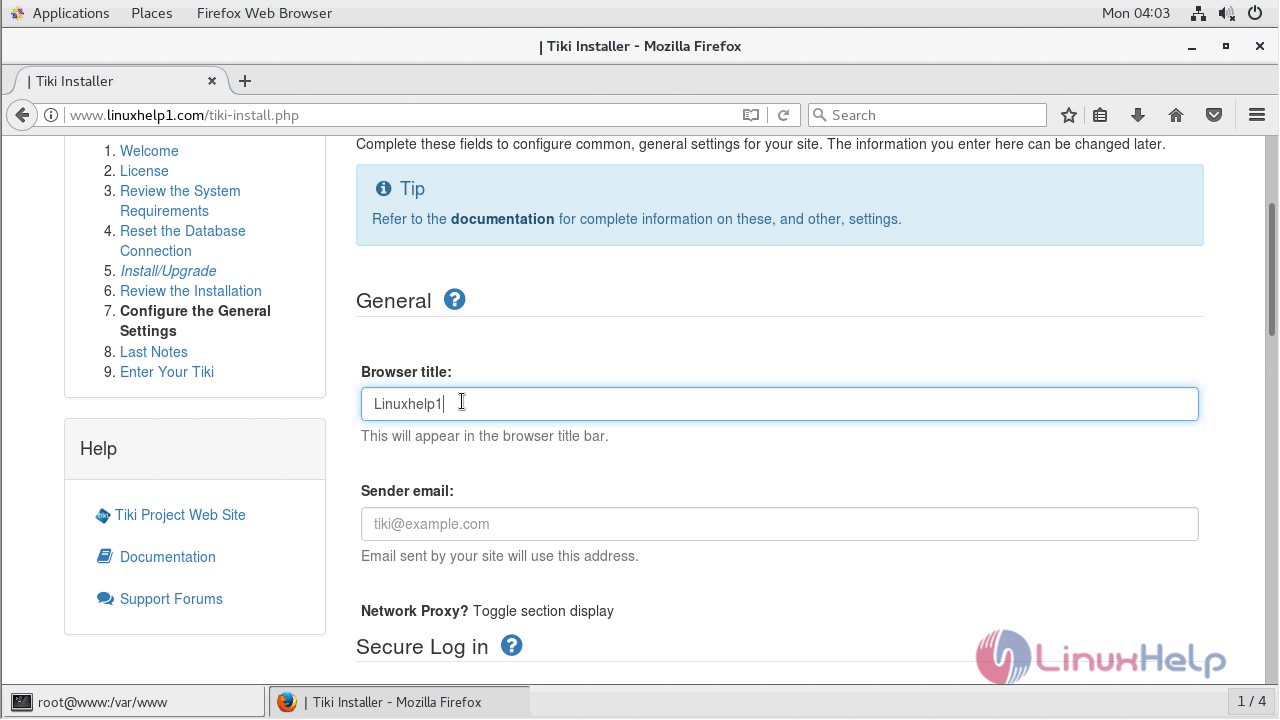
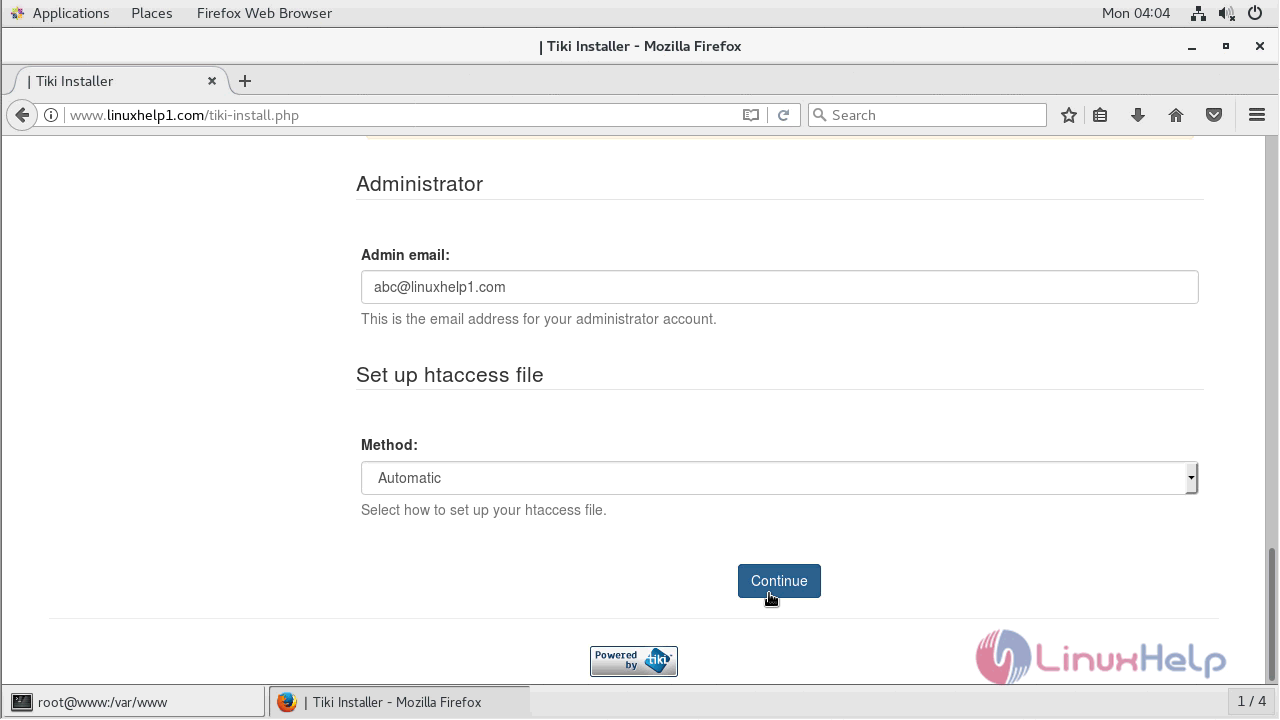
Next, configure the site information and Admin user credential setup.
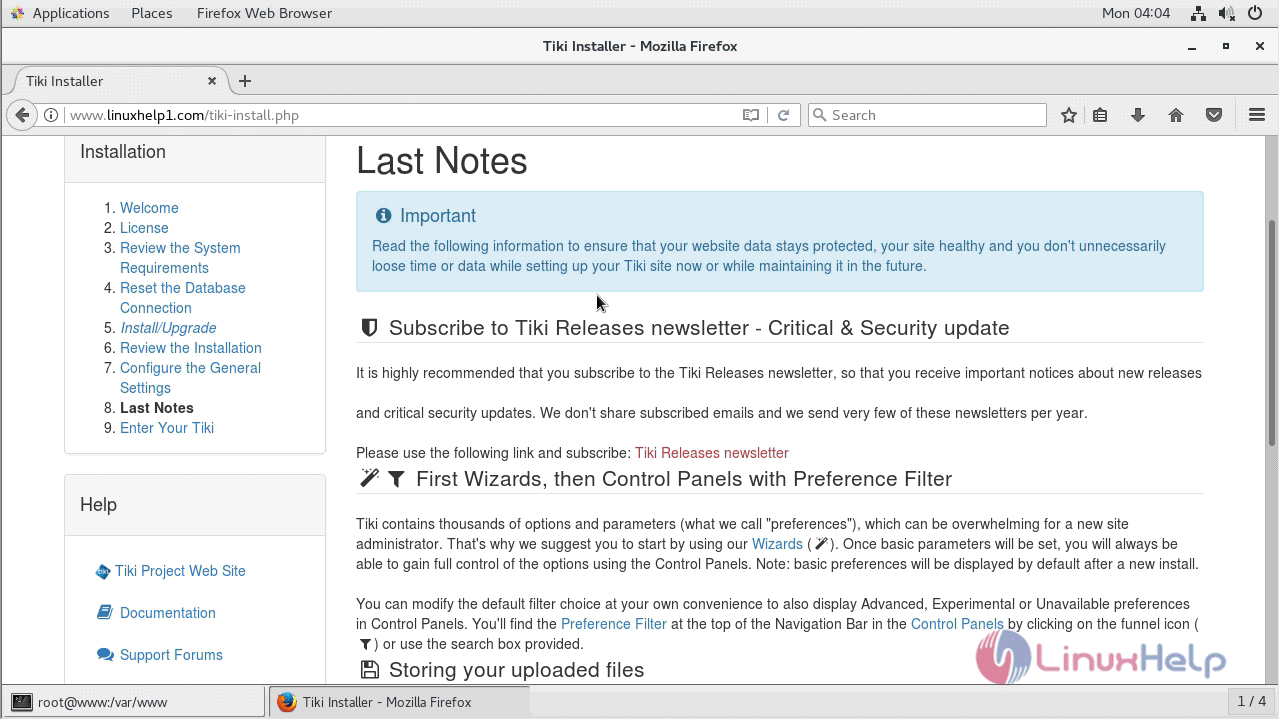
On next screen, you will see that last note of tikiwiki application.
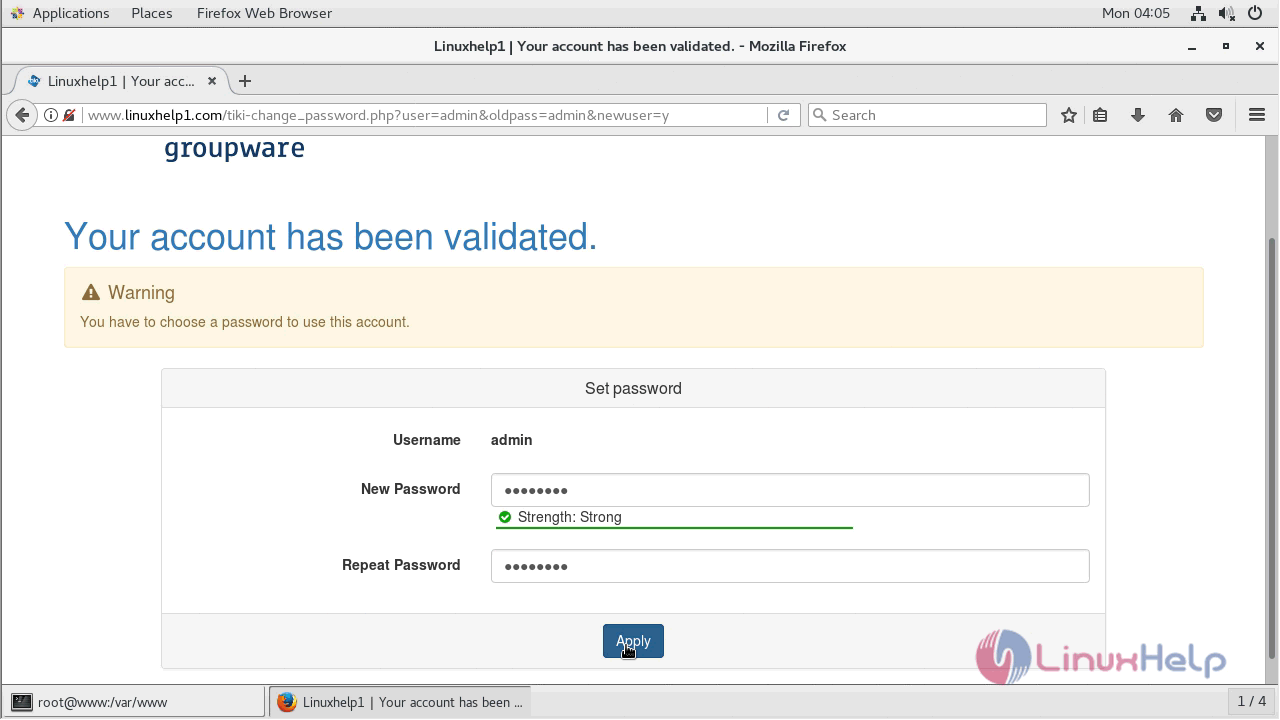
After all the configuration setup done you will see the following page, enter into Tiki as follows.
During login provide the user admin credentials which you created during setup.
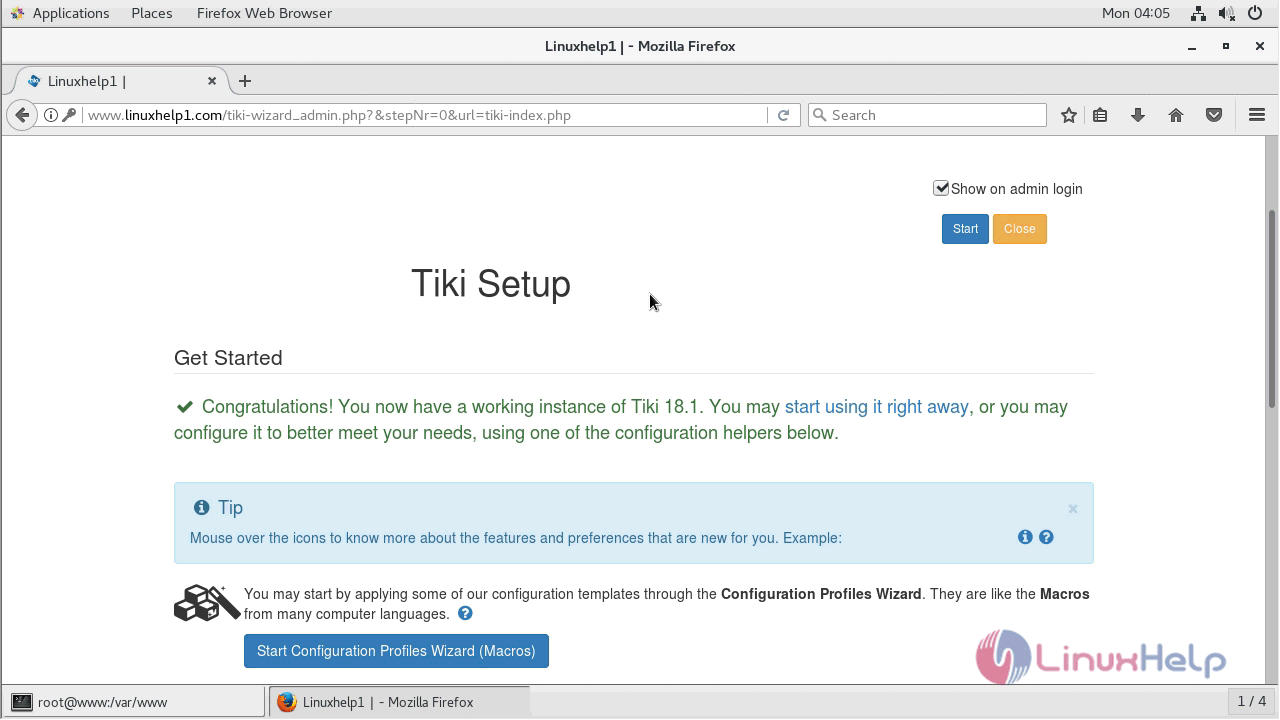
After verifying all the configuration setup you can start the tiki wiki application by using a start menu on the right top corner of the web page.
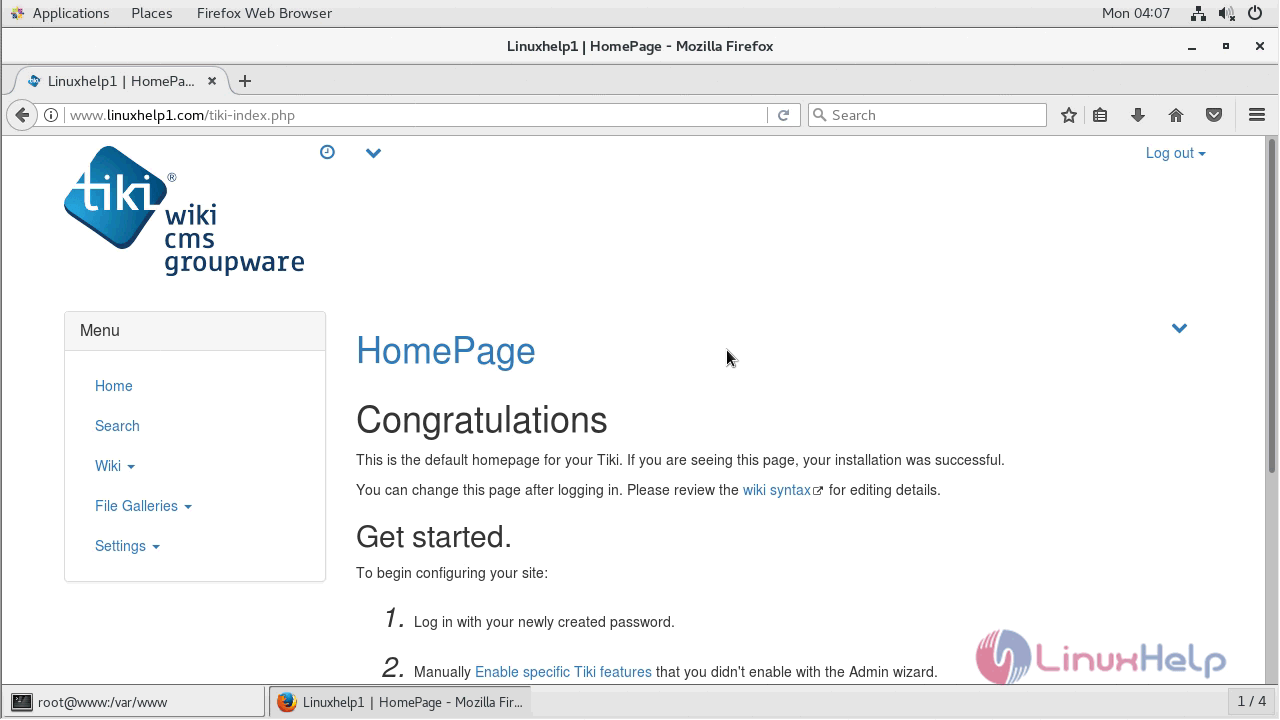
After successful login, you will see the homepage of tiki wiki CMS groupware application.
With this, the method to install the tiki wiki CMS groupware on centos 7 comes to an end.
Comments ( 1 )