How to install Timeshift on Linuxmint 18.3
To install Timeshift on Linux Mint 18.3
Timeshift is a freeware application that restores the session you run to its previous state. It is capable of capturing your entire OS with all the contents of your home folder into a single snapshot, which includes all the configurations and customizations you made to your system.
Installation
It is essential to add the necessary repository before you begin your installation process so add the following repository by using the following command.
linuxhelp ~ # add-apt-repository ppa:teejee2008/ppa
You are about to add the following PPA:
 More info: https://launchpad.net/~teejee2008/+archive/ubuntu/ppa
Press Enter to continue or Ctrl+C to cancel
Executing: /tmp/tmp.wiwU7rOlH2/gpg.1.sh --keyserver
hkp://keyserver.ubuntu.com:80
--recv-keys
2D0F61F0
gpg: requesting key 2D0F61F0 from hkp server keyserver.ubuntu.com
gpg: key 2D0F61F0: public key " Launchpad PPA for Tony George"  imported
gpg: Total number processed: 1
gpg:               imported: 1  (RSA: 1)
After that, you need to update the newly added repositories by running the following command.
linuxhelp ~ # apt-get update
Get:1 http://archive.canonical.com/ubuntu xenial InRelease [11.5 kB]
Hit:2 http://archive.ubuntu.com/ubuntu xenial InRelease
Get:3 http://ppa.launchpad.net/teejee2008/ppa/ubuntu xenial InRelease [17.5 kB]
Ign:4 http://packages.linuxmint.com sylvia InRelease
Get:5 http://archive.canonical.com/ubuntu xenial/partner amd64 Packages [3,128 B]
Get:6 http://archive.canonical.com/ubuntu xenial/partner i386 Packages [3,116 B]
Get:7 http://ppa.launchpad.net/teejee2008/ppa/ubuntu xenial/main Sources [2,956 B]
Get:8 http://packages.linuxmint.com sylvia Release [24.2 kB]
Get:9 http://archive.ubuntu.com/ubuntu xenial-updates InRelease [102 kB]
Get:10 http://packages.linuxmint.com sylvia Release.gpg [819 B]
Get:11 http://ppa.launchpad.net/teejee2008/ppa/ubuntu xenial/main amd64 Packages [2,664 B]
Get:12 http://security.ubuntu.com/ubuntu xenial-security InRelease [102 kB]
Get:13 http://archive.ubuntu.com/ubuntu xenial-backports InRelease [102 kB]
Get:14 http://ppa.launchpad.net/teejee2008/ppa/ubuntu xenial/main i386 Packages [2,660 B]
Get:15 http://packages.linuxmint.com sylvia/main amd64 Packages [18.4 kB]
Get:16 http://packages.linuxmint.com sylvia/main i386 Packages [17.7 kB]
Get:17 http://ppa.launchpad.net/teejee2008/ppa/ubuntu xenial/main Translation-en [1,224 B]
.
.
Get:37 http://archive.ubuntu.com/ubuntu xenial-backports/universe i386 Packages [7,060 B]
Get:38 http://archive.ubuntu.com/ubuntu xenial-backports/universe Translation-en [3,812 B]
Fetched 5,523 kB in 9s (585 kB/s)
Reading package lists... Done
After you are through with the above two steps, you can kick-start the installation of TimeShift by executing the following command.
linuxhelp ~ # apt-get install timeshift
Reading package lists... Done
Building dependency tree
Reading state information... Done
The following packages will be upgraded:
  timeshift
1 upgraded, 0 newly installed, 0 to remove and 282 not upgraded.
Need to get 666 kB of archives.
After this operation, 77.8 kB disk space will be freed.
Get:1 http://ppa.launchpad.net/teejee2008/ppa/ubuntu xenial/main amd64 timeshift amd64 18.2-0~201802031517~ubuntu16.04.1 [666 kB]
Fetched 666 kB in 2s (272 kB/s)
(Reading database ... 219622 files and directories currently installed.)
Preparing to unpack .../timeshift_18.2-0~201802031517~ubuntu16.04.1_amd64.deb ...
Unpacking timeshift (18.2-0~201802031517~ubuntu16.04.1) over (17.11) ...
Processing triggers for hicolor-icon-theme (0.15-0ubuntu1) ...
Processing triggers for desktop-file-utils (0.22+linuxmint1) ...
Processing triggers for mime-support (3.59ubuntu1) ...
Processing triggers for man-db (2.7.5-1) ...
Setting up timeshift (18.2-0~201802031517~ubuntu16.04.1) ...
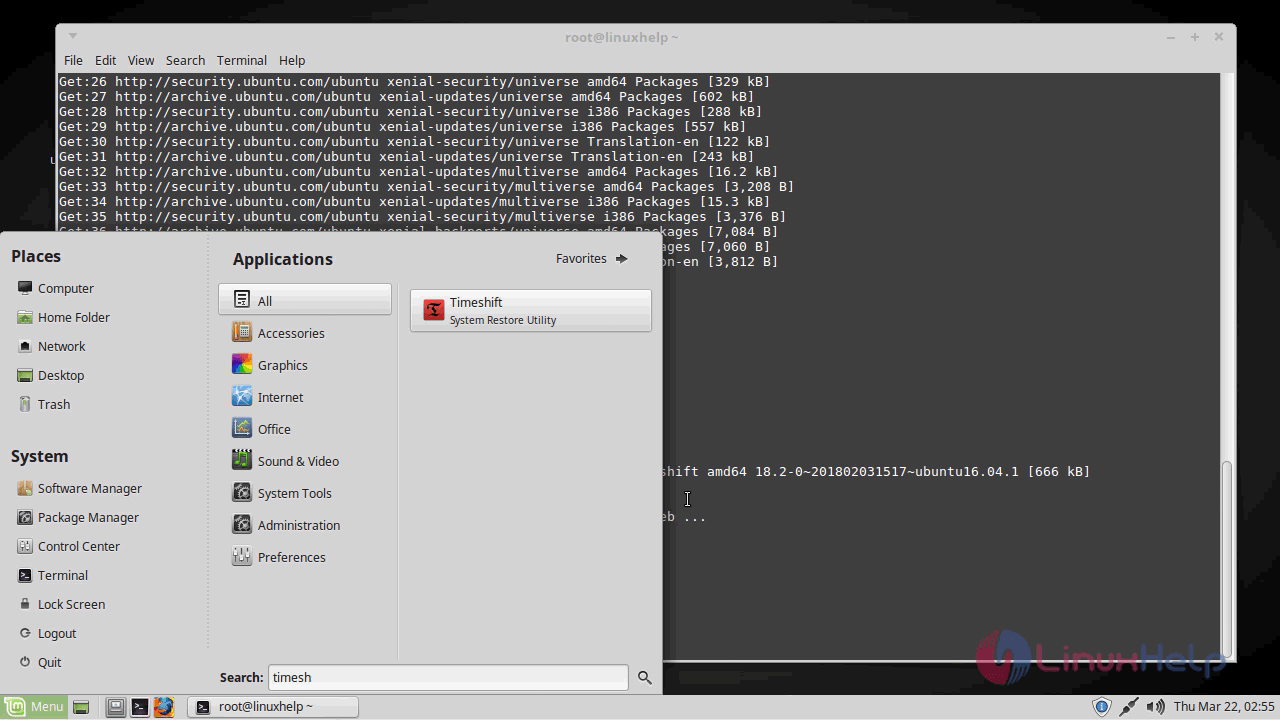
Timeshift is almost installed but we are still not through with the installation process. So, let' s open the application first.
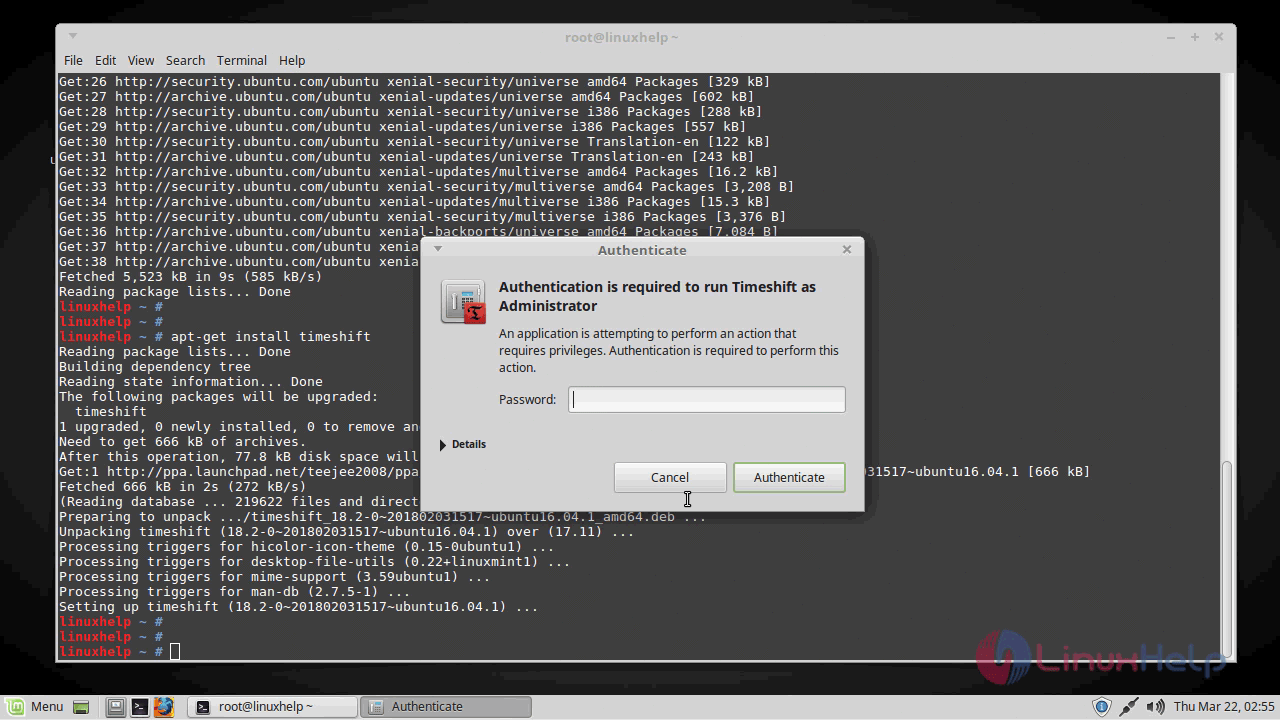
When the application is started, it is required to enter the credentials. So, enter the password and click on Authenticate.
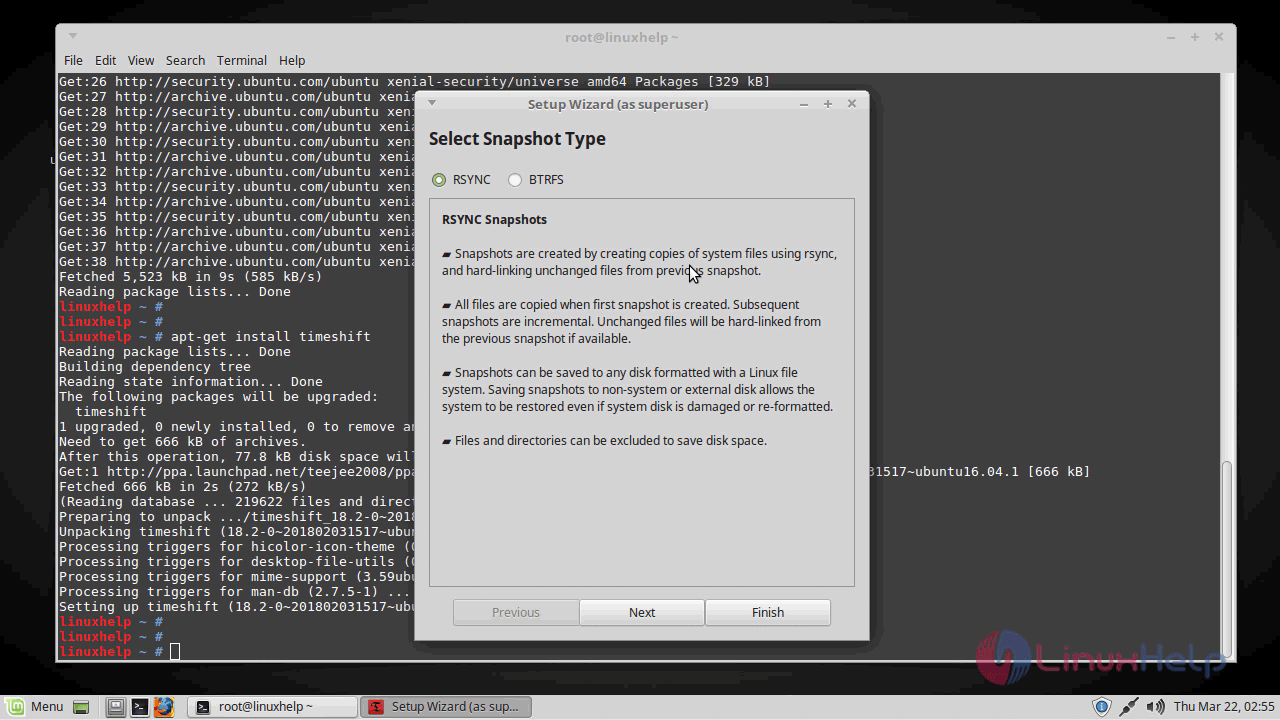
After that, you are required to select the Snapshot Type, so choose from the available options and click Next.
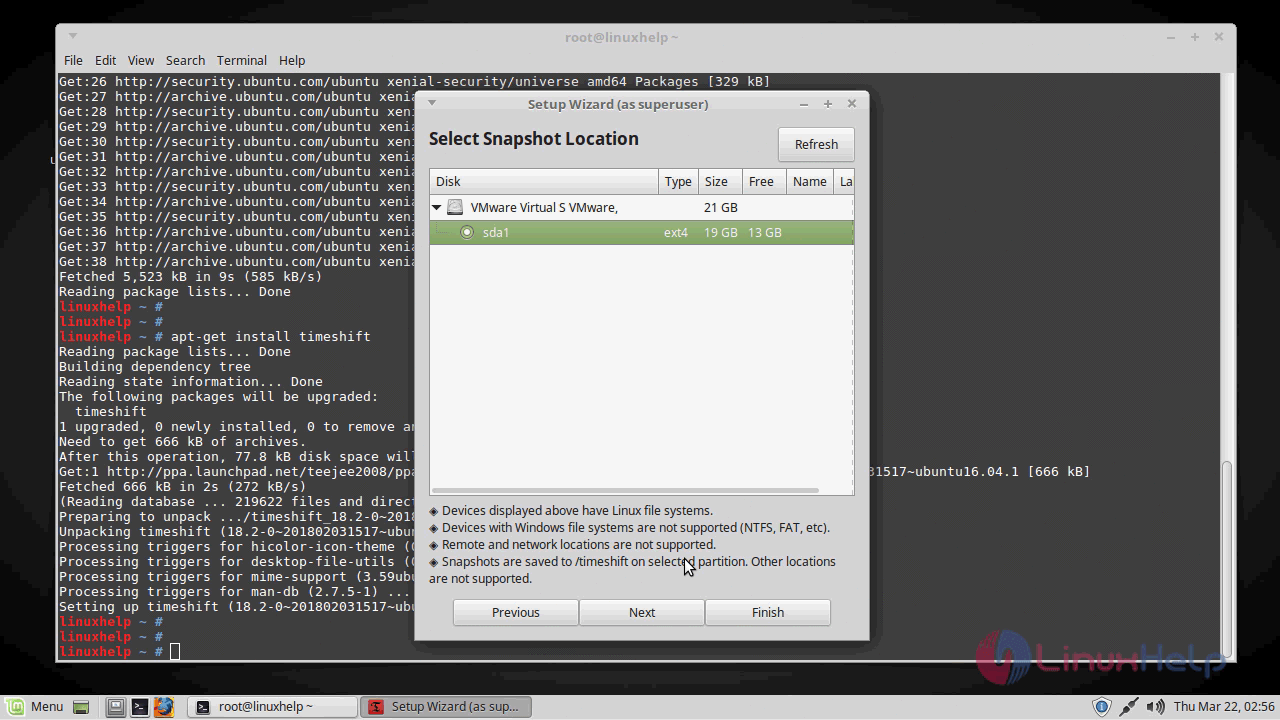
At next step, you have to choose the snapshot location and click on next.
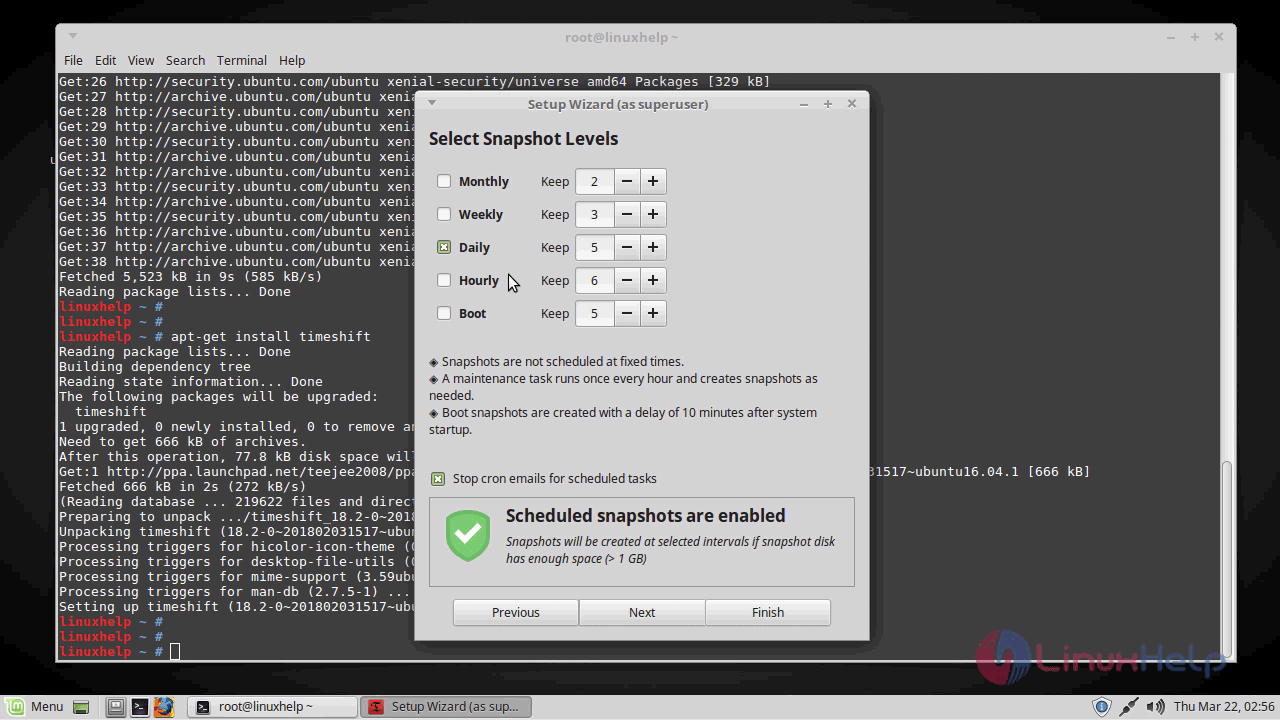
Here you have to schedule the fixed times for creating the snap so after choosing that click next
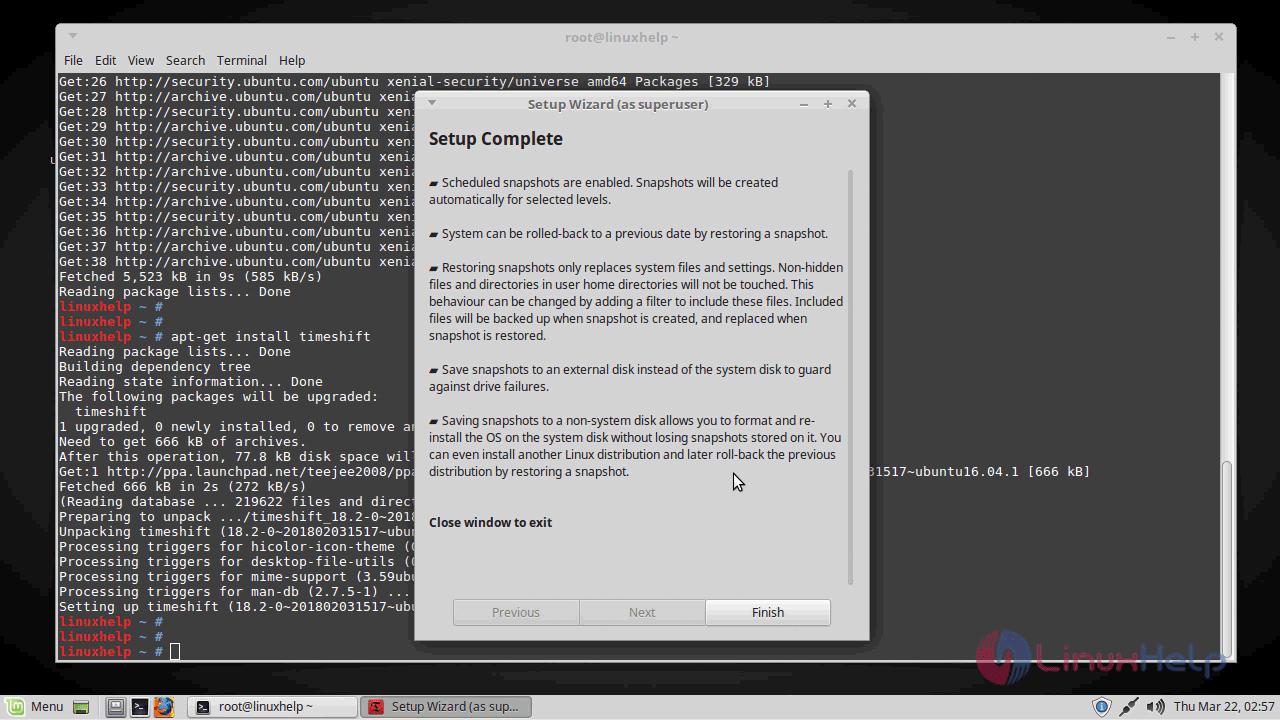
Click on Finish when the setup is complete.
The Timeshift application now gets opened.
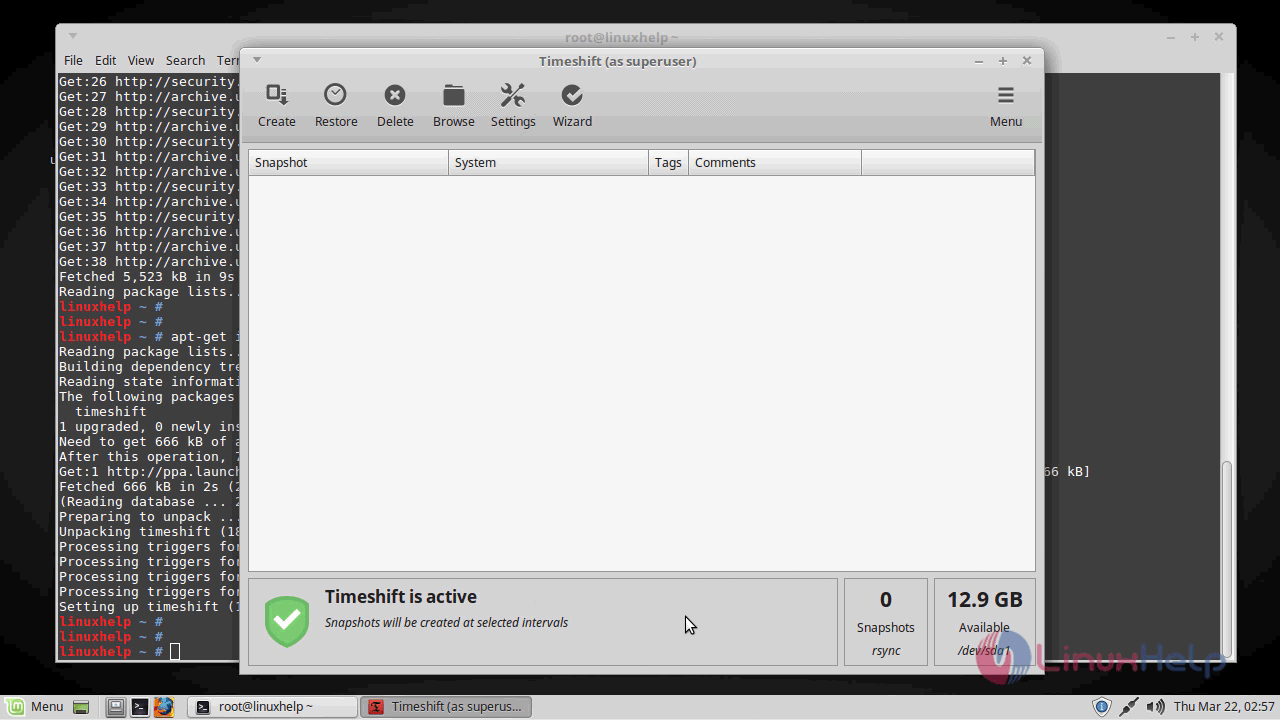
With this, the installation of Timeshift on Linux Mint 18.3 comes to an end.
Comments ( 0 )
No comments available