How to Install WordPress 4.3 using Apache
To Install WordPress 4.3 using Apache in Debian, Ubuntu and Linux Mint
In this article we will learn the steps to Install WordPress 4.3 using Apache in Debian, Ubuntu and Linux Mint.
Basic Configurations of Server
We use Apache Virtual Host setup and we have to map server IP to our virtual (fake) domain name to be able to access it like a real domain name from any browser. To achieve this run the following command.
First edit the hostname in the /etc/hosts file
user1@linuxhelp:~$ sudo nano /etc/hosts
[sudo] password for user1:
Install LAMP-Apache, MySQL and PHP
First install Lamp-apache, Mysql and PHP packages.
user1@linuxhelp:~$ sudo apt-get install apache2 apache2-utils php5 php5-mysql mysql-client mysql-server
Reading package lists... Done
Building dependency tree
Reading state information... Done
The following extra packages will be installed:
apache2-bin apache2-data libaio1 libapache2-mod-php5 libapr1 libaprutil1
libaprutil1-dbd-sqlite3 libaprutil1-ldap libdbd-mysql-perl libdbi-perl
libhtml-template-perl liblua5.1-0 libmysqlclient18 libterm-readkey-perl
mysql-client-5.6 mysql-client-core-5.6 mysql-common mysql-server-5.6
mysql-server-core-5.6 php5-cli php5-common php5-json php5-readline
Suggested packages:
apache2-doc apache2-suexec-pristine apache2-suexec-custom php-pear
libmldbm-perl libnet-daemon-perl libsql-statement-perl
libipc-sharedcache-perl mailx tinyca php5-user-cache
The following NEW packages will be installed:
apache2 apache2-bin apache2-data apache2-utils libaio1 libapache2-mod-php5
libapr1 libaprutil1 libaprutil1-dbd-sqlite3 libaprutil1-ldap
libdbd-mysql-perl libdbi-perl libhtml-template-perl liblua5.1-0
libmysqlclient18 libterm-readkey-perl mysql-client mysql-client-5.6
mysql-client-core-5.6 mysql-common mysql-server mysql-server-5.6
mysql-server-core-5.6 php5 php5-cli php5-common php5-json php5-mysql
php5-readline
0 upgraded, 29 newly installed, 0 to remove and 14 not upgraded.
Need to get 27.7 MB of archives.
After this operation, 182 MB of additional disk space will be used.
Do you want to continue? [Y/n] y
.
.
.
Processing triggers for libc-bin (2.21-0ubuntu4.1) ...
Processing triggers for systemd (225-1ubuntu9.1) ...
Processing triggers for ureadahead (0.100.0-19) ...
Install phpmyadmin
Next install phpmyadmin package.
user1@linuxhelp:~$ sudo apt-get install phpmyadmin
Reading package lists... Done
Building dependency tree
Reading state information... Done
The following extra packages will be installed:
dbconfig-common libjs-jquery libjs-sphinxdoc libjs-underscore libmcrypt4
php-gettext php-tcpdf php5-gd php5-mcrypt
...
...
Creating config file /etc/phpmyadmin/config-db.php with new version
dbconfig-common: flushing administrative password
apache2_invoke: Enable configuration phpmyadmin
Processing triggers for libc-bin (2.21-0ubuntu4.1) ...
To make the packages available for web browser
user1@linuxhelp:~$ sudo cp /etc/phpmyadmin/apache.conf /etc/apache2/conf-available/
user1@linuxhelp:~$ sudo mv /etc/apache2/conf-available/apache.conf /etc/apache2/conf-available/phpmyadmin.conf
user1@linuxhelp:~$ sudo a2enconf phpmyadmin
Create a virtual host on Apache web server
Next you need create a virtual host on Apache web server
user1@linuxhelp:~$ sudo nano /etc/apache2/sites-available/wordpress.conf
Add the following lines to the file
ServerName wordpress.linuxhelp
ServerAdmin linuxhelp@gmail.com
DocumentRoot /var/www/html
To activate the virtual host
To activate the virtual host use a2ensite command followed by the respective file name.
user1@linuxhelp:~$ sudo a2ensite wordpress.conf
user1@linuxhelp:~$ sudo service apache2 restart
Now open the Apache.conf file
user1@linuxhelp:~$ sudo nano /etc/apache2/apache2.conf
Add the following line at the bottom of file and restart the Apache service.
ServerName wordpress.linuxhelp
user1@linuxhelp:~$ sudo service apache2 restart
To Create WordPress Database
Next create a new database and a new database user for WordPress. Run the following command and answer YES for all the questions to configure mysql.
user1@linuxhelp:~$ sudo mysql_secure_installation
Using PhpMyAdmin
Login to PhpMyAdmin using root account, by pointing your browser to your server IP.

Go to Databases tab, enter a name for your database and click on Create button.

Select your newly created database (wordpress) from left panel and go to Privileges tab.

Now hit on Add user, enter the details, then click Go.
Username = your_database_user
Host = localhost
Password = a_strong_password_twice
Database for user: select Grant all Privileges on database “ wordpress”
Global privileges: click on Check All

Using Command Line
Run the following command by connecting to MySQL database
user1@linuxhelp:~$ mysql -u root -p
mysql>  CREATE DATABASE IF NOT EXISTS wordpress
mysql>  CREATE USER caezsar@localhost IDENTIFIED BY " your_password_here"
mysql>  GRANT ALL PRIVILEGES ON wordpress.* TO caezsar@localhost
mysql>  FLUSH PRIVILEGES
mysql>  quit
To Download and Install WordPress
Open the web browser and go to the official website of word press and download the .tar.gz wordpress package file.
https://wordpress.org/download/
Extract WordPress archive and copy all extracted files to Apache Virtual Host DocumentRoot.
user1@linuxhelp:~/Downloads$ sudo tar xvzf wordpress-4.4.2.tar.gz
wordpress/
wordpress/wp-settings.php
wordpress/wp-cron.php
wordpress/wp-comments-post.php
...
...
wordpress/wp-includes/rest-api.php
wordpress/wp-includes/update.php
wordpress/wp-includes/comment.php
wordpress/wp-config-sample.php
user1@linuxhelp:~$ sudo cp -r wordpress/* /var/www/html
Now restart the Apache and mysql servers.
user1@linuxhelp:~$ sudo service apache2 restart
user1@linuxhelp:~$ sudo service mysql restart
Next change ownership and permissions for the /var/www/html directory
user1@linuxhelp:~$ sudo chown -R www-data /var/www/html
user1@linuxhelp:~$ sudo chmod -R 755 /var/www/html
Now open a browser and enter your server’ s IP or the hostname
http://hostname/index.php
http://your_server_IP/index.php
http://192.168.5.219
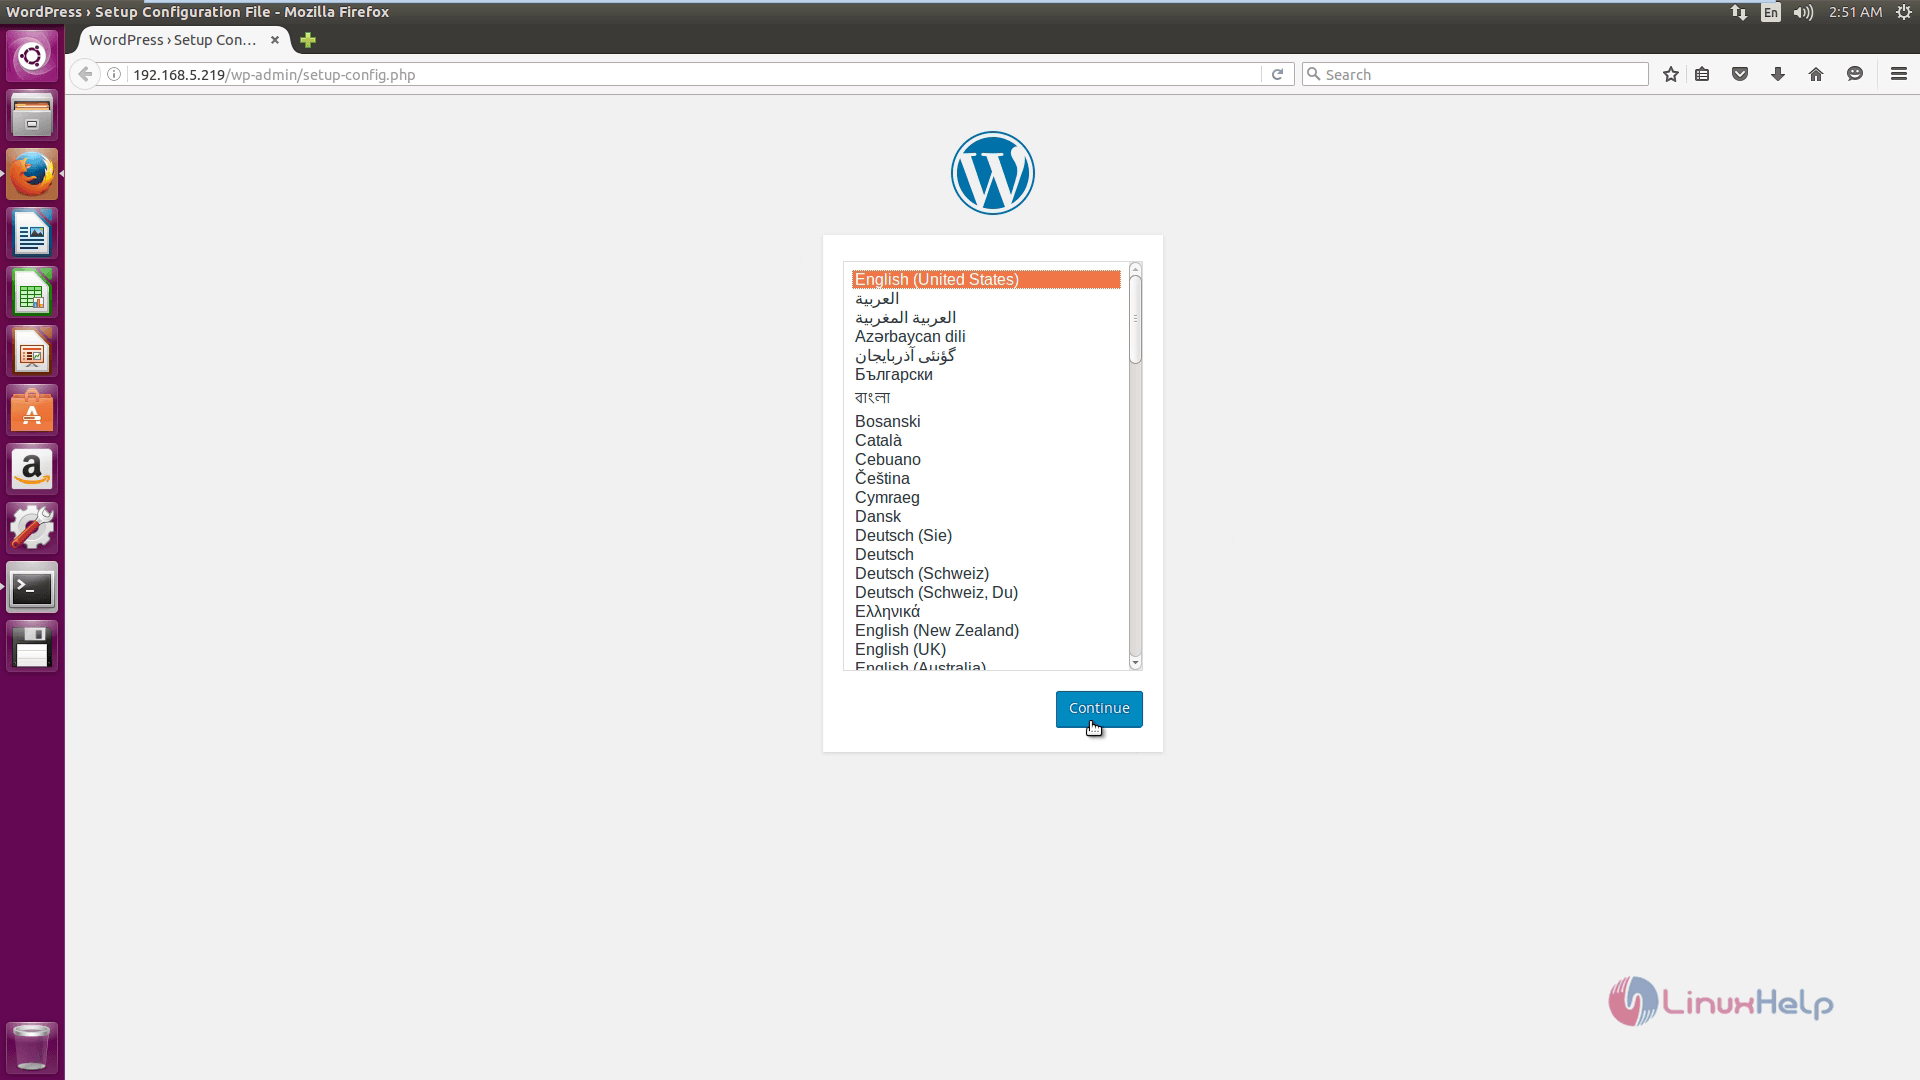
Select the Language and Click on Continue
Now click Let' s go.

Now enter your MySQL WordPress database credentials, then click Submit.

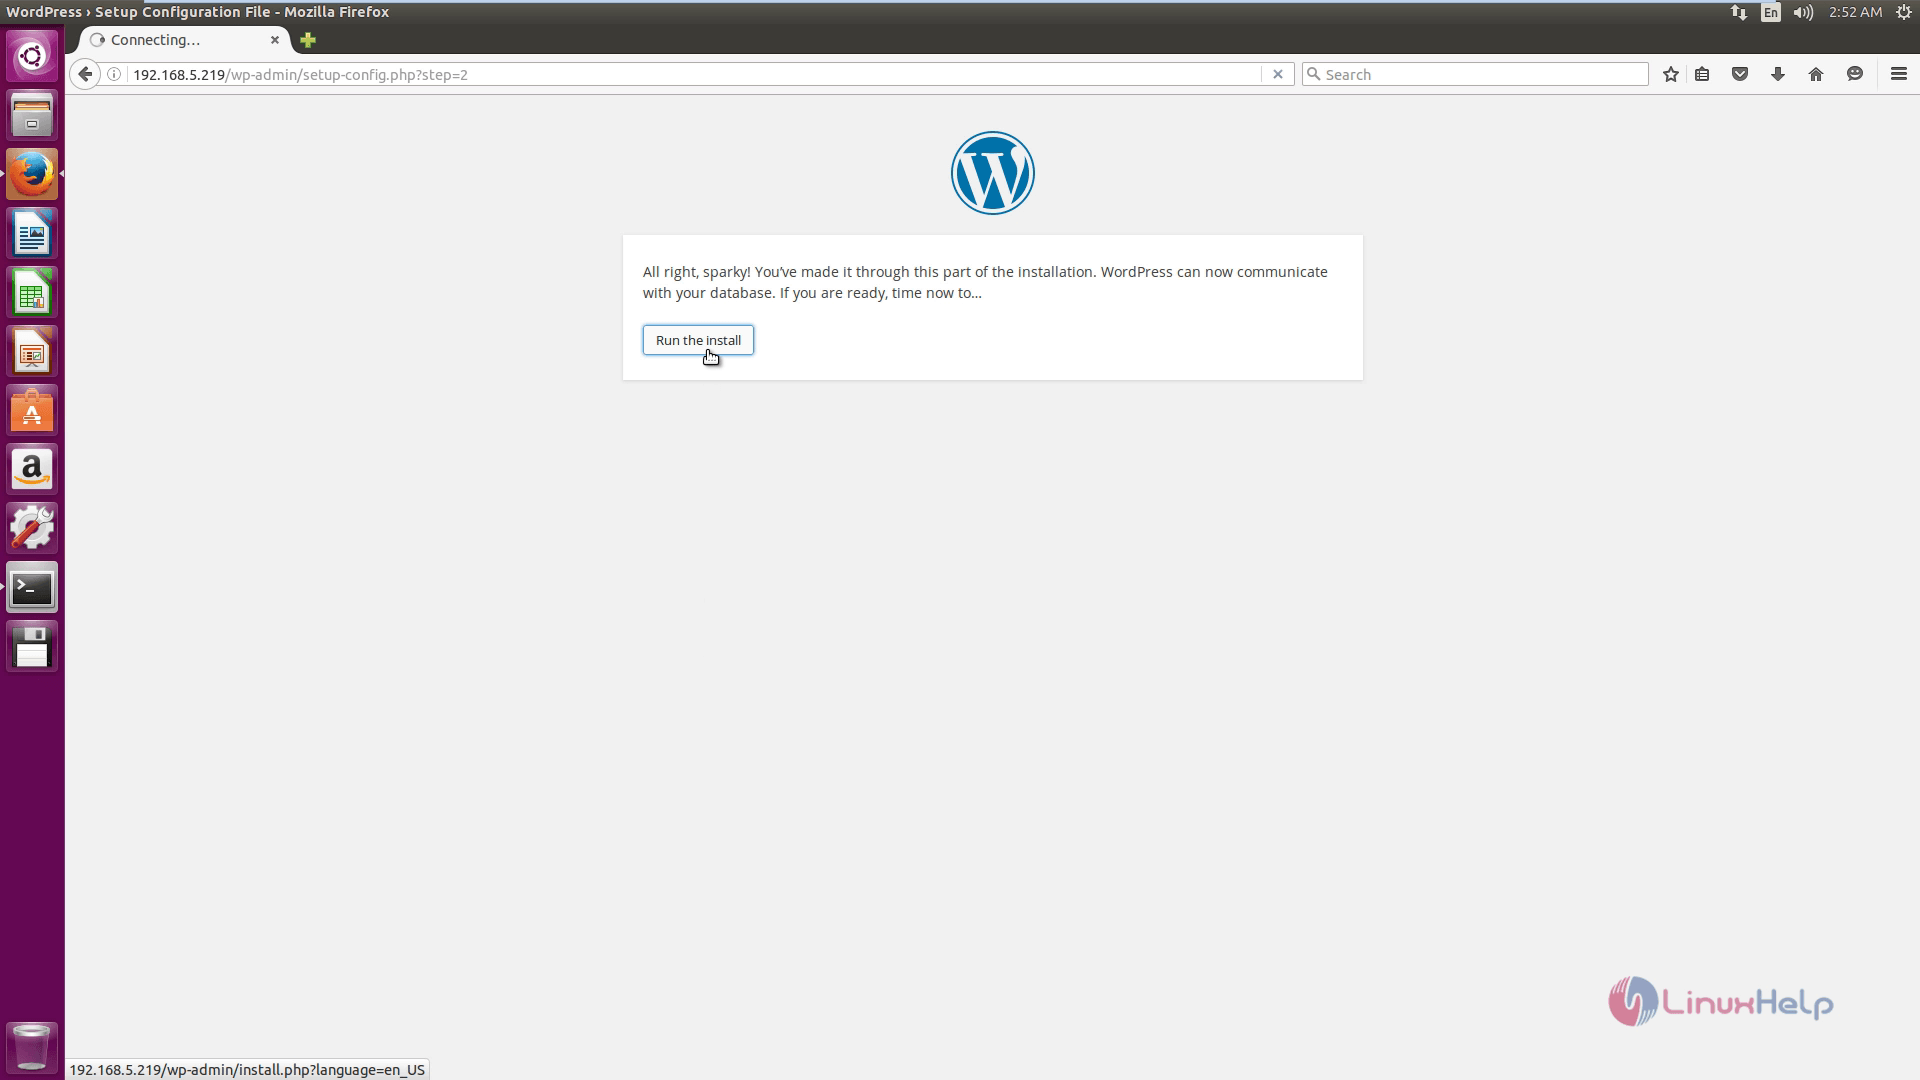
Now click the ' Run the install' button
Next, Provide WordPress installer with a Site Title, an administrative username and password for your blog, email address and finally click on Install WordPress.

After installation, login to your new WordPress website blog using your administrative credentials.


This is the Home page of Wordpress.

Run the following command to replay changes made on ‘ /var/www/html‘ directory and file permissions.
user1@linuxhelp:~$ sudo chown -R root /var/www/html
Comments ( 0 )
No comments available