How to install X2crm V6.9 on Linuxmint-18.03
To install X2 CRM V6.9 on Linuxmint-18.03
X2 is a free and open source Customer Relationship Management (CRM) application. It allows the user to create Web sites like marketing, sales and customer service for CRM application. Installation of X2CRM is explained in this tutorial.
Pre-requirements
Install LAMP (Apache, PHP, MariaDB-server)
In MariaDB (create database, user and give privileges to the user)
FOR PHP INSTALLATION
apt-get install php7.0 libapache2-mod-php7.0 php7.0-mbstring php7.0-curl php7.0-zip php7.0-gd php7.0-mysql php7.0-mcrypt php7.0-imap php7.0-ssl2 -y
Download the X2crm V6.9 package using wget command
linuxhelp ~ # wget https://github.com/X2Engine/X2Engine/archive/master.zip
--2018-04-30 23:13:38--  https://github.com/X2Engine/X2Engine/archive/master.zip
Resolving github.com (github.com)... 192.30.253.112, 192.30.253.113
Connecting to github.com (github.com)|192.30.253.112|:443... connected.
HTTP request sent, awaiting response... 301 Moved Permanently
Location: https://github.com/X2Engine/X2CRM/archive/master.zip [following]
--2018-04-30 23:13:40--  https://github.com/X2Engine/X2CRM/archive/master.zip
Reusing existing connection to github.com:443.
HTTP request sent, awaiting response... 302 Found
Location: https://codeload.github.com/X2Engine/X2CRM/zip/master [following]
--2018-04-30 23:13:40--  https://codeload.github.com/X2Engine/X2CRM/zip/master
Resolving codeload.github.com (codeload.github.com)... 192.30.253.120, 192.30.253.121
Connecting to codeload.github.com (codeload.github.com)|192.30.253.120|:443... connected.
HTTP request sent, awaiting response... 200 OK
Length: 32274905 (31M) [application/zip]
Saving to: ‘ master.zip’

master.zip               100%[================================> ]  30.78M   771KB/s    in 65s

2018-04-30 23:14:46 (486 KB/s) - ‘ master.zip’  saved [32274905/32274905]
After downloading extract the downloaded package
linuxhelp ~ # unzip master.zip
Archive:  master.zip
ffe7f502d0519a1c86d7c10b8a3381a838d220ea
   creating: X2CRM-master/
  inflating: X2CRM-master/.gitignore
  inflating: X2CRM-master/.travis.yml
  inflating: X2CRM-master/CHANGELOG.md
  inflating: X2CRM-master/CONTRIBUTING.md
  inflating: X2CRM-master/README.md
  inflating: X2CRM-master/RELEASE-NOTES.md
   creating: X2CRM-master/build/
  inflating: X2CRM-master/build/WebTestConfig.php
  inflating: X2CRM-master/build/bootstrap.php
  inflating: X2CRM-master/build/constants.php
.
.
.
master/x2engine/uploads/protected/media/chames/Bills_Billing_Hierarchy.odg
   creating: X2CRM-master/x2engine/uploads/protected/media/ssmith/
  inflating: X2CRM-master/x2engine/uploads/protected/media/ssmith/heatmap_2012-10-11.jpeg
  inflating: X2CRM-master/x2engine/uploads/protected/pigeon_point.jpg
  inflating: X2CRM-master/x2engine/uploads/protected/santacruznight_blur.jpg
  inflating: X2CRM-master/x2engine/webConfig.php
  inflating: X2CRM-master/x2engine/webListener.php
  inflating: X2CRM-master/x2engine/webTracker.php
we have to rename the extracted directory:
linuxhelp ~ # ls
master.zip  X2CRM-master
linuxhelp ~ # mv X2CRM-master/ x2crm
here we have to move the x2crm directory into the /var/www/html directory:
linuxhelp ~ # mv x2crm/ /var/www/html/
Go to /var/www/html directory:
linuxhelp ~ # cd /var/www/html/
linuxhelp html # ls
index.html  x2crm
Change ownership and permission for the x2crm directory
linuxhelp html # chown -R www-data:www-data x2crm/ chmod -R 775 x2crm/
Next, configure a virtual host for x2crm. Create empty file named x2crm.conf
linuxhelp html # cd /etc/apache2/sites-available/
linuxhelp sites-available # vim x2crm.conf
< virtualhost *:80>
servername  www.linuxhelp1.com
Documentroot  /var/www/html/x2crm/
< Directory /var/www/html/x2crm/>
AllowOverride
order allow,deny
allow from all
< /Directory>
< /virtualhost>
And then restart apache web server to make the changes effect
linuxhelp sites-available # a2ensite x2crm.conf
Enabling site x2crm.
To activate the new configuration, you need to run
  service apache2 reload
Add an entry to the host' s file.
linuxhelp sites-available # vim /etc/hosts
< give your ip >      < give your domain name>
Finally restart the Apache again to make the changes effect
[root@linuxhelp1 html]# systemctl restart httpd.service
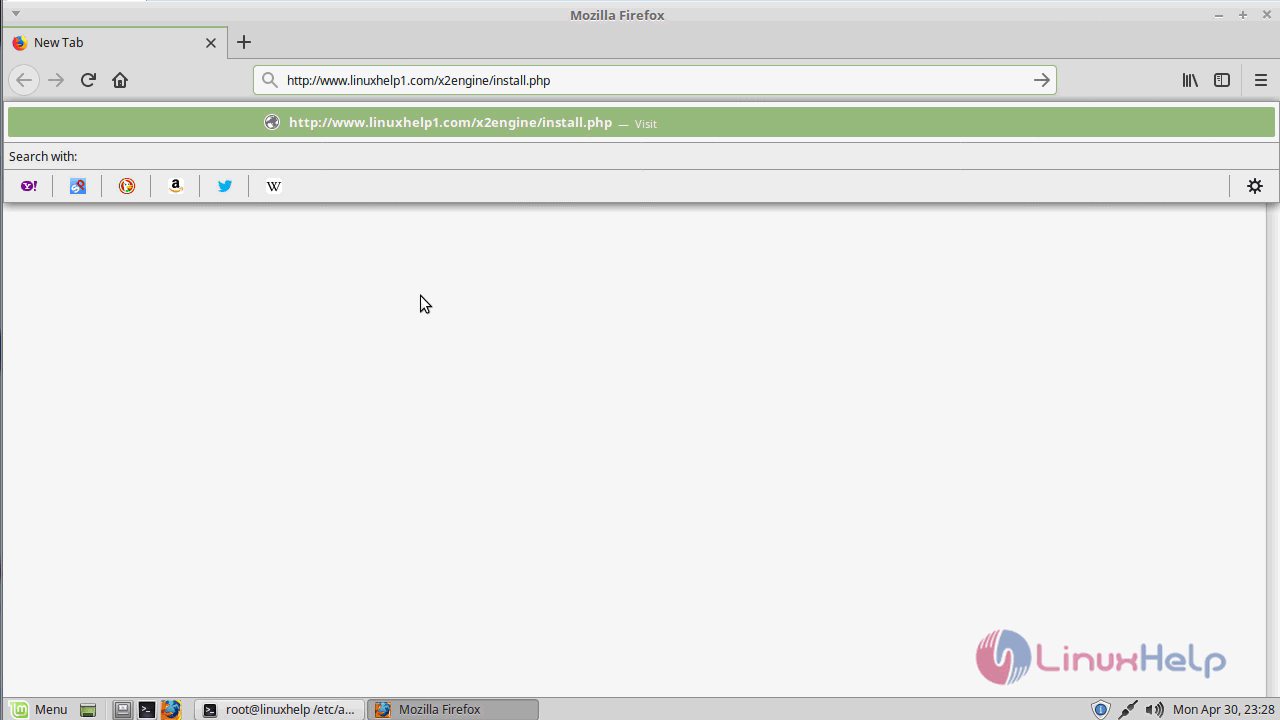
Now you can proceed the further installation and configuration from the browser by navigating to the following URL: http://< ipaddress or domain name
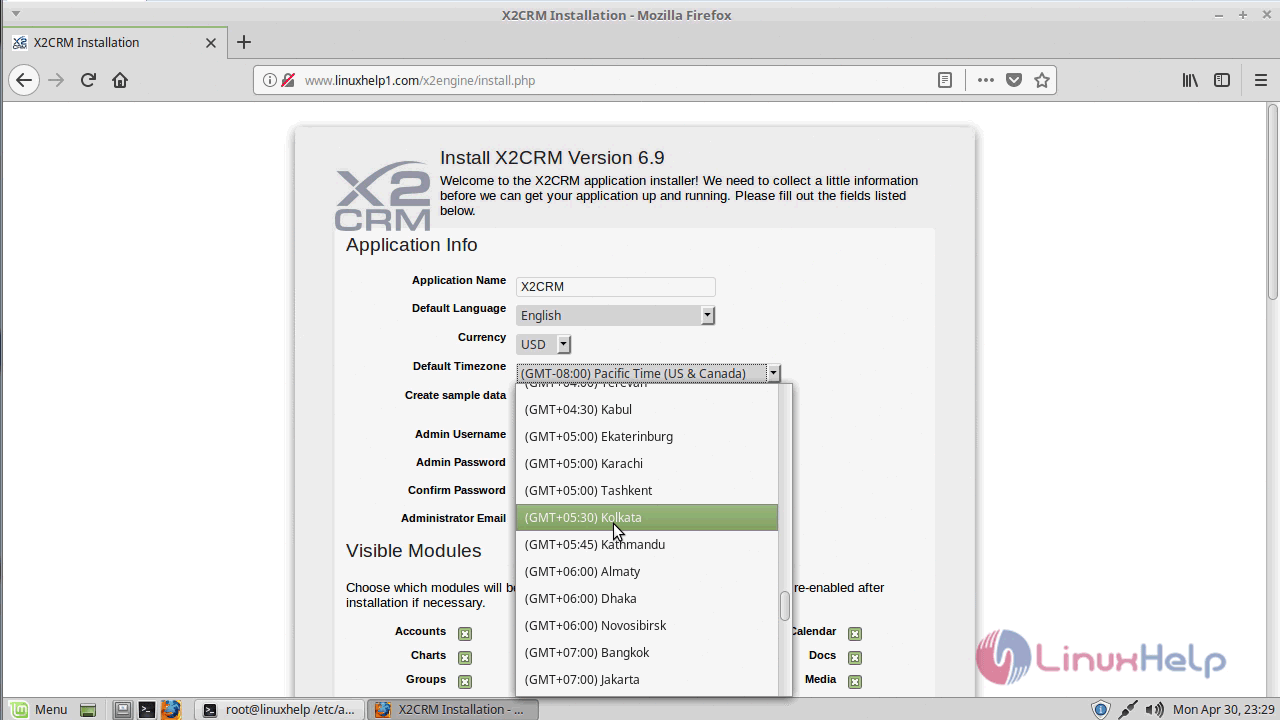
Configure the installation setup. Set the timezone and proceed Next.
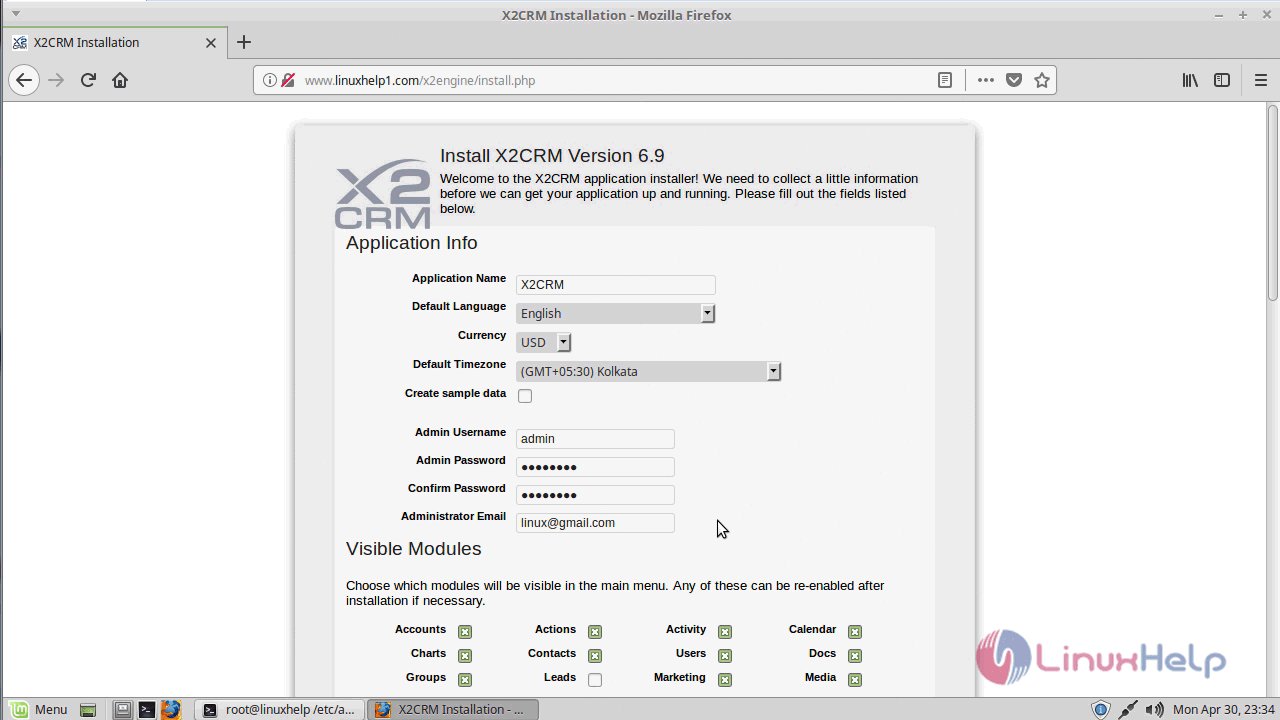
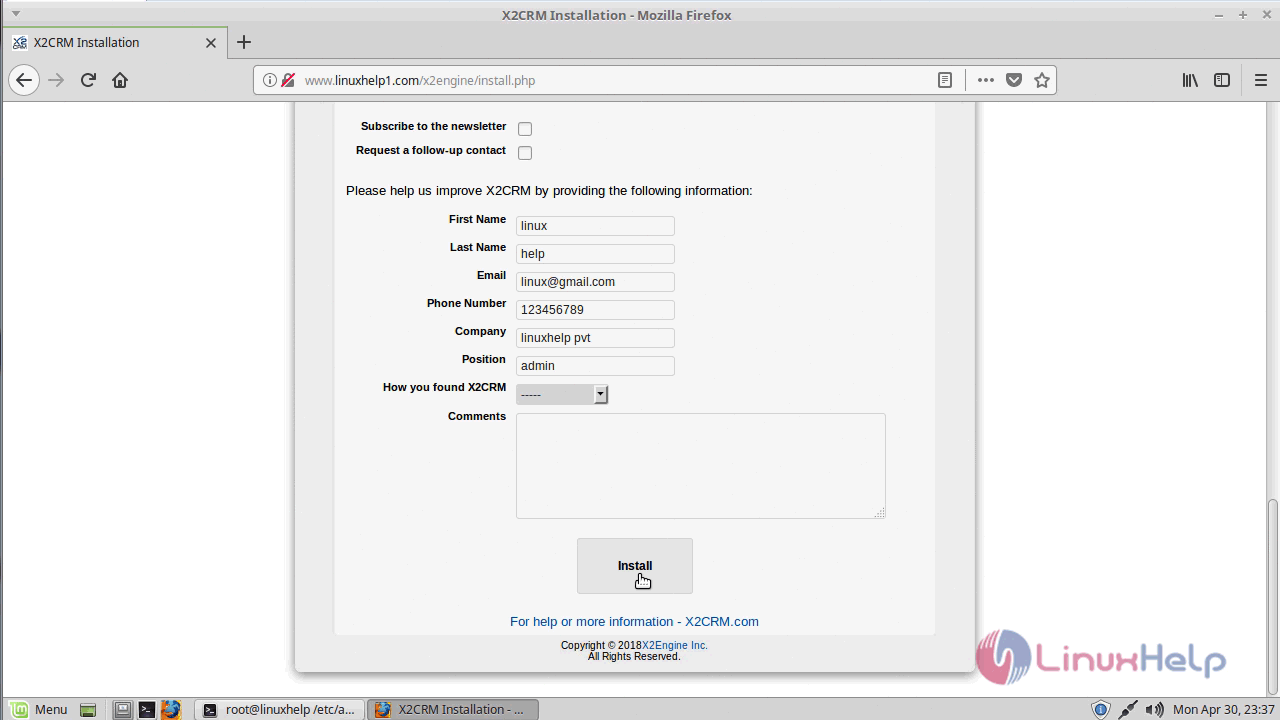
Setup an Admin user account settings as follows.
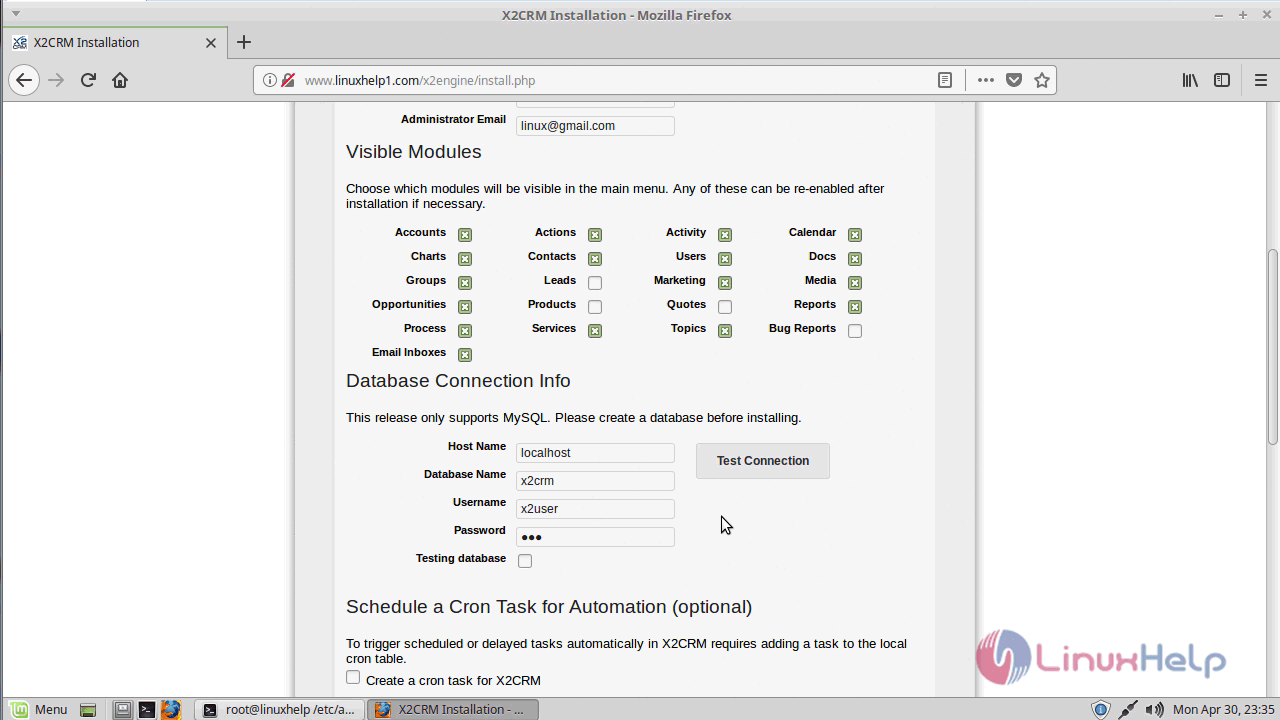
setup a company profile and click install
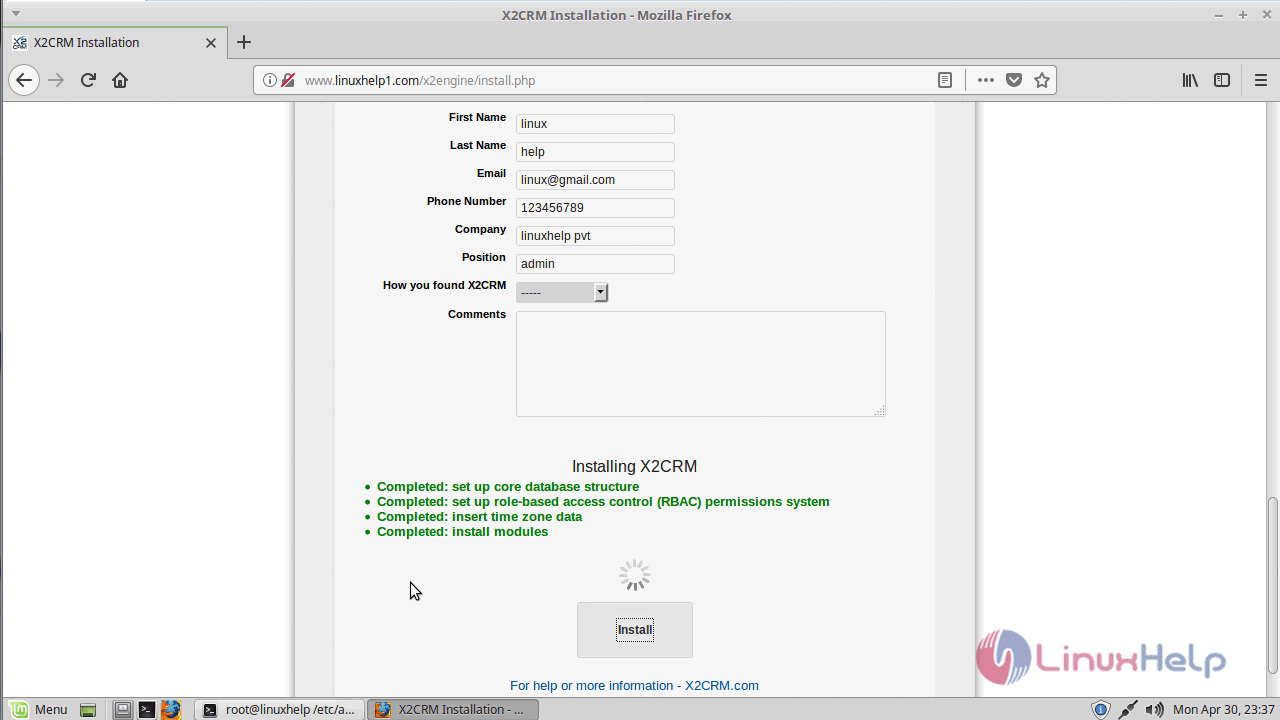
You will see the following screen once installation is successful.
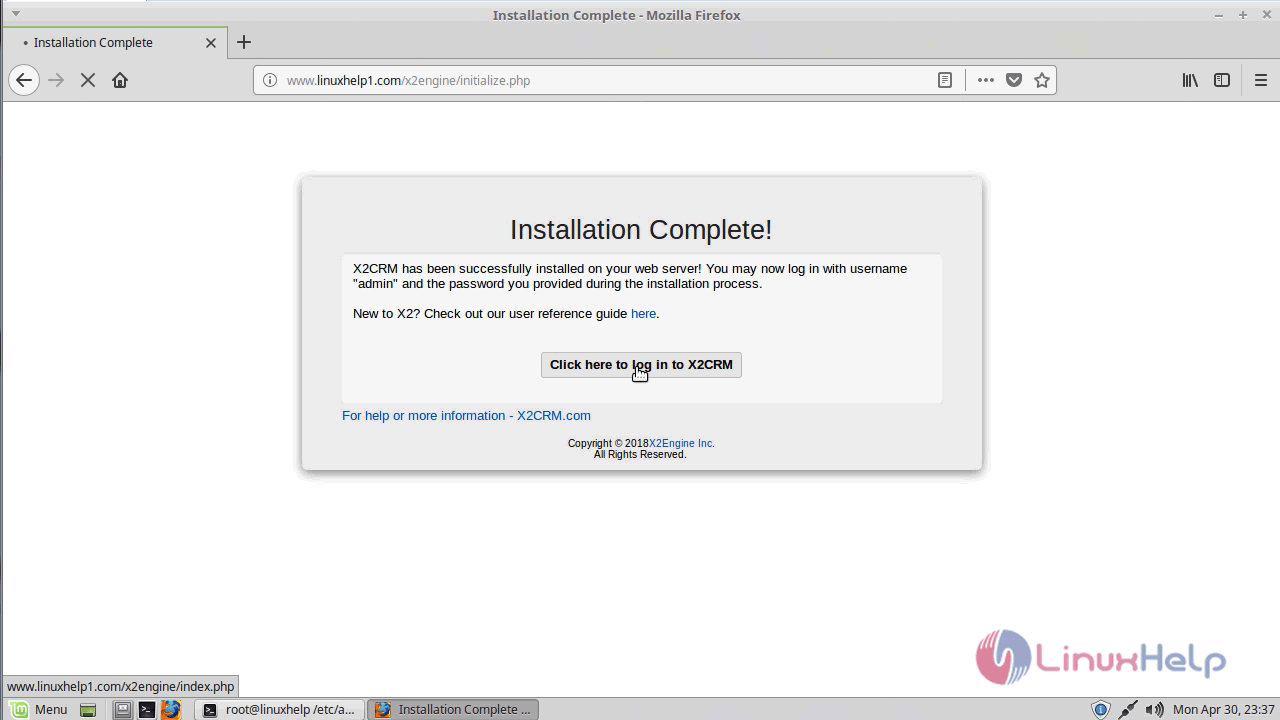
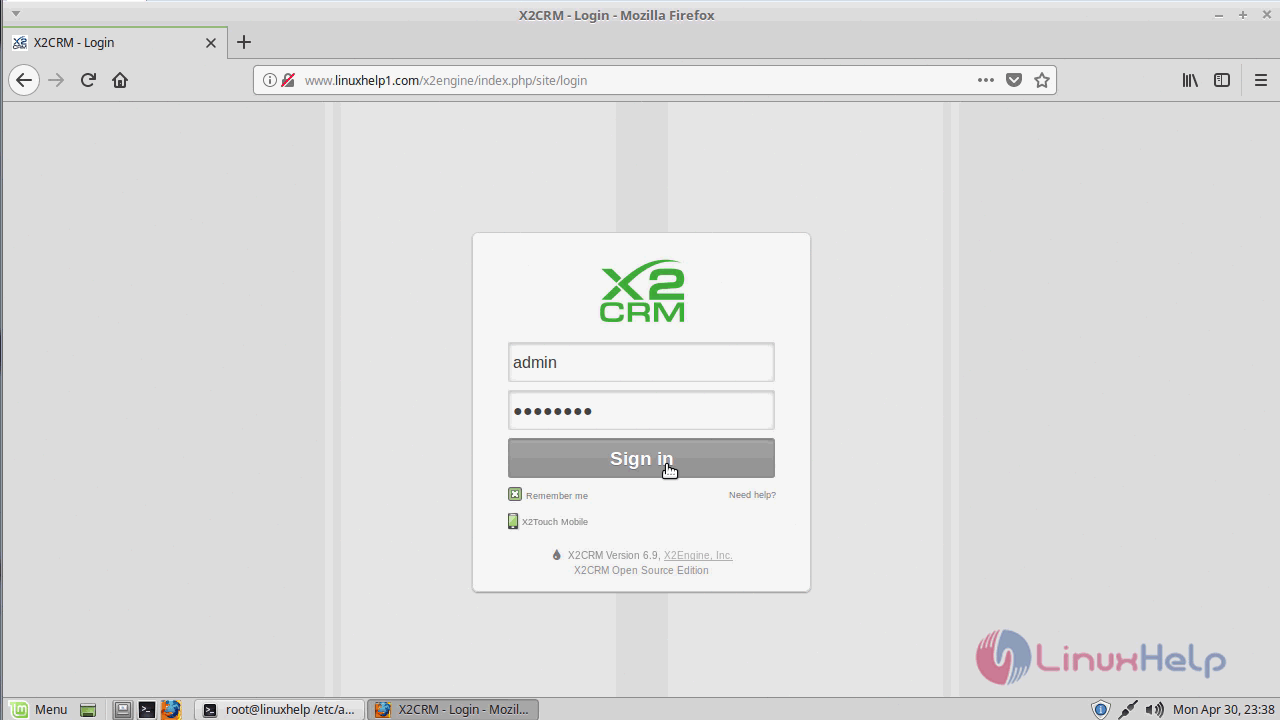
Login with the admin user credentials.
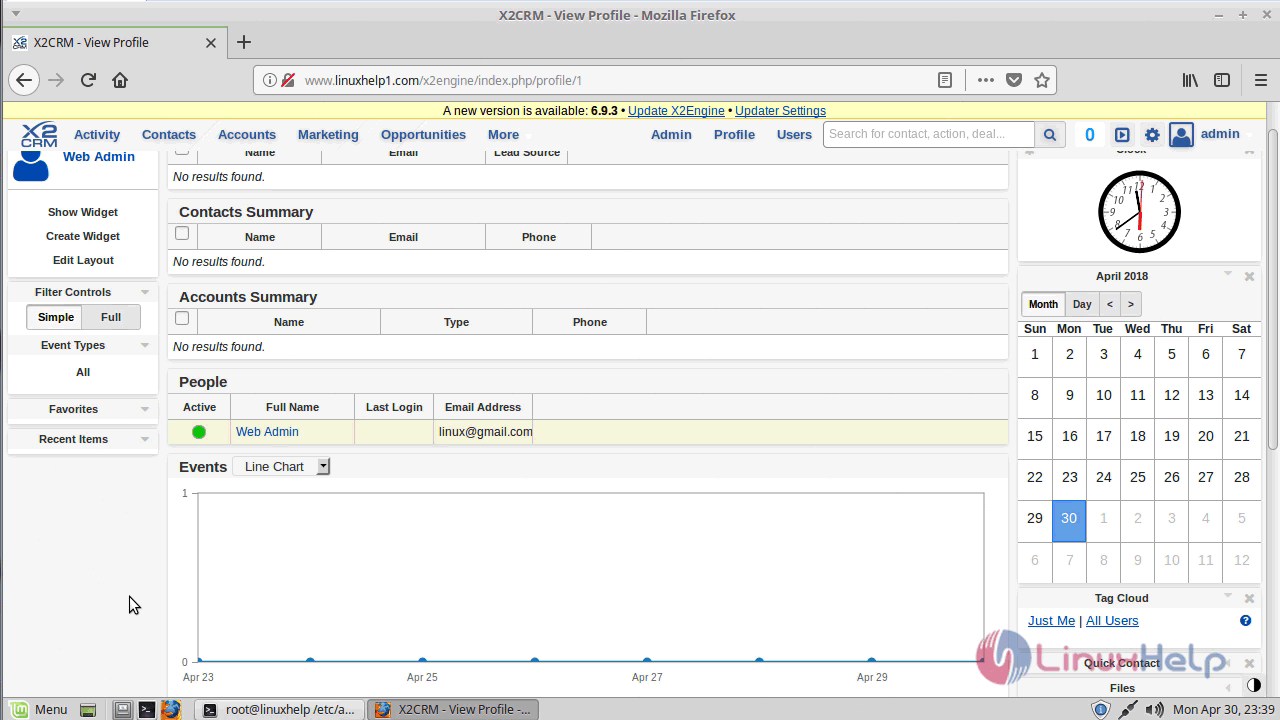
You will see the admin dashboard as shown here.
With this, the method to install X2crm V6.9 on Linuxmint-18.03 comes to an end.

Comments ( 0 )
No comments available