How to install Xibo CMS 1.7.7 on CentOS 7
To install Xibo CMS 1.7.7 on CentOS 7
Xibo, an open source digital signage (public display signs) solutions, comprises of a web based content management system (CMS) and choice of Windows or Android signage players. It is a backend processor for creating content for your websites. Xibo CMS will also support for Media storage option for your websites by setting up digital signatures. It is so simple to install Xibo CMS 1.7.7 on CentOS 7 and this tutorial covers the ground in the same process.
Installation
Make sure you already have a LAMP environment on your machine. Then, download Xibo by making use of the following command.
[root@linuxhelp ~]# wget ' https://citricks.net/downloads/xibo-cms-1.7.7.zip'
--2018-04-06 06:58:06--  https://citricks.net/downloads/xibo-cms-1.7.7.zip
Resolving citricks.net (citricks.net)... 37.97.182.12, 2a01:7c8:aac1:ef::1
Connecting to citricks.net (citricks.net)|37.97.182.12|:443... connected.
HTTP request sent, awaiting response... 200 OK
Length: 7079747 (6.8M) [application/zip]
Saving to: ‘ xibo-cms-1.7.7.zip’
100%[=======================================================================================> ] 7,079,747   1.10MB/s   in 7.1s
2018-04-06 06:58:15 (977 KB/s) - ‘ xibo-cms-1.7.7.zip’  saved [7079747/7079747]
Move the downloaded zip archive to html location and unzip the archive.
[root@linuxhelp ~]# mv xibo-cms-1.7.7.zip /var/www/html/
[root@linuxhelp ~]# cd /var/www/html/
[root@linuxhelp html]# unzip xibo-cms-1.7.7.zip
Archive:  xibo-cms-1.7.7.zip
  inflating: .gitignore
   creating: 3rdparty/
   creating: 3rdparty/htmlpurifier/
  inflating: 3rdparty/htmlpurifier/.gitignore
   creating: 3rdparty/htmlpurifier/library/
   creating: 3rdparty/htmlpurifier/library/HTMLPurifier/
  inflating: 3rdparty/htmlpurifier/library/HTMLPurifier.auto.php
  inflating: 3rdparty/htmlpurifier/library/HTMLPurifier.autoload.php
  inflating: 3rdparty/htmlpurifier/library/HTMLPurifier.composer.php
  inflating: 3rdparty/htmlpurifier/library/HTMLPurifier.func.php
  inflating: 3rdparty/htmlpurifier/library/HTMLPurifier.includes.php
  inflating: 3rdparty/htmlpurifier/library/HTMLPurifier.kses.php
  inflating: 3rdparty/htmlpurifier/library/HTMLPurifier.path.php
  inflating: 3rdparty/htmlpurifier/library/HTMLPurifier.php
  inflating: 3rdparty/htmlpurifier/library/HTMLPurifier.safe-includes.php
  inflating: 3rdparty/htmlpurifier/library/HTMLPurifier/Arborize.php
  inflating: 3rdparty/htmlpurifier/library/HTMLPurifier/AttrCollections.php
.
.
creating: theme/default/libraries/morrisjs/
  inflating: theme/default/libraries/morrisjs/morris.css
  inflating: theme/default/libraries/morrisjs/morris.min.js
  inflating: theme/default/libraries/morrisjs/raphael.min.js
   creating: theme/default/libraries/underscore/
  inflating: theme/default/libraries/underscore/underscore-min.js
 extracting: theme/index.html
  inflating: Vagrantfile
  inflating: xmds.php
Now change the permission and ownership of the html root directory
[root@linuxhelp html]# chown apache.apache -R  /var/www/html
[root@linuxhelp html]# chmod -R 755 /var/www/html
Next, we have to make few changes in the php.ini file. So, open the file.
root@linuxhelp html]# vim /etc/php.ini
And make the following changes.
max_execution_time = 130
post_max_size = 128M
upload_max_filesize = 128M
Once you make the changes restart the apache service.
[root@linuxhelp html]# systemctl restart httpd.service
Now you can continue the installation by navigation to the following URL on your browser.
http://ip-address or http://hostname and you will see the following page.
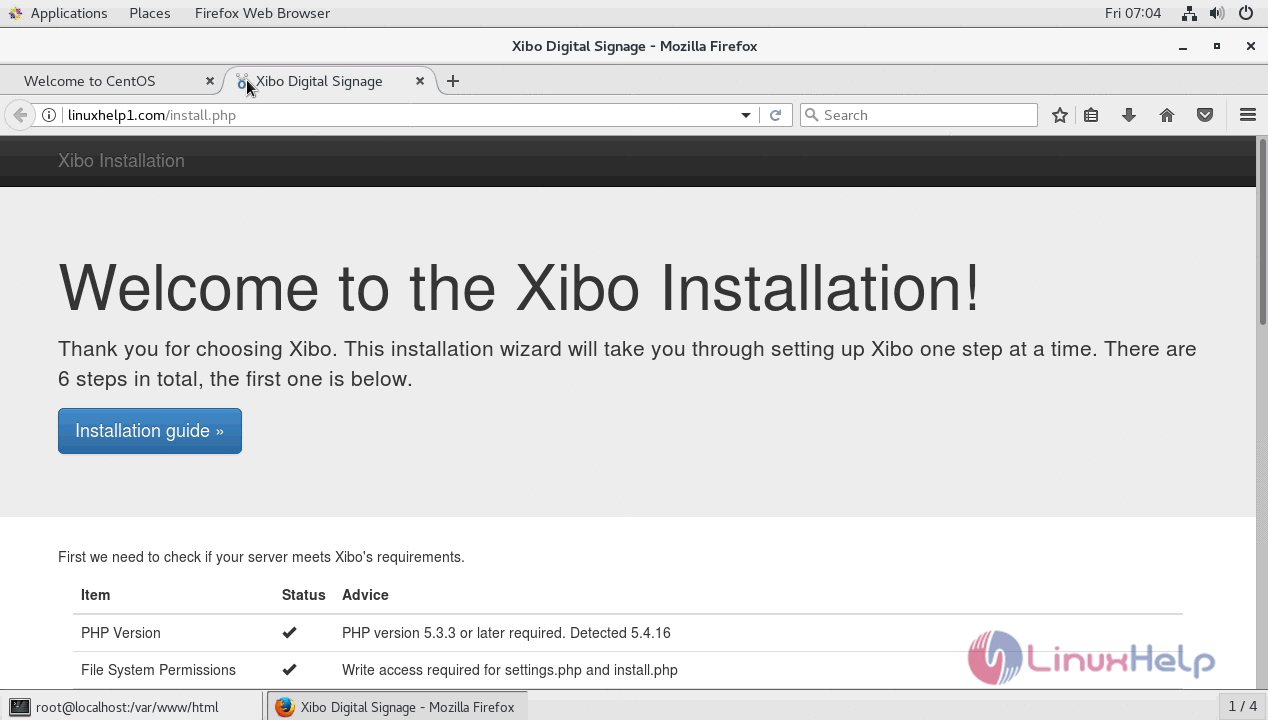
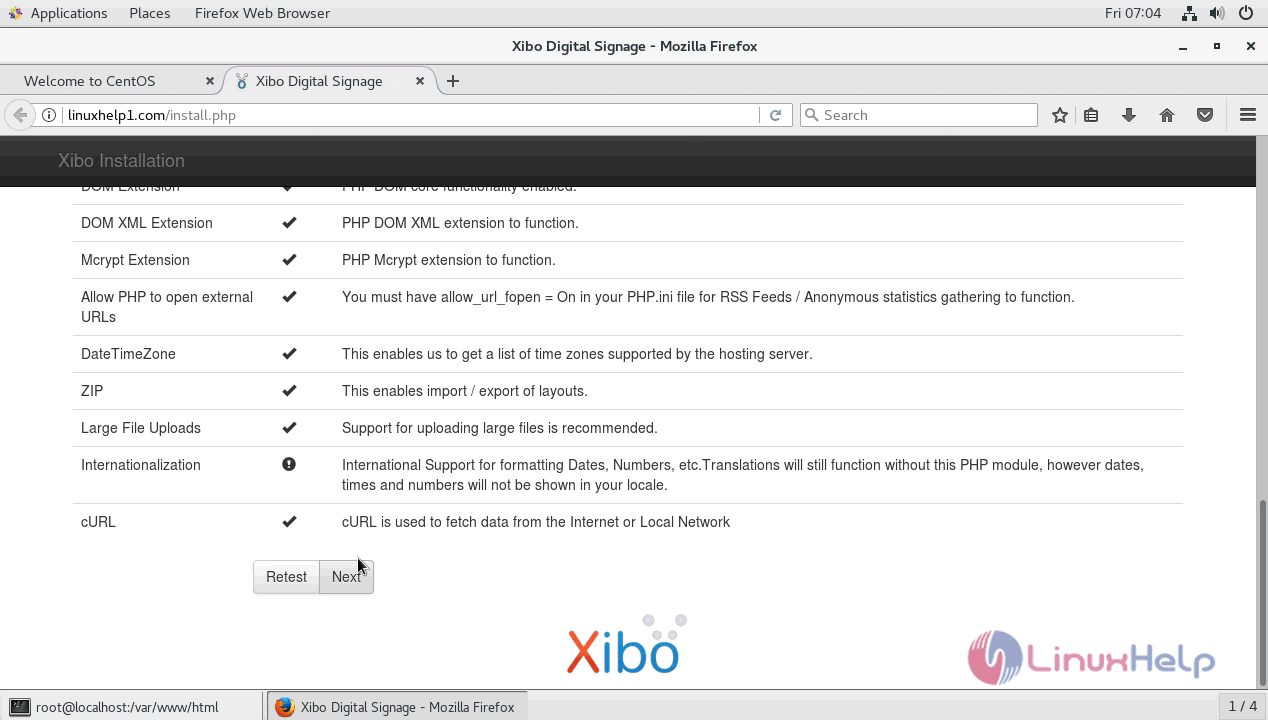
Once all the PHP modules were verified the “ next” button will be enabled.
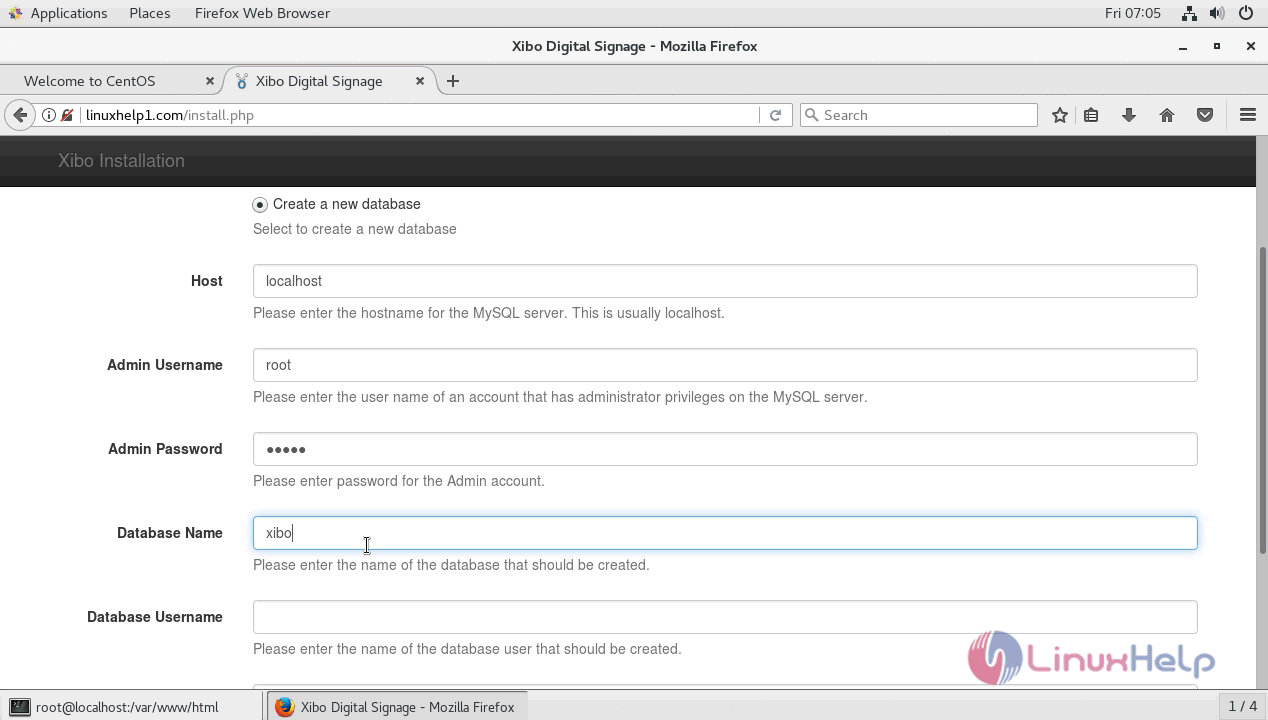
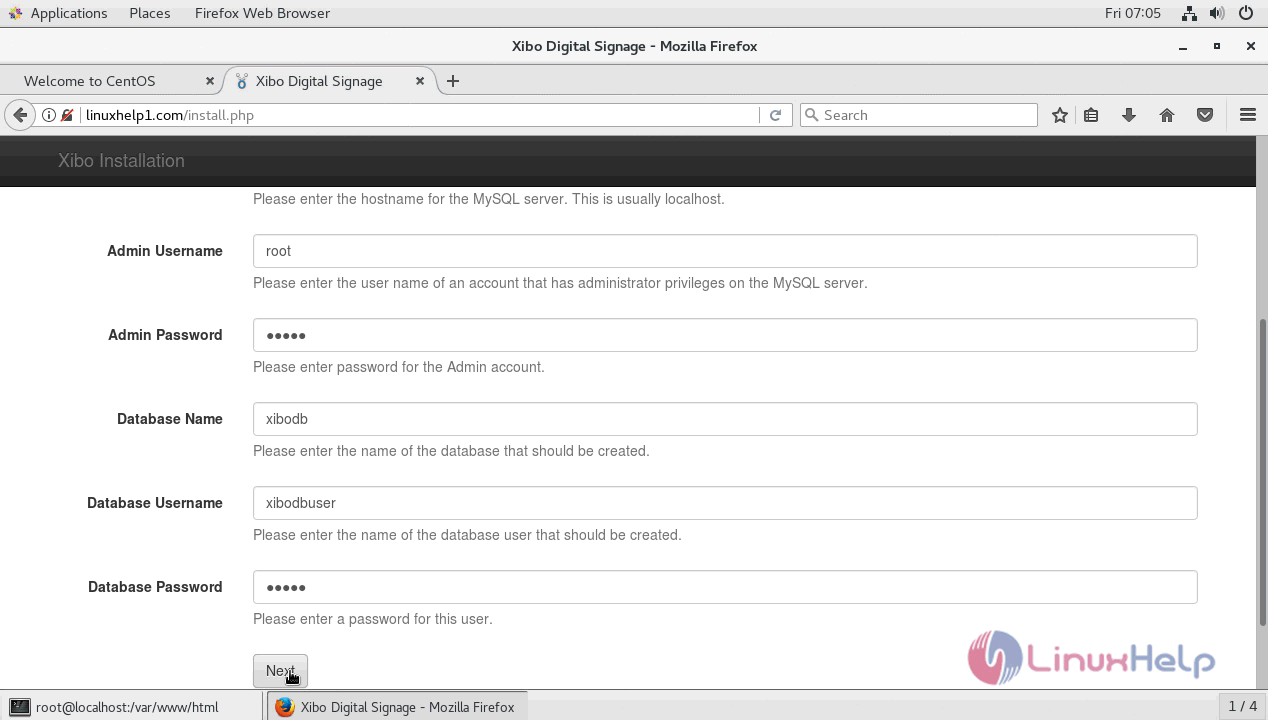
On next screen, you have to create a new database so enter the hostname user credentials of MySQL server along with DB details.
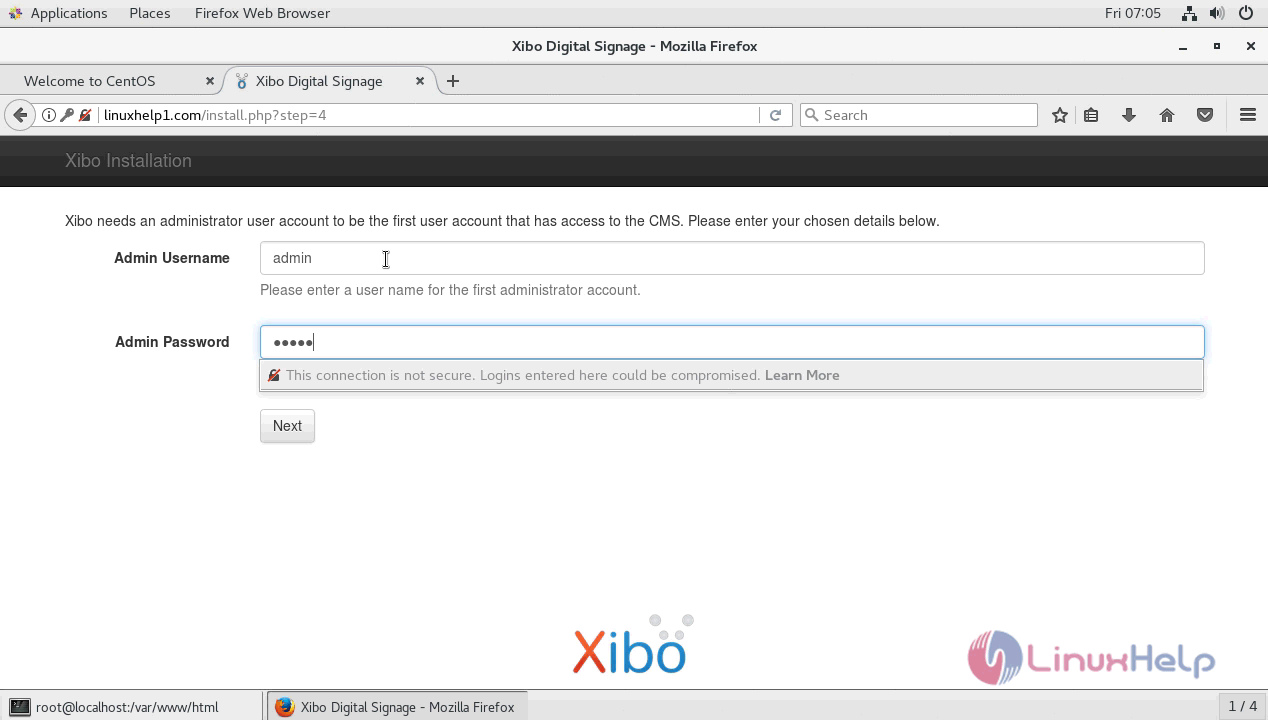
On next screen, you have to enter the administrative user account to access CMS.
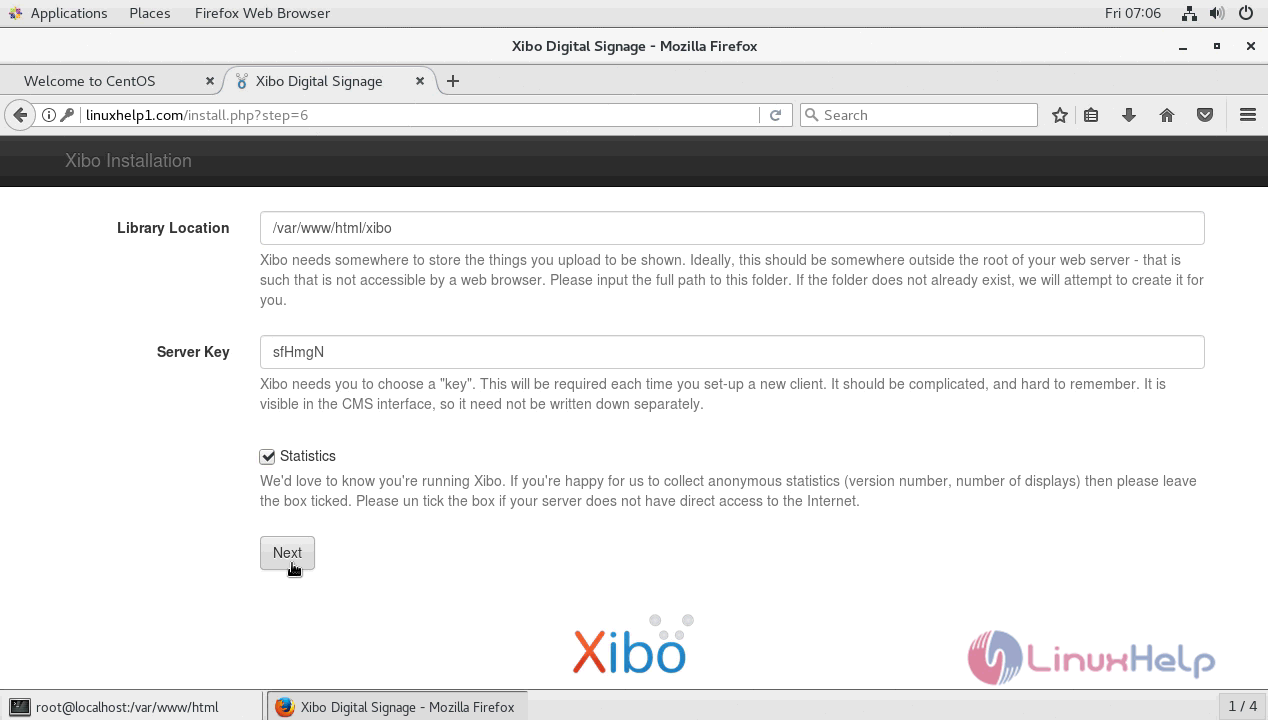
Next enter the location for the library.
Attest a xibo login page will appear and login using admin credentials.

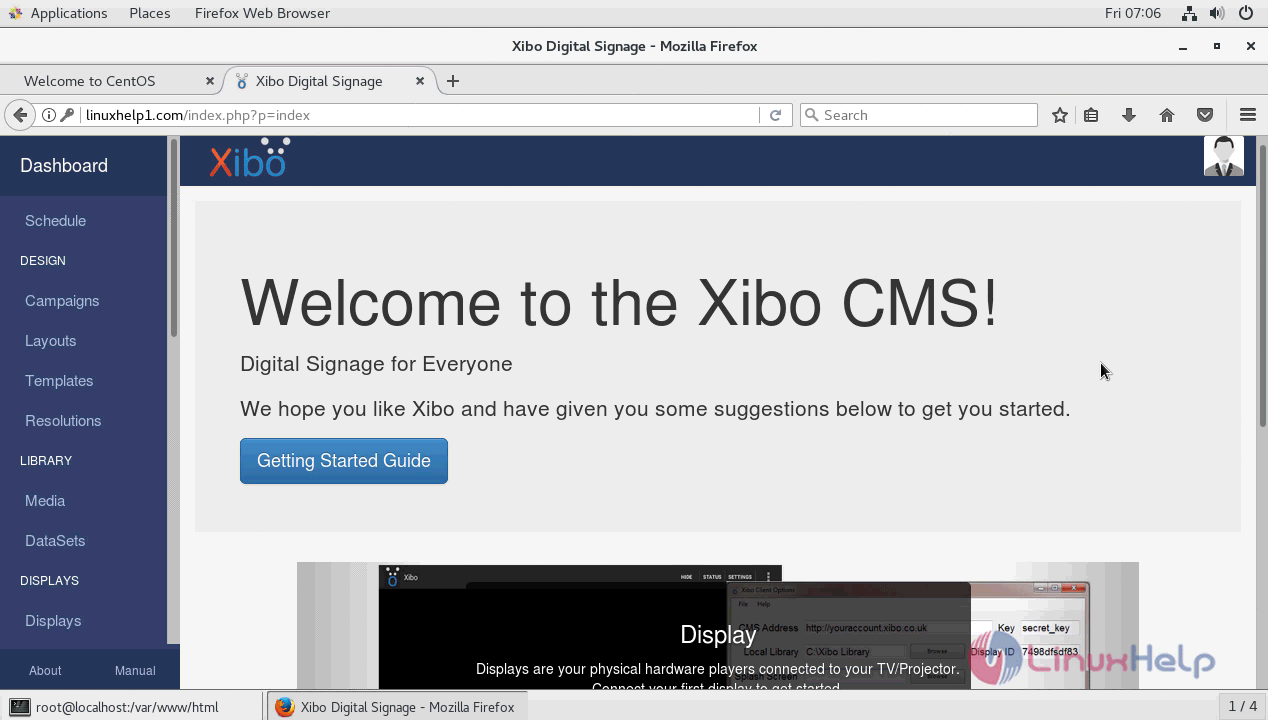
With this, the tutorial on installing Xibo on CentOS 7 comes to an end.
Comments ( 0 )
No comments available