How to install XOOPS CMS on OpenSUSE Leap 42.3
To install XOOPS CMS on OpenSUSE Leap 42.3
XOOPS is a popular and easy to use CMS written in PHP. It uses a modular architecture and it is an ideal tool for developing small to large dynamic community websites, weblogs etc. It is an acronym of eXtensible Object Oriented Portal System. It contains modules that can be installed or uninstalled within the XOOPS administration system, relational databases and a messaging system within the users. This tutorial explains the installation of XOOPS CMS on OpenSUSE Leap 42.3.
Pre-Requisite
LAMP Setup
- Apache
- MariaDB
- PHP 7
Installation procedure
To start with the installation procedure, download the latest stable version using wget command.
linuxhelp:~ # wget https://excellmedia.dl.sourceforge.net/project/xoops/XOOPS%20Core%20%28stable%20releases%29/XOOPS_2.5.8.1/xoops-2.5.8.1.zip
--2017-10-12 10:00:19--  https://excellmedia.dl.sourceforge.net/project/xoops/XOOPS%20Core%20%28stable%20releases%29/XOOPS_2.5.8.1/xoops-2.5.8.1.zip
Resolving excellmedia.dl.sourceforge.net (excellmedia.dl.sourceforge.net)... 202.153.32.19
Connecting to excellmedia.dl.sourceforge.net (excellmedia.dl.sourceforge.net)|202.153.32.19|:443... connected.
HTTP request sent, awaiting response... 200 OK
Length: 8847885 (8.4M) [application/octet-stream]
Saving to: ‘ xoops-2.5.8.1.zip’
100%[======================================> ] 8,847,885    247KB/s   in 41s

2017-10-12 10:01:01 (211 KB/s) - ‘ xoops-2.5.8.1.zip’  saved [8847885/8847885]
Next extract the downloaded package in Apache root directory.
linuxhelp:~ # unzip xoops-2.5.8.1.zip -d /srv/www/htdocs/
Archive:  xoops-2.5.8.1.zip
bebd74ac7bbf29ccd92f2a6508562e6ca6765030
   creating: /srv/www/htdocs/XoopsCore25-2.5.8.1/
  inflating: /srv/www/htdocs/XoopsCore25-2.5.8.1/.gitattributes
  inflating: /srv/www/htdocs/XoopsCore25-2.5.8.1/.gitignore
  inflating: /srv/www/htdocs/XoopsCore25-2.5.8.1/.scrutinizer.yml
  inflating: /srv/www/htdocs/XoopsCore25-2.5.8.1/CONTRIBUTING.md
  inflating: /srv/www/htdocs/XoopsCore25-2.5.8.1/LICENSE
  inflating: /srv/www/htdocs/XoopsCore25-2.5.8.1/README.md
   creating: /srv/www/htdocs/XoopsCore25-2.5.8.1/docs/
  inflating: /srv/www/htdocs/XoopsCore25-2.5.8.1/docs/README.txt
  inflating: /srv/www/htdocs/XoopsCore25-2.5.8.1/docs/changelog.250.txt
.
.
.
creating: /srv/www/htdocs/XoopsCore25-2.5.8.1/upgrade/upd-2.5.4-to-2.5.5/
  inflating: /srv/www/htdocs/XoopsCore25-2.5.8.1/upgrade/upd-2.5.4-to-2.5.5/index.php
   creating: /srv/www/htdocs/XoopsCore25-2.5.8.1/upgrade/upd-2.5.5-to-2.5.6/
  inflating: /srv/www/htdocs/XoopsCore25-2.5.8.1/upgrade/upd-2.5.5-to-2.5.6/index.php
   creating: /srv/www/htdocs/XoopsCore25-2.5.8.1/upgrade/upd-2.5.7-to-2.5.8/
  inflating: /srv/www/htdocs/XoopsCore25-2.5.8.1/upgrade/upd-2.5.7-to-2.5.8/index.php
  inflating: /srv/www/htdocs/XoopsCore25-2.5.8.1/upgrade/upgrade_tpl.php
Enter into the Apache document root by running the following cd command.
linuxhelp:~ # cd /srv/www/htdocs/
linuxhelp:/srv/www/htdocs # ll
total 4
drwxr-xr-x 6 root root 4096 Jan  1  2017 XoopsCore25-2.5.8.1
Next provide the owner permission and file execution permission by running the following command.
linuxhelp:/srv/www/htdocs/XoopsCore25-2.5.8.1 # chown -R wwwrun:www /srv/www/htdocs/XoopsCore25-2.5.8.1/
linuxhelp:/srv/www/htdocs/XoopsCore25-2.5.8.1 # chmod -R 777 /srv/www/htdocs/XoopsCore25-2.5.8.1/
You should now configure your Virtual Host for Xoops CMS. Run the following command to open the .conf file that you need to configure.
linuxhelp:/srv/www/htdocs/glpi # vim /etc/apache2/conf.d/xoops.conf
Here you need to configure the file as follows.
< VirtualHost *:80>
DocumentRoot " /srv/www/htdocs"
ServerName www.linuxhelp1.com
< Directory " /srv/www/htdocs/" >
DirectoryIndex index.php
Options FollowSymLinks
AllowOverride All
Require all granted
< /Directory>
< /VirtualHost>
Once the configuration is done, restart your Apache service as follows.
linuxhelp:/srv/www/htdocs/XoopsCore25-2.5.8.1 # systemctl restart apache2
Set the firewall settings into the SuSEfirewall2 configuration file using vim editor and make the following changes in the file. Save and exit the file.
linuxhelp:/srv/www/htdocs/XoopsCore25-2.5.8.1 # vim /etc/sysconfig/SuSEfirewall2
FW_CONFIGURATIONS_EXT=" apache"
Restart the firewall by executing the following command.
linuxhelp:/srv/www/htdocs/XoopsCore25-2.5.8.1 #systemctl restart SuSEfirewall2
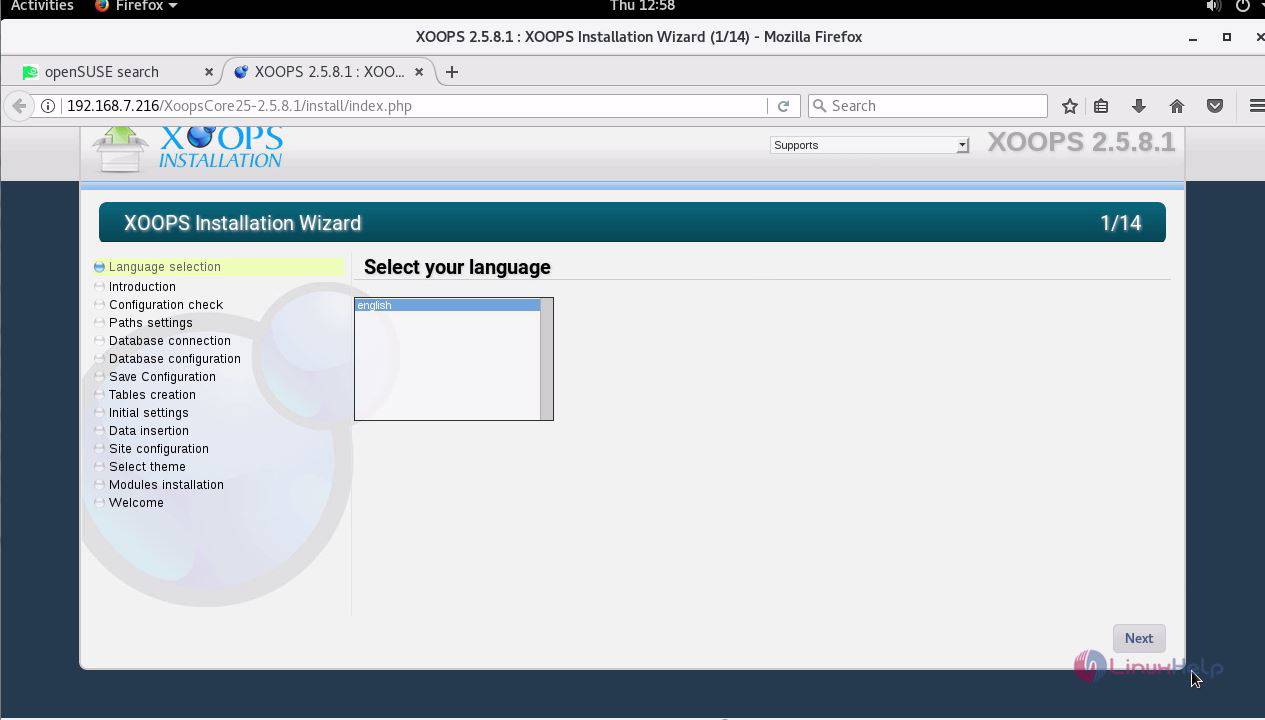
Switch over to the browser and enter the URL as http://YourIP/ XoopsCore25-2.5.8.1/. Now select the language.
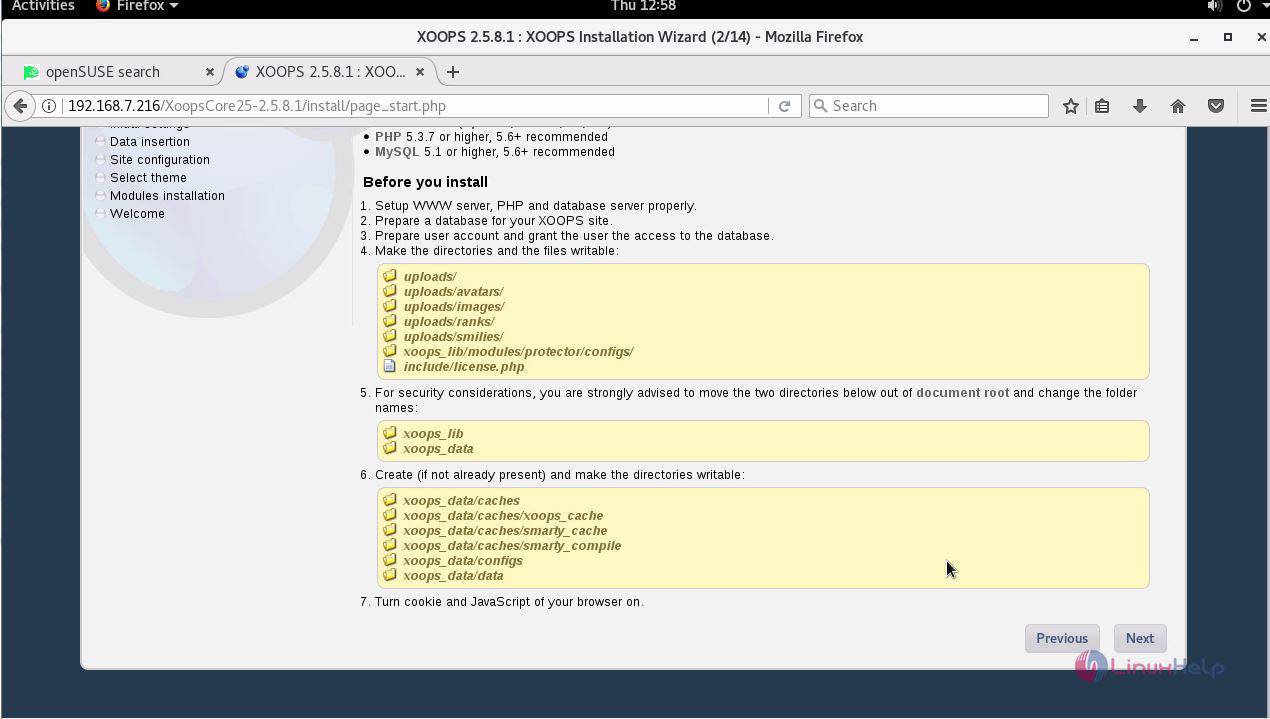
A list of prerequisite is shown before starting the installation.
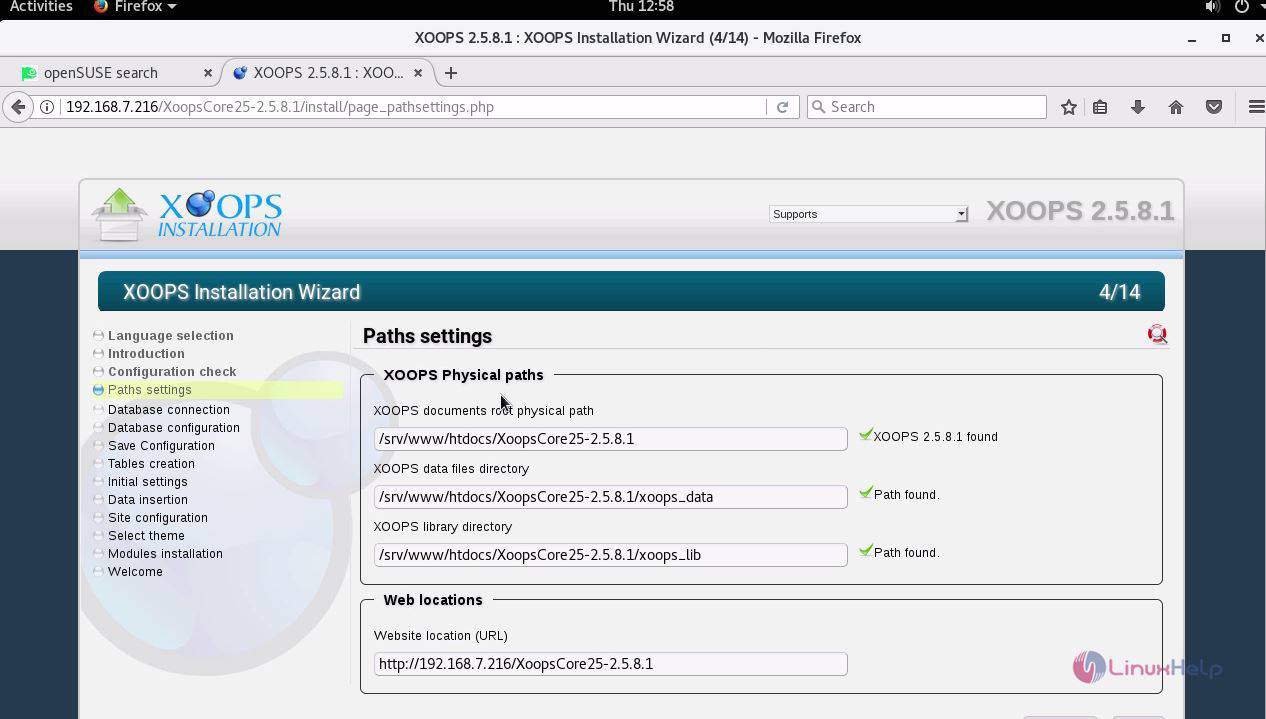
Next enter the Xoops physical paths and web locations and click next.
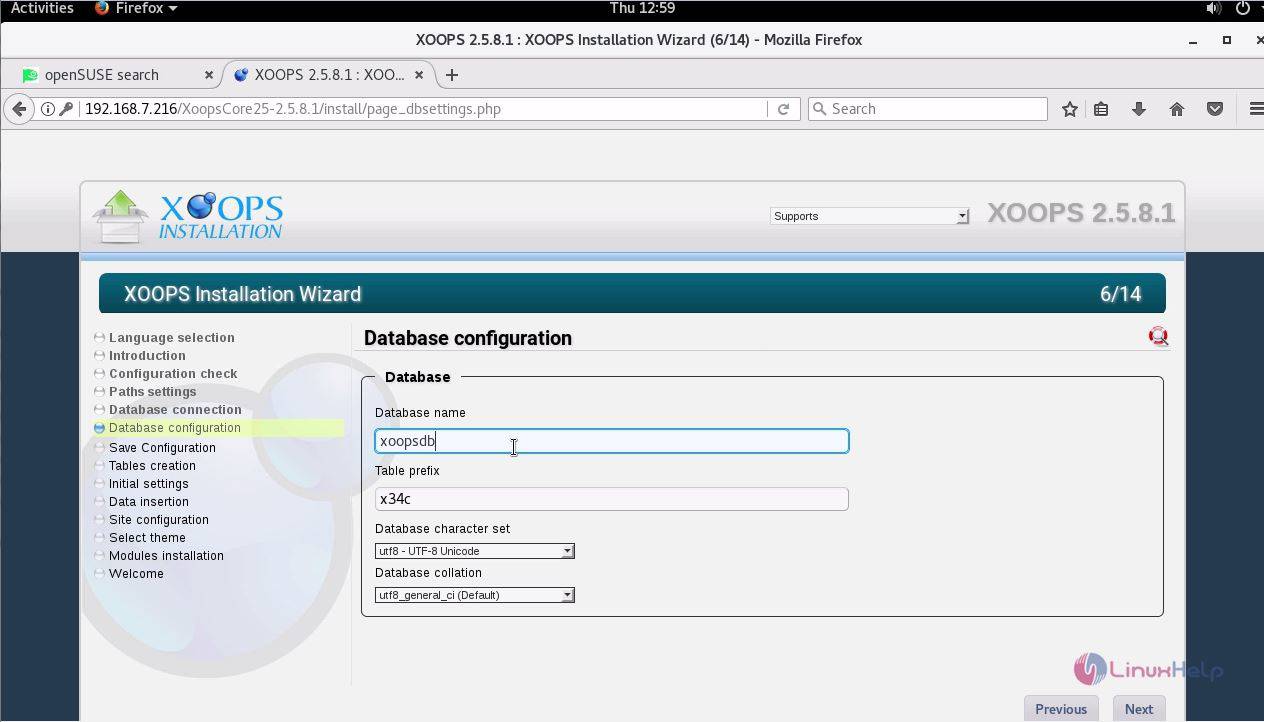
Enter the required database details and click next.
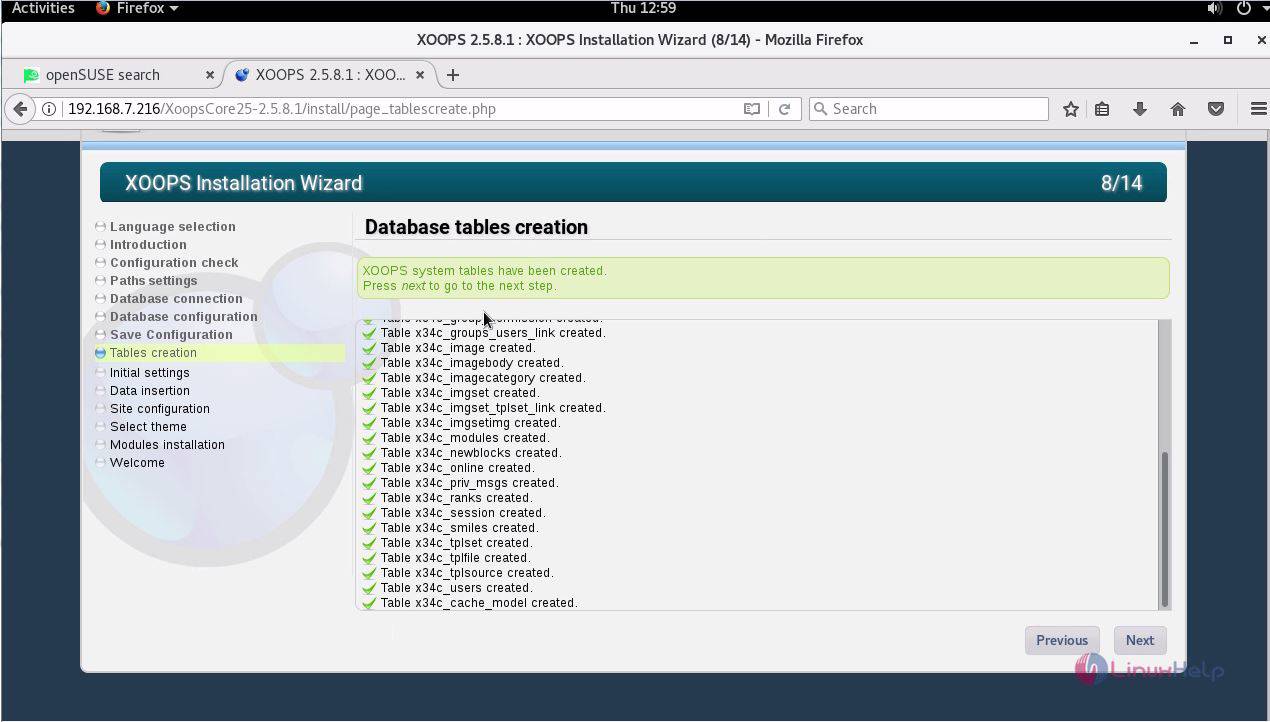
The installation of database tables is underway.
Next create a new administrator' s account by entering the required details and click next.

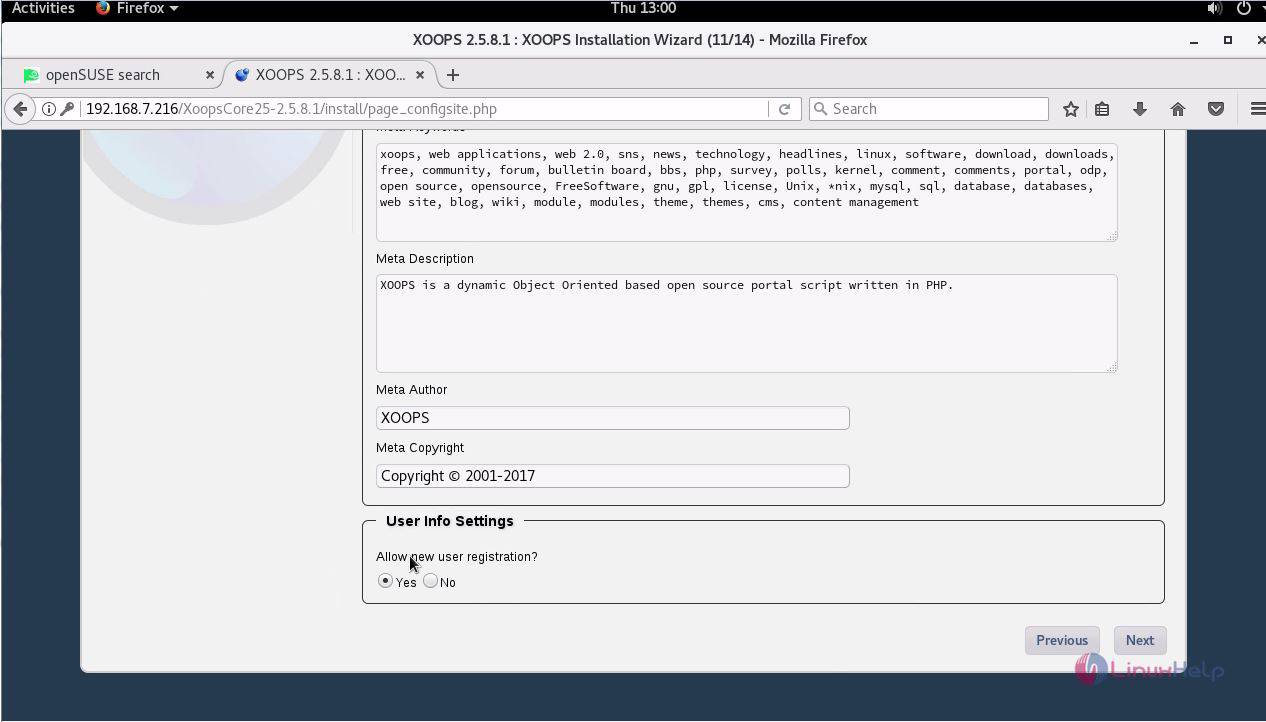
Next enter the general settings of the site and meta description of the site.
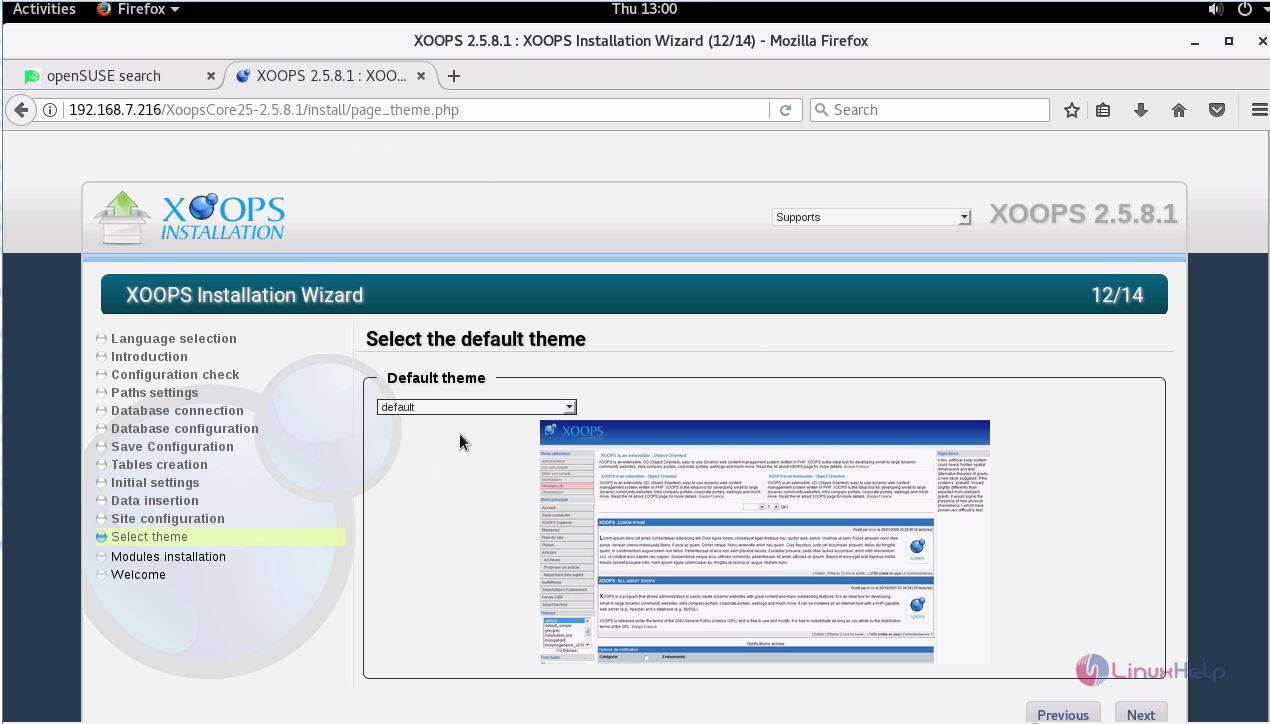
Select the theme of the site and the about us pop-up window about the site. Select next option.
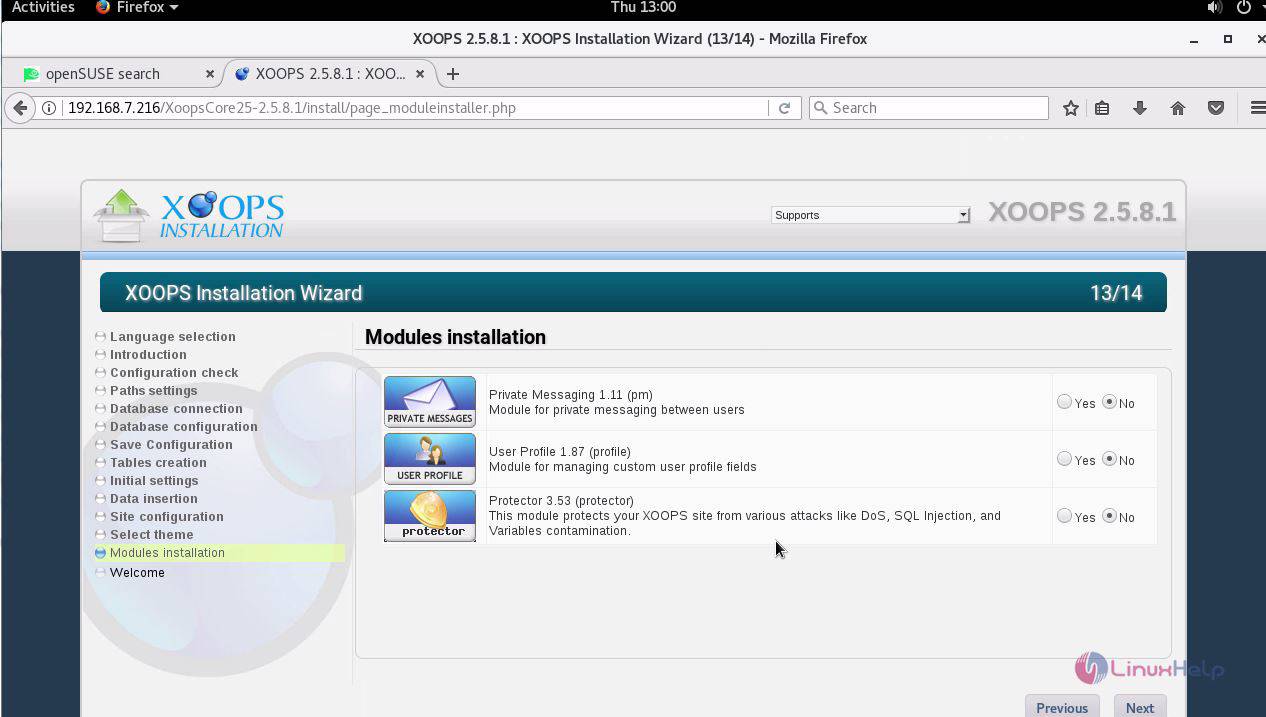
Now the installation of the modules protector is set and click next.
The installation is now complete and enter the required username and password.
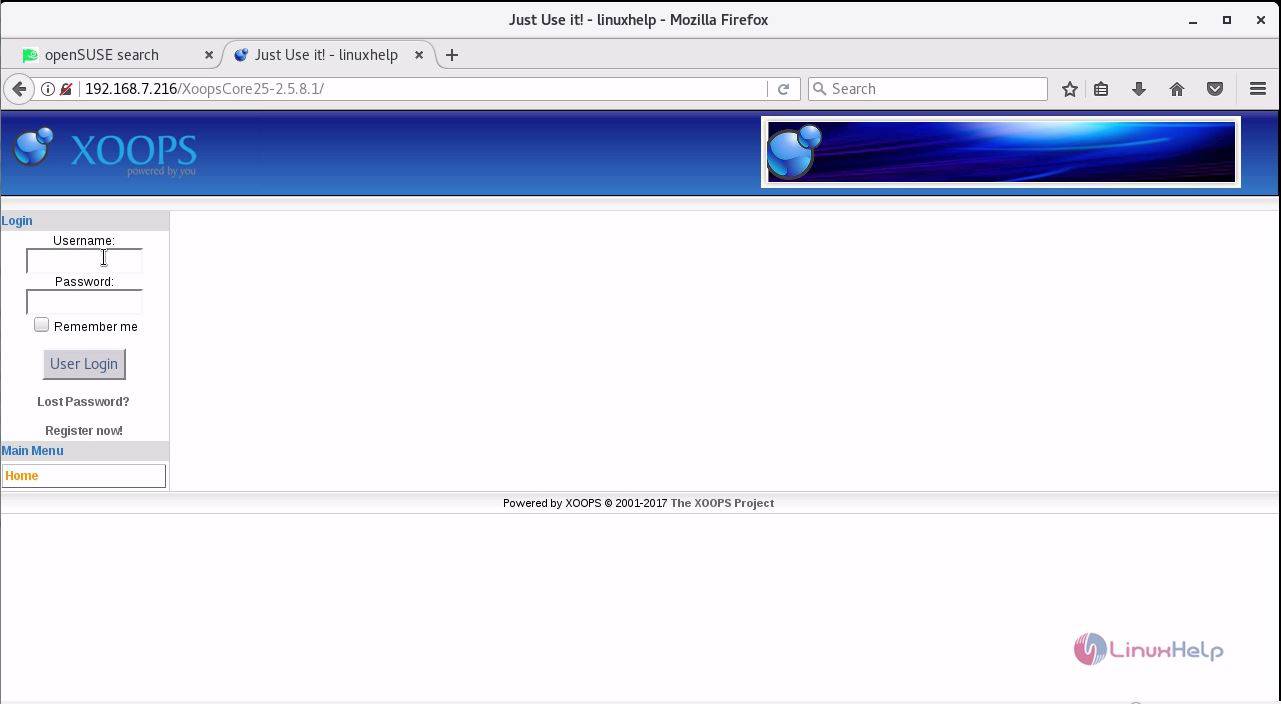
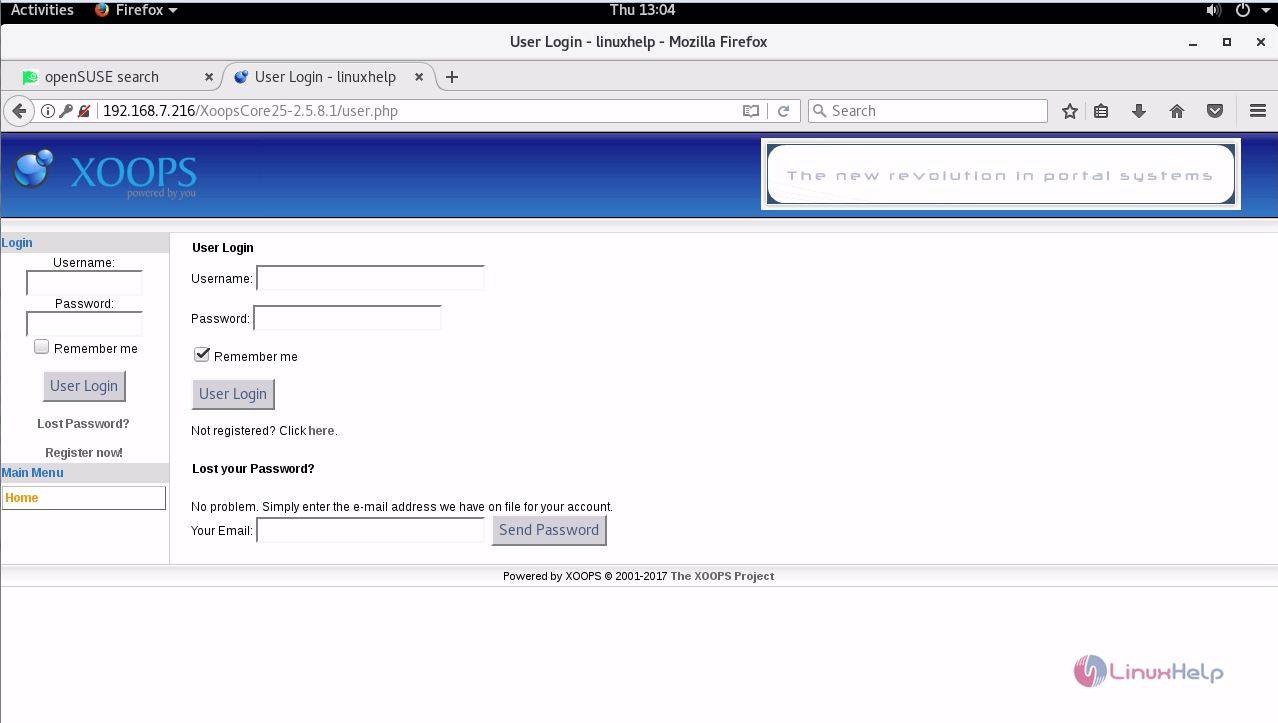
Thus concludes the installation procedure of Xoops CMS on OpenSUSE Leap 42.3.
Comments ( 0 )
No comments available