How to install zabbix in Ubuntu
To install Zabbix in Ubuntu
Zabbix is an enterprise open source monitoring software for networks and applications. It is designed for monitoring and tracking the status of various network services, servers and many more network hardware devices. Installation of Zabbix in Ubuntu is explained in this article.
Features
- High performance, high capacity able to monitor hundreds of thousands of devices.
- Auto-discovery of servers and network devices
- Low-level discovery
- Distributed monitoring with centralized web administration
- Support for both polling and trapping mechanisms
- High performance agents
- JMX monitoring
- Web monitoring
- Secure user authentication
- Flexible user permissions
- Web-based interface
To install Zabbix
Open the configuration file of PHP and change your location.
root@linuxhelp1:~# vim /etc/php5/apache2/php.ini
date.timezone=’ Asia/Kolkata’
Download the Zabbix package by below command.
root@linuxhelp:/home/user1# wget http://repo.zabbix.com/zabbix/3.0/ubuntu/pool/main/z/zabbix-release/zabbix-release_3.0-1+trusty_all.deb
--2016-10-08 17:15:46--  http://repo.zabbix.com/zabbix/3.0/ubuntu/pool/main/z/zabbix-release/zabbix-release_3.0-1+trusty_all.deb
Length: 2694 (2.6K) [application/x-debian-package]
.
.
.

Saving to: ‘ zabbix-release_3.0-1+trusty_all.deb’
zabbix-release_3.0-1+trusty_ 100%[=============================================> ]   2.63K  --.-KB/s   in 0s
2016-10-08 17:15:47 (13.1 MB/s) - ‘ zabbix-release_3.0-1+trusty_all.deb’  saved [2694/2694]
Add the Zabbix pakage into repository
root@linuxhelp:/home/user1# dpkg -i zabbix-release_3.0-1+trusty_all.deb
Selecting previously unselected package zabbix-release.
(Reading database ... 184596 files and directories currently installed.)
Preparing to unpack zabbix-release_3.0-1+trusty_all.deb ...
Unpacking zabbix-release (3.0-1+trusty) ...
Setting up zabbix-release (3.0-1+trusty) ...
Update the machine by running the following command.
root@linuxhelp:/home/user1# apt-get update
Hit http://in.archive.ubuntu.com wily InRelease
Hit http://ppa.launchpad.net wily InRelease
Hit http://security.ubuntu.com wily-security InRelease
Hit http://in.archive.ubuntu.com wily-updates InRelease
.
.
.
Hit http://in.archive.ubuntu.com wily-backports/restricted Translation-en
Hit http://in.archive.ubuntu.com wily-backports/universe Translation-en
Fetched 12.9 kB in 11s (1,104 B/s)
Reading package lists... Done
Utilize the following command to install the Zabbix package.
root@linuxhelp:/home/user1# apt-get install zabbix-server-mysql zabbix-frontend-php
Reading package lists... Done
Building dependency tree
Reading state information... Done
The following extra packages will be installed:
.
.
.
Processing triggers for libc-bin (2.21-0ubuntu4) ...
Processing triggers for ureadahead (0.100.0-19) ...
Processing triggers for systemd (225-1ubuntu9) ...
Processing triggers for libapache2-mod-php5 (5.6.11+dfsg-1ubuntu3.4) ...
Create database for zabbix by running the following command.
root@linuxhelp1:~# mysql -u root -p
Enter password:
mysql>  create database zabbix_db
Query OK, 1 row affected (0.07 sec)
mysql>  grant all on zabbix_db.* to ' zabbix' @' localhost'  identified by ' 12345'
Query OK, 0 rows affected (0.05 sec)
mysql>  flush privileges
Query OK, 0 rows affected (0.00 sec)
mysql>  q
Bye
Go to the following Zabbix directory to import the database schema into newly created Zabbix database.
root@linuxhelp1:~# cd /usr/share/doc/zabbix-server-mysql/
root@linuxhelp1:/usr/share/doc/zabbix-server-mysql# gunzip create.sql.gz
root@linuxhelp1:/usr/share/doc/zabbix-server-mysql# mysql -u root -p zabbix_db <  create.sql
Enter password:
Open the configuration file of Zabbix. Enable and enter zabbix database details as shown below.
root@linuxhelp1:~# vim /etc/zabbix/zabbix_server.conf
DBHost=localhost
DBName=zabbix_db
DBSchema=create.sql
DBUser=zabbix
DBPassword=12345
Restart Apache service and Zabbix by running the following command.
root@linuxhelp1 # service apache2 restart
root@linuxhelp1 # service zabbix-server restart
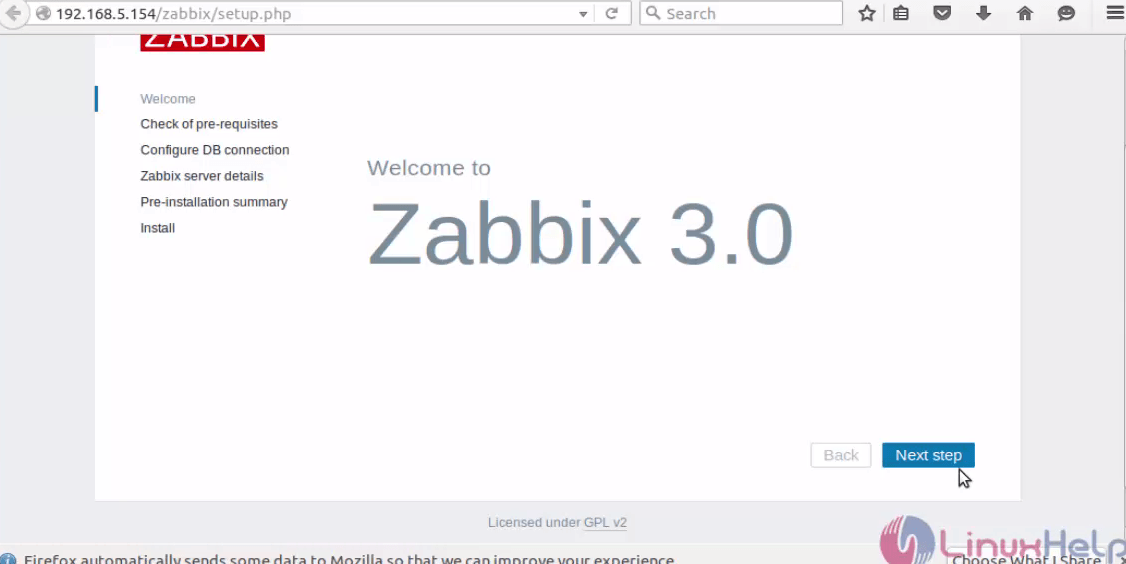
Open the Browser and navigate to http://< IP_address> /zabbix/setup.php
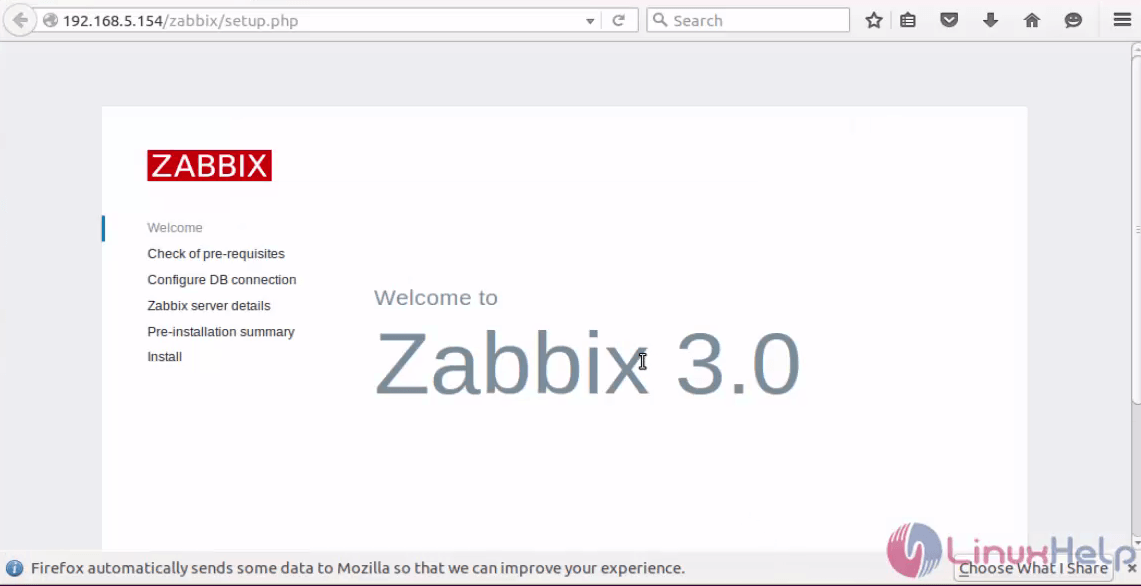
Click next step to proceed with the Zabbix graphical installation.
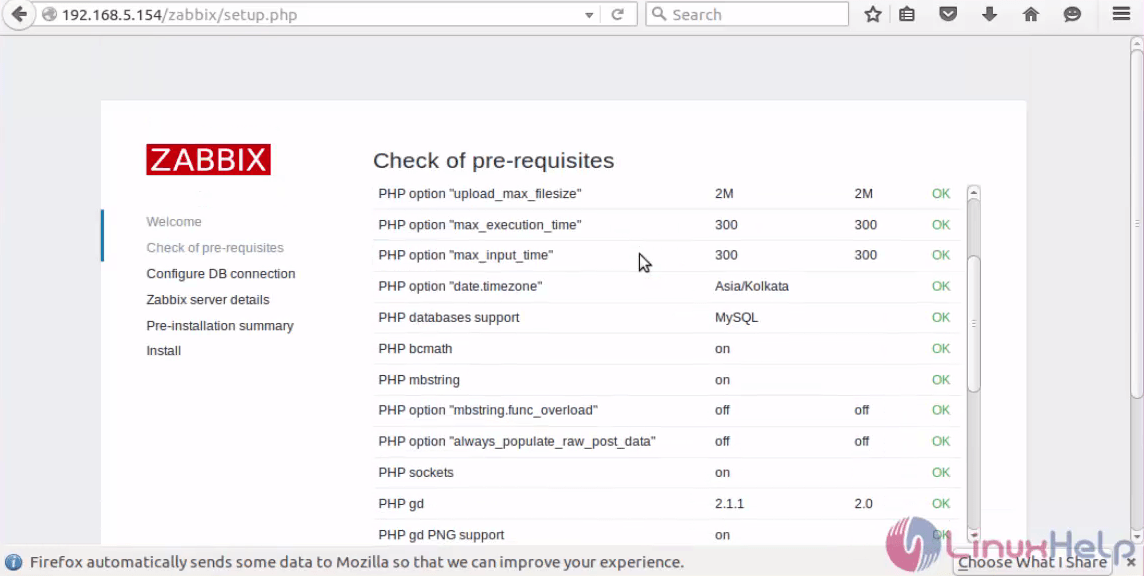
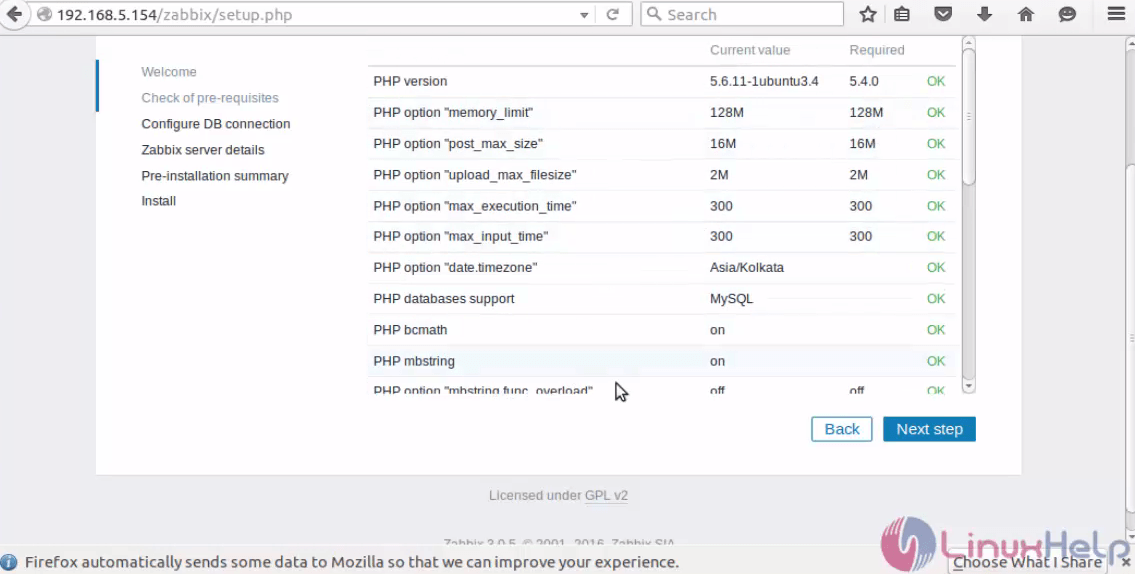
Check the PHP configuration and click next
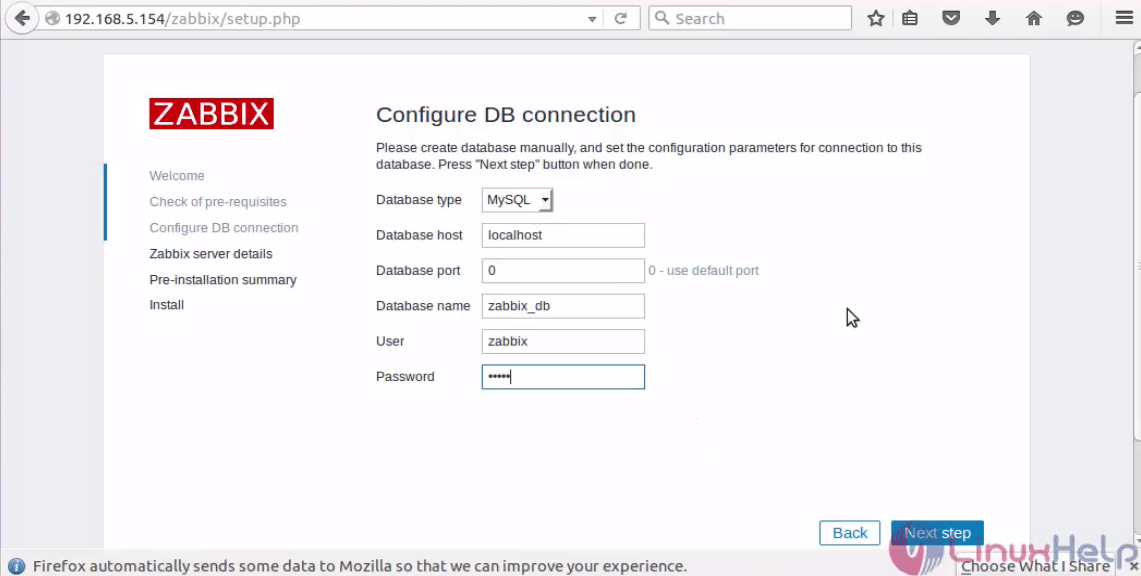
Enter the databases fields required for Zabbix.
Enter the Zabbix server details and click Next step.

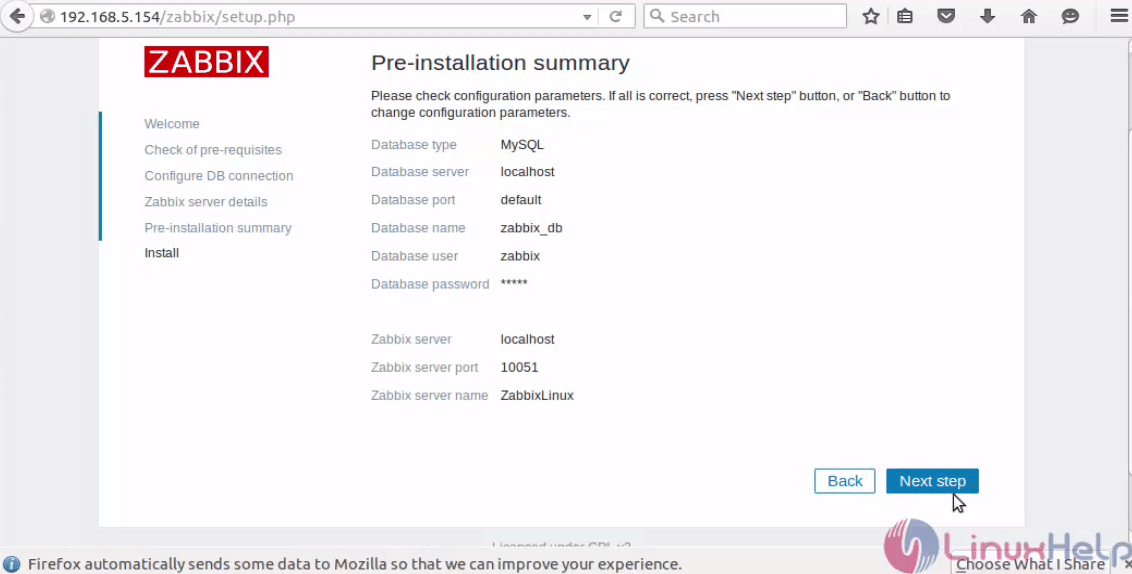
Check the summary of Zabbix installation.
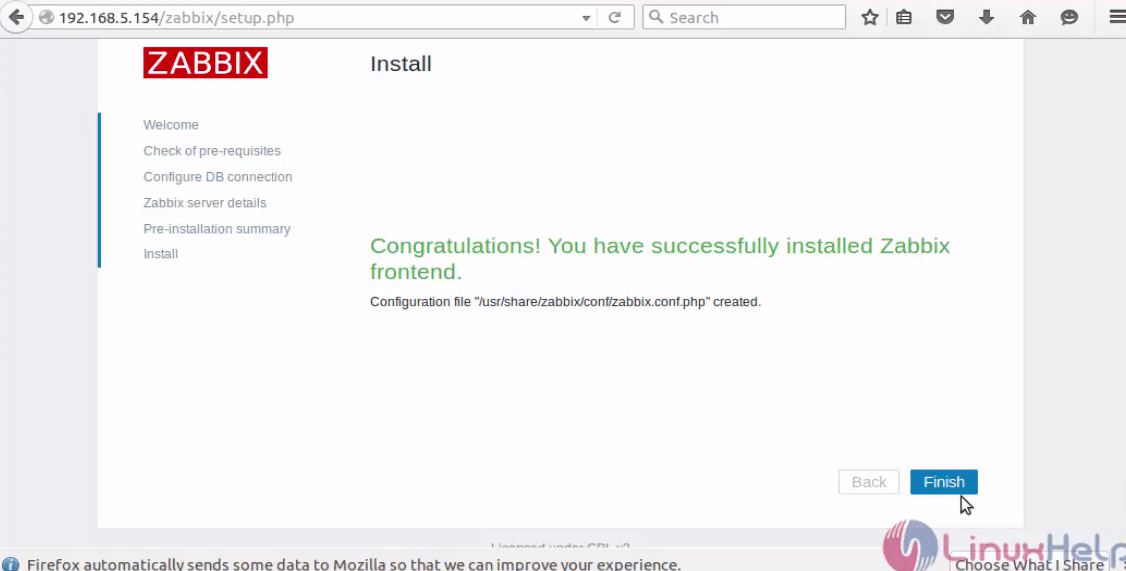
Now the Zabbix server is installed successfully, click finish to launch.
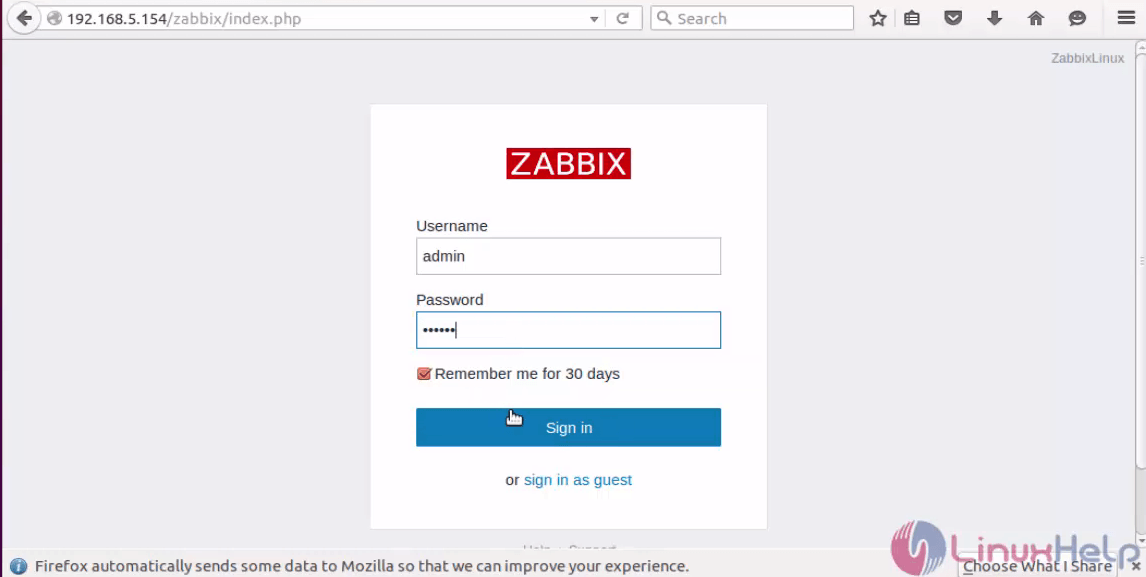
Login to Zabbix server using the default username (admin) and password (zabbix).
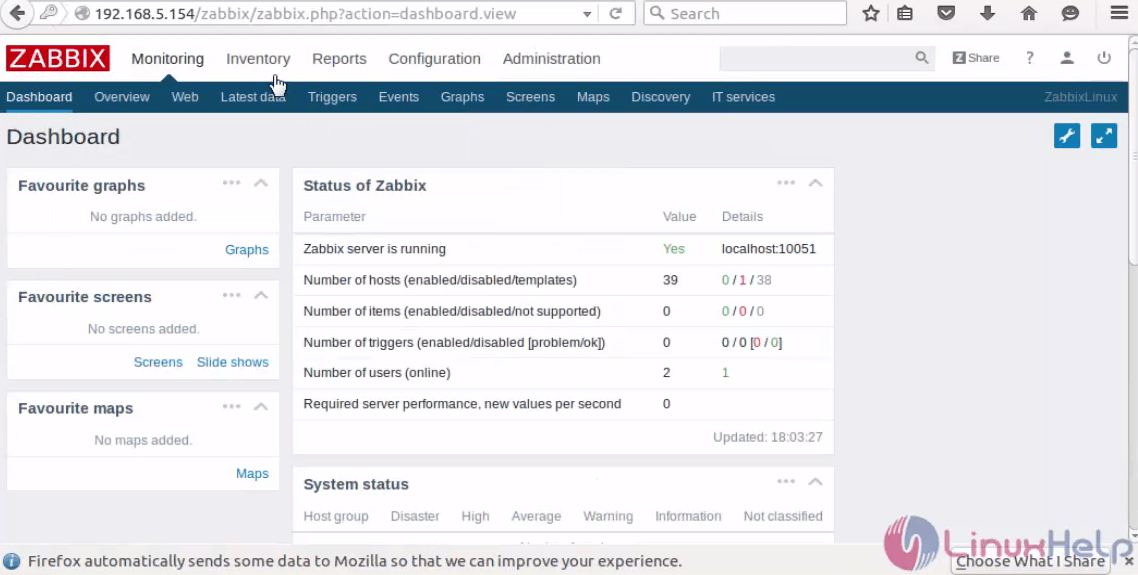
Dashboard of Zabbix appears and now you start monitoring your server.
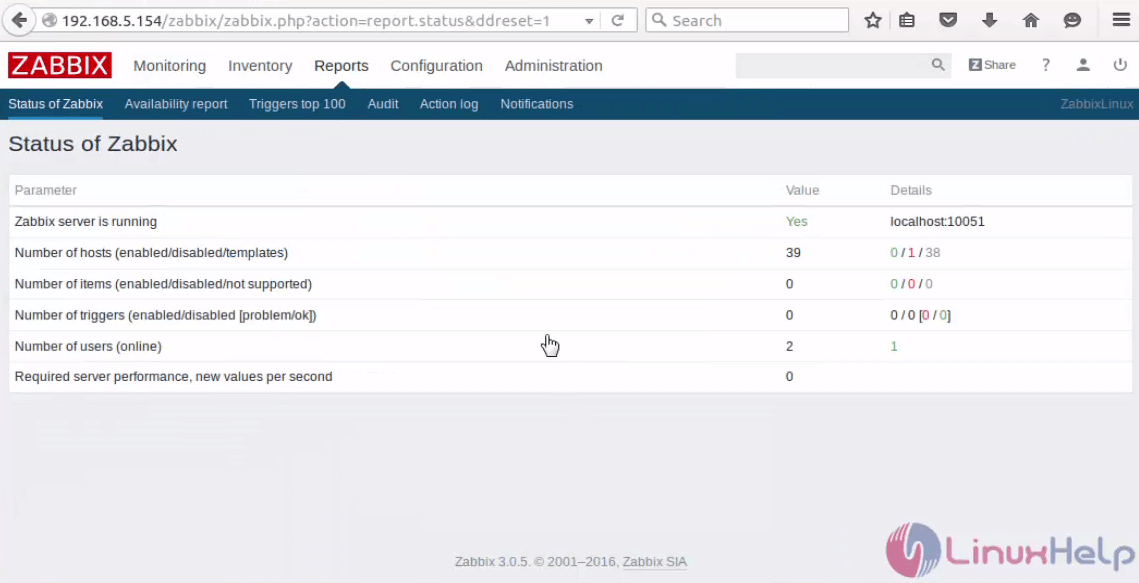
To monitoring server reports, click on Reports.
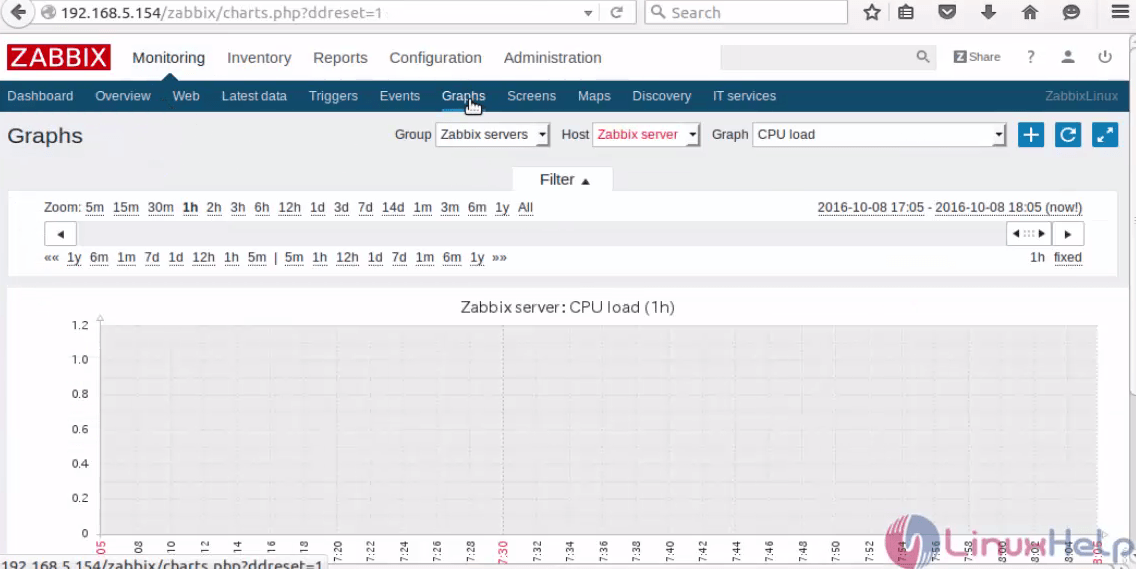
To montoring CPU loads, click on Monitoring interface.
Comments ( 0 )
No comments available