How to Setup Odoo (OpenERP) 9 using Nginx in Linux
To Setup Odoo (OpenERP) 9 using Nginx in Linux
Installation of Odoo (OpenERP) 9 uisng Nginx is discussed in this article. It is a free web based business software programmed in Python. It is used in Website Builders, eCommerce modules, Customer Relationship Management, Billing and Accounting, Human Resources, Point of Sale, Inventory module, Live Chat etc. This setup acts very fast because of the reverse proxy concept of Nginx.
To Install and Secure PostgreSQL Database
Before installing Oodo, start installing the PostgreSQL database by using the following command.
root@linuxhelp~# apt-get install postgresql postgresql-client
Reading package lists... Done
Building dependency tree
Reading state information... Done
The following additional packages will be installed:
libpq5 postgresql-9.5 postgresql-client-9.5 postgresql-client-common postgresql-common postgresql-contrib-9.5
sysstat
Suggested packages:
postgresql-doc locales-all postgresql-doc-9.5 libdbd-pg-perl isag
The following NEW packages will be installed:
libpq5 postgresql postgresql-9.5 postgresql-client postgresql-client-9.5 postgresql-client-common
postgresql-common postgresql-contrib-9.5 sysstat
0 upgraded, 9 newly installed, 0 to remove and 338 not upgraded.
Need to get 4,806 kB of archives.
After this operation, 19.4 MB of additional disk space will be used.
Do you want to continue? [Y/n] y
Get:1 http://in.archive.ubuntu.com/ubuntu xenial-updates/main amd64 libpq5 amd64 9.5.3-0ubuntu0.16.04 [77.2 kB]
Get:2 http://in.archive.ubuntu.com/ubuntu xenial/main amd64 postgresql-client-common all 173 [28.3 kB]
.
.
Done!
Now set the password for the database by utilising the following command.
root@linuxhelp:~# su - postgres
postgres@linuxhelp:~$ psql
psql (9.5.3)
Type " help"  for help.
postgres=# password postgres
Enter new password:
Enter it again:
postgres=# q
Add the key for the Odoo repo.
root@linuxhelp:~# wget -O - https://nightly.odoo.com/odoo.key | apt-key add -
--2016-07-27 18:01:33-- https://nightly.odoo.com/odoo.key
Resolving nightly.odoo.com (nightly.odoo.com)... 188.165.210.169
Connecting to nightly.odoo.com (nightly.odoo.com)|188.165.210.169|:443... connected.
HTTP request sent, awaiting response... 200 OK
Length: 3112 (3.0K) [application/octet-stream]
Saving to: ‘ STDOUT’

- 100%[=============================================> ] 3.04K --.-KB/s in 0s

2016-07-27 18:01:36 (777 MB/s) - written to stdout [3112/3112]
OK
Unfold the source list file and pin the following code into it.
root@linuxhelp:~# nano /etc/apt/sources.list
deb http://nightly.odoo.com/9.0/nightly/deb/ ./
Append the prerequisite packages as follows.
root@linuxhelp:~# apt-get install python-cups python-dateutil python-decorator python-docutils python-feedparser python-gdata python-geoip python-gevent python-imaging python-jinja2 python-ldap python-libxslt1 python-lxml python-mako python-mock python-openid python-passlib python-psutil python-psycopg2 python-pybabel python-pychart python-pydot python-pyparsing python-pypdf python-reportlab python-requests python-simplejson python-tz python-unicodecsv python-unittest2 python-vatnumber python-vobject python-werkzeug python-xlwt python-yaml wkhtmltopdf
Reading package lists... Done
Building dependency tree
Reading state information... Done
.
.
Done!
Make the system Up to date by running the following command.
root@linuxhelp:~# apt-get update
Finally start with the installation of Odoo.
root@linuxhelp:~# apt-get install odoo
Reading package lists... Done
Building dependency tree
Reading state information... Done
The following additional packages will be installed:
antiword libuv1 node-amdefine node-less node-source-map nodejs python-suds
The following NEW packages will be installed:
antiword libuv1 node-amdefine node-less node-source-map nodejs odoo python-suds
.
.
Done!
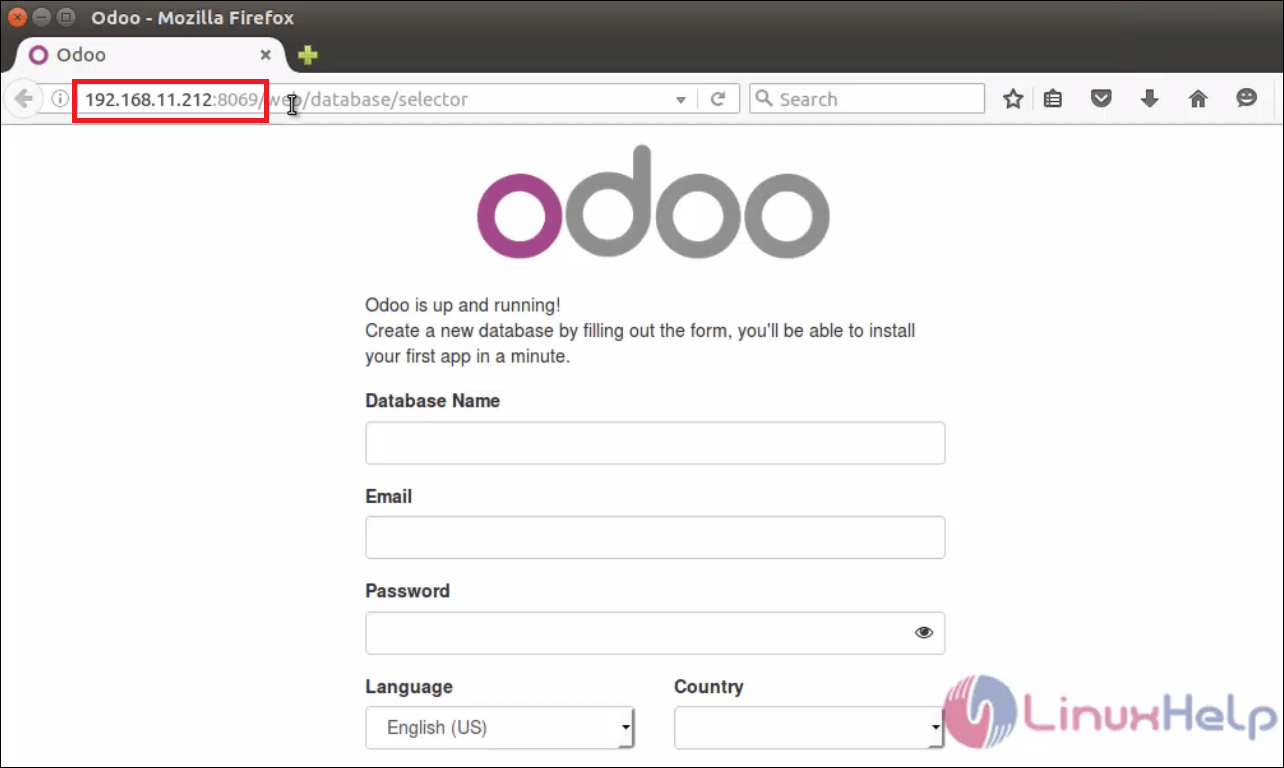
Open the browser and call the URL: http://< IP_address> :8069
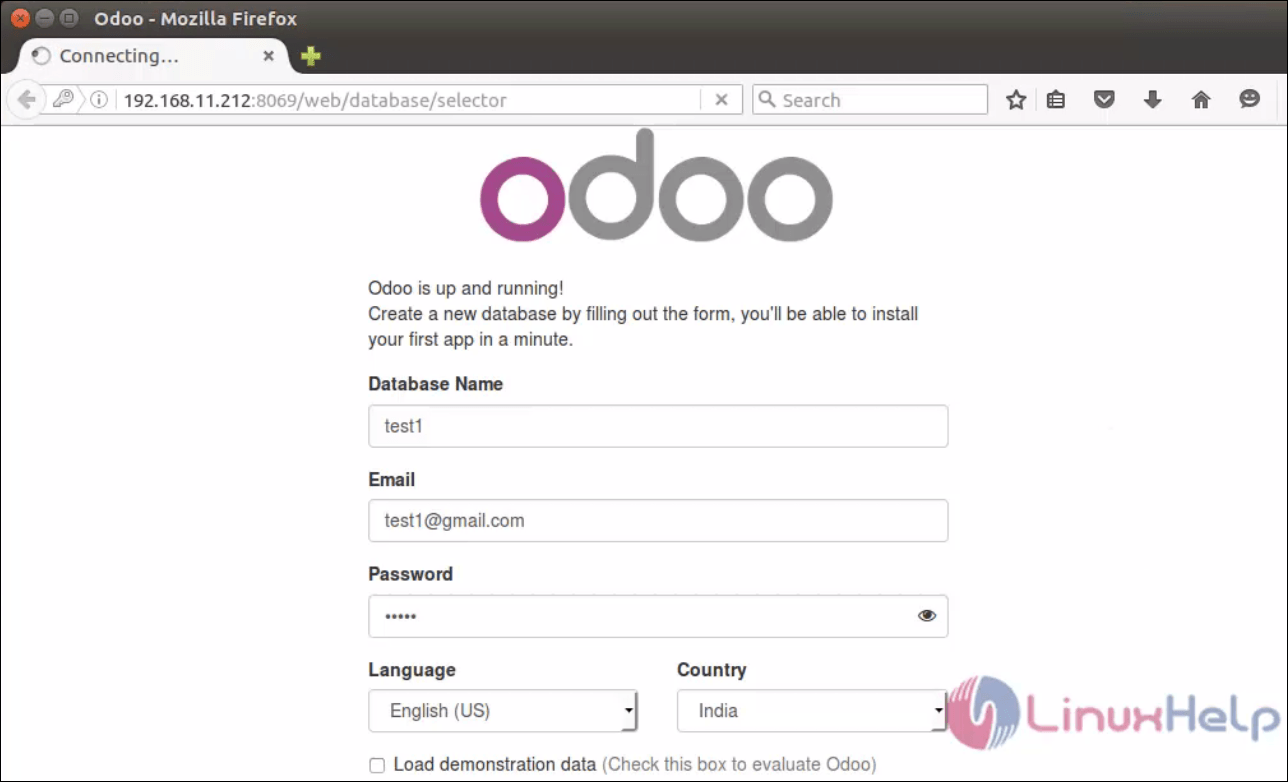
Enter the database details to create a database.
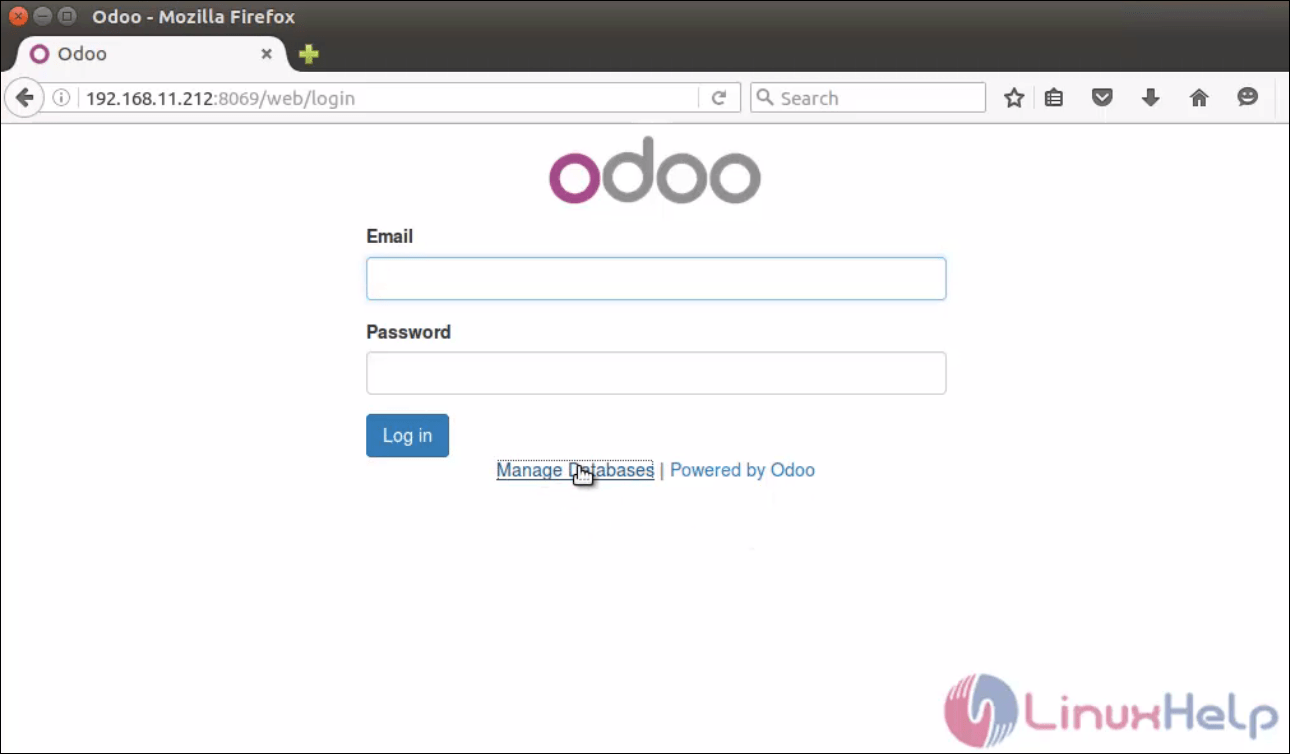
Logout from the session and select “ Manage database” to set the master password.
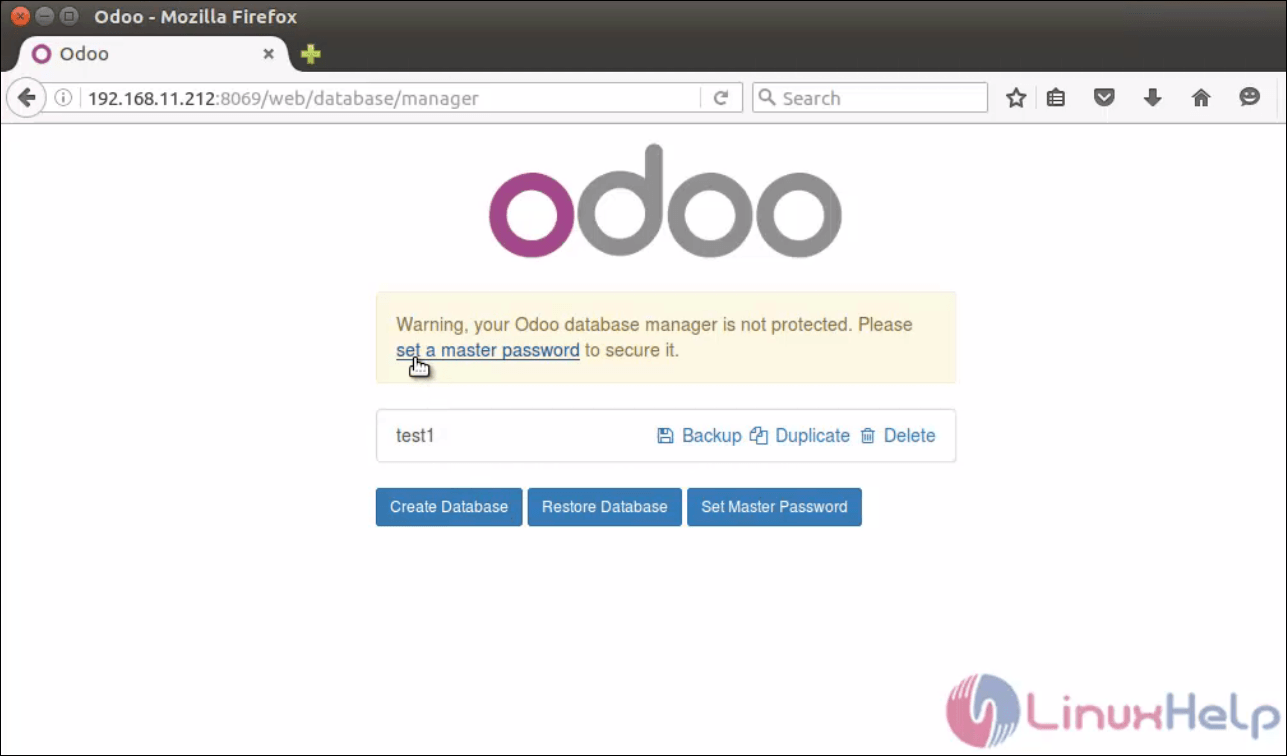
Now set a master password to protect the database.
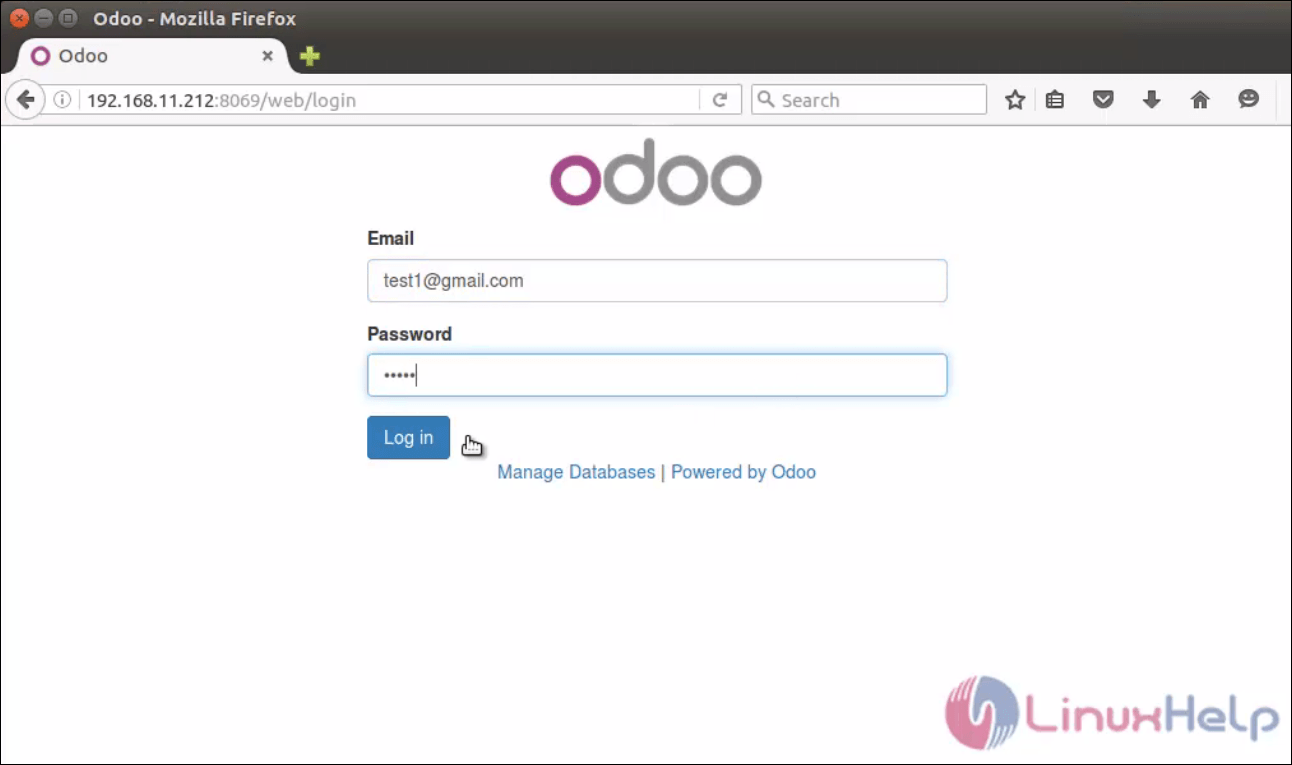
Login with the user credentials to access Odoo.
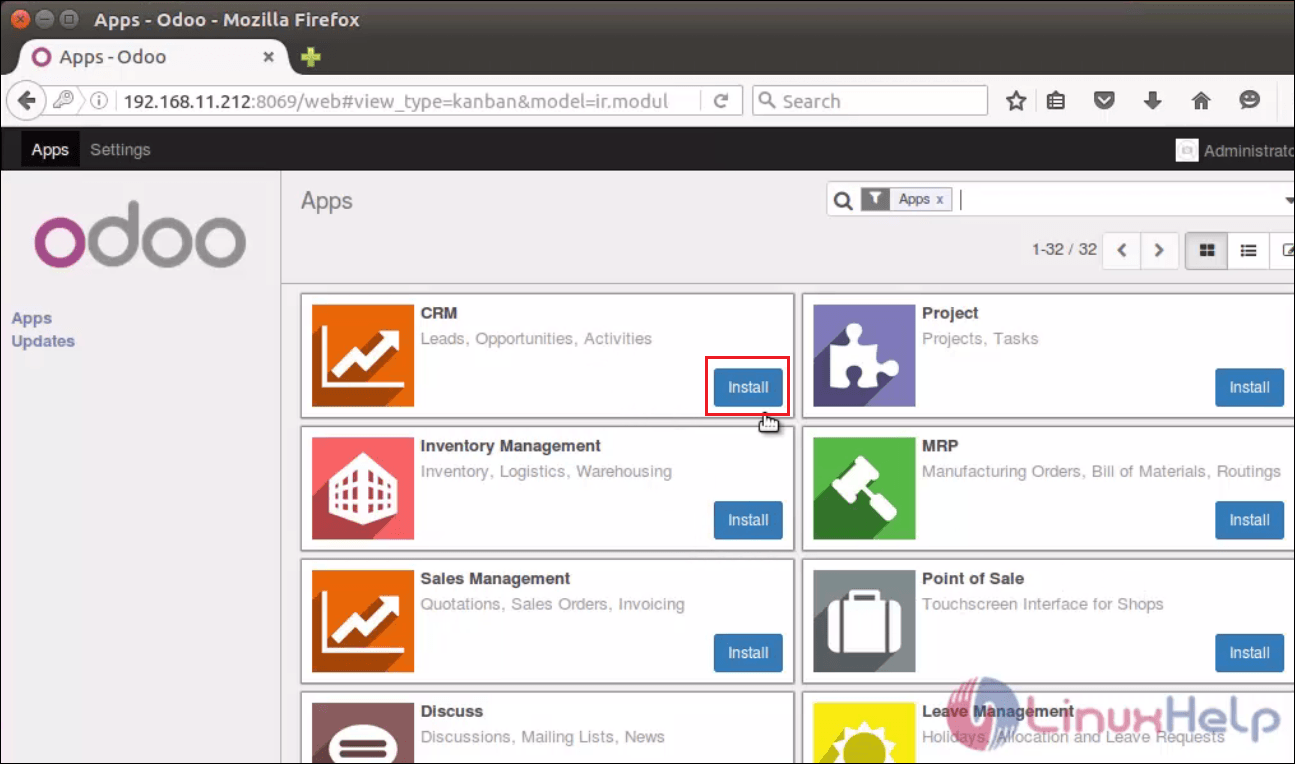
Start installing any app in Odoo page.
To configure Nginx Web server
Use the following command to install the Nginx.
root@linuxhelp~# apt-get install nginx
Reading package lists... Done
Building dependency tree
Reading state information... Done
The following additional packages will be installed:
nginx-common nginx-core
.
.
Done!
Once the package is installed, add the following content to the nginx config file.
For Centos
[root@linuxhelp]# vim /etc/nginx/nginx.conf
For Ubuntu
root@linuxhelp:~# nano /etc/nginx/sites-enabled/default
server {
listen 80
server_name 192.168.11.212
root /var/www/example.com
location / {
proxy_pass http://127.0.0.1:8069
proxy_redirect off
proxy_set_header Host $host
proxy_set_header X-Real-IP $remote_addr
proxy_set_header X-Forwarded-For $proxy_add_x_forwarded_for
proxy_set_header X-Forwarded-Proto $scheme
}
}
Replace the IP with your Server’ s IP.
Restart the nginx service.
root@linuxhelp:~# /etc/init.d/nginx restart
[ ok ] Restarting nginx (via systemctl): nginx.service.
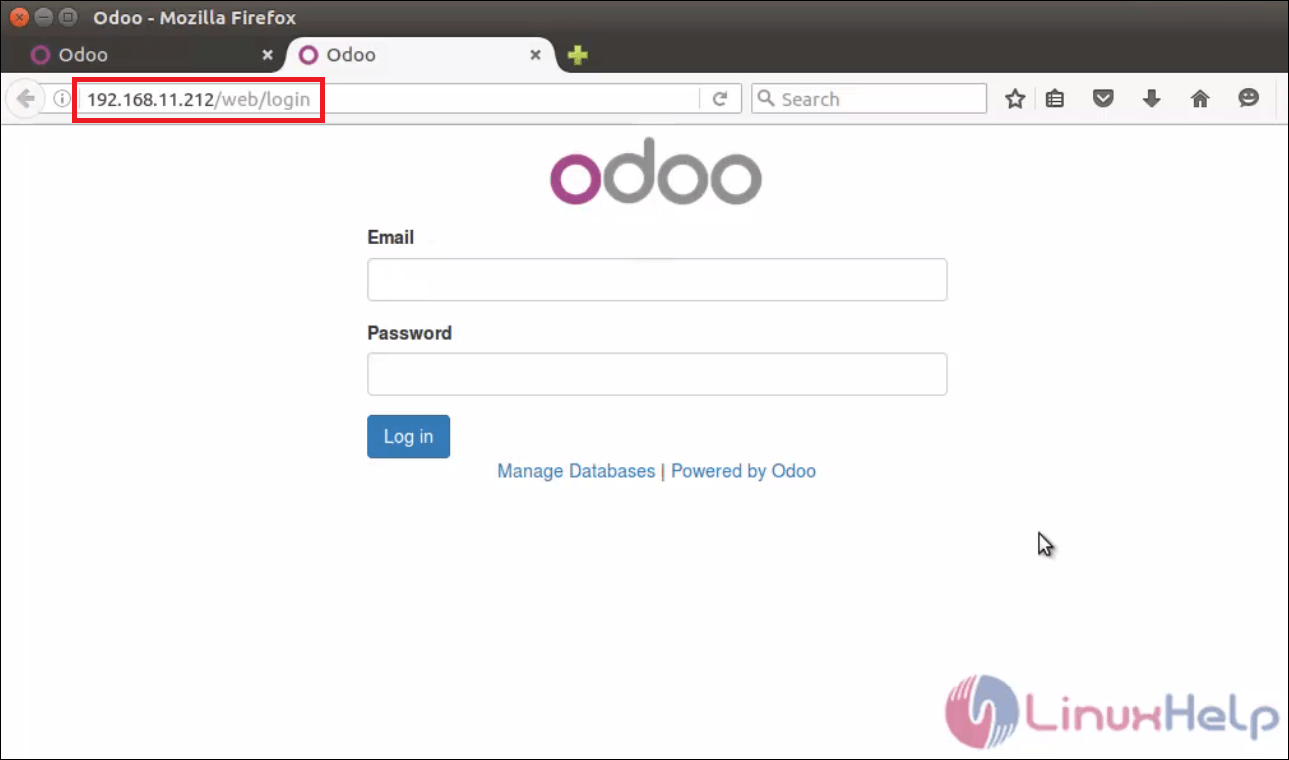
Open the browser and navigate to http://< IP_address> /web/login
Save
Save
Comments ( 1 )