To configure Name-Based Virtual Hosting On RedHat 8.5
- 00:01 cat /etc/os-release
- 00:25 yum install httpd*
- 00:53 cd /var/www/html/
- 00:57 mkdir site
- 01:02 cd site/
- 01:24 vim index.html
- 01:41 cd /etc/httpd/conf.d
- 01:55 vi hosting.conf
- 03:44 vi /etc/hosts
- 04:17 systemctl enable httpd
- 04:26 systemctl start httpd
- 04:43 firewall-cmd --add-service=http --permanent
- 05:02 firewall-cmd --reload
To Configure Name Based Virtual Host On Redhat 8.5
Introduction
Name-based Virtual Hosting is used to host multiple websites on the same IP address or port. In this case, the server depends on the client to report the hostname in the HTTP headers. As a result, it serves the requested host based on the hostname.
Installation Procedure
Step 1: Check the Installed OS Version by using the below command
[root@linuxhelp ~]# cat /etc/os-release
NAME="Red Hat Enterprise Linux"
VERSION="8.5 (Ootpa)"
REDHAT_BUGZILLA_PRODUCT="Red Hat Enterprise Linux 8"
REDHAT_BUGZILLA_PRODUCT_VERSION=8.5
REDHAT_SUPPORT_PRODUCT="Red Hat Enterprise Linux"
REDHAT_SUPPORT_PRODUCT_VERSION="8.5"
Step 2: Install Apache Web Server by using the below command
[root@linuxhelp ~]# yum install httpd*
Updating Subscription Management repositories.
Unable to read consumer identity
This system is not registered with an entitlement server. You can use subscription-manager to register.
Last metadata expiration check: 1 day, 20:49:03 ago on Tuesday 10 May 2022 07:04:15 AM IST.
Dependencies resolved.


=======================================================================================
 	openldap-devel        x86_64    2.4.46-18.el8                              2    812 k
 	redhat-logos-httpd    noarch    84.5-1.el8                                 2     29 k
Installing weak dependencies:
 	apr-util-bdb          x86_64    1.6.1-6.el8                                1     25 k

Complete!
Step 3: Change To Apache Default Directory Root by using the below command
[root@linuxhelp ~]# cd /var/www/html/
Step 4: Create The Directory by using the below command
[root@linuxhelp html]# mkdir site
Step 5: Change Directory by using the below command
[root@linuxhelp html]# cd site/
Step 6: Create the index.htm file for website Content by using the below command
[root@linuxhelp site]# vim index.html
<html>
<body>
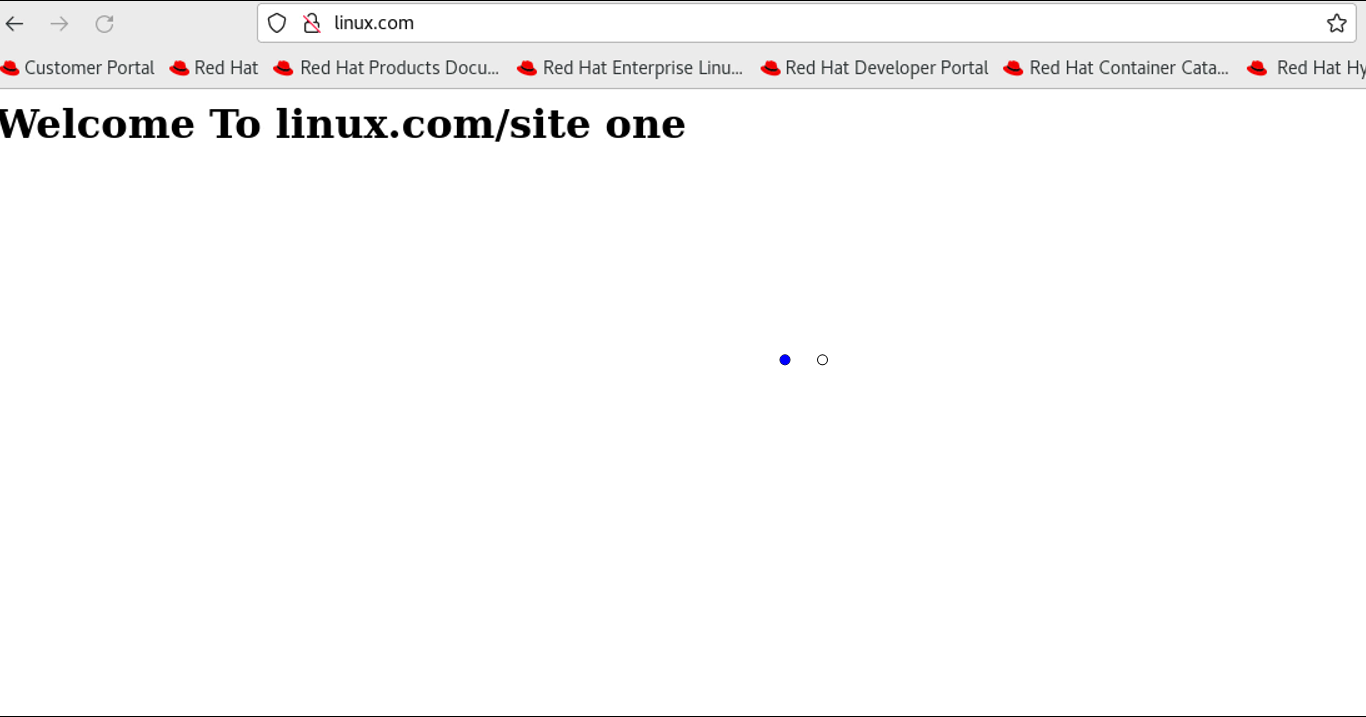
<h1>Welcome To linux.com/site one</h1>
</body>
</html>
Step 7: Change the following location to Create Virtual host by using the below command
[root@linuxhelp site]# cd /etc/httpd/conf.d
Step 8: Create Virtual Host by using the below command
[root@linuxhelp conf.d]# vi hosting.conf
<virtualhost *:80>
ServerName linux.com
DocumentRoot /var/www/html/site
DirectoryIndex index.html
</virtualhost>
Step 9: Put Host Entry by using the below command
 [root@linuxhelp conf.d]# vi /etc/hosts
` 192.168.6.127 linux.com`
Step 10: Enable Apache Web Server by using the below command
[root@linuxhelp conf.d]# systemctl enable httpd
`Created symlink /etc/systemd/system/multi-user.target.wants/httpd.service → /usr/lib/systemd/system/httpd.service.`
Step 11: Start Apache Web Server by using the below command
[root@linuxhelp conf.d]# systemctl start httpd
Step 12: Add The Apache Service in Firewall by using the below command
[root@linuxhelp conf.d]# firewall-cmd --add-service=http --permanent
`Success`
Step 13: Reload the Firewall by using the below command
[root@linuxhelp conf.d]# firewall-cmd --reload
`success`
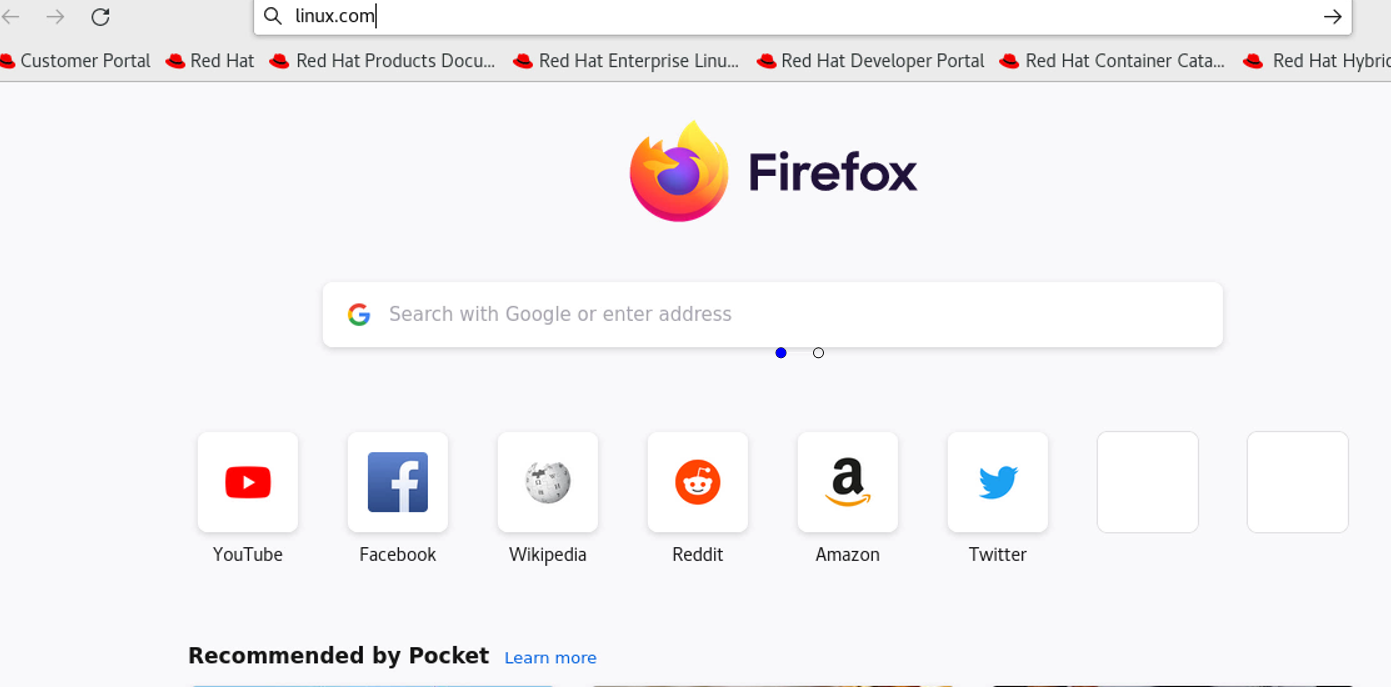
Step 14: Search the domain name as shown in the below image.
Comments ( 0 )
No comments available